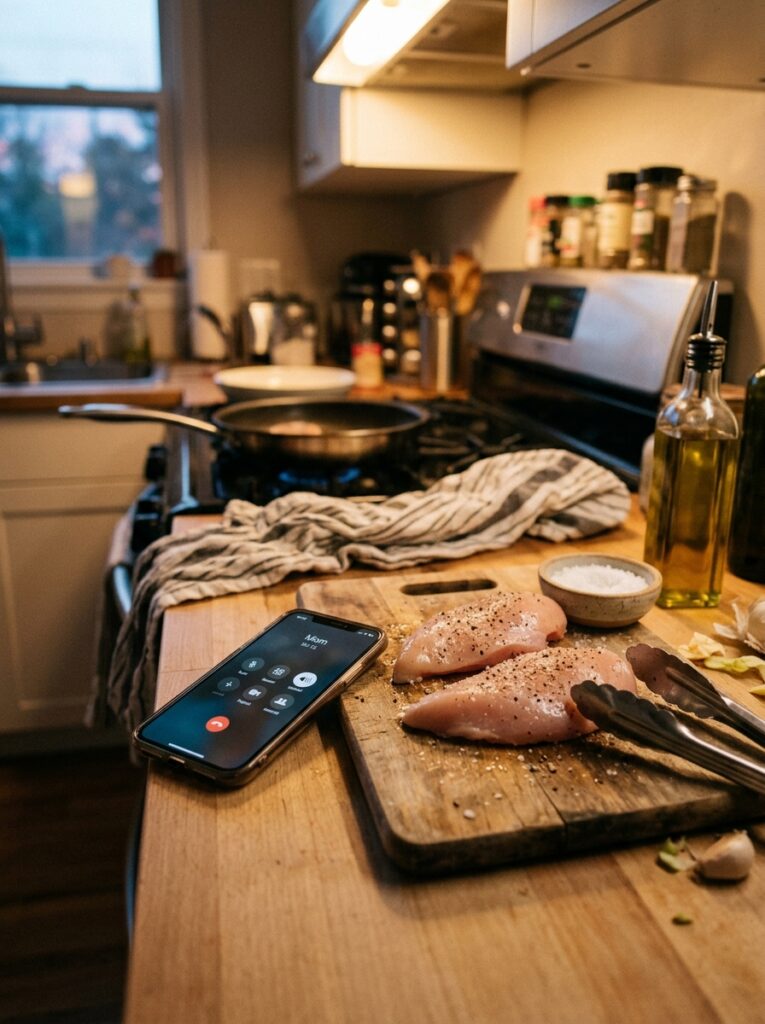
My friend Diane called me mid-cook once and asked what I was making. I said chicken breast and she went completely silent. Like I’d said something deeply disappointing. “You’re making chicken breast on a Tuesday night? On purpose?”
Yeah, Diane. On purpose. Because I figured it out.
—
1. Why Chicken Breast Has a Bad Reputation (And Why It’s Mostly Deserved)
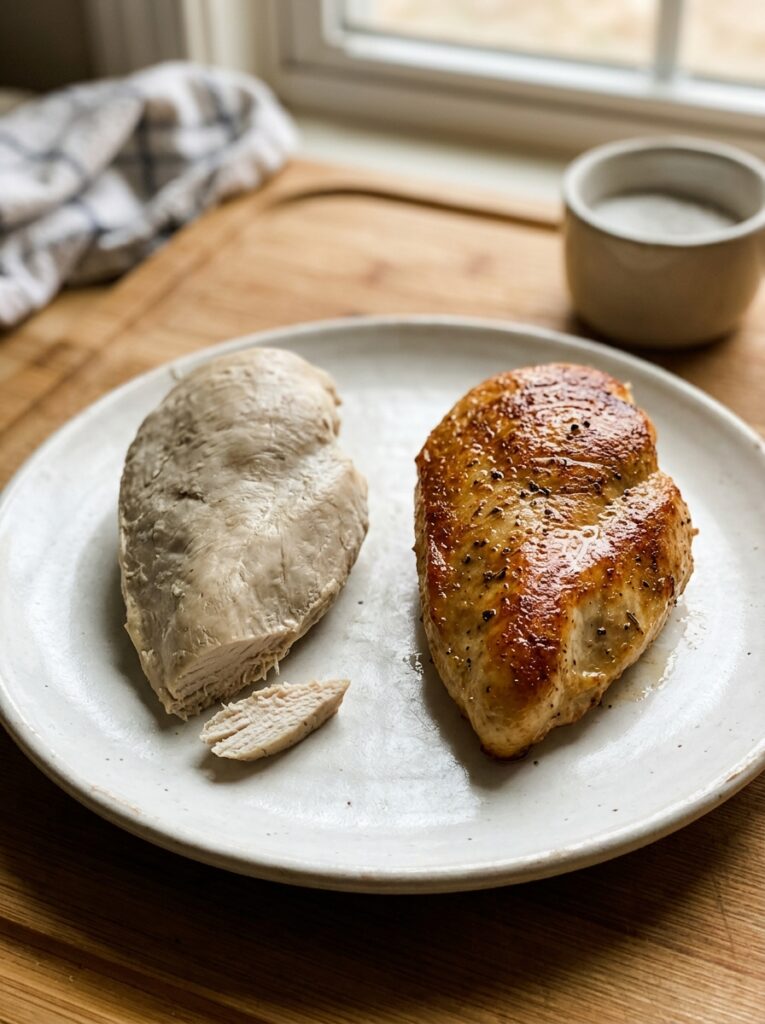
Let’s be honest. Most boneless skinless chicken breast is terrible. Rubbery, dry, weirdly grey in the middle, kind of squeaky against your teeth. I’ve made that chicken. I’ve served that chicken to people I care about. Not my finest moments.
The problem isn’t the chicken. It’s that it’s one of those cuts that punishes you instantly the moment something goes wrong — a little too long in the pan, a little too high a heat, a moment of distraction where you start scrolling your phone — and suddenly you’ve got something that tastes like a damp gym sock.
But here’s the thing: once you understand WHY it goes wrong, fixing it is genuinely simple. And the fix doesn’t require a fancy technique or a long marinade you planned three days ago. It’s a Tuesday-night recipe. It works on a Thursday too.
“Once you understand why it goes wrong, fixing it is genuinely simple — and I mean that. No drama, no overnight marinating, no kitchen thermometer required.”
—
2. The Thickness Problem Nobody Talks About (But Should)
This is actually the whole game. Seriously.
Chicken breasts from the supermarket are thick on one end and thin and almost translucent on the other. When you cook them as-is, the thin end is overcooked by the time the thick end is done. That’s where the dryness comes from. That’s it. That’s the secret.
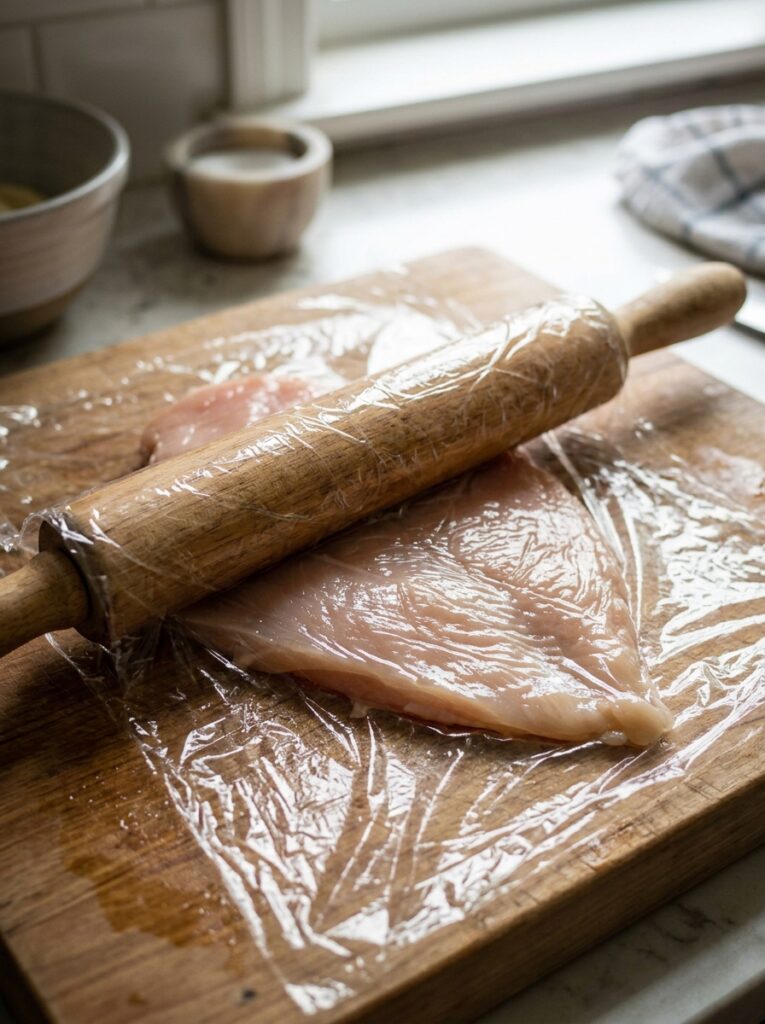
Pound it flat. Not aggressively — you’re not trying to make a cutlet for breadcrumbing (though you could, and it’s great). Just bash it gently with a rolling pin or the flat bottom of a heavy mug until it’s a more even thickness. About ¾ of an inch throughout. This takes maybe 90 seconds and it will change your entire relationship with this cut of meat.
Pop the breast in a zip-lock bag or between two sheets of cling film first. Less mess. Less fury. More even chicken.
—
3. The Salt-and-Rest Step That’s Worth Every Single Minute
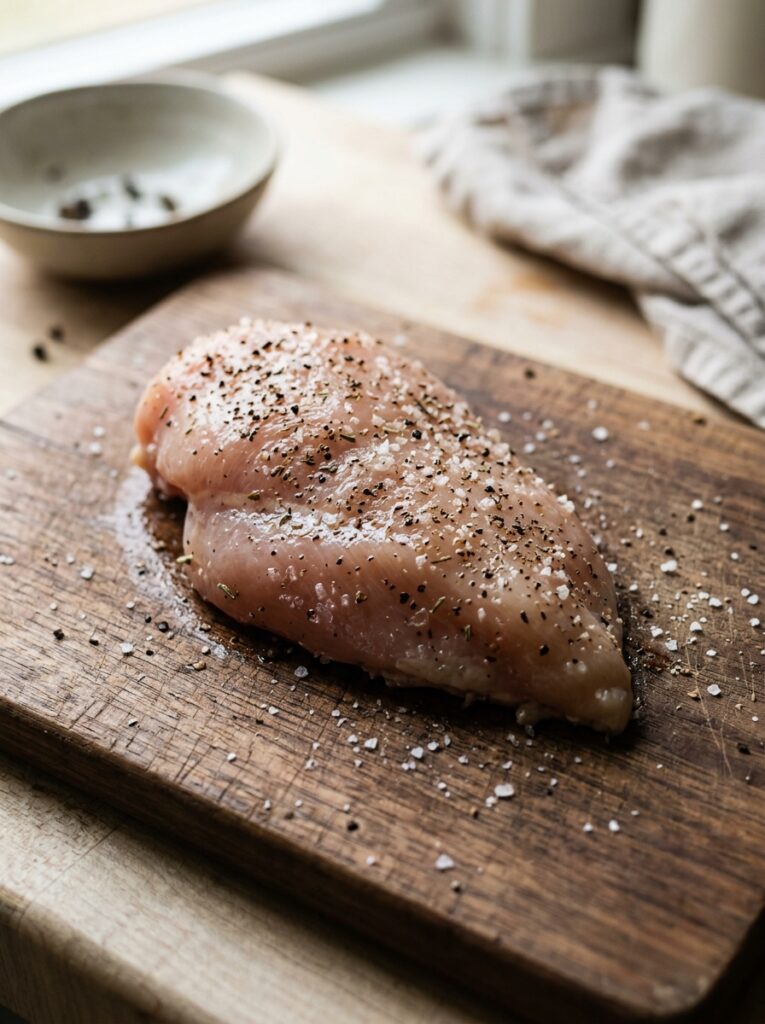
Season your chicken and then let it sit. Room temperature, uncovered, for at least 15 to 20 minutes before it hits the pan.
Two things happen here. First, the salt starts drawing out a tiny bit of moisture and then reabsorbing it, which actually seasons the meat all the way through rather than just on the surface. Second, room temperature chicken cooks faster and more evenly than cold-from-the-fridge chicken, which means less time in the pan and less chance of drying out.
I know 20 minutes feels like a lot when you’re hungry and tired and it’s already 6:30pm. It’s not, though. That’s exactly enough time to pour yourself a drink, chop whatever veg you’re serving alongside it, and set the table. The chicken doesn’t need you hovering over it. Let it do its thing.
—
4. The Spice Blend That Doesn’t Require You to Buy Ten New Things
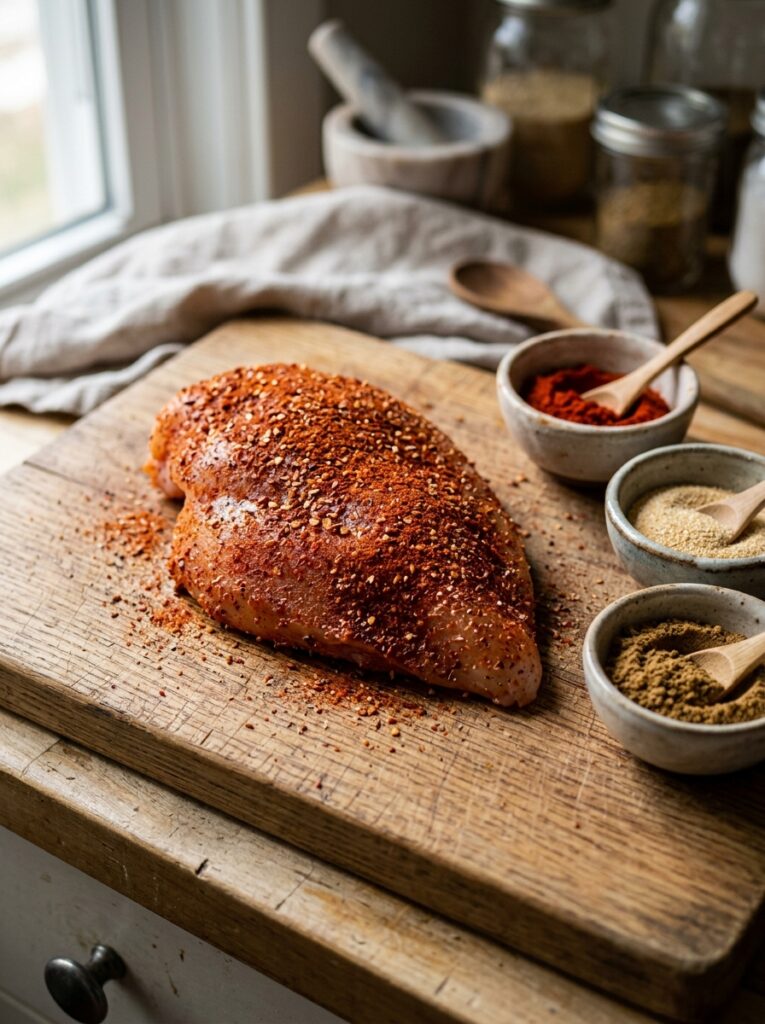
This is the blend I keep coming back to. It’s nothing revolutionary — it’s just GOOD, reliably, every time.
For two chicken breasts:
- 1 teaspoon smoked paprika
- ½ teaspoon garlic powder
- ½ teaspoon onion powder
- ¼ teaspoon cumin
- A good pinch of black pepper
- Salt (already handled in the previous step, but a small extra pinch doesn’t hurt)
- Optional: a small pinch of cayenne if you like a tiny whisper of heat
Mix it together, rub it all over the chicken — top, bottom, edges — and press it in gently so it actually sticks. This is where the flavor lives. Don’t be shy about it.
You could also go a completely different direction with dried herbs — thyme, oregano, a little rosemary, some lemon zest — if you’re feeling more Mediterranean about the whole situation.
—
5. The Pan Setup That Makes or Breaks Everything
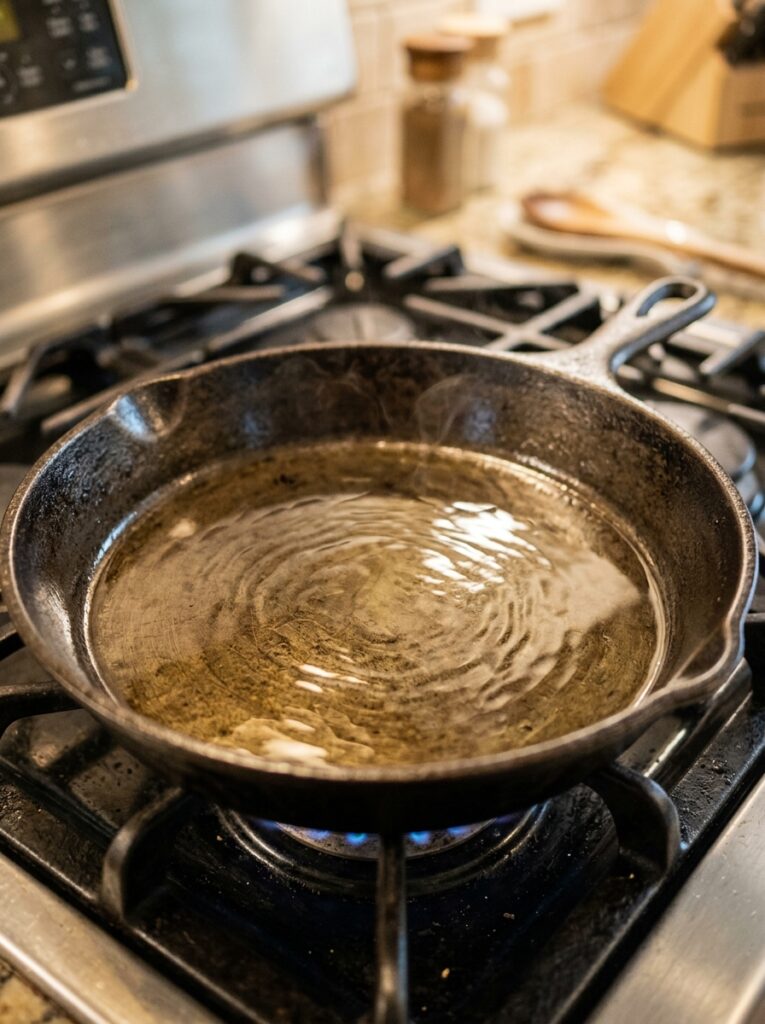
A cast iron skillet or a heavy-bottomed stainless pan. That’s what you want. Not a non-stick pan. Non-stick doesn’t get hot enough to create a proper sear and it tends to steam the chicken rather than brown it, which gives you that pale, soft exterior that tastes kind of sad.
Get the pan HOT before the oil goes in. THEN add the oil — a neutral one with a high smoke point, like vegetable, sunflower, or avocado oil. Give the oil 30 seconds to heat up. You’ll know it’s ready when it shimmers slightly and moves like water in the pan.
Then. Put. The chicken. Down.
And don’t touch it. This is the part where people ruin it. They move it, they press it, they pick up a corner to check if it’s browning every 45 seconds. Leave it alone. It will release naturally when it’s ready to be flipped. If you’re yanking at it, it’s not ready.
“If you’re yanking the chicken up to check on it, that’s the pan telling you something. It’s not ready. Walk away. Come back in 60 seconds.”
—
6. Timing That Actually Works (Not the Advice That’s Always Wrong)
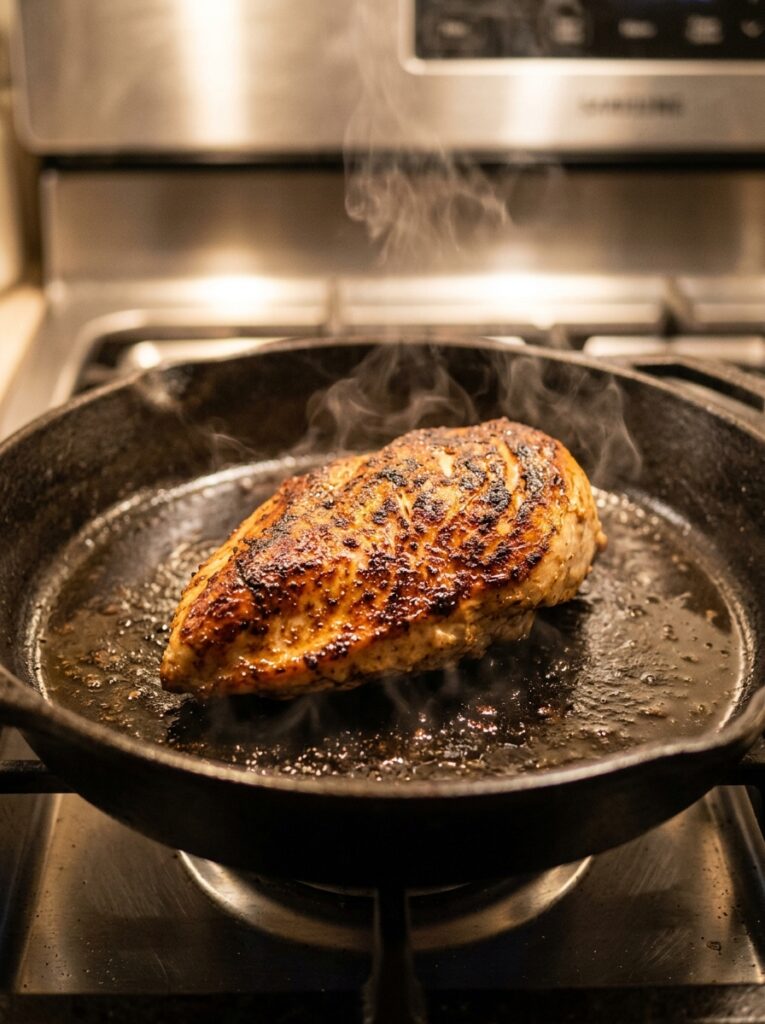
Medium-high heat. Four to five minutes on the first side for an evenly pounded breast. Then flip once — just once — and another three to four minutes on the second side.
Total cook time: seven to nine minutes. That’s it.
The chicken is done when it’s firm to the touch but not rigid, and the juices run clear when you cut into the thickest part. If you do have a meat thermometer kicking around, you’re looking for 165°F (74°C) in the center.
And here’s the part that most recipes forget to mention: REST IT. Two minutes on a plate, loosely tented with a bit of foil. The juices redistribute. The chicken finishes cooking from residual heat. You’ll get a noticeably juicier result than if you cut into it the second it comes off the heat. Two minutes, I promise, is not a long time.
—
7. The Pan Sauce That Takes Four Minutes and Makes You Look Ridiculous Talented
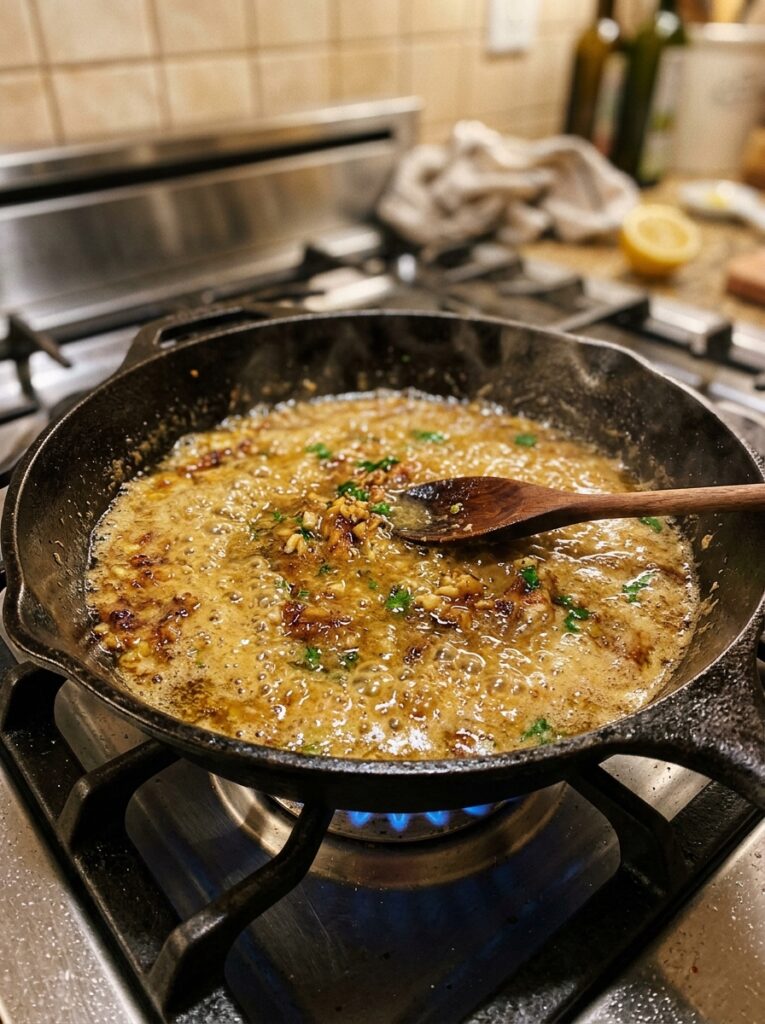
Don’t wash that pan. Don’t even think about it.
With the heat still on medium, toss in a small knob of butter. Let it melt and start to foam, then add two cloves of minced garlic and cook for about 30 seconds — just until fragrant, not browned. Pour in a splash of chicken stock (about ¼ cup) and a small squeeze of lemon juice. Scrape up all those sticky golden bits from the bottom of the pan with a wooden spoon or spatula, because that’s where ALL the flavor is.
Let it bubble for two minutes until it reduces and thickens slightly. A few fresh thyme leaves if you have them. A crack of black pepper. Done.
Pour it over the chicken. Watch your dining companions’ faces. Smile quietly.
—
8. Slicing It Right (Which Is a Real Thing)
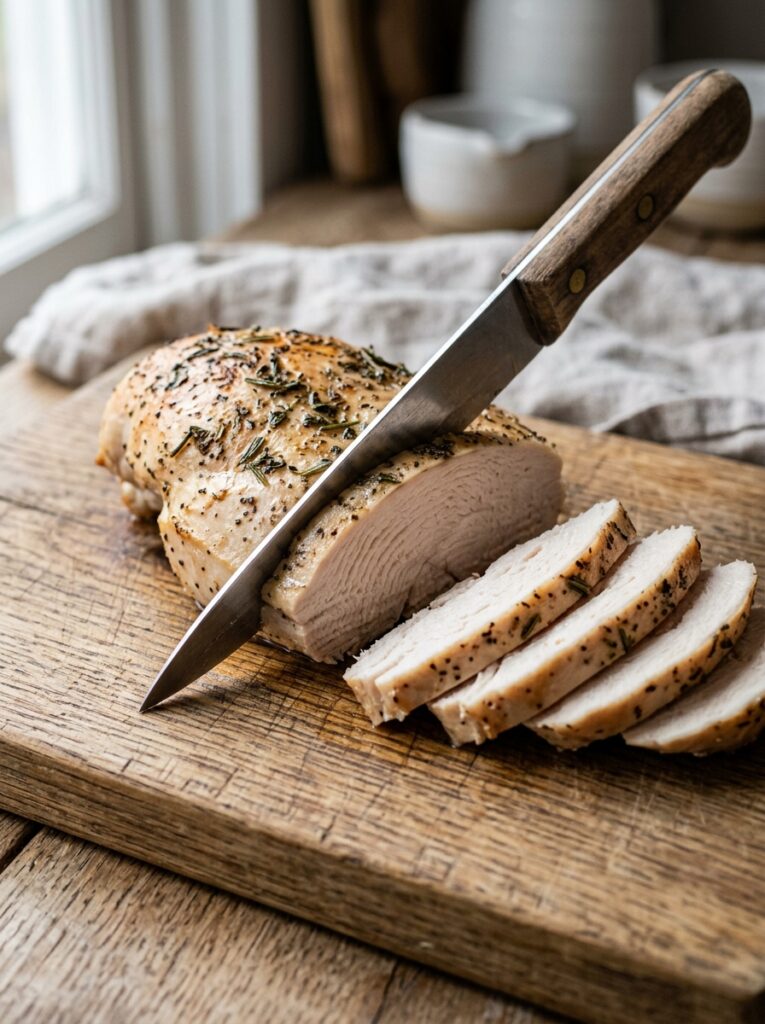
Always slice chicken breast against the grain. Look at the muscle fibers running through the meat and then cut ACROSS them, not parallel to them.
Cutting along the grain = long, tough, chewy strands. Cutting against the grain = short fibers that feel tender in your mouth. Same chicken, same cook, completely different texture just based on which direction your knife goes.
Diagonal slices, about half an inch thick, fanned out on the plate. That’s all. It just looks better too, sort of automatically.
—
9. What to Actually Serve This With (So It’s a Proper Meal)
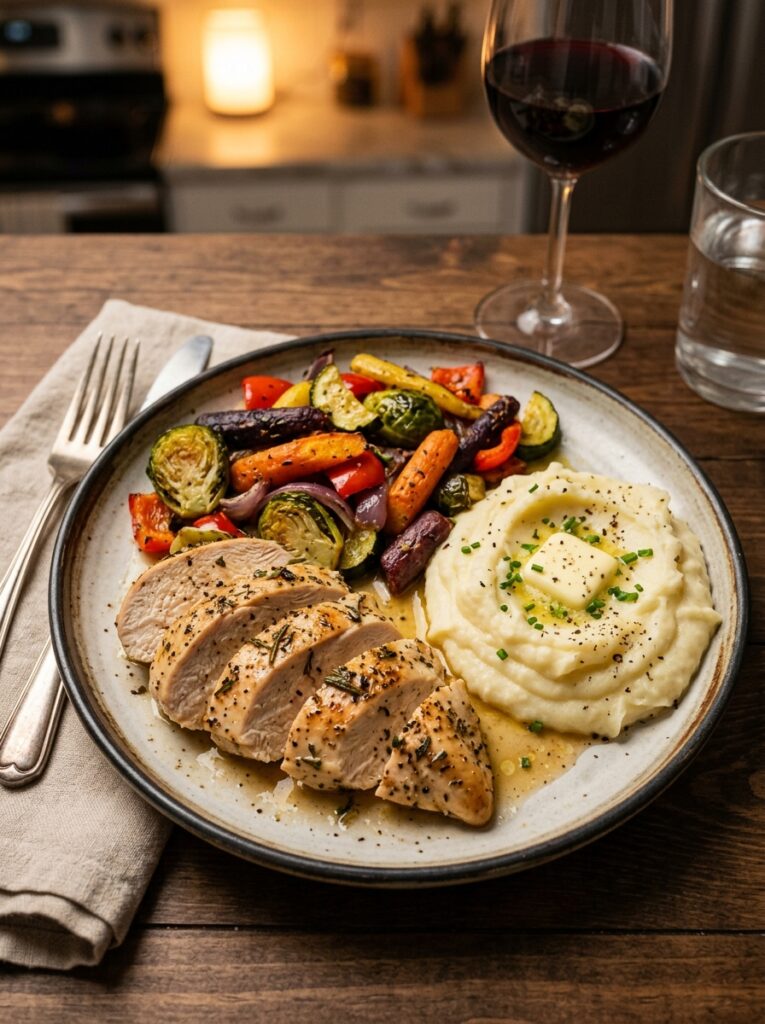
Okay so this is where the recipe opens up and gets fun, because this chicken goes with basically everything.
Roasted veg is probably the lowest-effort option — whatever’s in your fridge, cut into chunks, tossed with oil and salt at 400°F (200°C) for 25 minutes while the chicken rests and you make the pan sauce. Courgettes, bell peppers, red onion, cherry tomatoes — all work.
Creamy mashed potatoes if you want something deeply comforting. Rice if you want something a bit lighter and want to pour the pan sauce more generously. A simple green salad with a sharp vinaigrette if you’re going full weeknight-healthy-adult mode.
Or honestly — slice it thin, pile it into a warm flatbread with some Greek yogurt, cucumber, and a few leaves of whatever fresh herb you have — and call it a wrap. This is the version I make when I want dinner to feel a little less like dinner and a bit more like something I grabbed from a great food stall.
—
10. The Oven Method, For When You’re Cooking More Than Two
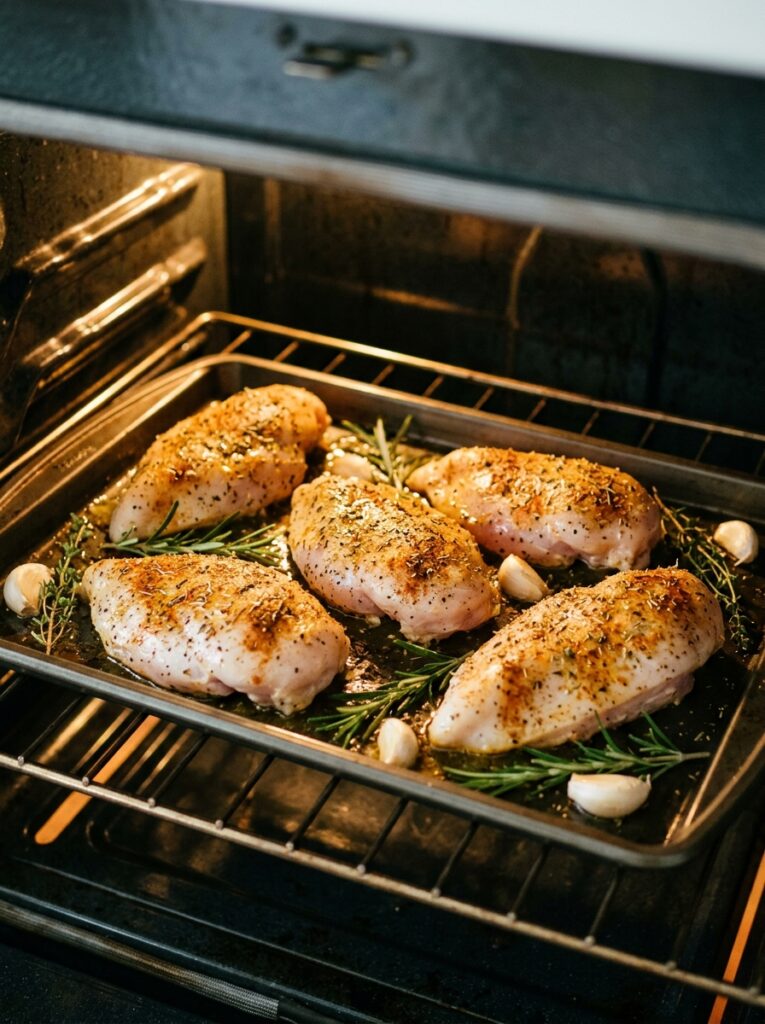
If you’re cooking for a family or batch-cooking for the week, the stovetop method gets fiddly fast. This is when the oven is your friend.
Preheat to 425°F (220°C). Season your chicken with the same spice blend, lay them in a baking dish or on a rimmed tray, and drizzle with a bit of oil. Cook for 20 to 23 minutes, depending on the size of the breasts. Let them rest exactly as before.
Same result, less babysitting. You can get other things done while it’s in there, which is kind of the whole point on a busy weeknight.
“425°F and 22 minutes is the number I’ve come back to over and over again. It works almost every time, for almost every size of breast I’ve cooked.”
—
11. How to Meal Prep This So Future You Is Thrilled
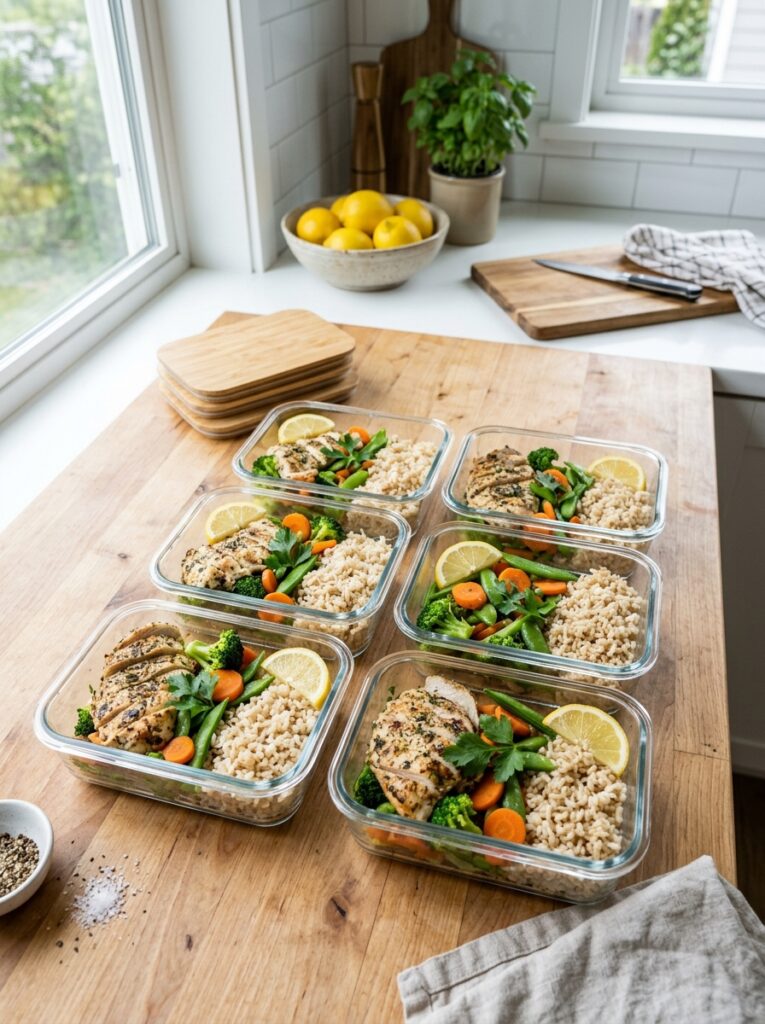
Cook a double or triple batch on Sunday. Let it cool, then slice or shred it and keep it in an airtight container in the fridge for up to four days.
From there, it goes into salads, pasta, grain bowls, stuffed into jacket potatoes, stirred through a quick weeknight soup, tossed with a bit of pesto and some pasta — you get it. Cooked chicken in the fridge is one of those small life improvements that feels wildly underrated until you have it and suddenly dinner goes from a production to just a thing you do.
The oven method works especially well for batch cooking because you’re not standing over a stovetop managing six pieces at once. You just set it, go fold some laundry, and come back to a week’s worth of protein.
—
12. The Version I Make When I Actually Want to Impress Someone
Okay. Last one.
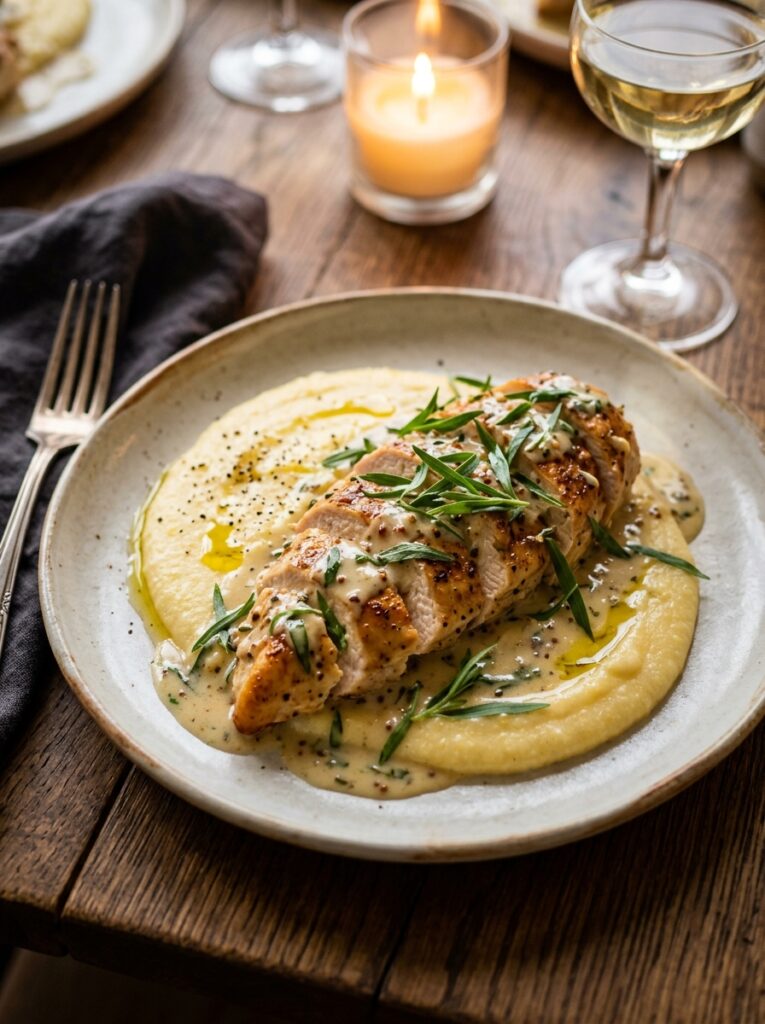
Take everything above — the pounded, spiced, seared chicken — and after you flip it, add a splash of white wine to the pan instead of stock. Let it reduce almost completely so the chicken almost glazes in it. Finish with the butter, a tiny bit of Dijon mustard whisked in, and fresh tarragon if you can find it. Serve over something creamy — white bean mash, smooth polenta, buttered egg noodles.
This is dinner-party chicken. Not a weeknight thing necessarily, though it only takes maybe fifteen minutes start to finish. The mustard-tarragon combo turns the whole thing into something that genuinely tastes like you know what you’re doing. Which, at this point, you do.
—
❓ FAQ
Q: How do I stop chicken breast from drying out every single time? A: The two biggest fixes are pounding it to an even thickness before cooking and not overcooking it — which is easier than it sounds once you’re working with a properly hot pan. Resting it for two minutes after cooking also makes a real difference to juiciness.
Q: Can I marinate it instead of using a dry rub? A: Absolutely, and a quick marinade — even 30 minutes — can add loads of flavor. Olive oil, lemon juice, garlic, and herbs is a simple one that works well. Just make sure to pat the chicken dry before it goes in the pan or it’ll steam instead of sear.
Q: Can I make this recipe with chicken thighs instead? A: Honestly, yes, and some people would argue boneless skinless thighs are more forgiving. They take a bit longer — about six to seven minutes per side — and they handle higher heat well. The pan sauce works just as beautifully with them.
—
💭 Final Thoughts
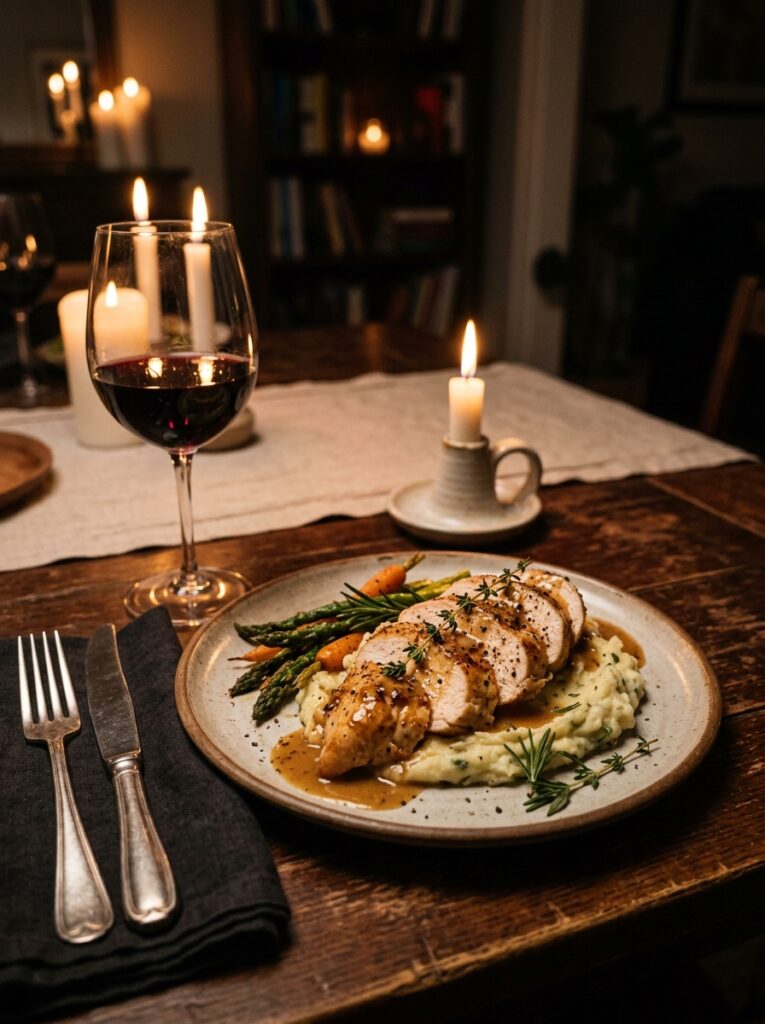
This is one of those recipes that doesn’t photograph dramatically or come with a great origin story. But it’s the one I make the most, by a lot. Because it works, it’s fast, and it turns a genuinely humble ingredient into something I’m actually happy to eat on a weekday.
Diane has since asked me for the recipe. Twice.
If you’ve always found chicken breast a bit thankless, I wonder if this might be the version that changes your mind?
