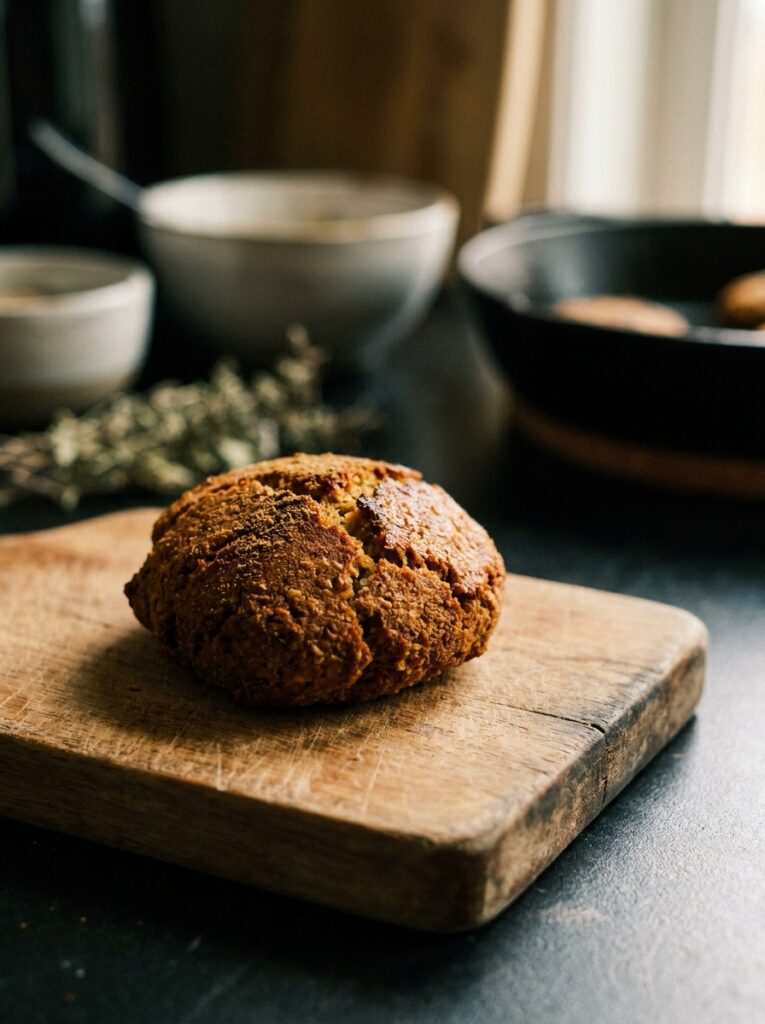
My friend Leila makes the best falafel I’ve ever had. I asked her for the recipe once and she laughed and said “I don’t really measure anything.” Cool. Super helpful. So I spent about six months figuring it out myself, and honestly? The air fryer version I landed on might actually be better than the deep-fried ones I used to order every Friday.
—
1. Why Every Falafel Recipe You’ve Tried Before Probably Went Wrong
Let’s start here because I wasted a LOT of chickpeas before I understood this one thing.
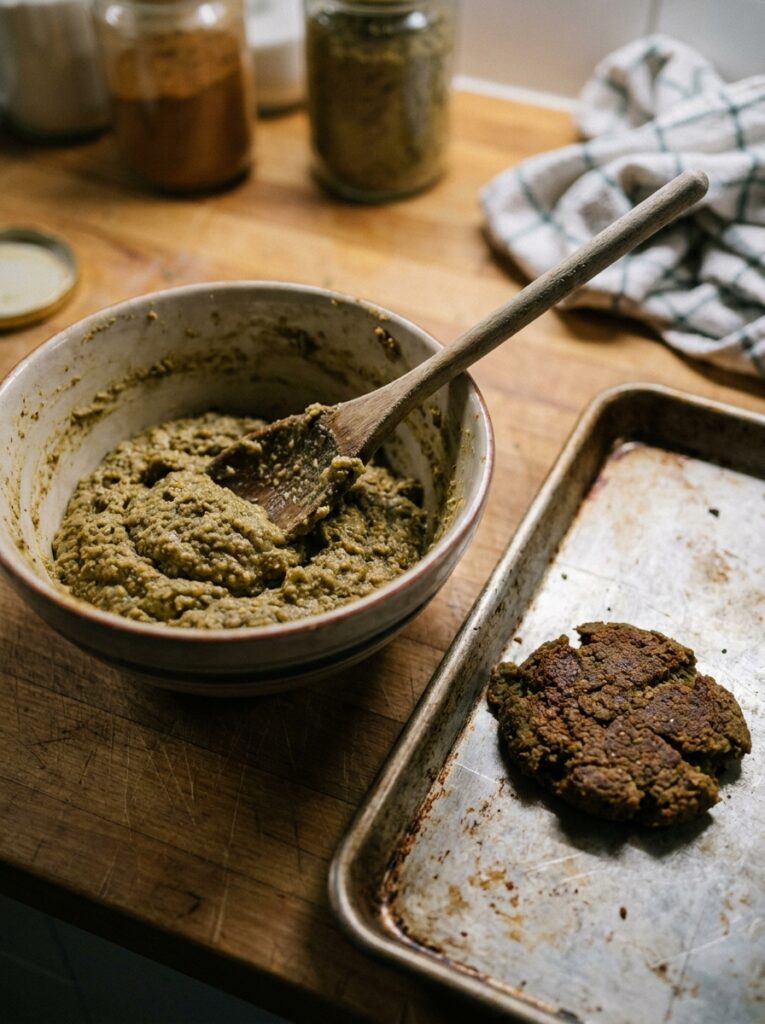
Canned chickpeas don’t work. I know. I know the recipe you found said they do. They don’t — or at least, not well. Canned chickpeas are too wet, too soft, and they turn your falafel into something that’s more like a dense little hockey puck than the crumbly, herb-flecked thing you’re dreaming of. The outside gets a kind of gummy texture instead of that shattering crunch you want.
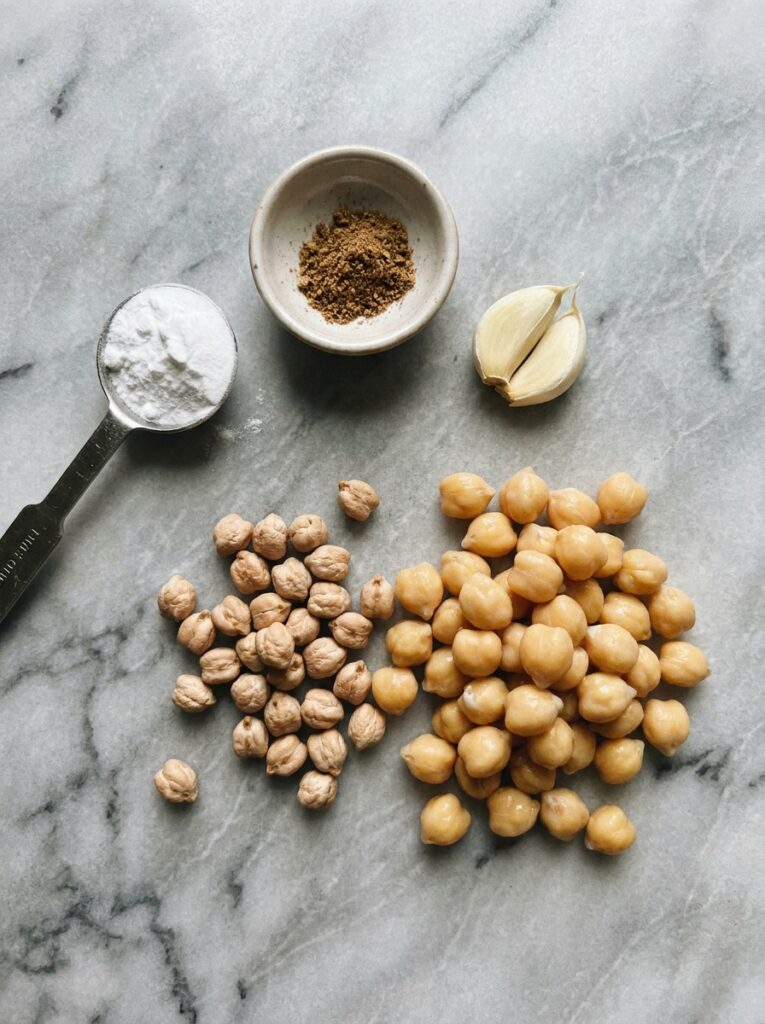
You need dried chickpeas, soaked overnight. That’s it. That’s the whole secret most recipes bury at the bottom or skip entirely.
Soak them for at least 12 hours, ideally 18. They’ll roughly double in size and feel slightly firm when you press them — not cooked, just hydrated. Don’t cook them. Raw soaked chickpeas, blended in a food processor, give you that rough, grainy texture that fries (or air-fries) into something genuinely crispy.
Start with 1½ cups of dried chickpeas and you’ll end up with enough falafel to feed 4 people generously. More than enough for a wraps night.
2. The Herbs You Actually Need (And the One You Can Leave Out)
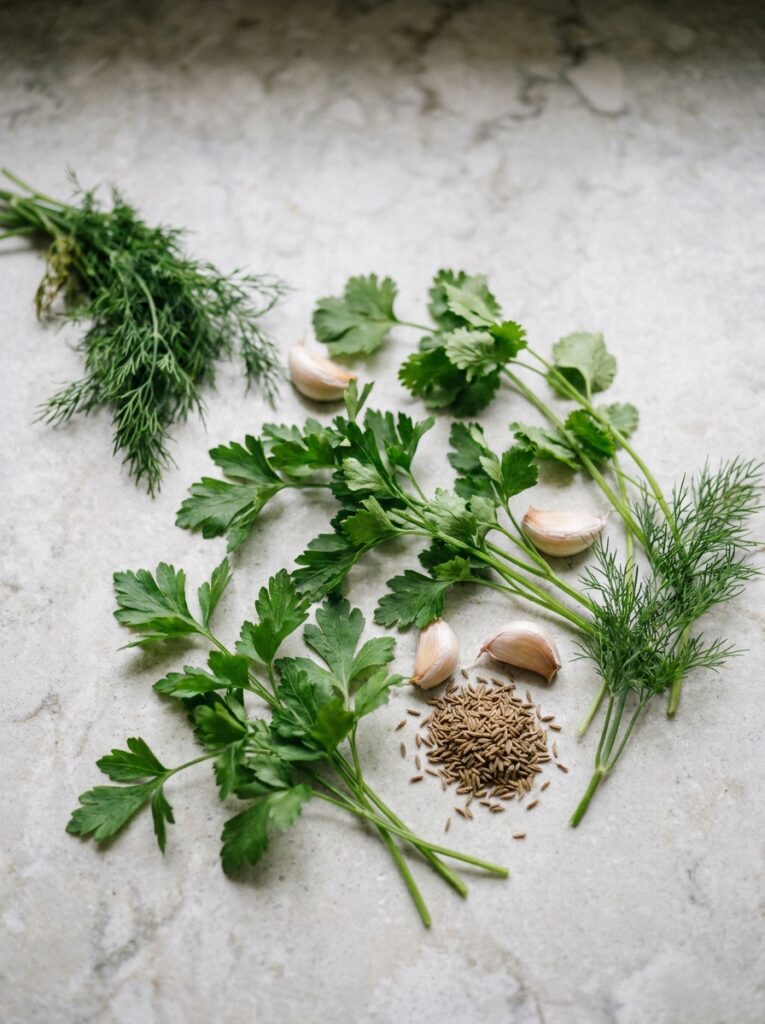
Fresh parsley. Fresh cilantro. Those are your two non-negotiables, and I’d use them in roughly equal amounts — about a cup of each, packed loosely, stems included because the stems have flavor and you’re blending everything anyway.
Now. Some people hate cilantro. I know. If that’s you, just double the parsley and add a small handful of fresh mint instead. The mint does something unexpectedly good — it adds this cool, slightly sweet note that plays really nicely against the cumin.
“The herbs aren’t garnish. They’re half the flavor. Don’t skim on them.”
Speaking of cumin — you want at least a teaspoon, maybe a teaspoon and a half. Ground coriander too, same amount. A pinch of cayenne if you like things slightly warm. And don’t skip the garlic. Three cloves minimum. Four if you’re me and you’re not going anywhere important tomorrow.
A lot of recipes also call for onion — white or yellow, roughly chopped — and I’d say yes, add it, but use it sparingly. About a quarter of a medium onion. Too much and it makes the mixture too wet, which circles us right back to the hockey puck problem.
3. How to Get the Texture Right in the Food Processor
This part stresses people out more than it should.
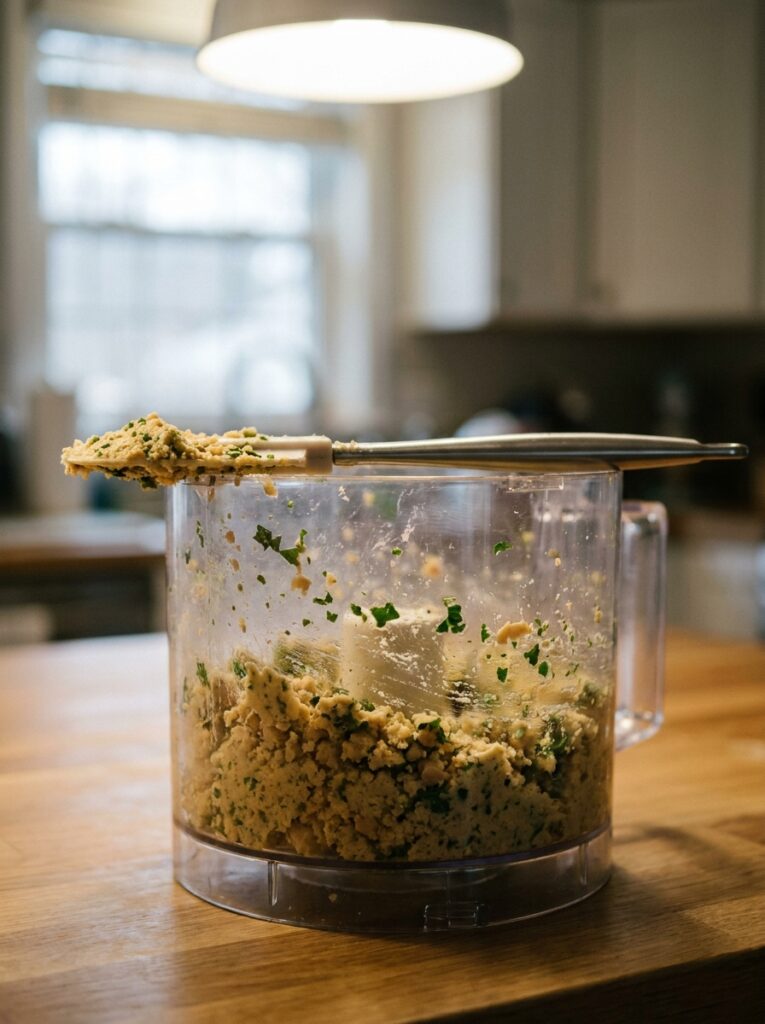
You’re not making hummus. You don’t want a smooth paste. What you’re looking for is a mixture that’s roughly the texture of wet sand — coarse, a little crumbly, sticking together when you press it but not wet or sticky to the touch.
Pulse. Don’t blend continuously. Pulse in short bursts, scrape down the sides, pulse again. You’re probably looking at 30-40 pulses total, stopping to check as you go. The chickpeas should still have some texture, some little bits that aren’t completely broken down.
If you accidentally over-process (it happens), you can sometimes save it by mixing in a tablespoon or two of breadcrumbs — plain, fine ones. It helps absorb moisture and gives back some structure. Not ideal but not a disaster.
Once the texture looks right, taste the mixture. This is the moment to fix the seasoning. Add more salt, more cumin, more lemon juice if it needs it. The mixture won’t taste exactly the same after cooking but it gives you a good baseline.
4. The Resting Step Most People Skip (Don’t Skip It)
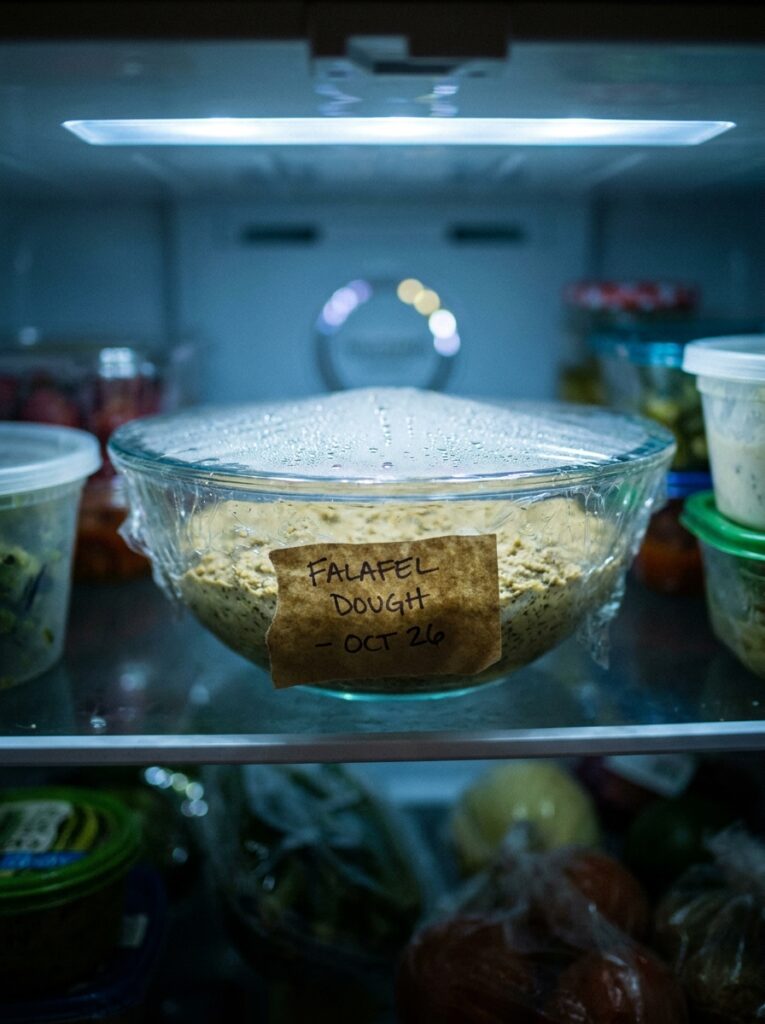
Put the mixture in a bowl, cover it, and refrigerate for at least an hour. Two hours is better. Overnight is honestly great.
Cold mixture holds its shape when you form it. Warm or room-temperature mixture tends to fall apart when you try to press it into balls, and then you end up frustrated, pressing things back together, and they STILL crumble when they hit the air fryer basket. I’ve been there. It’s demoralizing.
The cold also lets the flavors meld, which sounds like something a food magazine would say but is genuinely true here. The garlic and herbs sort of… settle into each other? Anyway. Refrigerate the mixture. Do not skip this.
5. Forming Them: The Shape Debate (I Have Opinions)
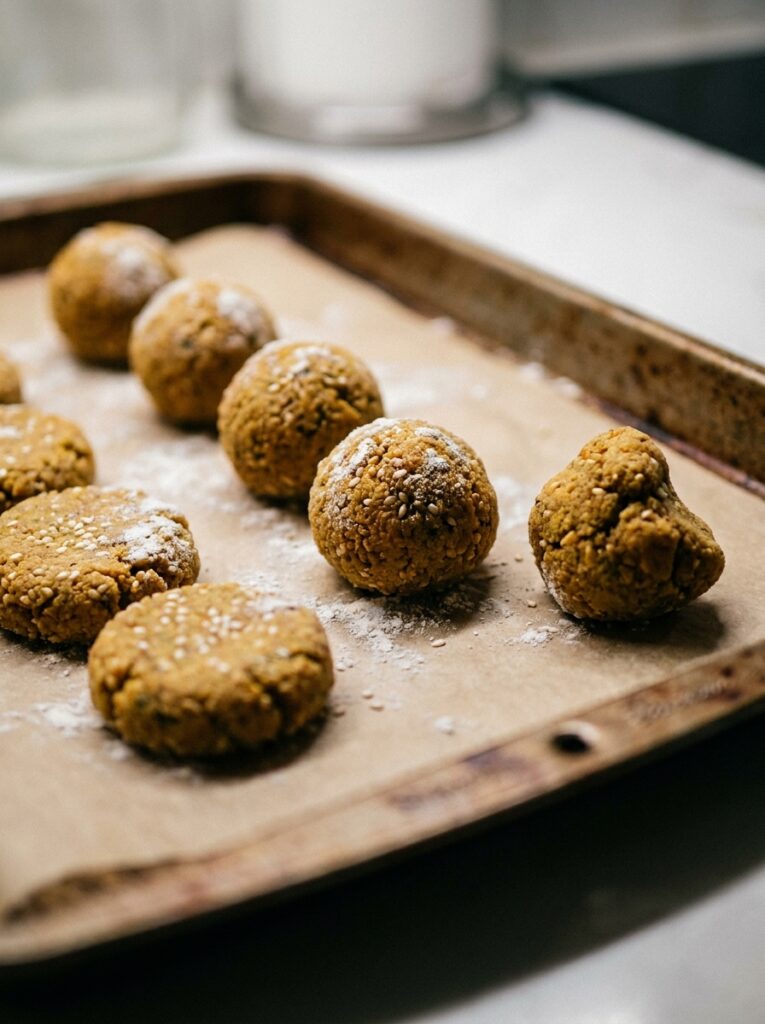
Balls or discs. That’s the falafel shape debate and people have surprisingly strong feelings.
Here’s my take: for the air fryer, discs win. Slightly flattened patties, about an inch thick and two inches across, give you more surface area in contact with the hot air. More surface area means more crunch. The interior still stays soft and fluffy, but you get that golden crust on both the top and bottom instead of just a thin band around a ball.
That said, if you want the classic look — the round shape you get from a proper falafel scoop — you can absolutely do balls. Just know they won’t get quite as crispy. A falafel scoop (or a small ice cream scoop) makes consistent-sized balls that cook evenly, which is genuinely useful.
“Discs crisp better. Balls look better on a photo. You decide what matters most to you tonight.”
Either way, wet your hands before forming each one. Slightly damp hands prevent sticking and make the whole process much faster.
6. The Oil Question — How Much Is Actually Enough
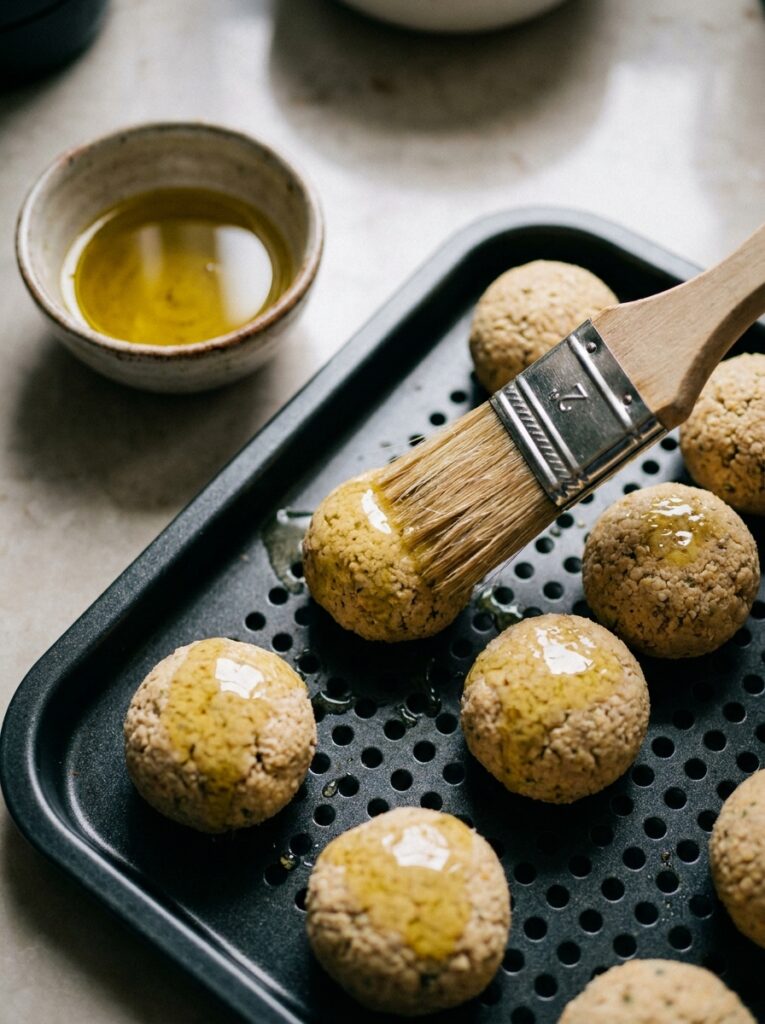
Air fryer falafel needs some oil. Not a lot, but none is too little. This is where some “healthy” versions go wrong and produce something that’s technically cooked but tastes like cardboard.
I spray mine with a light coating of neutral oil — a good few seconds of spray on each side — before they go in the basket. If you don’t have a spray bottle, brush them lightly with a pastry brush. You want just enough to help the outside brown and crisp without making them greasy.
Olive oil works fine here, but not extra virgin. The smoke point is too low for the temperatures you’re working at (around 375–380°F / 190°C). A regular olive oil, avocado oil, or sunflower oil all work well.
And please, oil the basket too, or use a piece of parchment with holes in it. Falafel sticks. This isn’t a drill.
7. Air Fryer Temperature and Timing — The Numbers That Actually Work
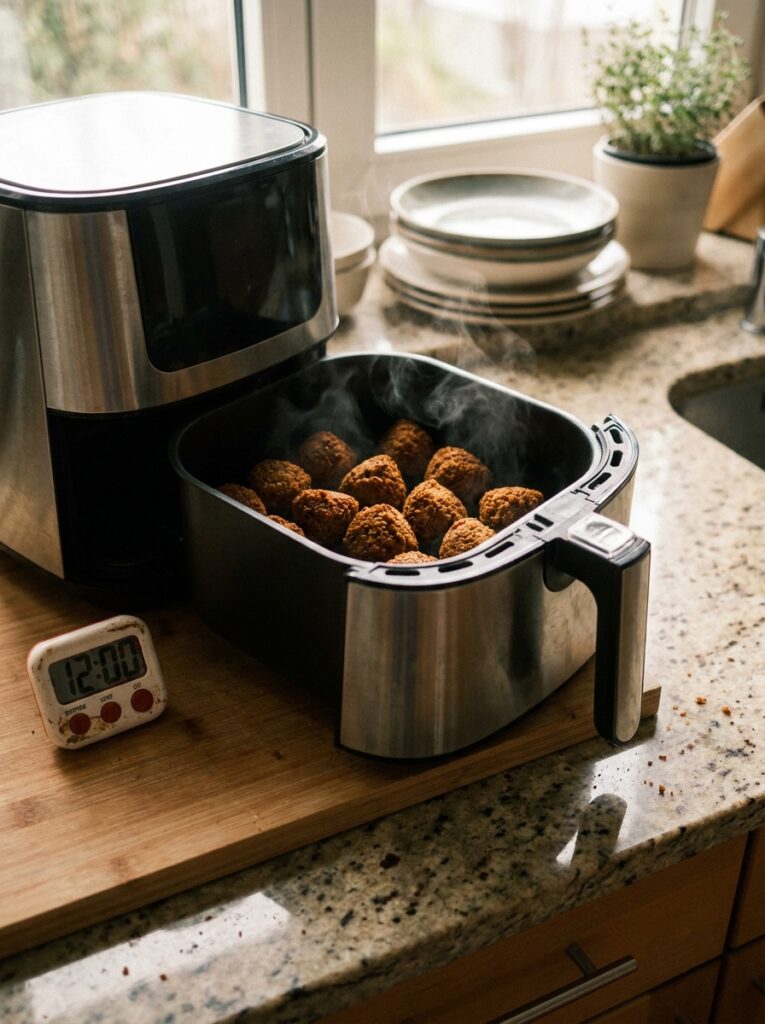
375°F (190°C). That’s the sweet spot.
Too low and they take forever and don’t really crisp. Too high and the outside burns before the inside cooks through — you end up with a dark brown crust around a grayish, undercooked center, which is genuinely sad.
Cook for 12–15 minutes total, flipping once halfway through. After you flip them, you should see a proper golden crust on the cooked side — if they look pale, nudge the temperature up slightly for the second half.
Every air fryer runs a little differently. Not gonna lie, the first batch is always slightly experimental. I always cook one or two test falafel before I do the full batch, press one open after cooking to check the interior texture, and adjust from there.
Side note — don’t overcrowd the basket. Single layer, with space between them. Air fryers work by circulating hot air and if you stack things or push them together, you just end up steaming them, which is… not what we’re going for.
8. The Tahini Sauce That Takes Seven Minutes and Makes Everything Better
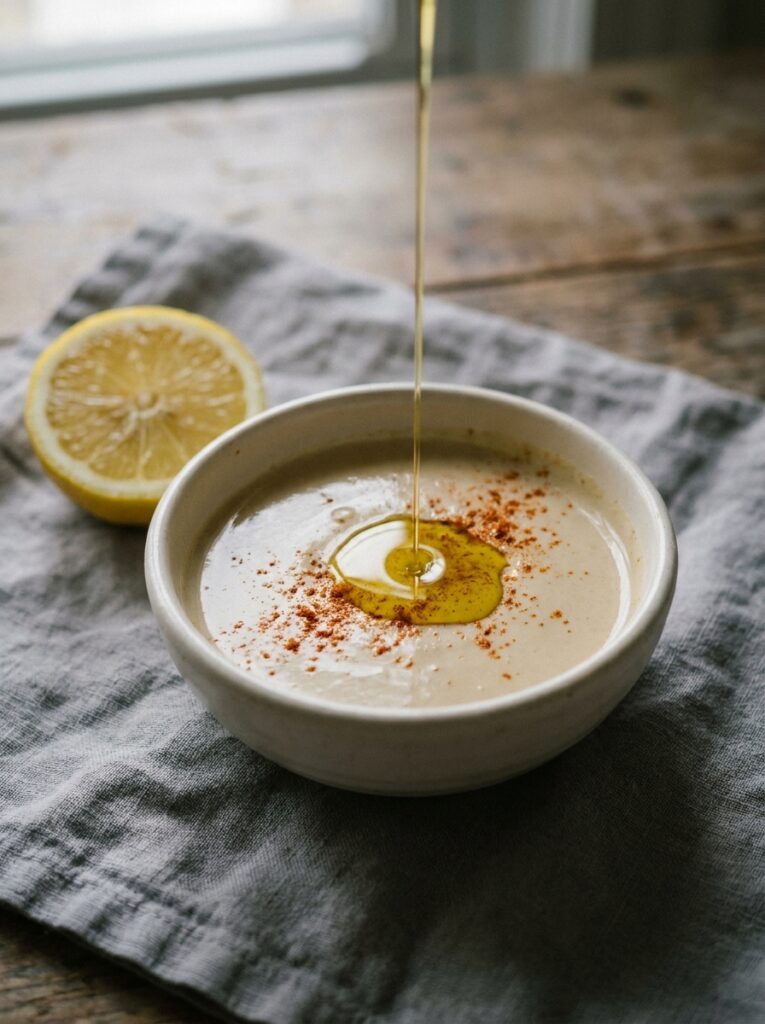
Okay so technically you could serve these with just some shop-bought hummus and call it a day. But the tahini sauce is so fast and so good that skipping it feels like a crime.
3 tablespoons of tahini. Juice of one lemon. One clove of garlic, grated or pressed. A pinch of salt. A pinch of cumin. Then water, added slowly, one tablespoon at a time, whisking constantly, until it reaches the consistency of thin cream.
It’ll seize up and get thick when you first add the lemon juice — that’s normal, keep whisking. It loosens out once the water goes in.
Some people add a pinch of cayenne, some add a drop of honey, I’ve added both at different times. Whatever you feel like. It’s one of those sauces that’s genuinely hard to mess up.
“Thin it more than you think. It thickens as it sits, and you want it pourable, not spreadable.”
9. What to Actually Eat These With (Beyond the Obvious Wrap)
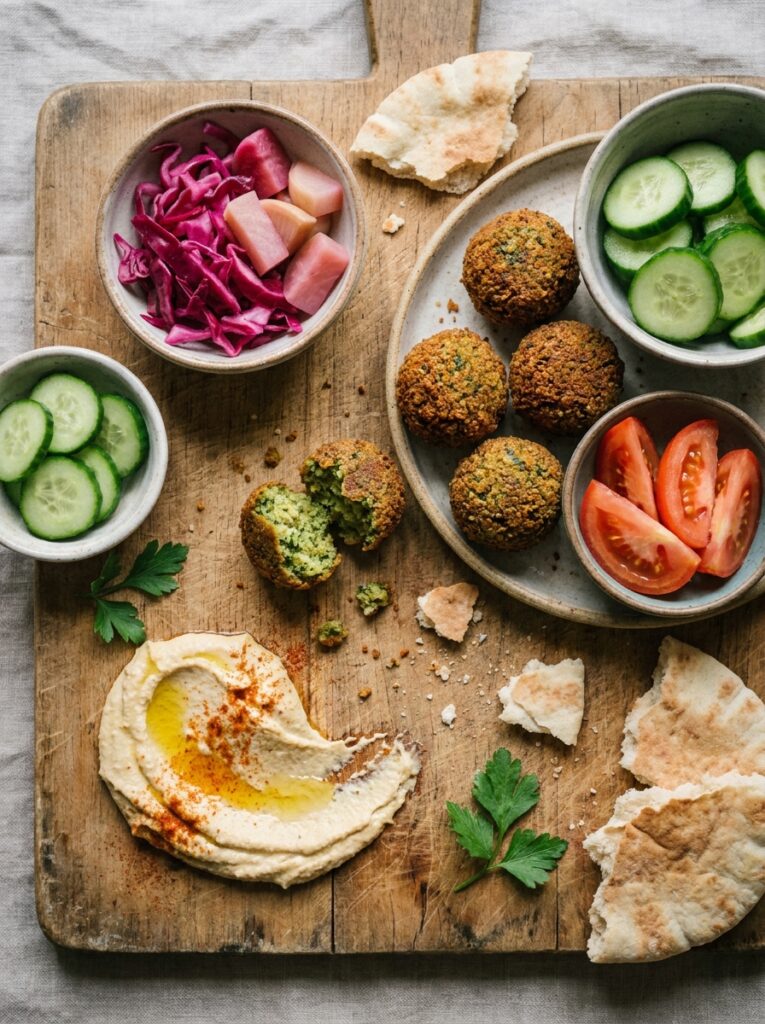
The wrap is the classic for a reason. Warm flatbread, a swipe of hummus, three or four falafel, pickled red onions, sliced cucumber, a drizzle of tahini sauce. Done. That’s the whole meal and it’s perfect.
But the falafel wrap is also kind of… everywhere? So here are a few things I’ve been doing with them that feel slightly less expected.
On top of a grain bowl — farro or freekeh, roasted veg, lots of herbs, the tahini sauce again. Really satisfying, genuinely filling, great for packed lunches because it doesn’t get soggy.
Smashed into a flatbread with fried eggs for breakfast. This sounds weird. It’s not. Especially with some hot sauce.
Crumbled over a salad instead of croutons. The texture is actually perfect for this — they add crunch and protein and they soak up dressing really well.
And honestly, just eaten standing at the counter while they’re still warm, dipped directly into the tahini sauce. That’s the real answer.
10. Making a Big Batch Without Losing Your Mind
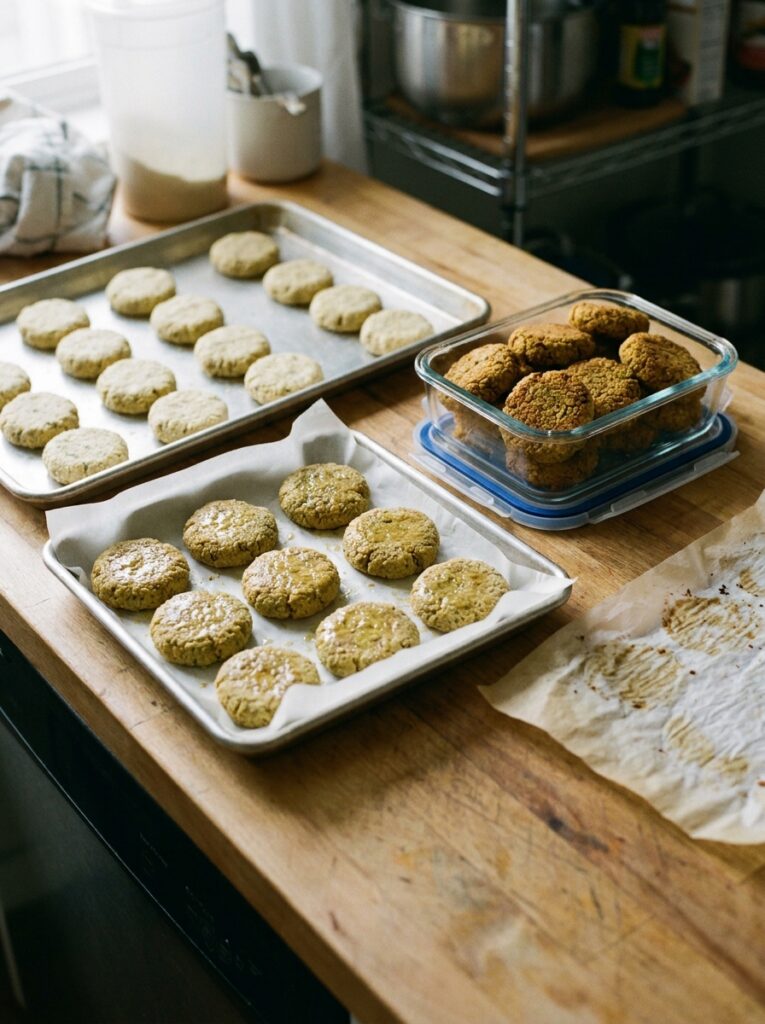
Falafel freezes really well and I feel like not enough people know this. You can freeze the RAW formed patties, before air frying, on a tray until solid and then transfer them to a bag. When you want them, go straight from frozen to air fryer — no thawing needed, just add 4-5 minutes to the cooking time.
You can also freeze them after cooking. They reheat really well in the air fryer at 350°F (175°C) for about 5 minutes.
If you’re meal prepping for the week, make a double batch of the mixture and keep half in the fridge, unformed. It stays good for 3-4 days and you can fry fresh ones each night in about 15 minutes. The fresh-cooked ones are noticeably better than reheated, so if you have the option, go that route.
11. The Texture Troubleshooting Guide (Because Something Will Go Wrong the First Time)
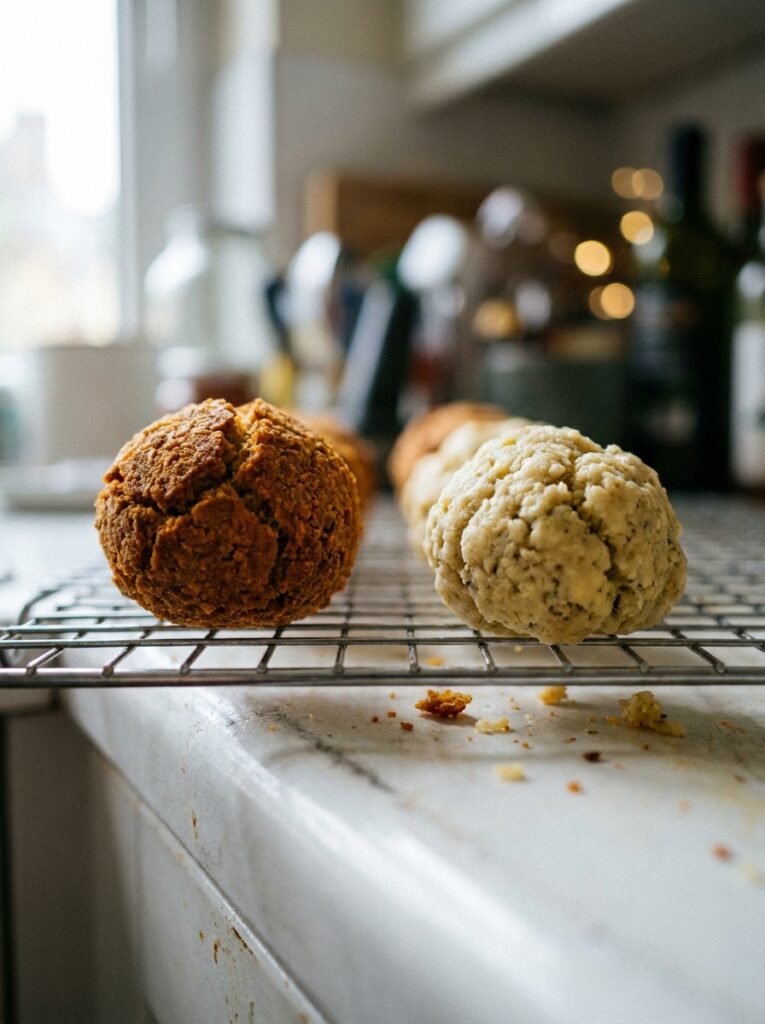
They fell apart in the basket: mixture was probably too wet, or you didn’t refrigerate long enough. Add a tablespoon of flour or fine breadcrumbs to the mixture next time.
They’re crispy outside but gummy inside: the air fryer was too hot, or they were too big. Make them slightly smaller and lower the temperature by 10-15 degrees.
They’re dry and crumbly all the way through: over-processed mixture, or cooked too long. Pull them earlier and don’t blend as much.
They taste bland: you didn’t season the mixture enough, or you forgot the salt. The fix is tahini sauce, honestly. Also, more cumin. Always more cumin.
They stuck to the basket and came out in pieces: oil the basket. And maybe use parchment liners with holes punched through.
None of this is catastrophic. The broken pieces still taste good. Crumbled falafel over a salad, remember? See section 9.
12. The Small Details That Actually Change the Result
A few things I figured out the annoying way:
Don’t add flour to the mixture if you don’t need to. Some recipes include it as a binder but if your mixture has the right texture, it just dilutes the flavor.
Fresh lemon zest in the mixture — not just juice — adds something bright that you’ll notice even if you can’t identify it.
If your food processor is small, process the chickpeas in batches. Overloading it makes the texture uneven — some bits get over-processed while others are still too coarse.
And the last thing: don’t open the air fryer to check on them every two minutes. I know. It’s tempting. But every time you open it, you let heat out and slow the crisping down. Set a timer. Walk away. Come back at the flip.
That amber color, that slight crackle when you pick one up — it’s worth the six minutes of not peeking.
—
❓ FAQ
Q: Can I really not use canned chickpeas? I don’t have time to soak dried ones. A: You can use canned in a pinch, but you’ll need to dry them really thoroughly first — spread them on a paper towel, pat them dry, and even leave them uncovered in the fridge for an hour before blending. They still won’t be as crispy as dried and soaked, but they’ll be passable. The texture will be denser and softer inside.
Q: My air fryer only goes to 400°F — is 375°F an option? A: Most air fryers do let you set 375°F exactly, but if yours jumps in larger increments, just use 370°F or 380°F — either will work. The key thing is not to go above 390°F for falafel or you risk the outside burning before the inside is cooked through.
Q: How far ahead can I make the falafel mixture? A: Up to 3 days in the fridge, covered tightly. In fact, a day or two of resting in the fridge genuinely improves the flavor. If it’s been sitting longer than 3 days it might start to smell slightly fermented from the herbs — still technically okay but a bit weird. Better to form and freeze them if you’re not planning to cook within a few days.
—
💭 Final Thoughts
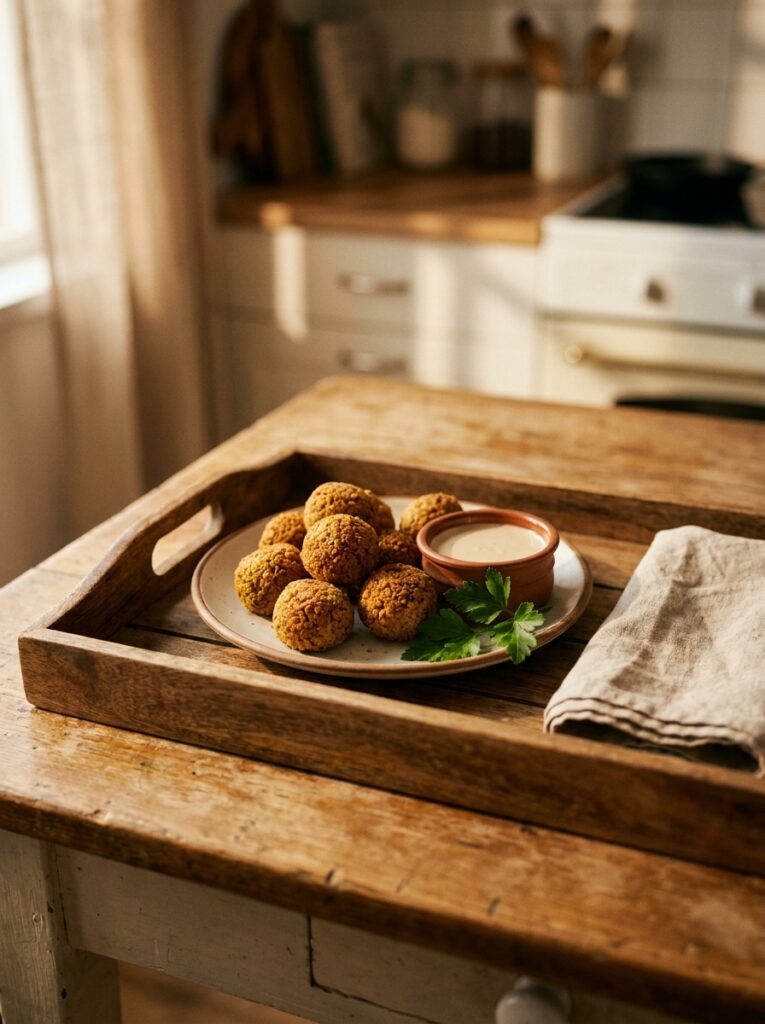
There’s something weirdly satisfying about falafel you made yourself. Maybe it’s because they look kind of impressive — these perfectly golden little discs, that first crack when you bite through the crust — and yet the actual process is just soaking beans and blending herbs. Not complicated. Just patient.
The air fryer version really does get crispy. Not deep-fry crispy, but honestly close enough that I stopped caring about the difference around batch three.
Have you ever made something at home and then slightly ruined every restaurant version for yourself?
