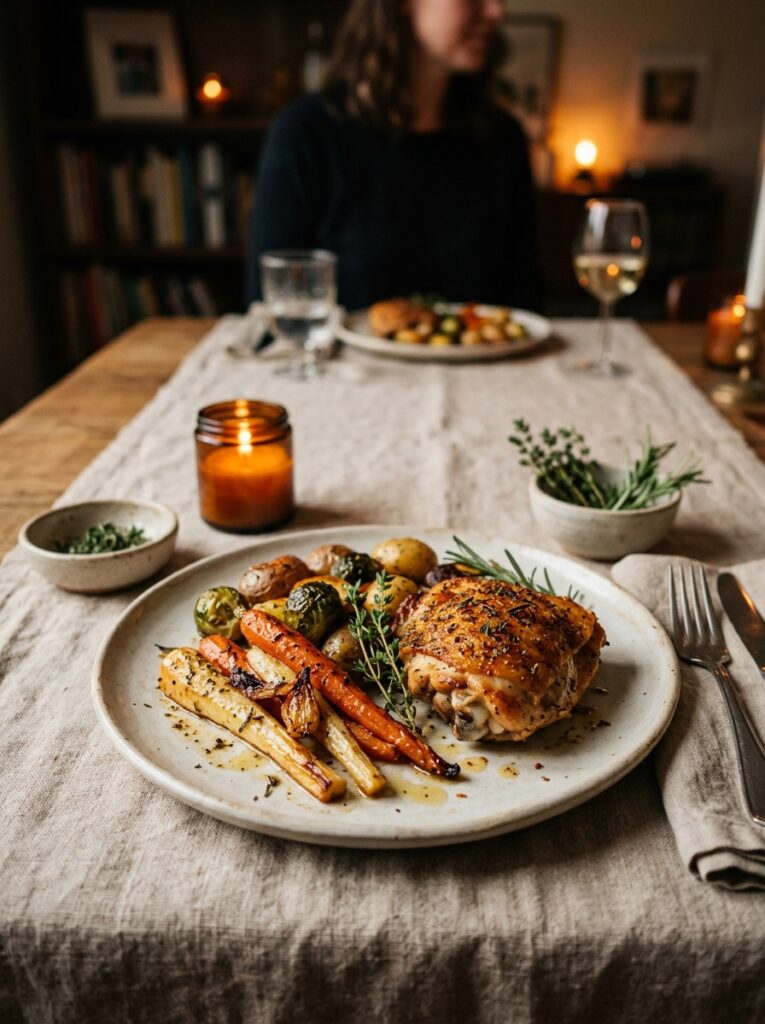
My friend Sara texted me last Tuesday: “why are my chicken thighs always just… fine.” Not bad. Not dry. Just aggressively, depressingly fine. And honestly? I knew exactly what she meant, because I spent about three years in that same beige zone before I figured out what was actually going wrong.
Turns out chicken thighs are one of those things where a few tiny decisions completely change the outcome. And once you know them, you can’t unknow them.
—
1. The Cut That Wins Every Time (and Why Boneless Isn’t Always Better)
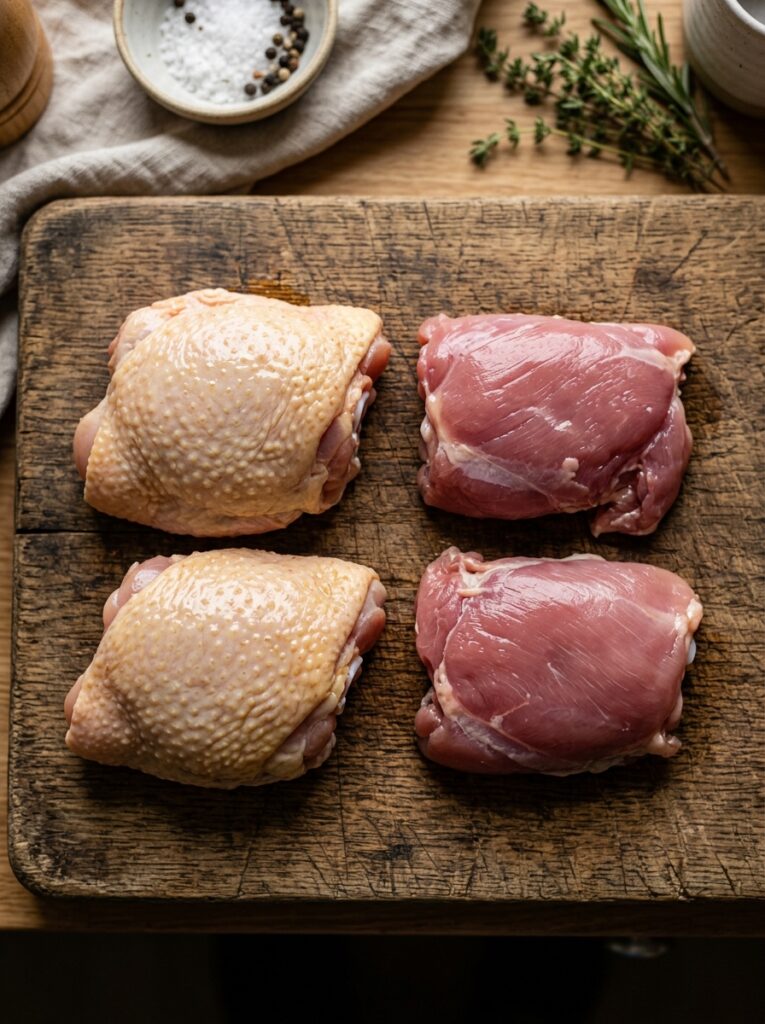
Bone-in, skin-on. I’ll die on this hill.
I know boneless thighs are faster and tidier and whatever, but bone-in thighs in the oven are just categorically more flavorful. The bone conducts heat from the inside while the oven heat works from the outside, so you get this even, juicy cook that boneless thighs just can’t replicate. And the skin — don’t get me started on the skin. When it’s done right, it crackles. It literally crackles when you bite it. Like the best kind of crackling you’ve ever had.
That said, boneless thighs have their place. They’re great for weeknights when you need dinner done fast, and they’re actually ideal if you’re doing a saucy braise-style recipe where the skin’s going to go soft anyway. So it’s not that one is always wrong, it’s just that bone-in is the move when you want the drama.
“Bone-in thighs cook from the inside out, and that’s exactly why they’re better. It’s not magic — it’s just physics.”
—
2. Pat Them Dry Like You Actually Mean It
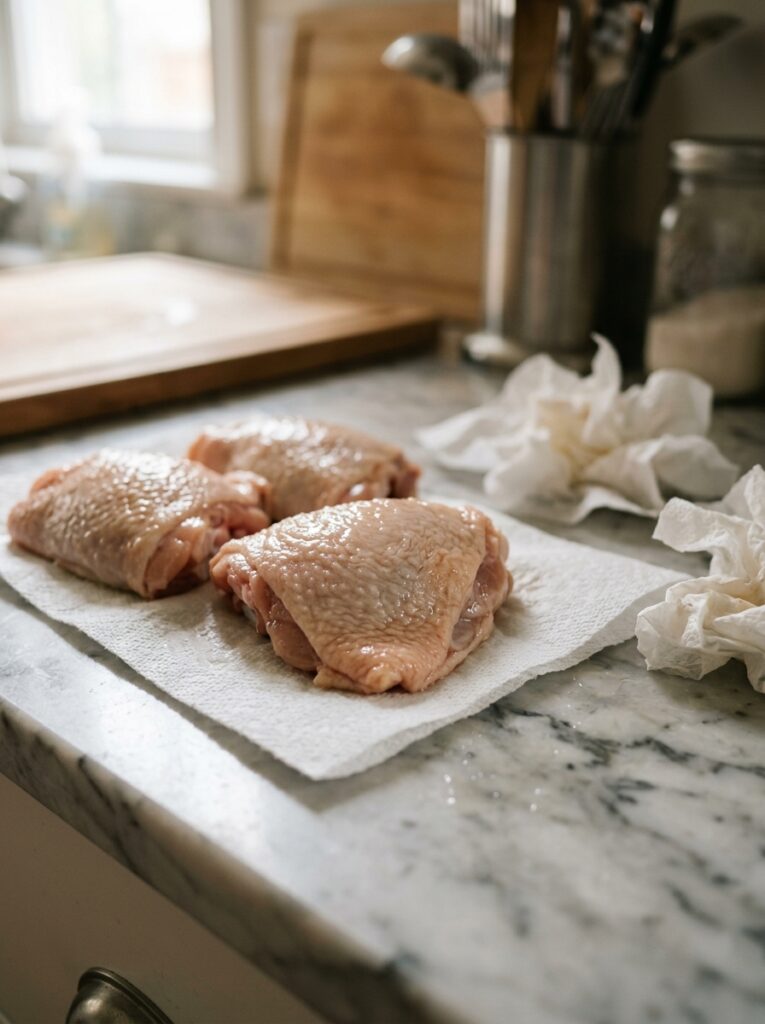
This is the step everyone skips. Don’t.
Moisture is the enemy of a crispy skin. Raw chicken thighs come out of the package with surface moisture on them, and if you season them and immediately throw them in the oven, that moisture steams before it evaporates. You end up with pale, slightly rubbery skin instead of the golden-brown shatteringly crispy situation you were going for.
Paper towels. Lots of them. Pat every surface, including underneath the skin if you can loosen it. And if you have time? Season them and leave them uncovered in the fridge for an hour, or even overnight. The fridge air dries them out even more. It sounds fussy but it takes about 30 seconds of actual effort.
—
3. Salt Earlier Than You Think You Should
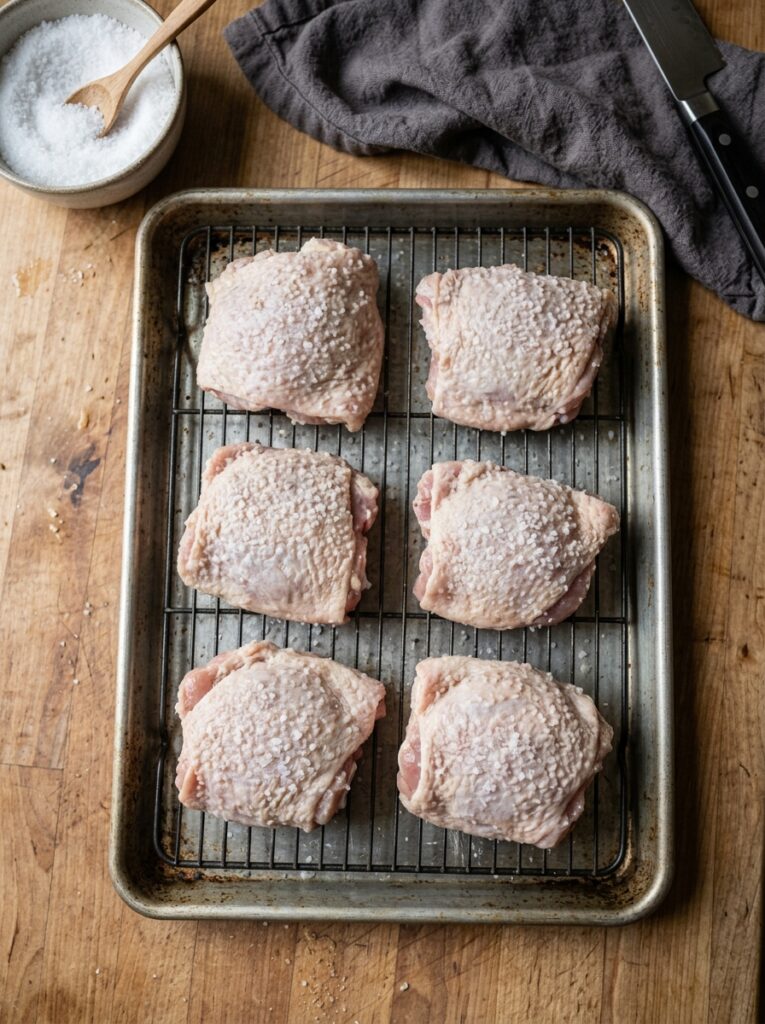
Salt needs time to work. That’s basically the whole point.
When you salt chicken (or anything, really) and then immediately cook it, the salt sits on the surface. But when you give it 30 minutes or more — or ideally that overnight rest I mentioned — it draws out a tiny bit of moisture, then gets reabsorbed back in, taking flavor with it deep into the meat. It’s not just seasoned on the outside. It’s seasoned all the way through.
I use about ¾ teaspoon of kosher salt per pound of chicken. Some people are more aggressive than that. Depends on your palate. But under-salted chicken thighs are one of the saddest food experiences there is, so err on the side of confidence.
—
4. The Temperature Nobody Tells You About
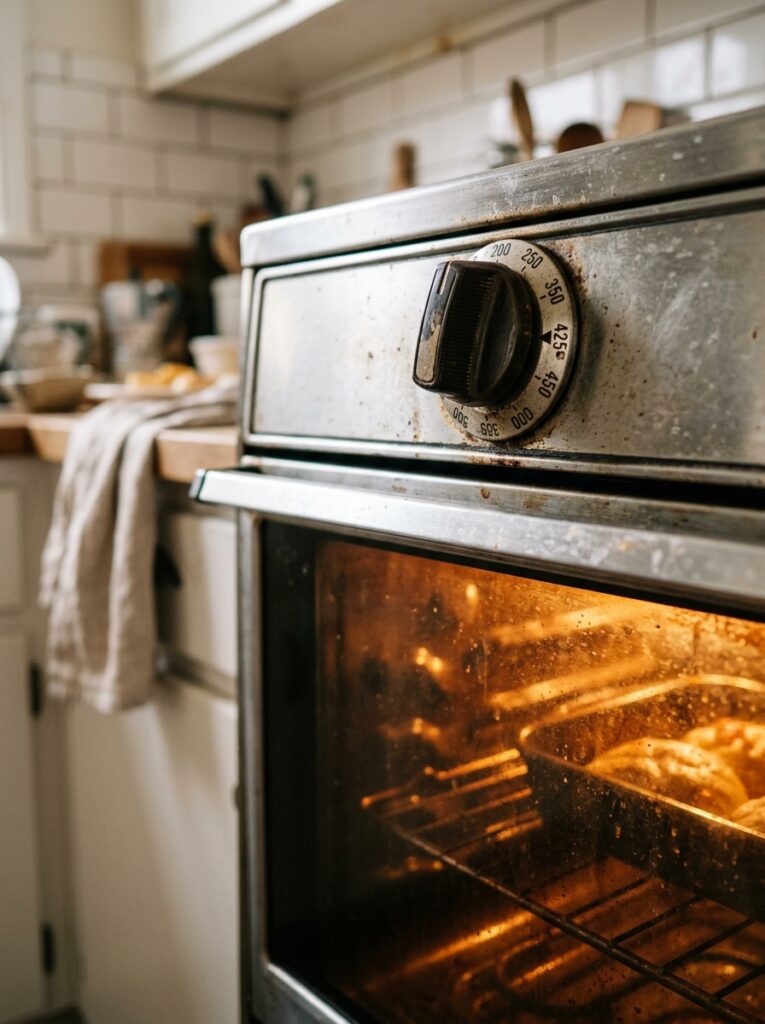
Most recipes say 400°F (200°C). Fine. But 425°F (220°C) is better.
High heat is what gets you the crispy skin without having to faff around with broiling at the end or doing some complicated two-temperature thing. At 425°F, the fat in the skin renders out faster, the skin tightens up and turns golden, and the meat stays juicy because it’s spending less total time in the heat. You get everything you want in about 35-40 minutes for bone-in thighs.
The one exception is if you’ve got a very hot oven that runs high — some ovens are genuinely 25-30 degrees hotter than the dial says. Worth knowing your oven. Get a cheap oven thermometer if you don’t already have one, it’ll change your cooking life more than you’d expect.
—
5. The Marinade Formula That Works for Almost Any Flavor Direction
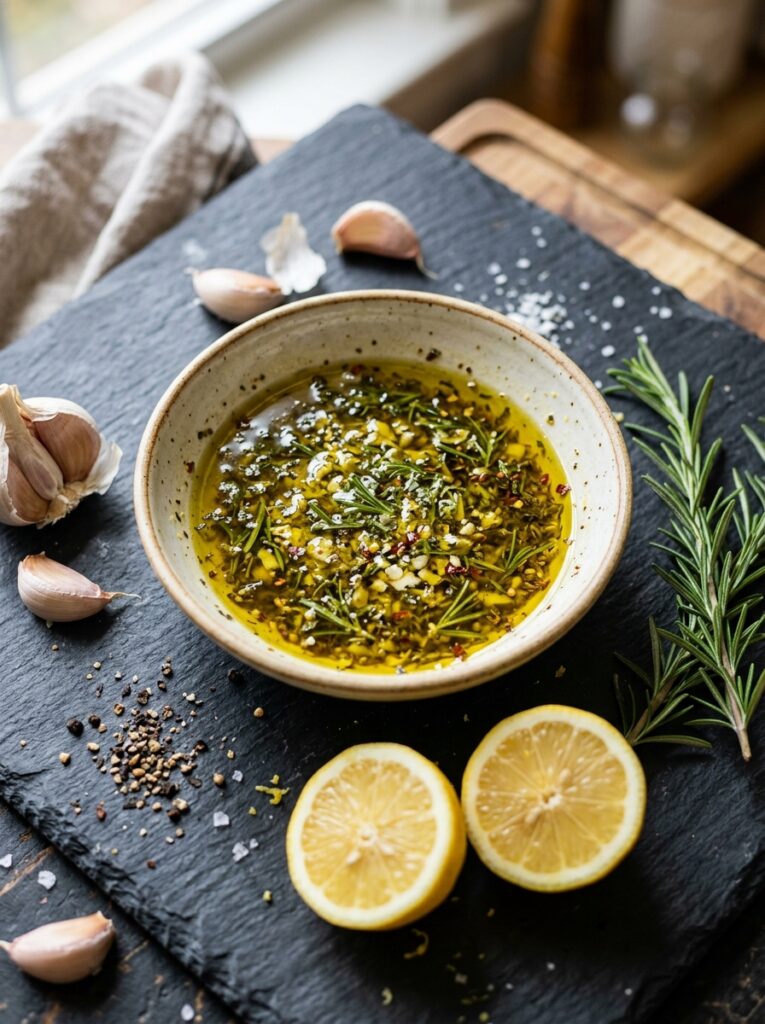
I don’t follow a recipe for marinades anymore. I just use the formula.
Acid + fat + aromatics + salt + something sweet. That’s it. The acid (lemon juice, red wine vinegar, yogurt) tenderizes. The fat (olive oil, a little butter) carries flavor and helps with browning. Aromatics are where you go in any direction — garlic, ginger, paprika, herbs. The salt does its job. And a tiny bit of sweetness (honey, maple syrup, brown sugar) encourages caramelization on the skin.
You can go Mediterranean with lemon, garlic, and oregano. Smoky with smoked paprika and a little chipotle. Something closer to a British Sunday-dinner vibe with mustard and thyme. The formula holds for all of it. I usually marinate for at least two hours, four if I remember, overnight if I’m organized.
“A marinade without something sweet is just a sauce you forgot to caramelize.”
—
6. Sheet Pan, Cast Iron, or Roasting Dish — Here’s the Actual Difference
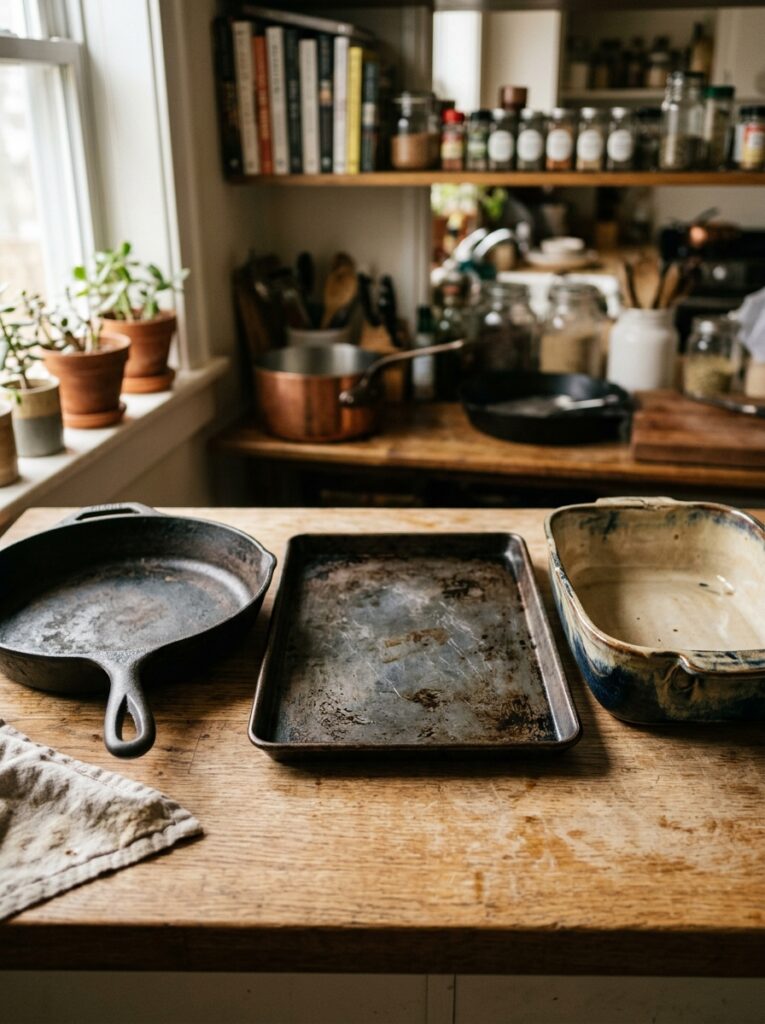
People debate this endlessly and honestly it’s not that complicated.
Cast iron skillet: Best for maximum browning and depth of flavor. Cast iron holds heat like nothing else, so the underside of the thigh gets an almost seared quality even though it’s in the oven. If you’ve got one, use it. Preheat it in the oven while the oven comes to temperature.
Sheet pan: Great for high-volume cooking or when you’re adding vegetables to the pan. The thighs won’t get quite as dramatically browned on the bottom, but they’ll still be delicious. Line it with foil for easier cleanup.
Ceramic or glass roasting dish: Lower and slower is the vibe here. Good for saucy recipes where you want the chicken braising in its own juices. Not what you want if crispy skin is the goal.
The honest truth is that any of these will give you a good dinner. But if crispy golden skin is what you’re chasing — and it should be — cast iron wins.
—
7. Vegetables That Actually Cook at the Same Rate (This Part Trips Everyone Up)
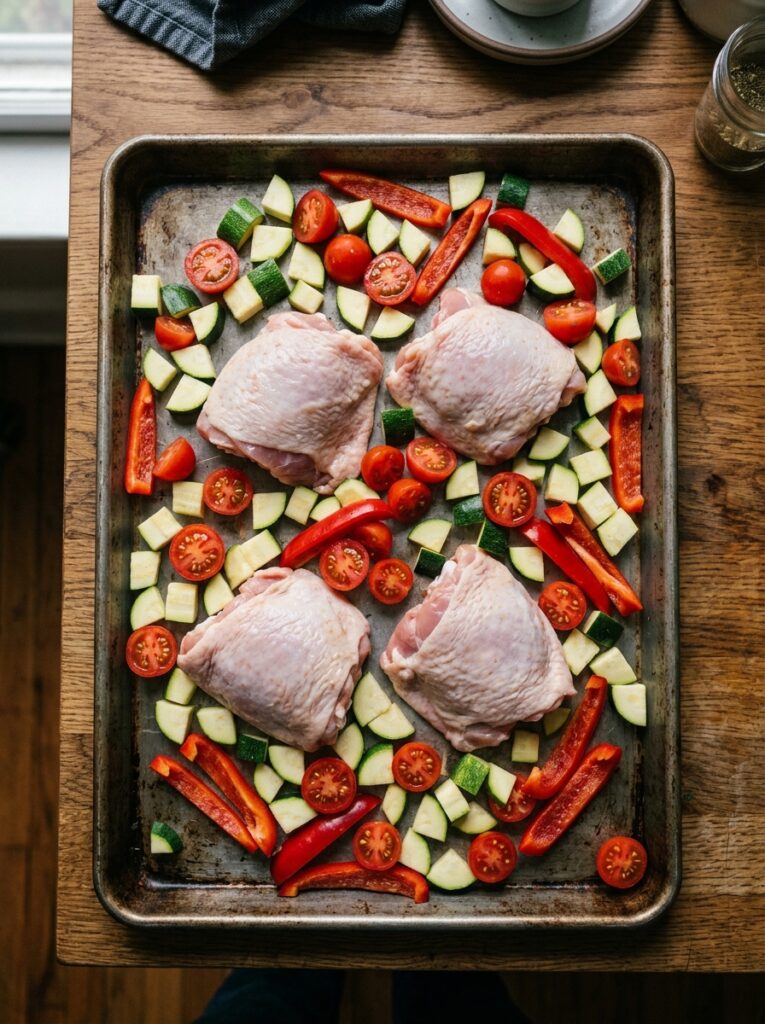
Throwing veg on a sheet pan with chicken sounds foolproof. It isn’t.
Dense vegetables like whole baby potatoes, thick-cut carrots, or whole shallots take longer than chicken thighs to cook through. So if you toss them in raw alongside the chicken at the start, you can end up with perfectly cooked chicken and slightly underdone potatoes. Not ideal.
The fix is either to cut them small enough that they cook in time (potatoes halved or quartered, carrots cut into coins), or to give them a head start. Pop the vegetables in the oven for 10-15 minutes before the chicken goes in. Then nestle the thighs on top. Everything finishes at the same time, the potatoes get gorgeous and crispy where they touch the pan, and the whole thing looks like you planned it beautifully even though it took five minutes of thought.
Softer veg — zucchini, cherry tomatoes, asparagus — go in with the chicken for the last 15-20 minutes so they don’t turn to mush.
—
8. Why You Shouldn’t Cover Them (And When You Should)
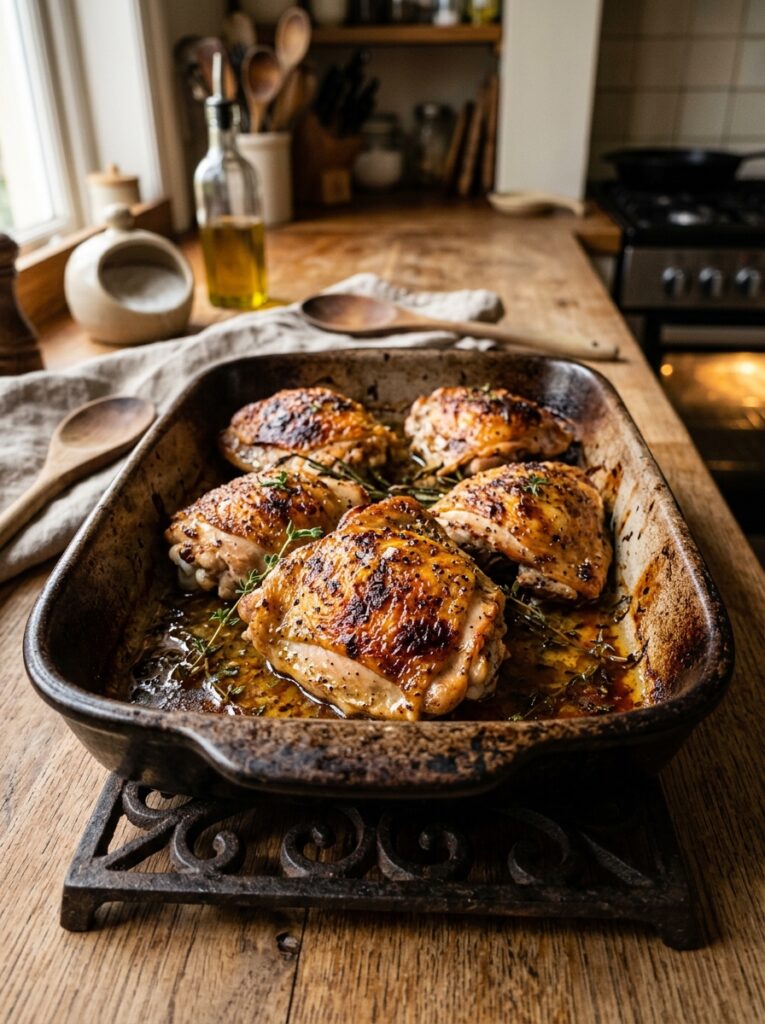
Covered chicken = soft skin. Uncovered chicken = crispy skin. That’s the whole rule.
If you want crispy skin — and by now I feel like we’ve established that you do — cook them uncovered, start to finish. The oven air needs to circulate around the skin to dry it out and brown it.
The exception is if you’re doing a braise. A tomato-wine sauce, something Moroccan-inspired with olives and preserved lemon, a simple white wine and garlic situation. In that case, cover tightly for the first 25-30 minutes, then uncover for the last 10 to let the sauce reduce slightly and the exposed part of the skin get a little color. Not the same crispy-cracker experience, but an entirely different kind of delicious. Saucy-braised chicken thighs over mashed potato or couscous is genuinely one of the best dinners there is.
—
9. The Garlic Butter Situation Nobody Should Be Skipping
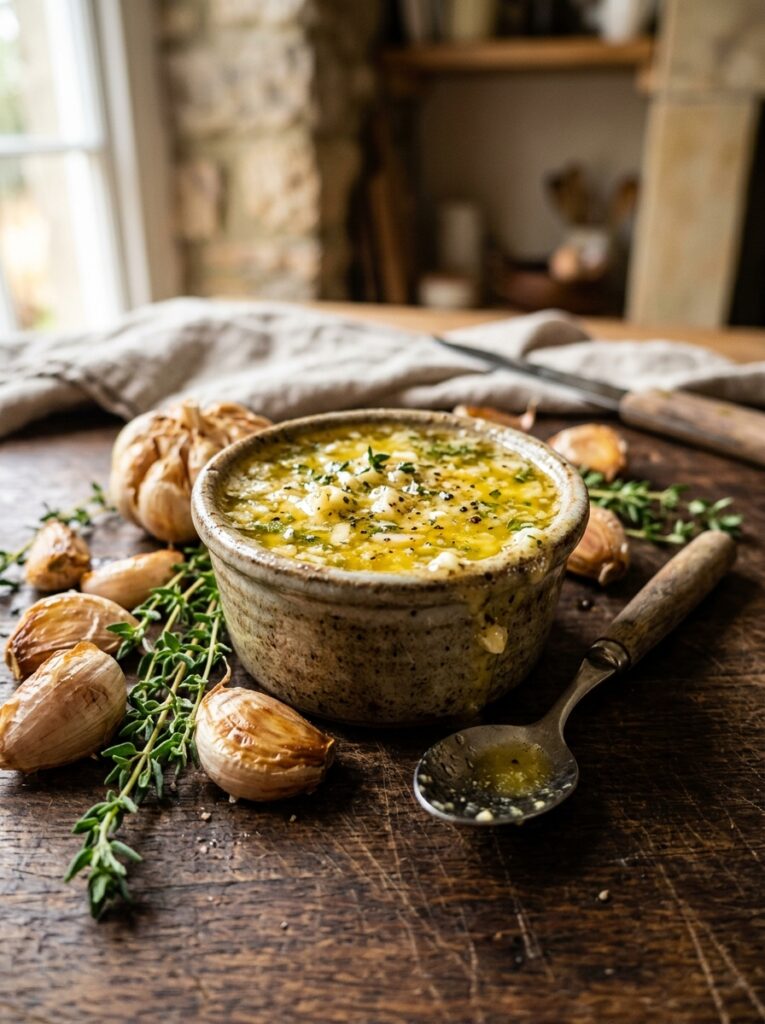
Okay this one is specific but I need you to try it at least once.
Make a small amount of compound butter — just softened butter mashed together with minced garlic, a pinch of salt, some fresh thyme or rosemary if you have it. Use your fingers to loosen the skin from the thigh meat — carefully, not tearing it — and push a small amount of that butter directly underneath. Then pat the skin back down.
What happens in the oven is slightly unreasonable. The butter melts into the meat, the garlic infuses everything from the inside, and the skin on top gets this golden, almost lacquered quality because the fat renders through it. The drippings in the pan are also absurdly good. Don’t waste them.
This takes maybe four extra minutes of prep. It’s the best four minutes you’ll spend all week.
“The drippings from garlic-butter thighs should be spooned back over everything. This is not negotiable.”
—
10. Internal Temperature Versus Cutting and Guessing
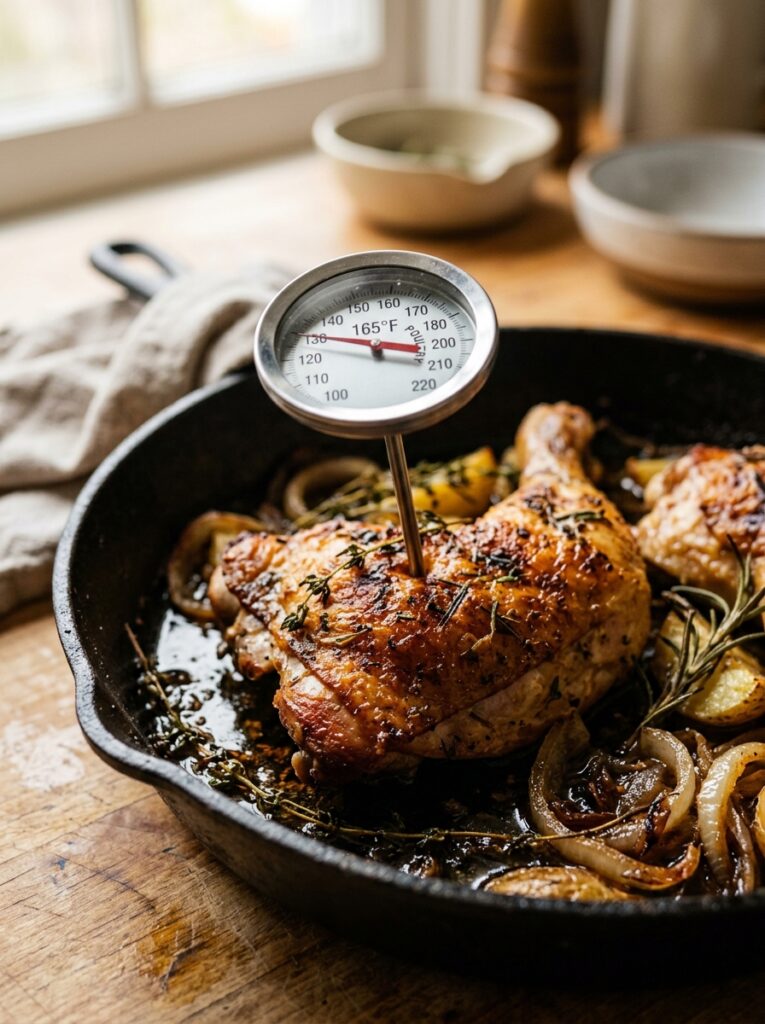
Cut-and-peek is not a reliable method. I know you’ve been doing it. So was I.
The USDA says 165°F (74°C) is safe for poultry, and that’s accurate. But here’s the thing about thighs — they actually taste BETTER at a slightly higher internal temperature than a chicken breast would. Thighs are dark meat with more collagen, and that collagen breaks down into gelatin somewhere between 165°F and 185°F (85°C), making the meat more tender and juicy rather than drying it out. So don’t panic if your thermometer reads 175°F. That’s ideal. That’s the sweet spot.
A good instant-read thermometer inserted into the thickest part without touching bone is all you need. Insert it, get your number, pull the pan. Rest the chicken for five minutes before cutting. Always rest.
—
11. The Resting Thing Is Actually Real — Here’s Why
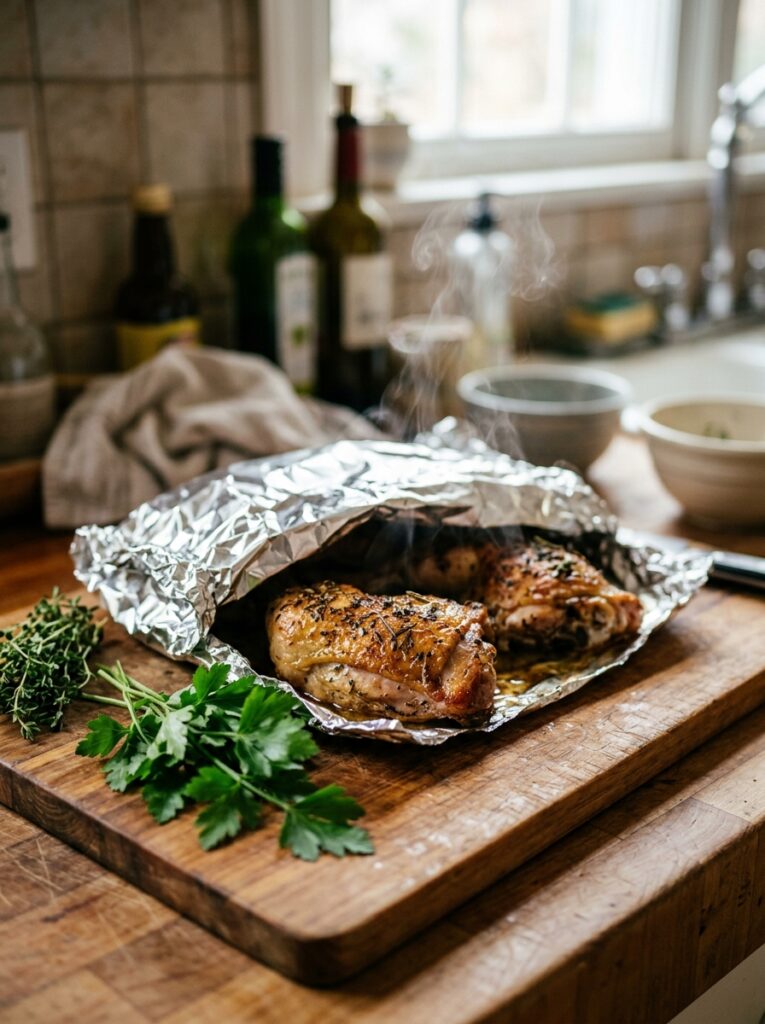
Five minutes. That’s all. But don’t skip it.
When meat comes out of the oven, the muscle fibers are contracted from the heat and the juices are pushed toward the center. If you cut into it immediately, those juices flood out onto your cutting board and you lose them. If you wait five minutes, the fibers relax, the juices redistribute evenly through the meat, and every bite is juicy instead of just the middle part.
It’s one of those things where the science sounds tedious but the outcome is genuinely noticeable. Side note — this is also why resting works for steaks, pork chops, anything. Five minutes of patience is doing a lot of heavy lifting.
—
12. Four Dinner Directions From One Basic Method
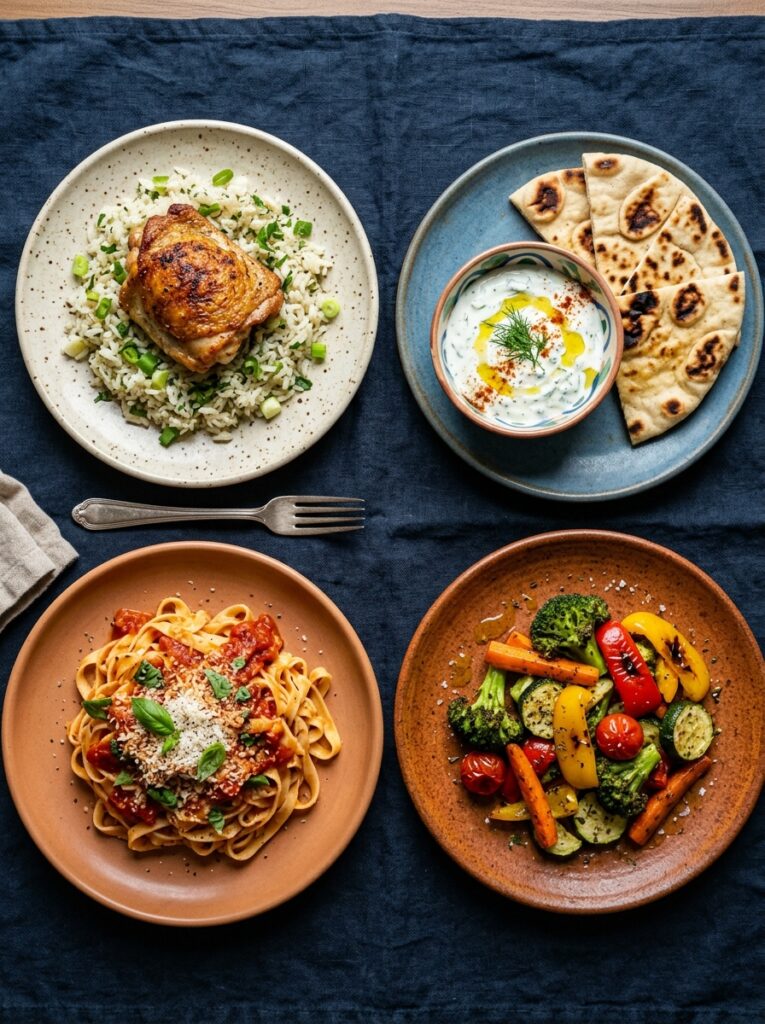
So you’ve got your technique. Here’s where to take it.
If it’s Monday and you’re tired, go simple: garlic, olive oil, paprika, salt, 425°F, 38 minutes. Done. Serve with a green salad and bread to mop up the pan drippings. That’s dinner. It doesn’t need to be more complicated than that.
For something that feels a bit fancier — maybe it’s Friday — try a honey-dijon glaze. Equal parts honey and wholegrain mustard, a splash of apple cider vinegar, garlic, salt. Brush it on in the last 10 minutes so it caramelizes rather than burns. The sticky, slightly tangy glaze against the savory chicken is one of those flavor combinations that makes people ask for the recipe.
If you want the whole-meal situation, do a sheet pan with halved cherry tomatoes, olives, thinly sliced red onion, lemon wedges, and the chicken thighs seasoned with dried oregano and lots of olive oil. Everything gets a little sweet and jammy from the heat, the lemon softens and you can squeeze it over everything at the end. Very Mediterranean, feels like you put effort in, didn’t really.
And for the saucy-braise fans — a simple tomato sauce in the bottom of a roasting dish, a little red wine, some garlic and fresh basil tucked around the thighs, covered tight with foil. 30 minutes covered, 10 uncovered. Serve it over pasta or polenta or just eat it with good bread and feel like you’ve done something right.
—
❓ FAQ
Q: Can I cook chicken thighs straight from the fridge or do they need to come to room temperature? A: It’s not a hard rule, but bringing them out for 15-20 minutes before cooking does help them cook more evenly — especially the thicker bone-in ones. A very cold thigh takes longer to cook through, which can mean the skin overcooks before the meat catches up. Not a disaster if you forget, just worth knowing.
Q: How do I know if my chicken thighs are done without a thermometer? A: The juices should run completely clear when you pierce the thickest part near the bone. If you see any pink tinge to the liquid, give it another 5 minutes. That said — honestly, just get a thermometer. They’re cheap, they’re accurate, and the guesswork isn’t worth it.
Q: Can I use skinless thighs if that’s what I have? A: Absolutely. You’ll lose the crispy skin element, but skinless thighs are still juicy and flavorful because the dark meat holds moisture well. Brush them generously with olive oil or butter to compensate, and watch them a little more carefully — they can dry out faster than skin-on thighs since there’s no fat layer protecting the meat.
—
💭 Final Thoughts
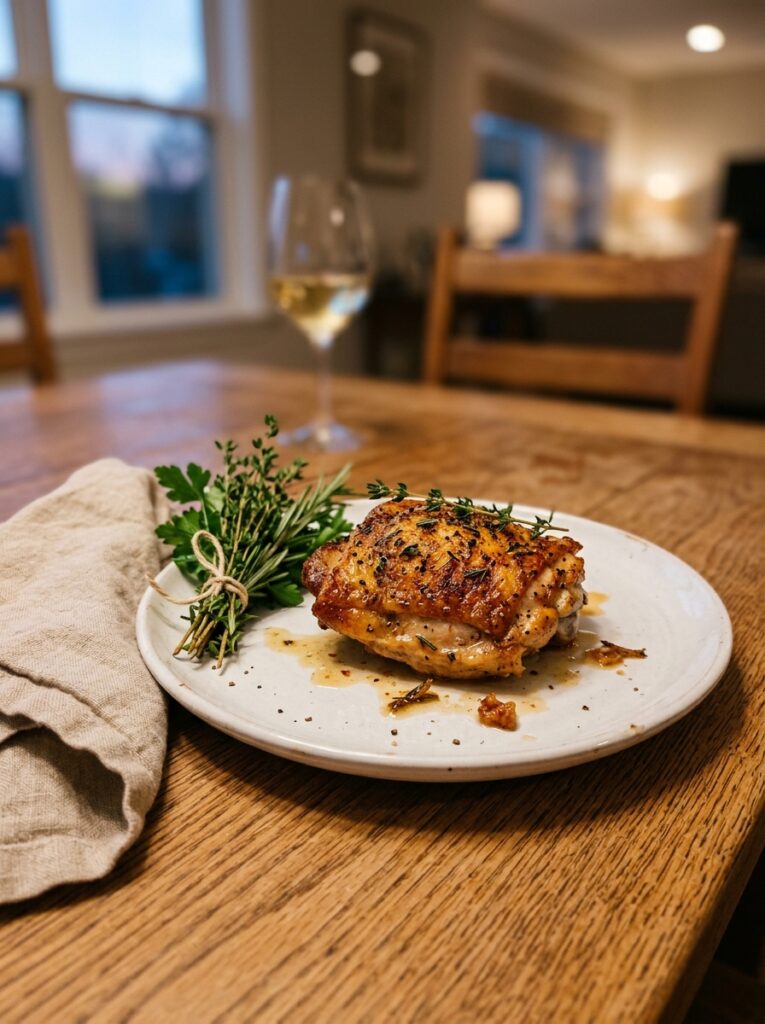
Chicken thighs are one of those ingredients where the technique does more work than any fancy recipe. Get the temperature right, dry the skin, season early, rest before you cut. Those four things will take you further than any elaborate marinade. Sara made them last weekend using the garlic-butter trick and texted me a photo at 6:43pm. The skin looked perfect. I felt unreasonably proud.
What’s your go-to flavor direction when you roast chicken thighs — do you keep it simple, or is there a marinade situation you’ve been making on repeat?