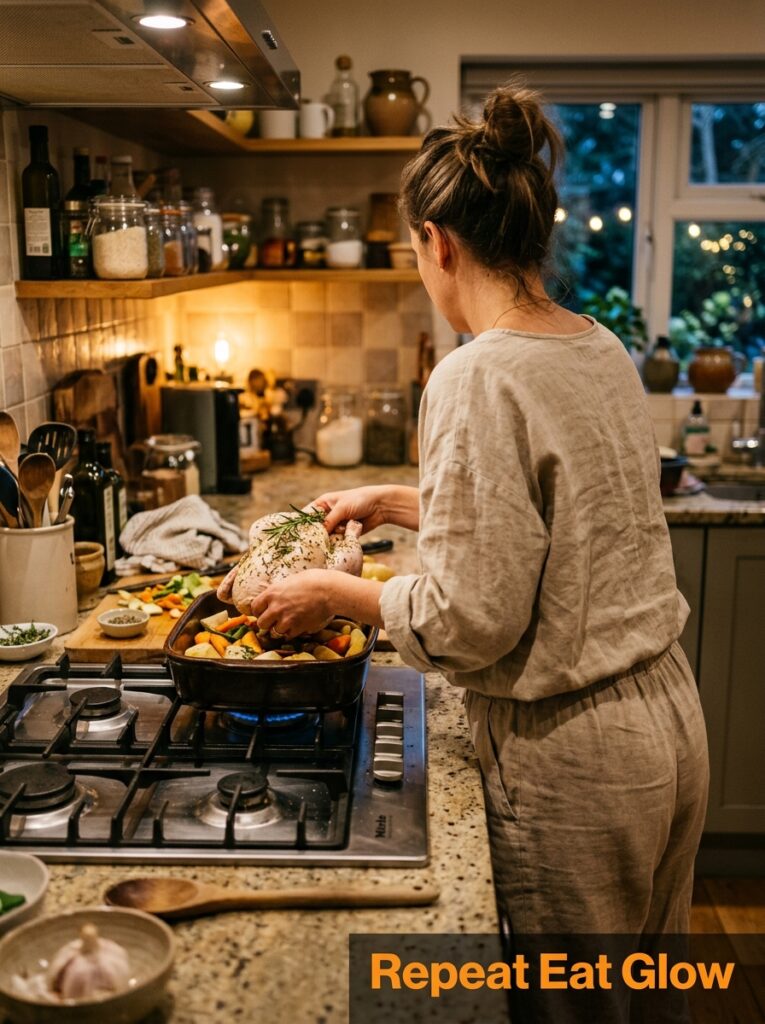
You pull it out of the oven and the skin is the color of dark honey, crackling at the edges, and the whole kitchen smells like garlic and butter and something that feels almost unfairly good for a Tuesday. That’s what a roast chicken does. It makes an ordinary weeknight feel like you meant it.
—
1. Why Nobody Talks About How EASY This Actually Is
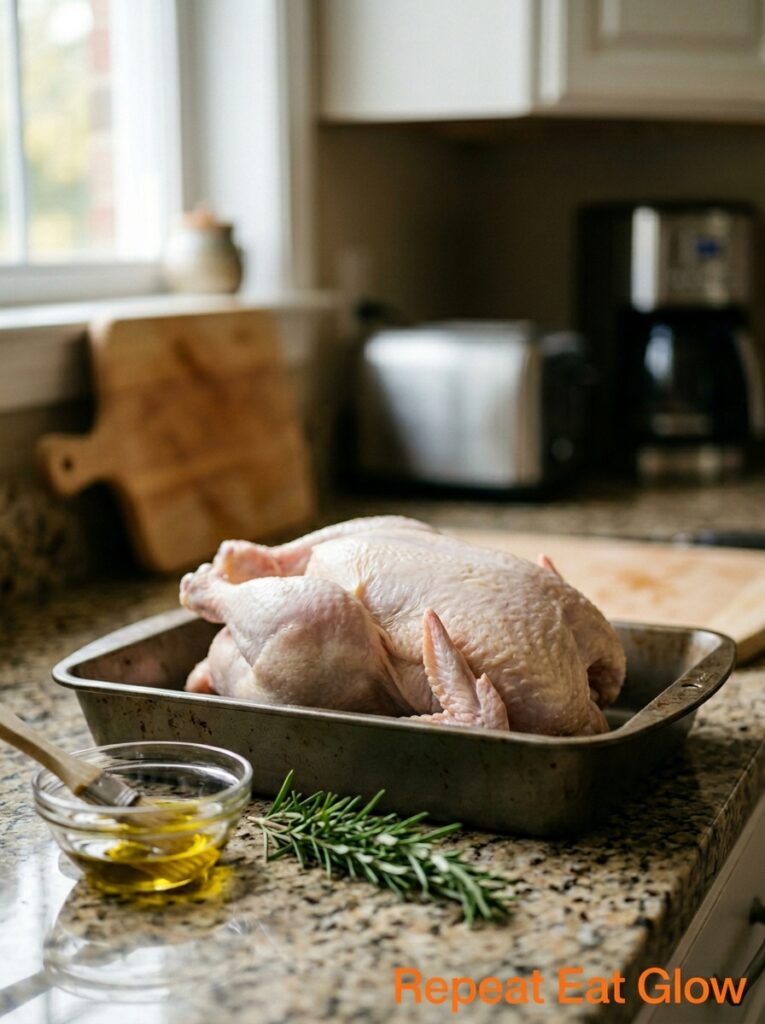
Okay, so here’s the thing nobody says out loud: roasting a whole chicken is genuinely one of the easiest dinners you can make. Easier than a lasagna. Easier than most pastas with a proper sauce. You season it, you put it in a pan, you walk away for an hour. That’s most of it.
I think the reason people don’t reach for it on weeknights is that it sounds like effort. “Roast chicken” lives in the same mental folder as “dinner party” and “I’ll do that when I have more time.” But it doesn’t belong there. At all.
The hands-on time is maybe 10 minutes. The oven does the rest. And what you get out of it is a meal that serves four people, fills your kitchen with a smell that’s honestly better than any candle, and leaves you with bones for stock if you’re the kind of person who does that (I’m not always that person, but the option’s there).
The trick is just temperature confidence. You need a hot oven — 425°F / 220°C — and you need to not open the door every 20 minutes to check on it. Trust the heat. Let it work.
“A whole chicken asks almost nothing of you. An hour of heat and a little butter, and it repays you completely.”
—
2. The One Thing You Should Do the Night Before (But Won’t, and That’s Fine)
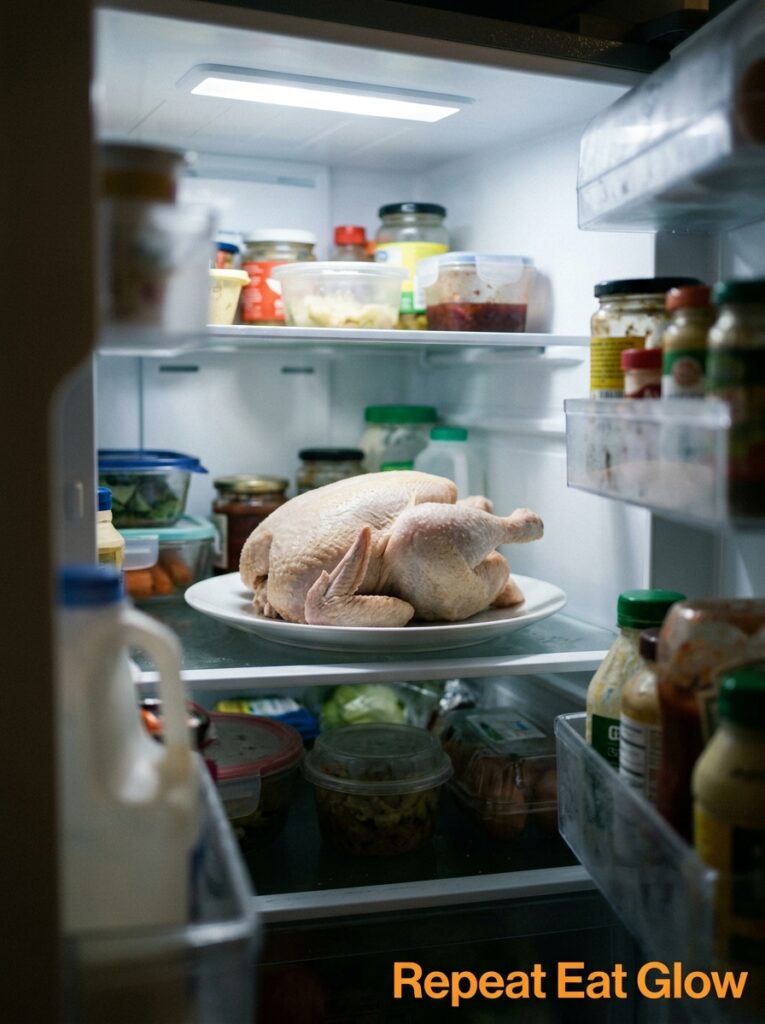
If you can salt your chicken the night before, do it. Pull off the packaging, pat it dry with paper towels, season it all over — and I mean ALL over, including under the skin over the breast meat — with salt, and leave it uncovered in the fridge overnight.
What happens is the salt draws out some moisture, then the meat reabsorbs it, and the skin dries out in the cold air. The result is crispier skin and more seasoned meat all the way through. It’s called dry brining and food people love talking about it, and yeah, it does make a real difference.
But honestly? I don’t always do it. Sometimes I pull a chicken out of the fridge an hour before dinner and just season it then. It’s still good. Really good. Don’t let the “right way” stop you from making the thing.
The one step that’s non-negotiable: dry the chicken. Paper towels, inside and out. Steam is the enemy of crispy skin, and a wet bird going into the oven will steam instead of roast. That matters more than any other prep step, I’d say.
—
3. The Butter-Under-the-Skin Move That Changes Everything
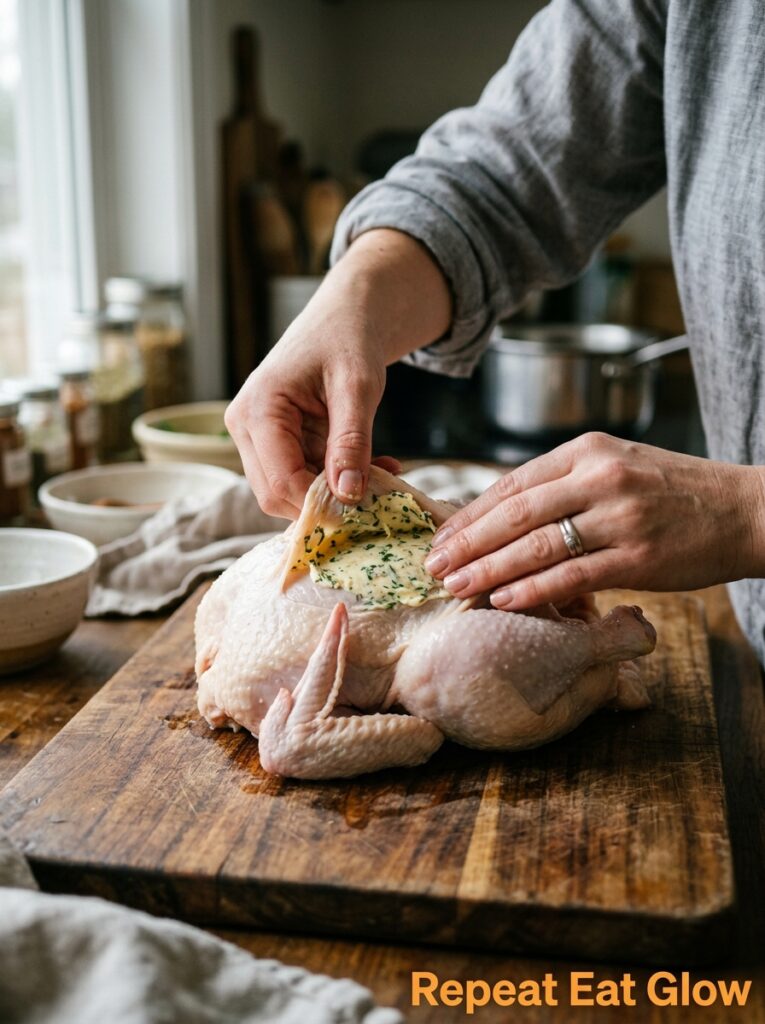
This sounds fancier than it is. You just slide your fingers under the skin over the breast and gently separate it from the meat — it comes away pretty easily — and then push softened butter in there. That’s it.
I mix mine with garlic, lemon zest, and fresh thyme. Sometimes rosemary. Sometimes I throw in a little smoked paprika for color. The butter melts as the chicken roasts and bastes the breast meat from the inside, which is the part that has a tendency to dry out.
You can get as creative as you want here. Herb butter is classic and always works. But I’ve also done it with miso and butter mixed together, which sounds wrong and tastes incredible. Or just plain salted butter and a lot of black pepper if you want to keep it simple.
The outside of the bird gets the same treatment — rub butter or olive oil all over the skin. Season generously. Don’t be shy with the salt. A properly seasoned roast chicken shouldn’t need gravy.
—
4. What Goes in the Cavity (This Is What the Bird Smells Like)
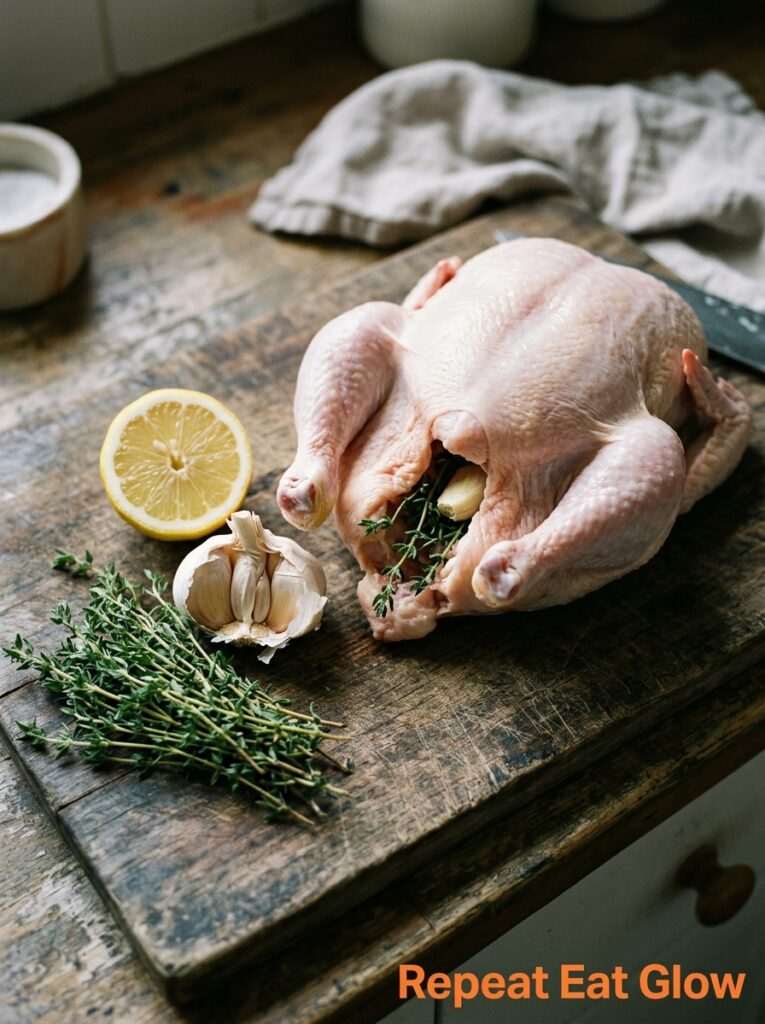
Whatever you put inside the chicken won’t dramatically season the meat. I want to be upfront about that because I see recipes that imply otherwise. But it does perfume the steam coming off the bird, and it scents the pan drippings, and it makes your kitchen smell absolutely ridiculous in the best way.
Lemon halves. A whole head of garlic, cut across the middle. A few sprigs of thyme or rosemary. That’s a classic combination and there’s a reason people keep coming back to it.
But you could do orange and fennel seed. You could do a cinnamon stick and a bay leaf if you want something warmer. In the autumn I sometimes do half an apple, a sprig of sage, and a knob of butter. The chicken tastes like a Sunday in October.
Don’t pack the cavity tight — you want air to circulate — and don’t stress about trussing. Side note: trussing is one of those things cooking shows make look essential. For a weeknight bird? Tuck the wings behind the back and you’re done.
“Whatever you put in the cavity, you’ll smell it all evening. Choose accordingly.”
—
5. The Pan Situation — Because This Part Actually Matters
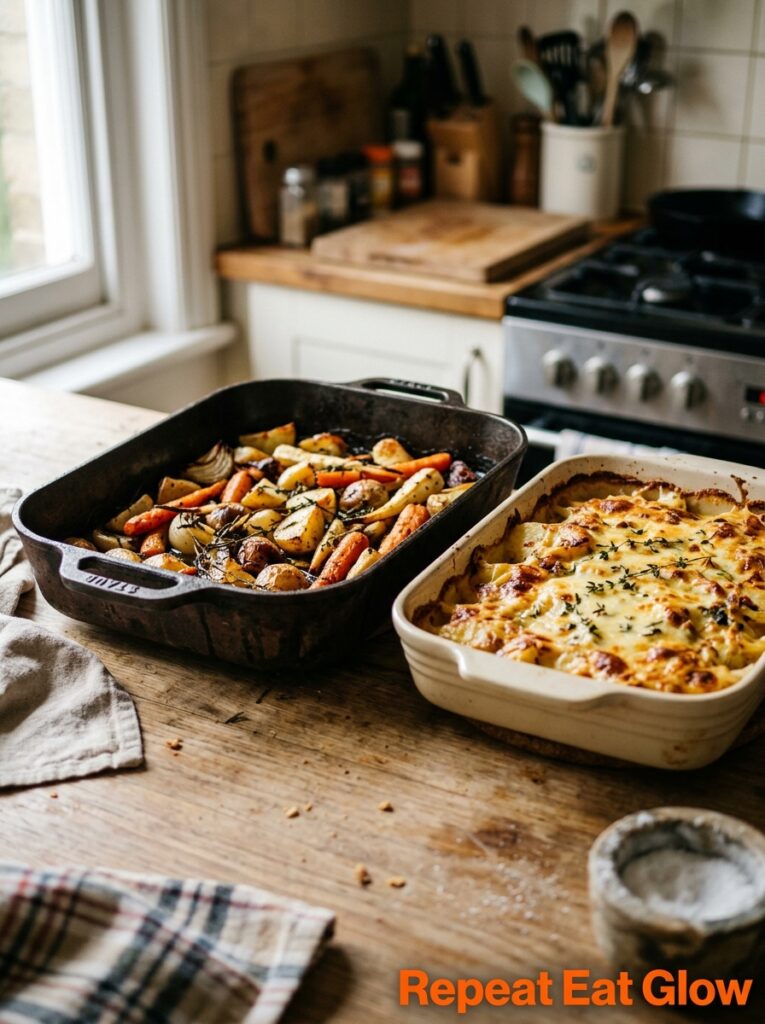
A lot of recipes call for a roasting pan, but I’d argue a cast iron skillet is BETTER for a smaller chicken (3–4 pounds). It conducts heat like crazy, the bottom of the bird gets color from actual contact heat, and it goes from oven to stovetop if you want to make a pan sauce.
A rimmed sheet pan works too. What you want to avoid is something too deep — the sides trap steam and you won’t get the color you’re after.
Here’s what I do: throw some roughly chopped vegetables in the bottom of the pan first. Onion, carrots, celery, a few garlic cloves. They don’t need to be pretty. They’re going to soak up the drippings as they cook, and you either eat them as a side (they’re amazing, sort of melted and salty and caramelized at the edges) or blend them into a sauce. The vegetables also act like a rack, lifting the chicken so air circulates underneath.
British readers — if you’ve got a Le Creuset roasting tin lurking in a cupboard, this is its moment.
—
6. Temperature and Timing Without Any Guesswork
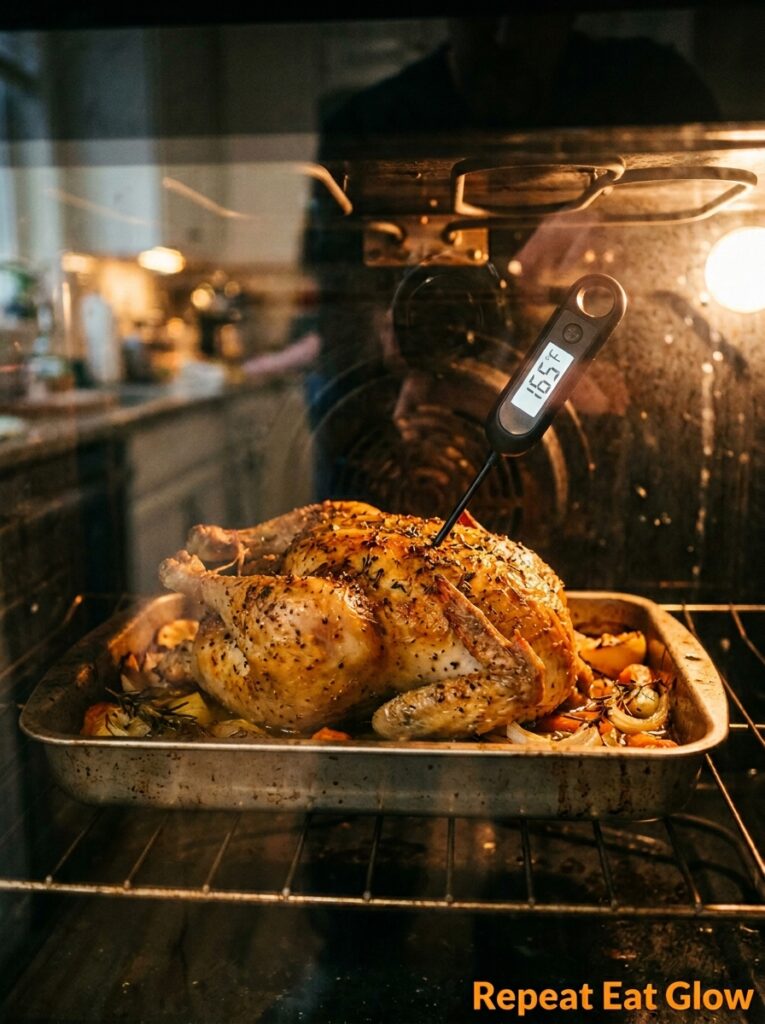
Every chicken is a little different, so times vary, but here’s a framework that works for me every single time.
3–3.5 pound chicken: about 60–70 minutes at 425°F / 220°C. 4–4.5 pound chicken: about 75–85 minutes. Over 5 pounds: you’re looking at 90 minutes or more, possibly 100.
But the actual test is a meat thermometer in the thickest part of the thigh (not touching bone): 165°F / 74°C means it’s done. I know people who’ve roasted chicken for years and never owned a thermometer, and I think they’re brave and also I worry about them. A thermometer costs almost nothing and removes all the anxiety.
Rest the chicken for at LEAST 10 minutes before carving. 15 is better. The juices redistribute and the meat is so much more forgiving. Cut into it straight out of the oven and those juices go everywhere — onto the board, not into the meat where they should be.
—
7. The Pan Drippings Are Not Optional
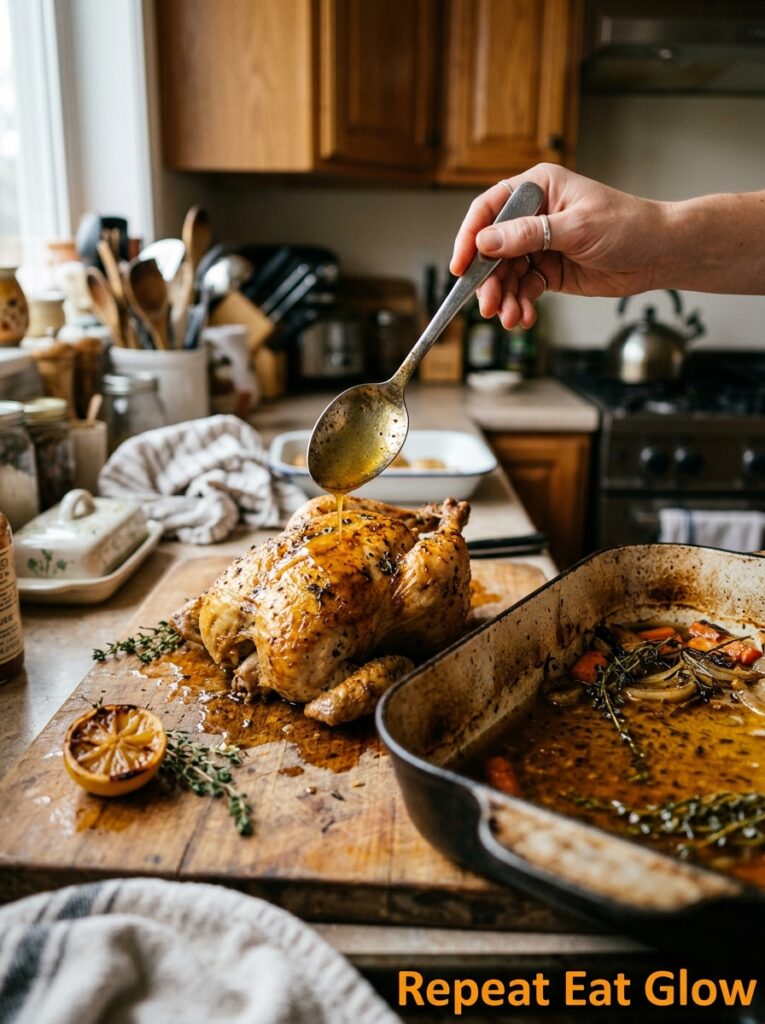
After you pull the chicken out, tip the pan slightly and look at what’s pooled in the bottom. That’s gold. Liquid gold that smells of garlic and chicken fat and whatever herbs you used.
Spoon the clear fat off the top if there’s a lot of it (or don’t, no judgment), and you’re left with dark, sticky, concentrated cooking juices. You can do a few things here.
Splash in some white wine or chicken stock, scrape up all the browned bits from the bottom of the pan, and let it bubble on the stovetop for a couple of minutes — you’ve got a pan sauce. Or just drizzle those raw drippings over the carved chicken and call it done. Honestly? That might be better than any sauce I could make.
“Don’t wash that pan until you’ve gotten every last bit of flavor out of it.”
—
8. The Lemon Garlic Herb Bird — The Version I Make Most Often
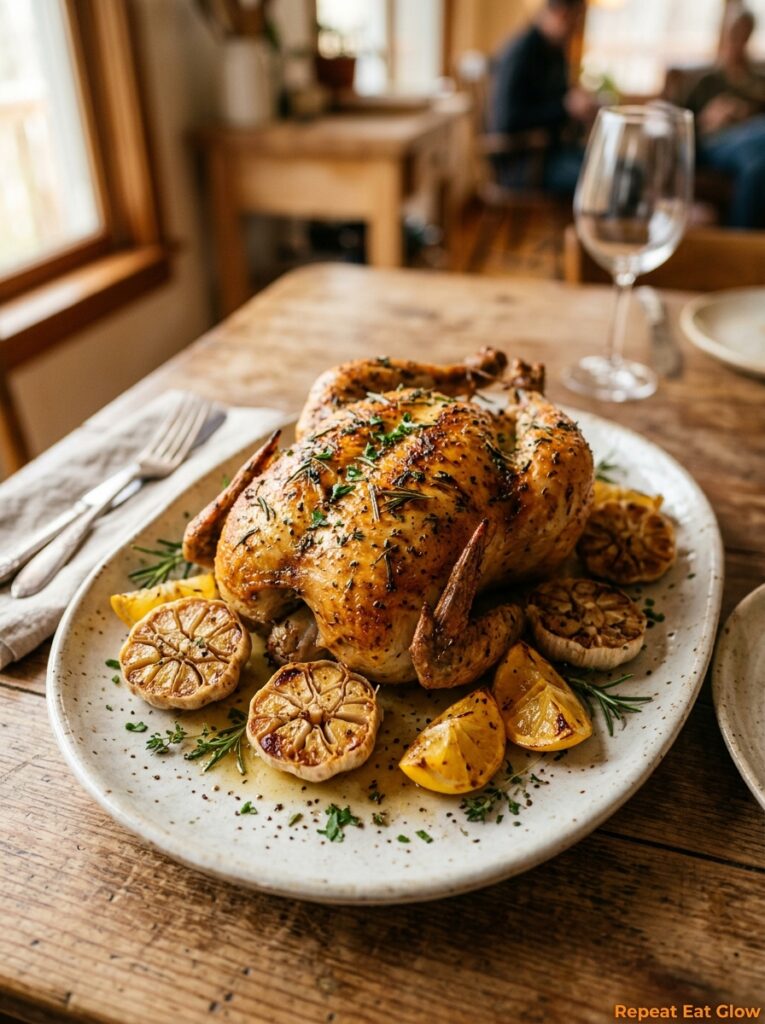
This is my default. It’s the one that’s never let me down.
Soften about 4 tablespoons of butter. Mix in 4 cloves of garlic (minced), the zest of one lemon, a tablespoon of fresh thyme leaves, half a teaspoon of smoked paprika, a teaspoon of salt, and plenty of black pepper. That’s your butter.
Get it under the skin over the breast, rub the rest all over the outside. Cavity gets half a lemon, the other half of a lemon, a few sprigs of thyme, and a whole head of garlic cut in half. Roast on a bed of sliced onion at 425°F for about 75–80 minutes for a 4-pound bird.
The skin goes deep bronze. The garlic in the cavity turns completely soft and sweet — squeeze it out and spread it on bread, I’m begging you. The breast meat is juicy because of all that butter working from the inside. It’s the dinner that makes people think you cook like this every night.
—
9. The One-Pan Version That Actually Cleans Up in 10 Minutes
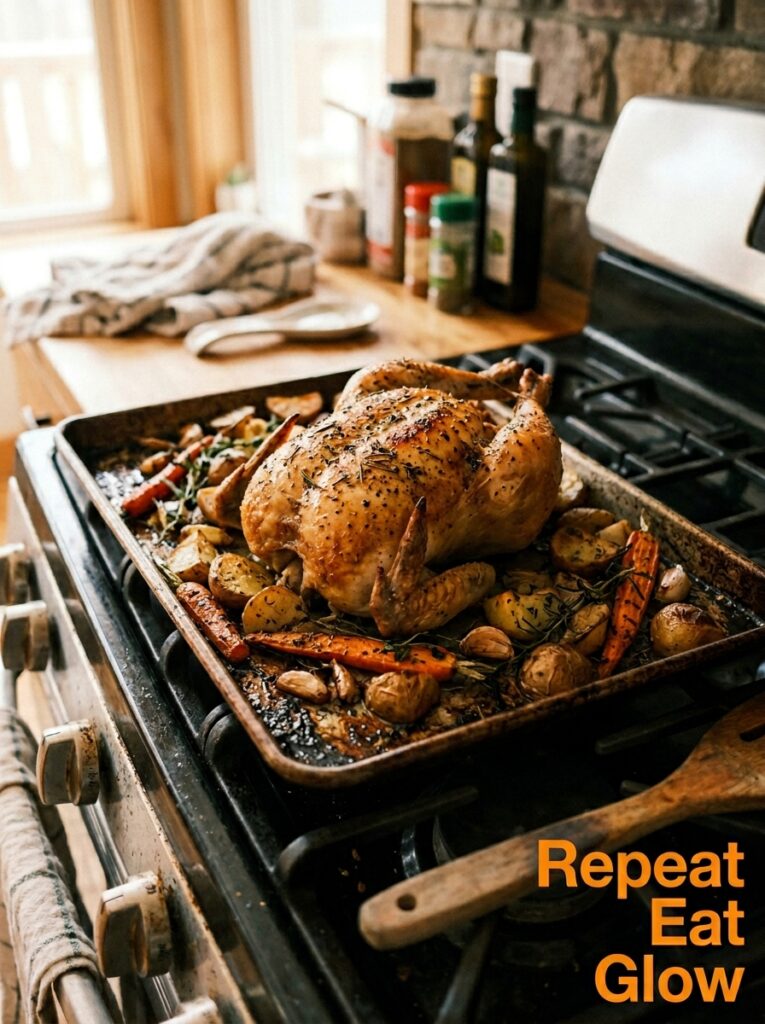
Throw everything in together. Chicken on a bed of halved new potatoes, chunks of red pepper, a whole bulb of garlic (just separated into cloves, unpeeled), some cherry tomatoes thrown in for the last 20 minutes. Drizzle olive oil over everything. Season aggressively.
The potatoes roast in the chicken fat. The tomatoes burst and get jammy. The garlic gets so soft you can squeeze it out of the papery skin with your fingers right at the table. It’s one pan, and everything is done at the same time, which is the kind of synchronized cooking miracle that doesn’t happen often enough.
Add some white wine to the pan — maybe half a cup — before it goes in the oven. It steams up and keeps things moist and adds this slight depth to the whole thing.
Clean-up is actually 10 minutes. I timed it.
—
10. Spatchcocking — Weirdest Word, Best Technique
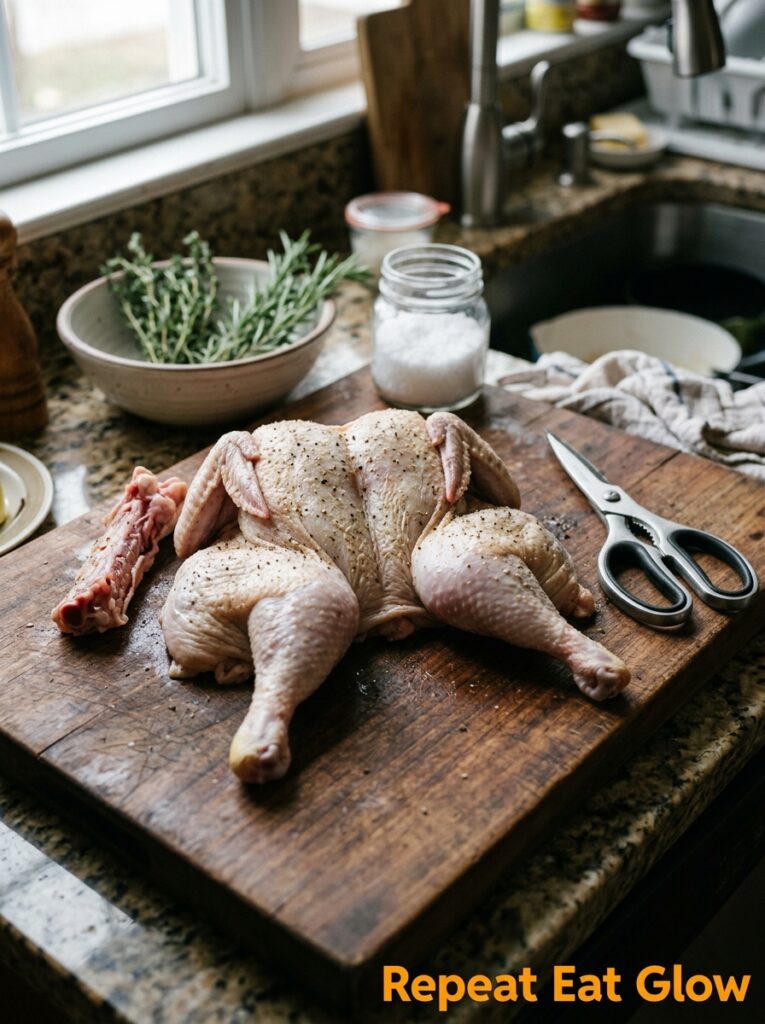
If you want your chicken done in 45 minutes and you want the crispiest skin of your life, spatchcock it. Which means removing the backbone and pressing the bird flat.
You’ll need kitchen shears. Cut along each side of the spine, pull it out (save it for stock or discard it), then press down firmly on the breastbone until the bird flattens. It’s a bit dramatic. The chicken makes a small crunching sound and then lies flat, and it looks a bit strange.
But it roasts incredibly fast and the skin is all exposed and it gets crispy everywhere, including the thighs and legs, which is usually the part that stays a bit soft and disappointing on a conventional roast.
Great for weeknights when you’re in a hurry. Great for summer when you want to follow up with it on a grill for a few minutes. Also just great if you want to feel slightly accomplished.
—
11. What to Do With the Leftovers (This Is Actually Part of the Plan)
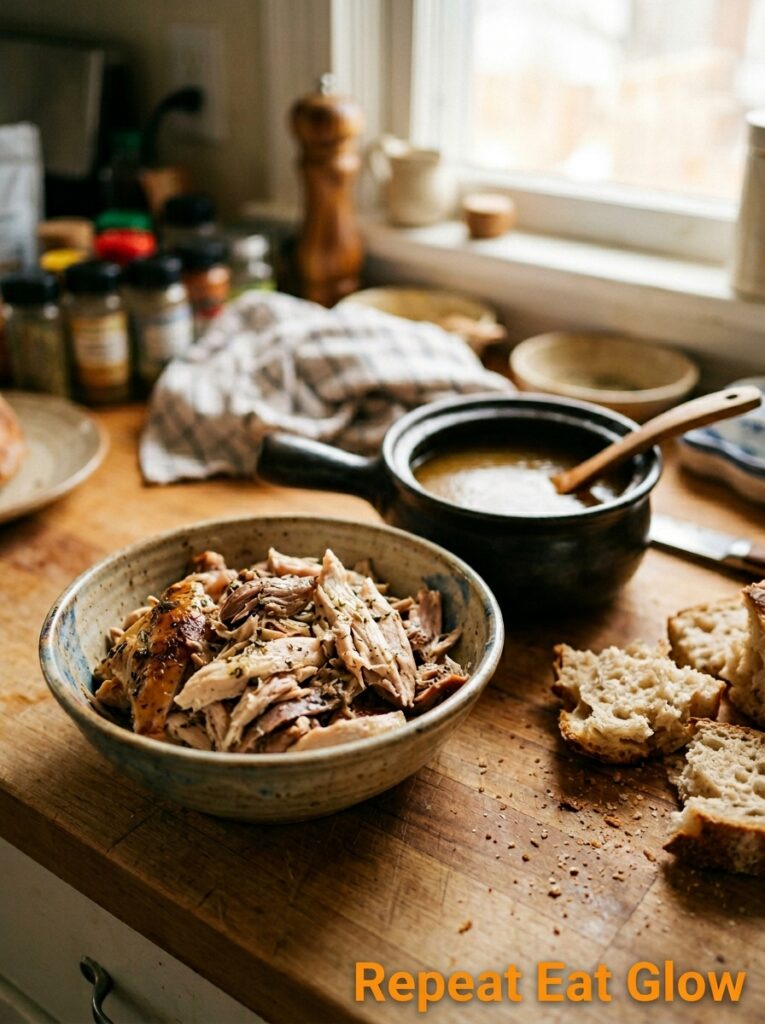
A 4-pound chicken for two people means there will be leftovers. Plan for it. It’s the best part.
Strip the carcass while it’s still warm — the meat comes off easily — and you’ve got the base for at least two more meals. Chicken tacos with leftover thigh meat and a jar of salsa. A pot of chicken soup if you simmer the bones with carrots and celery. Chicken salad sandwiches with mayonnaise and a little Dijon. A quick fried rice on a Thursday night.
The bones take about 3 hours on low heat with some aromatics and water to become proper stock, and if you freeze it in portions you’ll have it for months. Or, not gonna lie, sometimes I just put the carcass in the bin and make soup from cartons and that’s also fine. You don’t have to do all the things.
—
12. The Simplest Version for the Nights You Have Almost No Energy
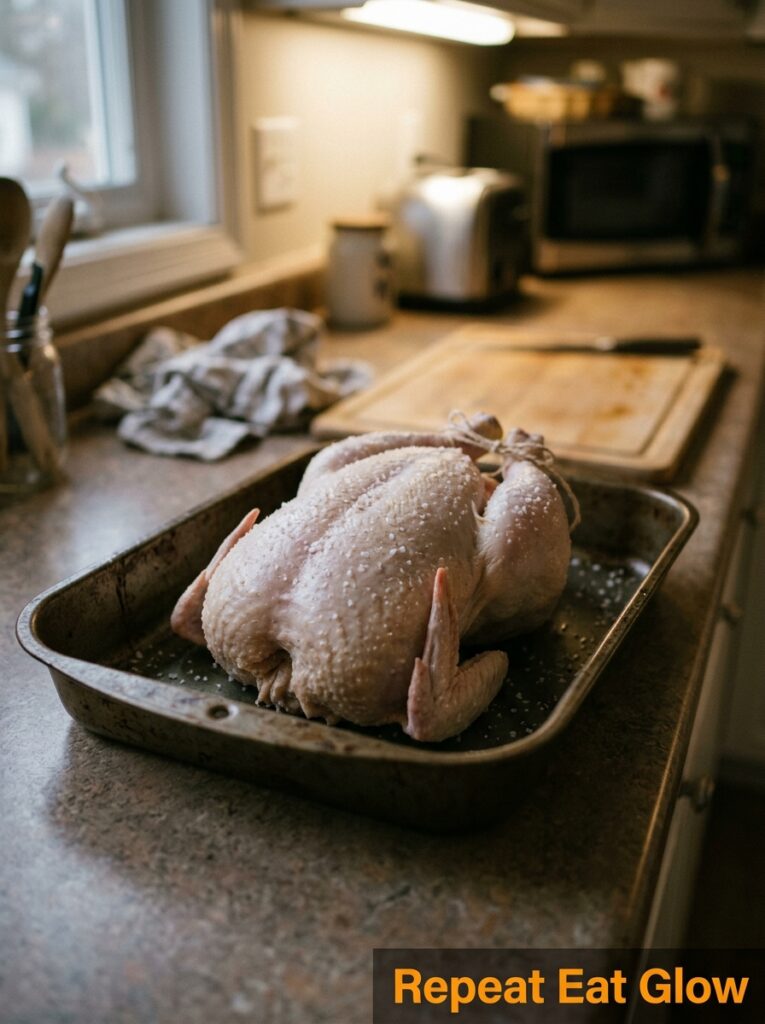
Salt. Pepper. Olive oil. That’s it.
Dry the chicken, rub it all over with olive oil, season generously with salt and pepper, throw some garlic cloves in the pan, roast at 425°F until done. Nothing else.
Some nights that’s all there is time for, and you know what? It’s still one of the better dinners you’ll have. The chicken itself, when it’s properly cooked, doesn’t need much. The flavor is there. You’re just getting out of its way.
Serve it with crusty bread and a salad and maybe a glass of wine and that’s a dinner worth sitting down for.
—
❓ FAQ
Q: How long does it take to roast a whole chicken? A: For most chickens in the 3.5–4.5 pound range, you’re looking at 70–85 minutes at 425°F / 220°C. Always check with a meat thermometer — 165°F / 74°C in the thickest part of the thigh is your target, and that’s more reliable than timing alone.
Q: Do I need to cover the chicken while it roasts? A: Nope. Leave it uncovered the whole time — that’s how you get crispy skin. If the skin starts browning too quickly (unusual but possible), you can loosely tent it with foil for the last 20 minutes, but most of the time you won’t need to.
Q: Can I roast a chicken from cold straight out of the fridge? A: It’ll take a few extra minutes, but yes. Ideally let it sit at room temperature for about 30 minutes before roasting so it cooks more evenly — but on the nights where that doesn’t happen, just add 5–10 minutes to your cooking time and check the temperature.
—
💭 Final Thoughts

A whole roast chicken is one of those dinners that asks very little and gives a lot back. It’s the kind of cooking that makes a house smell like a home, and it’s genuinely forgiving in a way that complicated recipes rarely are. Get the temperature right, dry the skin, don’t skip the resting time — and the rest is just yours to play with. What’s the one flavoring combination you’d want to try first?
