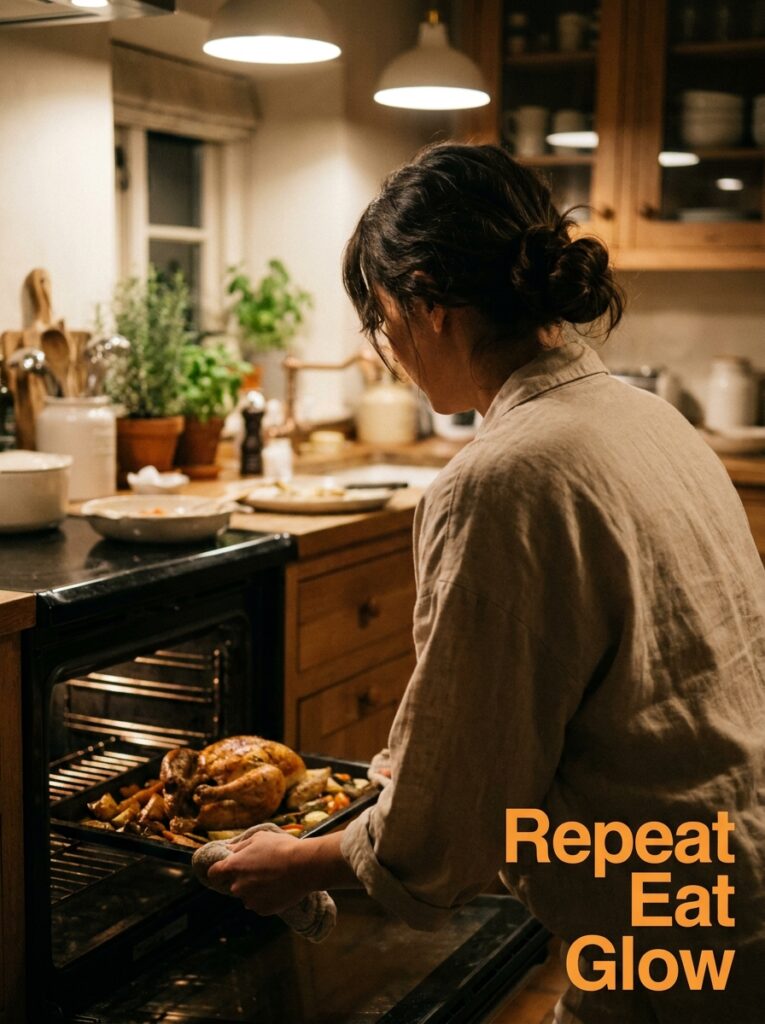
You know that Tuesday night feeling. It’s 5:45pm, everyone’s hungry, you’ve got chicken breast in the fridge, and you’re standing in the kitchen staring into the middle distance like you’ve lost something. I’ve been there. So many times.
These are the oven recipes that genuinely changed that for me.
—
1. Why Chicken Breast Gets a Bad Rap (And Why That’s Actually Your Oven’s Fault)
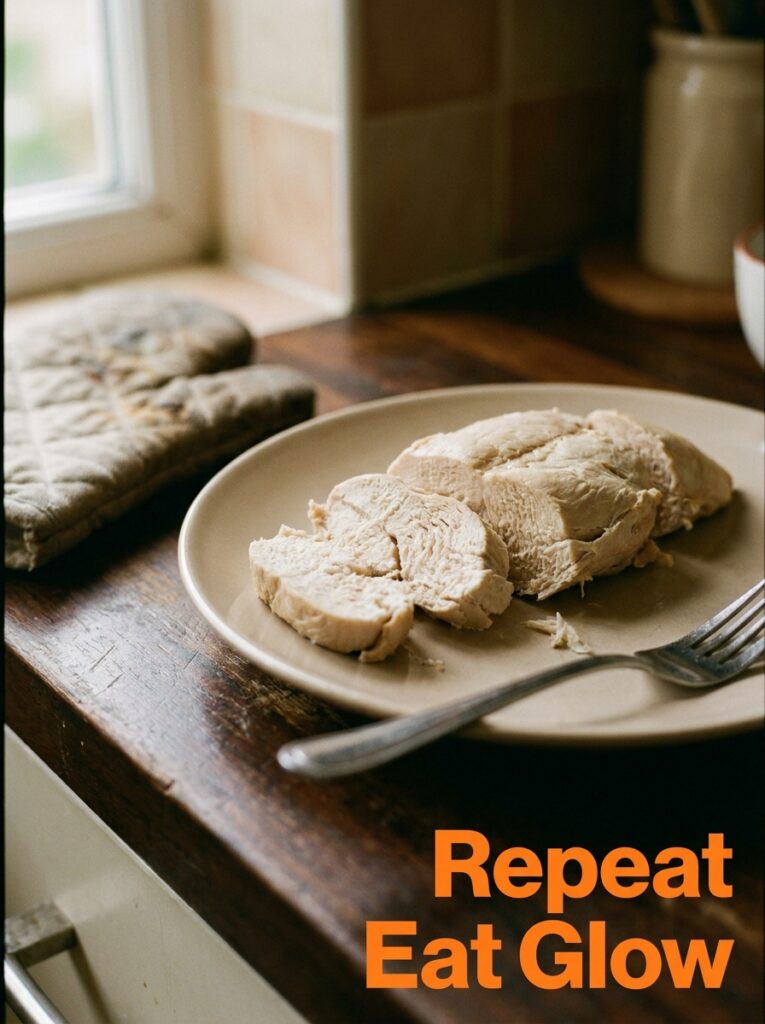
Let’s be real for a second. Chicken breast has a reputation problem. Dry. Bland. The sad protein you eat when you’re on a diet and quietly hate yourself for it. But here’s the thing — that’s almost never the chicken’s fault.
It’s the oven. Or more specifically, it’s the temperature and the time.
Most people roast chicken breast the same way they’d roast a whole bird, low and slow, checking it obsessively, pulling it out when it looks “done.” And by then? It’s rubber. The moisture is gone. The whole thing tastes like regret.
The fix is actually simple. High heat, short time, and one thing that barely anyone does: rest it properly before you cut it. Five minutes. Just walk away. The juices redistribute, the fibers relax, and suddenly you’ve got a chicken breast that’s actually juicy in the middle.
I know it sounds too simple. But it’s not gonna be some fancy technique that fixes your chicken dinners — it’s going to be respecting the rest time. That’s it. That’s the whole secret.
—
2. The Oven Temperature That Changes Everything (It’s Higher Than You Think)
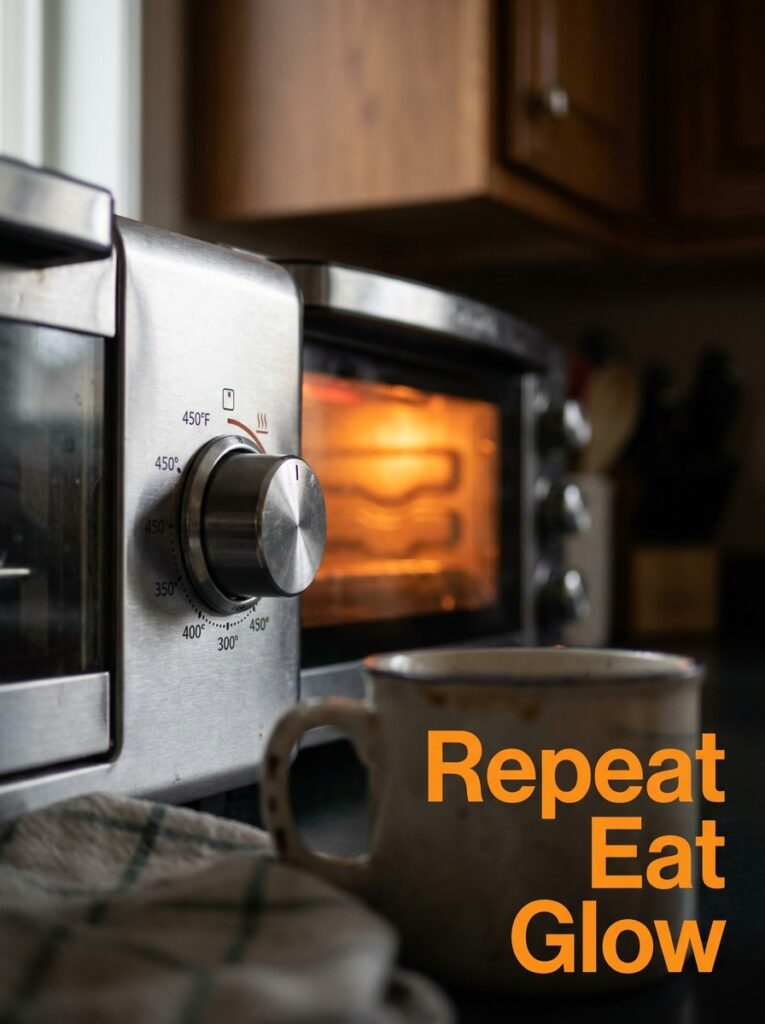
Four hundred and twenty-five degrees Fahrenheit. That’s your number. Write it down if you need to.
Not 350°F. Not 375°F. Those are the temperatures that dry out chicken before the outside even gets a chance to do anything interesting. High heat seals things up fast, creates a little color on the surface, and cuts the cooking time down so the inside doesn’t have time to go chalky.
For a standard chicken breast — maybe 6 to 7 ounces — 425°F for 20 to 22 minutes is usually the sweet spot. Thicker than that, maybe 24 to 25 minutes. But honestly the best thing you can own if you cook chicken a lot is a cheap instant-read thermometer. Pull it at 160°F internal temp, tent it with foil, and carry-over cooking does the rest. It’ll hit 165°F by the time you set the table.
UK readers: that’s roughly 220°C / Gas Mark 7 if you’re working in Celsius. Same rules apply.
And please — please — don’t poke it constantly while it’s cooking. Every time you open that oven door, you’re dropping the temperature and adding minutes. Trust the heat. Leave it alone.
“High heat is the kindest thing you can do for a chicken breast. Low and slow is how it dies.”
—
3. The Olive Oil Rub That Takes 90 Seconds and Tastes Like You Tried
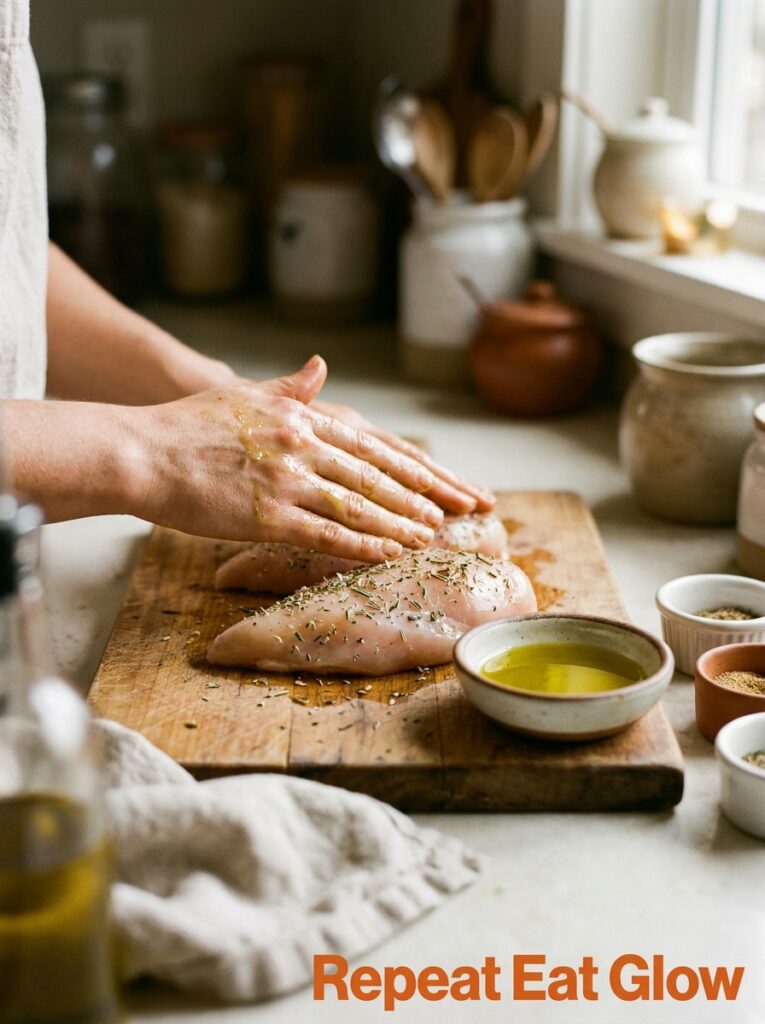
Before we get into full recipes, can we talk about the base layer? Because this is where most home cooks leave an enormous amount of flavor on the counter.
Two tablespoons of olive oil. A generous amount of kosher salt — more than feels comfortable. Cracked black pepper. That’s your baseline. Pat the chicken dry first (seriously, dry it, moisture on the surface steams instead of roasting), rub the oil all over including underneath if there’s a tenderloin attached, and season like you mean it.
From there? The variations are endless. Smoked paprika and garlic powder. Italian herbs and lemon zest. Cumin and coriander if you’re going in a warmer direction. Dijon mustard thinned with a bit of oil makes this incredible sticky crust that’s honestly one of my favorite discoveries of the last couple of years.
The mustard one sounds weird. It’s not. Do it once and you’ll understand.
The point is that chicken breast is essentially a blank canvas, and the rub is the part where you decide what dinner actually is tonight. You’ve got maybe 90 seconds of actual work before it goes in the oven. That’s the deal.
—
4. Lemon Garlic Chicken Breast — The One I Make Every Single Week
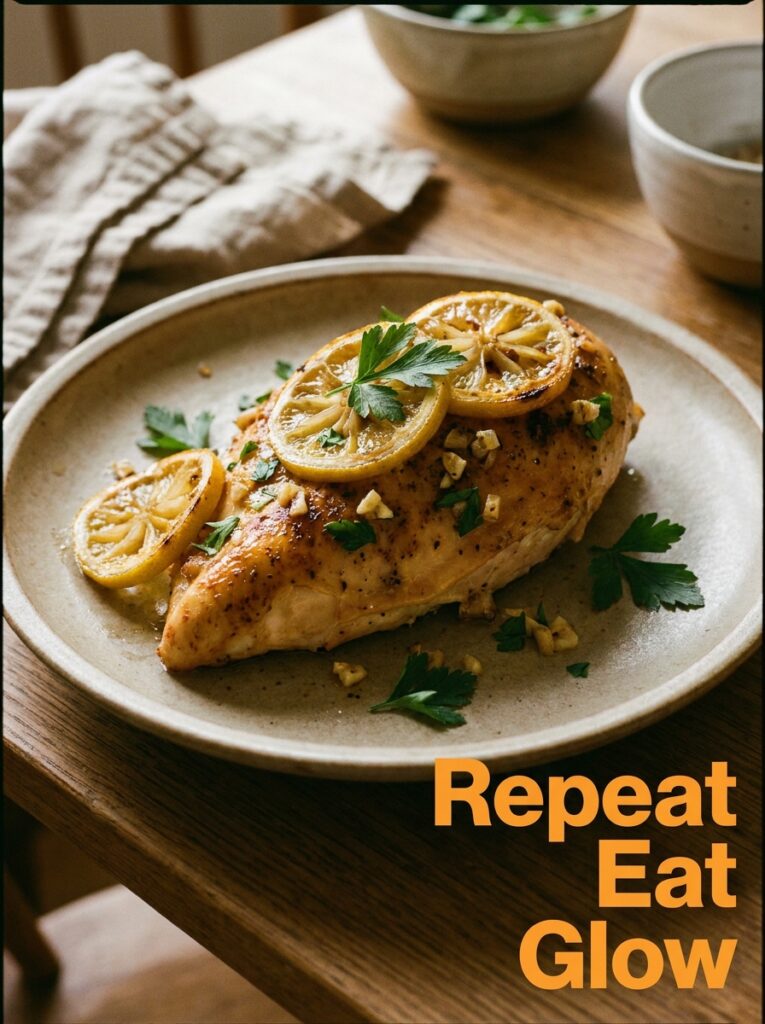
Okay, full recipe time. This one’s the workhorse. The crowd-pleaser. The thing I make when I genuinely don’t want to think too hard.
Four chicken breasts, patted dry. Mix together 3 tablespoons olive oil, 4 cloves of garlic (minced or pressed), the zest and juice of one lemon, a teaspoon of dried oregano, salt, pepper, and a tiny pinch of red pepper flakes if you’ve got them. Pour it over the chicken in a baking dish, make sure it’s well coated, and let it sit for even just 15 minutes if you can. Longer is better but 15 is fine.
Into the 425°F oven. 20-22 minutes. Rest it.
What comes out smells like someone who actually knows what they’re doing lives in your house. The lemon chars slightly around the edges of the dish, the garlic goes a little golden and sticky, and the chicken itself has this bright, savory thing happening that I can never quite fully describe. It just tastes complete.
“This is the recipe I’ve made on every first dinner in every new home I’ve ever lived in. It feels like settling in.”
Serve it with roasted vegetables, over rice, sliced cold into a salad the next day. It works every way.
—
5. The Sheet Pan Dinner Trick That Means Zero Extra Dishes
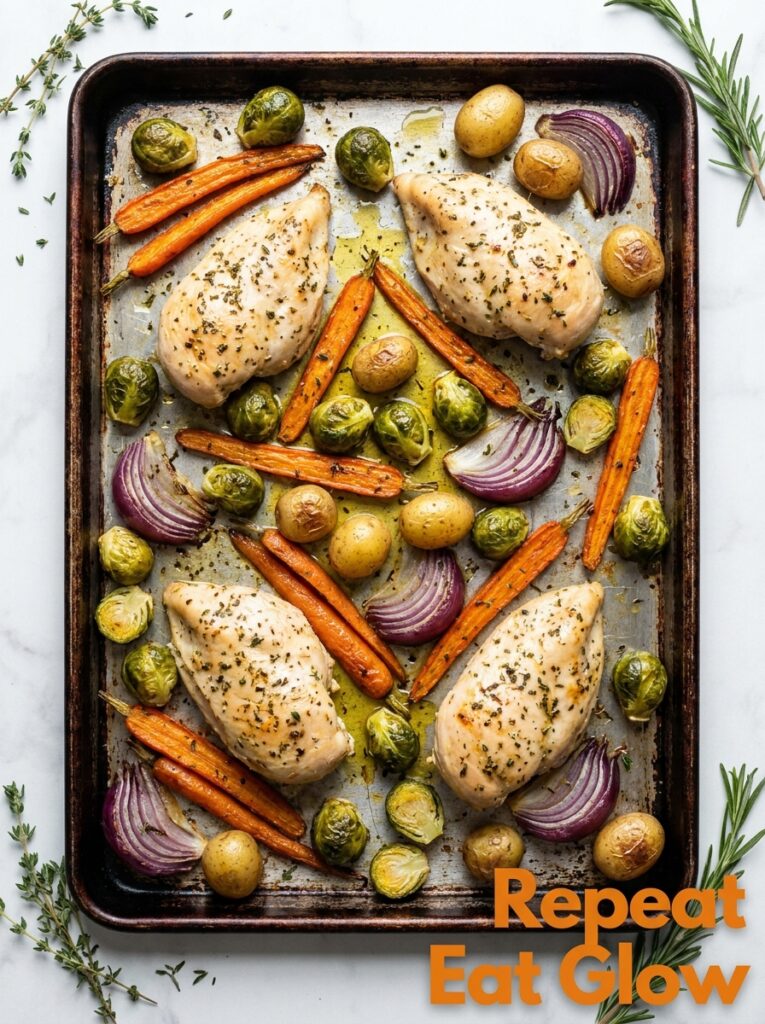
Sheet pan dinners are not a new concept. But there’s a technique thing that most recipes skip over and it drives me a little crazy.
If you put the vegetables and the chicken on the sheet pan at the same time, from the same cold temperature, something always gets sacrificed. Broccoli that goes limp. Chicken that waits forever for the potatoes to cook through. You’ve seen it. We’ve all done it.
The fix: stagger. Chop your vegetables (baby potatoes, bell peppers, zucchini, red onion — whatever’s in the fridge) and get them in the oven at 425°F for about 10 minutes on their own before the chicken joins them. That head start means everything hits the finish line together.
Drizzle vegetables with olive oil, season them well, spread them in a single layer. And I mean a SINGLE layer. Overcrowding is how you get steamed vegetables instead of roasted ones. Use two pans if you need to.
Add the chicken to the pan after 10 minutes. Another 20-22 minutes. Rest. Done.
One pan. Almost no cleanup. Dinner on the table in just over 30 minutes. I’ve made this on a Wednesday night after a long day when I had exactly zero desire to do anything more complicated and it’s consistently one of the most satisfying meals I eat all week.
—
6. Honey Mustard Glazed Chicken — The Version That Actually Caramelizes
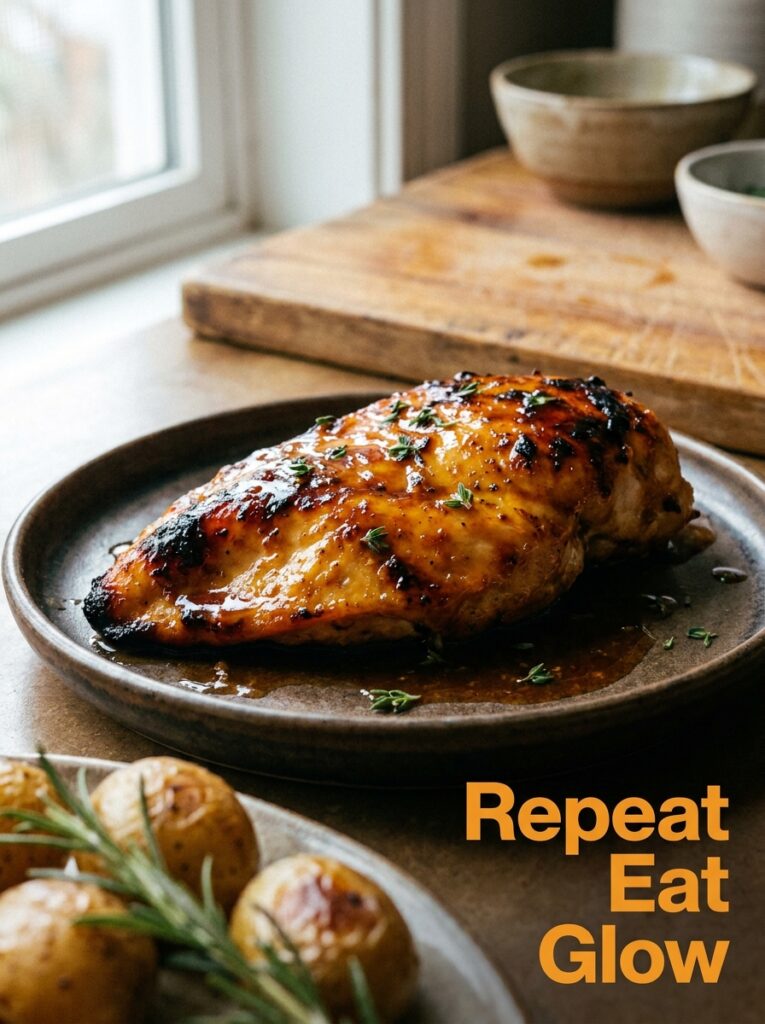
Right. So honey mustard chicken. Every recipe you’ve seen for this has probably let you down at least once. The glaze goes watery in the oven, or it burns on the outside before the inside’s cooked through, or it just tastes… flat.
Here’s what makes the difference. The ratio. And cooking in two stages.
Glaze: 2 tablespoons honey, 2 tablespoons Dijon mustard, 1 tablespoon wholegrain mustard, 1 tablespoon olive oil, a small clove of garlic pressed in, salt and pepper. That’s it. Whisk it together. It’s thick, a bit tangy, slightly sweet.
Season your chicken breasts first with salt and pepper on their own. Then brush them generously with the glaze. Don’t put ALL the glaze on at the start — save about a third of it.
Into 425°F for 15 minutes. Then pull the pan out, brush on the reserved glaze (this is the move), put it back in for another 8-10 minutes. That second coat goes on a hot, already-partly-cooked surface and it doesn’t slide off — it caramelizes. You get this sticky, slightly charred, deeply savory-sweet crust that is genuinely so good it makes you feel a bit smug about Tuesday.
—
7. The Italian Stuffed Chicken Breast That Looks Impressive and Isn’t That Hard
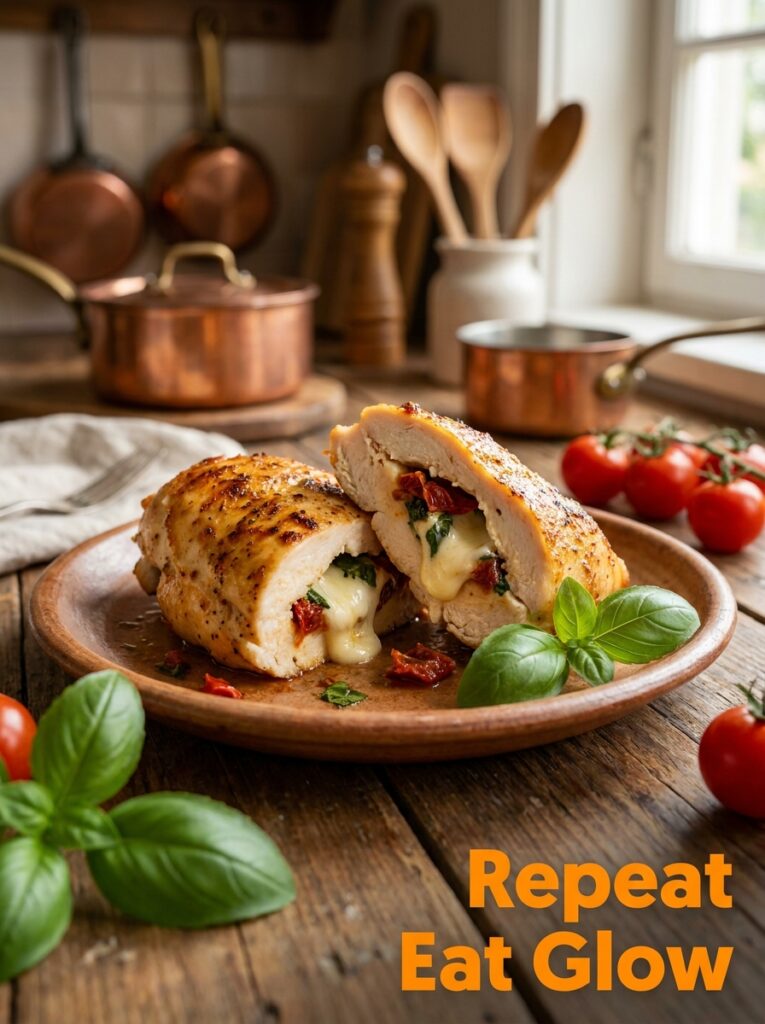
Some nights you want something that feels a little special. Not restaurant-special. Just, you know, like you put some thought in.
This one’s got a short ingredient list but the result looks like you’ve made an effort.
Take each chicken breast and cut a pocket into the thickest part — use a sharp knife and be careful, but it’s not as tricky as it sounds. Into each pocket, stuff a slice of prosciutto (or thinly sliced ham if prosciutto’s not your thing), a tablespoon of ricotta or cream cheese, a few fresh basil leaves, and half a sun-dried tomato torn into pieces.
Secure the opening with a toothpick or two. Season the outside with salt, pepper, and Italian seasoning. Sear it in a hot oven-proof skillet on the stovetop for 2 minutes per side just to get some color, then slide the whole pan into 425°F for 18-20 minutes.
The cheese melts into the meat. The prosciutto crisps up a little at the edges. The basil perfumes the whole thing from the inside.
“Stuffed chicken sounds like a dinner party move. But it takes less than 10 minutes to prep, and it tastes like you’ve been cooking all afternoon.”
—
8. Paprika Chicken With Crispy Edges — The One That Smells Like Someone’s Grandmother Made It
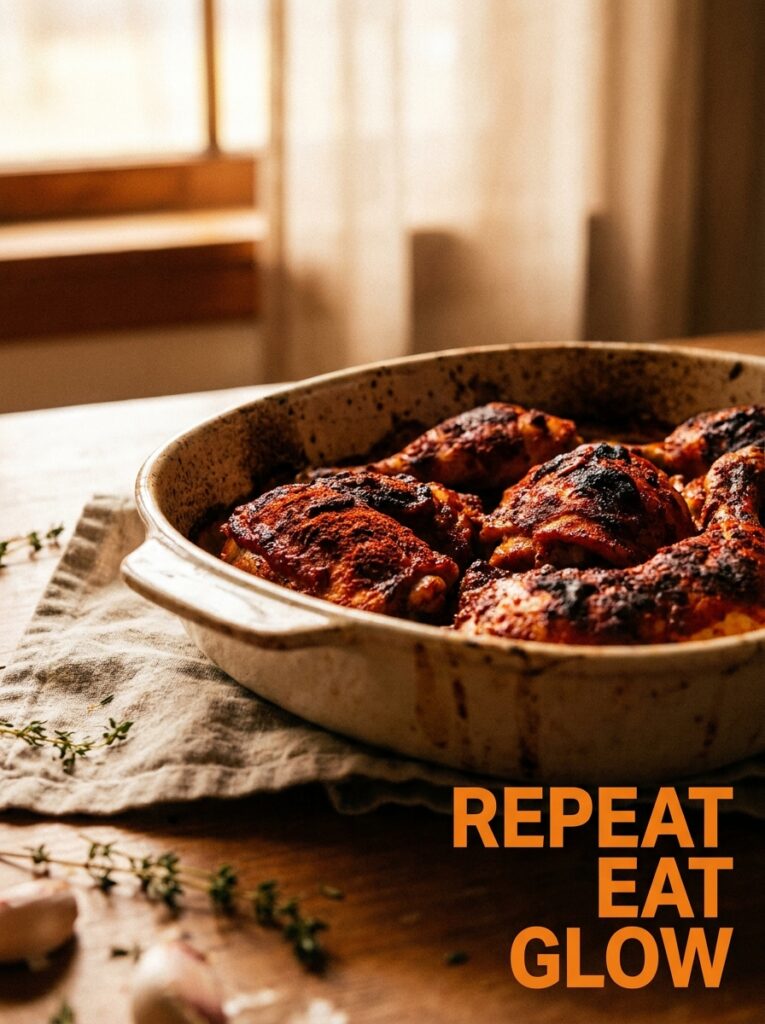
Smoked paprika is one of those ingredients that does all the heavy lifting with very little help. Combined with garlic, olive oil, and a bit of dried thyme, it creates something that smells so good coming out of the oven that people wander into the kitchen asking what you’re making.
Three teaspoons of smoked paprika. Two of garlic powder. One of onion powder. One of dried thyme. Half a teaspoon of cayenne if you like heat. Salt and pepper. Mix it into three tablespoons of olive oil to make a thick paste.
Rub it all over the chicken breasts — really get into it, get it under the loosened skin if there’s any skin still attached, and coat every surface. Let it marinate for at least 20 minutes. An hour is better. Overnight in the fridge? Honestly transformative. (Wait, I said I wouldn’t use that word. Let me try again.) Overnight in the fridge? The flavor goes from good to genuinely exceptional.
The edges catch slightly in the high oven heat and go almost crispy. Not crunchy — the chicken’s not breaded — but there’s this paprika crust that forms and it’s one of those little oven magic moments.
—
9. Tuscan Cream Sauce Chicken That Cooks in One Baking Dish
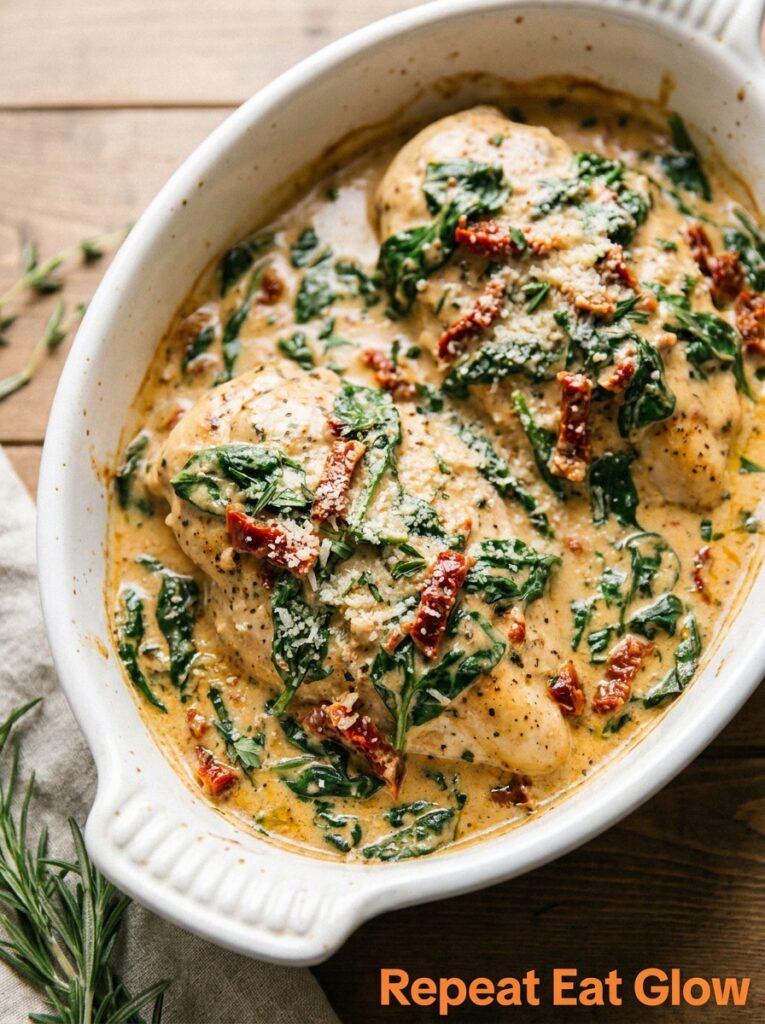
I’ll be honest — I resisted the Tuscan chicken trend for a long time. Seemed fussy for a weeknight. And then I made a simplified oven version and sort of ate my words.
Season chicken breasts. Sear them in an oven-proof dish or large skillet on the stovetop for 2 minutes per side. Set aside. In the same dish, briefly sauté a couple of garlic cloves in olive oil (30 seconds, don’t burn them), then pour in half a cup of chicken stock and half a cup of heavy cream. Add a big handful of cherry tomatoes, a handful of fresh spinach, a tablespoon of Italian seasoning, salt and pepper.
Nestle the chicken back in. Into the oven at 375°F (this one’s lower because the cream sauce needs a gentler heat) for 20 minutes.
Pull it out and there’s this reduced, silky sauce with burst tomatoes and wilted spinach and chicken that’s just cooked through. It looks incredible. Serve it over pasta or with crusty bread to get every drop of that sauce.
It does require a bit of stovetop work before the oven. But the STOVETOP part is like five minutes, and then the oven does the rest while you pour yourself something.
—
10. The Balsamic Glazed Version That Works for Meal Prep Too
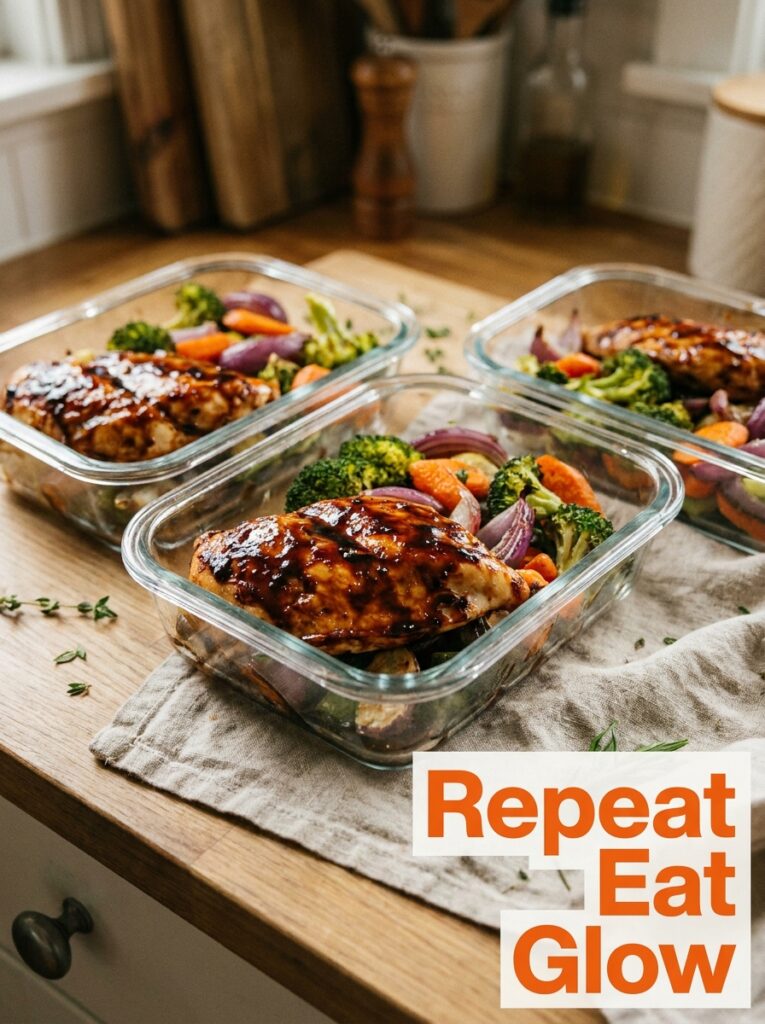
Balsamic and chicken is one of those pairings that keeps making sense no matter how many times you come back to it. There’s something about the sweet, sharp, slightly syrupy quality of a reduced balsamic that just coats chicken beautifully.
Balsamic glaze — you can buy it pre-made in most grocery stores now, or reduce balsamic vinegar with a little honey in a small pan until it’s thick and coats a spoon. Brush it over seasoned chicken breasts. Into 425°F for 20-22 minutes.
The glaze goes dark and slightly sticky and incredibly savory. It’s the kind of thing you want to slice thin and layer over a salad with good sharp cheese and walnuts. Or dice it up and toss it through warm orzo with roasted veg.
And it meal preps beautifully. Cook four breasts on Sunday, keep them in the fridge, slice as needed through the week. Cold balsamic chicken sliced over arugula with shaved parmesan might be the best five-minute lunch I know.
—
11. The Breadcrumb-Crusted Chicken That Doesn’t Dry Out (Yes, Really)
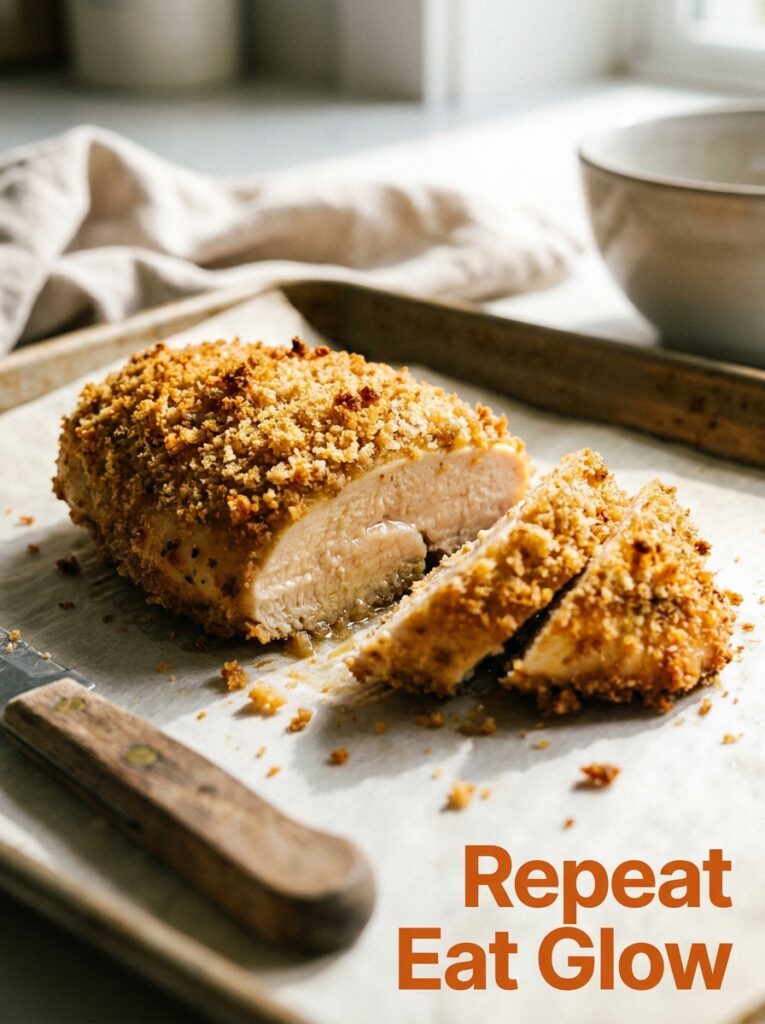
Breaded chicken in the oven. Sounds simple. Gets messed up constantly.
The enemy here is moisture escaping before the breadcrumb crust has a chance to do anything. So here’s the setup. Brush each chicken breast with a thin layer of Dijon mustard — it acts as a binder AND adds flavor. Then press panko breadcrumbs (panko, not regular — the texture is completely different) mixed with grated parmesan, garlic powder, dried parsley, and salt into the mustard coating. Press firmly so it adheres.
Place on a wire rack set inside a baking sheet. This is the move. Elevating the chicken means hot air circulates underneath and you get an even crust, not a soggy bottom.
425°F for 20-22 minutes. Don’t flip it. Don’t touch it. Just let it go.
What comes out has this properly crispy parmesan crust that shatters a little when you cut through it, and the chicken inside is still moist because the crust sealed everything in. It’s close enough to fried chicken to scratch that itch without the oil splatter and the mess.
—
12. The Thing to Do With Leftover Chicken That Might Be Better Than the Original
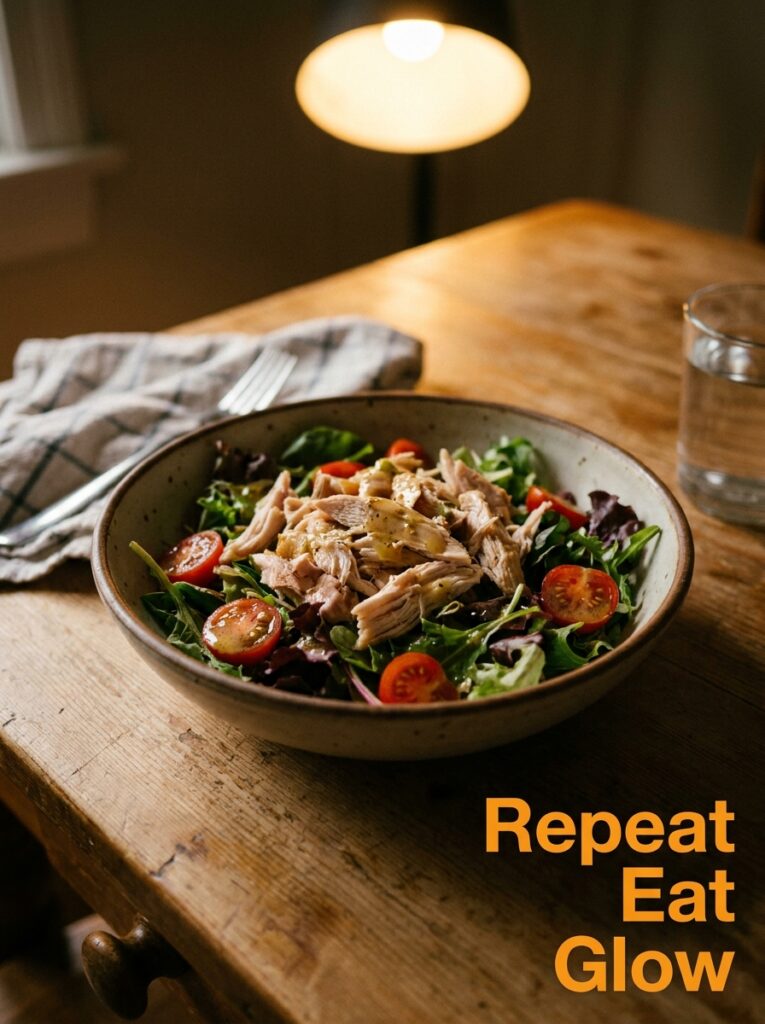
Okay. This is sort of a bonus section and sort of not, because I think leftover chicken is where the REAL magic happens and not enough people plan for it.
Cook extra. Always cook extra. Two or three extra chicken breasts alongside whatever recipe you’re already making. Let them cool completely, slice or shred, and store them flat in a container in the fridge.
From there: chicken quesadillas with leftover balsamic chicken and cheddar and sliced red onion, done in a pan in eight minutes. Cold lemon garlic chicken sliced over a grain bowl with whatever’s in the fridge. Shredded paprika chicken stirred into a quick pasta with olive oil, chili flakes, and lemon. Chicken salad sandwiches with a bit of mayo, celery, and Dijon on thick sourdough.
The oven does the hard work once. And you eat well for three days.
That’s the whole philosophy, actually. One good oven dinner with a bit of strategy behind it isn’t just one meal — it’s a running start on the rest of your week.
—
❓ FAQ
Q: How do I stop chicken breast from drying out in the oven? A: High heat (425°F), don’t overcook past 165°F internal temperature, and REST it for at least 5 minutes before cutting. Cutting too soon is where most of the moisture goes. A cheap instant-read thermometer genuinely changes the game here.
Q: Can I use frozen chicken breasts straight from the freezer? A: You can, but it’s not ideal — cooking from frozen adds significant time and the exterior tends to overcook before the inside’s done. Defrost overnight in the fridge for the best results. If you’re in a pinch, thaw in a sealed bag in cold water for about an hour, changing the water halfway through.
Q: How long do oven-baked chicken breasts keep in the fridge? A: Properly stored in an airtight container, cooked chicken breast keeps well for up to 4 days in the fridge. It also freezes well for up to 3 months — slice or shred it before freezing so you can take out exactly what you need.
—
💭 Final Thoughts
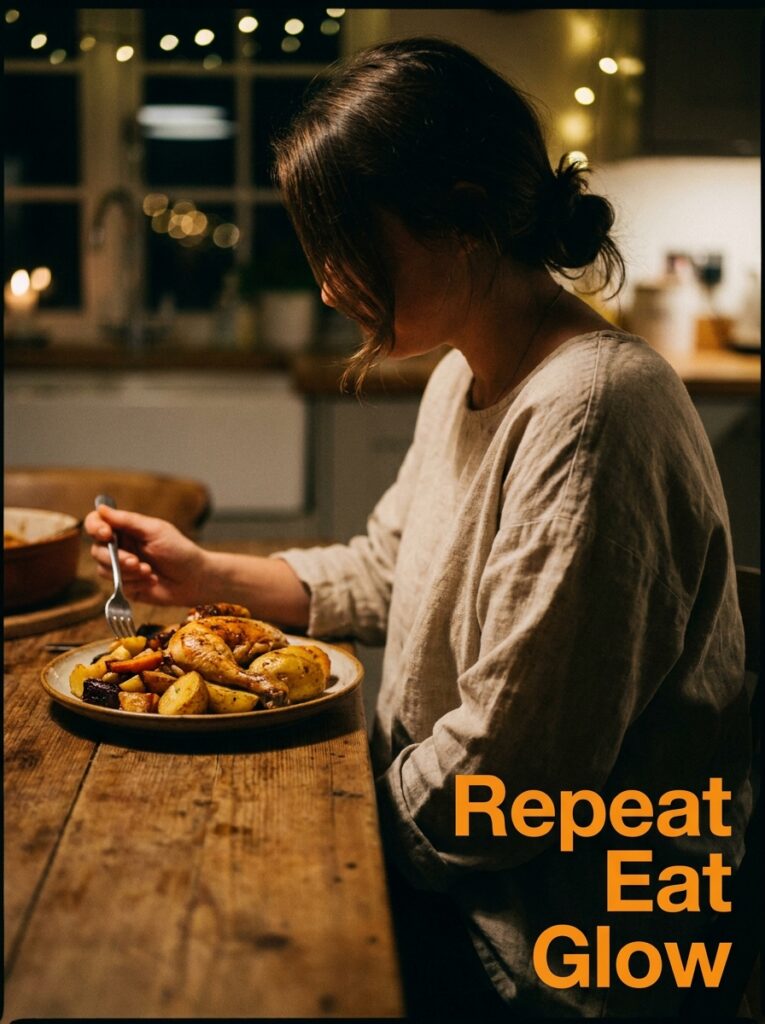
Chicken breast dinners don’t have to be the meal you make when you’ve given up on having an opinion. Done right — high heat, good seasoning, a bit of respect for the rest time — they’re genuinely some of the most satisfying, flexible, crowd-pleasing dinners you can have on a weeknight rotation.
Start with the lemon garlic one. Make it twice. Then start playing.
Is there one specific night of the week that always gets away from you in the kitchen — the one where dinner somehow never quite comes together?
