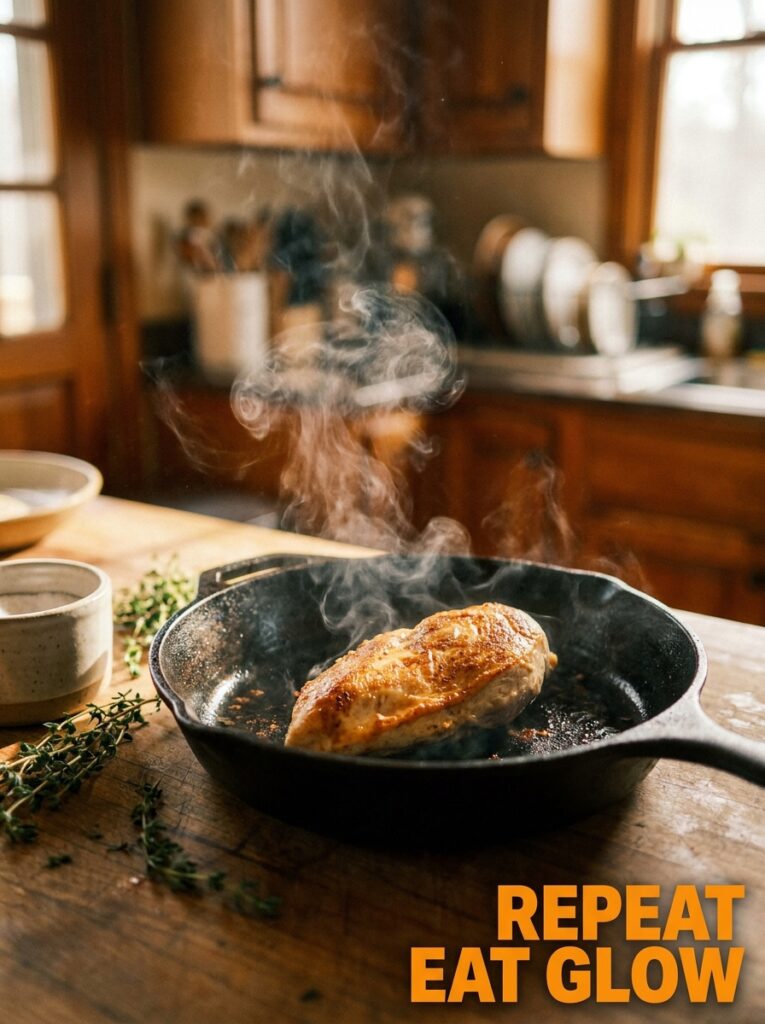
You know that chicken you order at a nice bistro — the kind with the shatteringly crisp skin and the juicy inside that practically sighs when you cut into it? You’ve tried to make it at home and it came out… fine. Edible. But not THAT. Here’s what’s actually going on, and how to fix it tonight.
—
1. Why Your Pan-Seared Chicken Has Been Lying to You
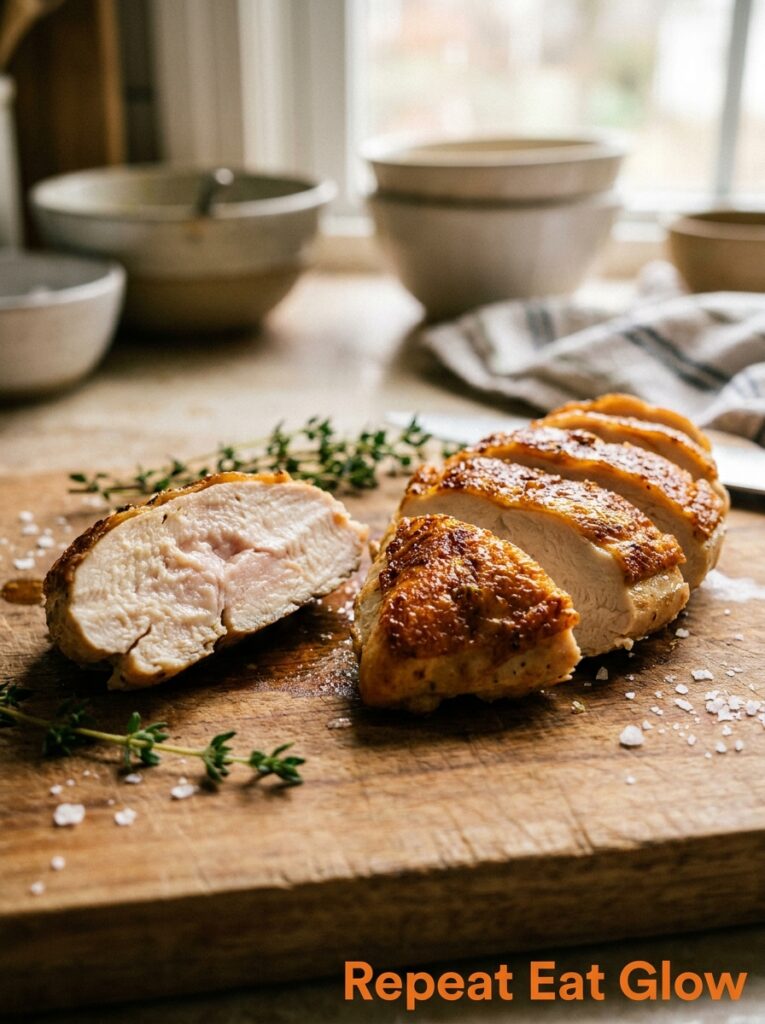
Let’s just be honest. Most home cooks are doing at least two things wrong before the chicken even hits the pan. And it’s not their fault — most recipes skip the stuff that actually matters and go straight to the pretty part.
The first thing is moisture. Raw chicken straight from the fridge is wet. Not damp — wet. And water is the enemy of a good sear. When wet protein hits hot fat, it steams instead of sears. You get that greyish, sad exterior that never quite browns, no matter how long you leave it there. Pat it dry. Like, really dry. I use paper towels and go over it twice, which sounds obsessive but I promise it’s worth it.
The second thing is temperature. Cold chicken in a hot pan drops the pan temperature too fast, and the sear you spent time building just… stalls. Pull your chicken out of the fridge 20 to 30 minutes before cooking. Let it come up toward room temperature. It doesn’t need to be fully room temp — this isn’t a steakhouse — but it shouldn’t be fridge-cold either.
Those two things alone will change everything. Before we even talk about techniques or flavors.
“Dry chicken + hot pan = the sear you’ve been chasing. Wet chicken + any pan = disappointment.”
—
2. The Cast Iron vs. Stainless Debate (And Why You Might Be Using the Wrong One)
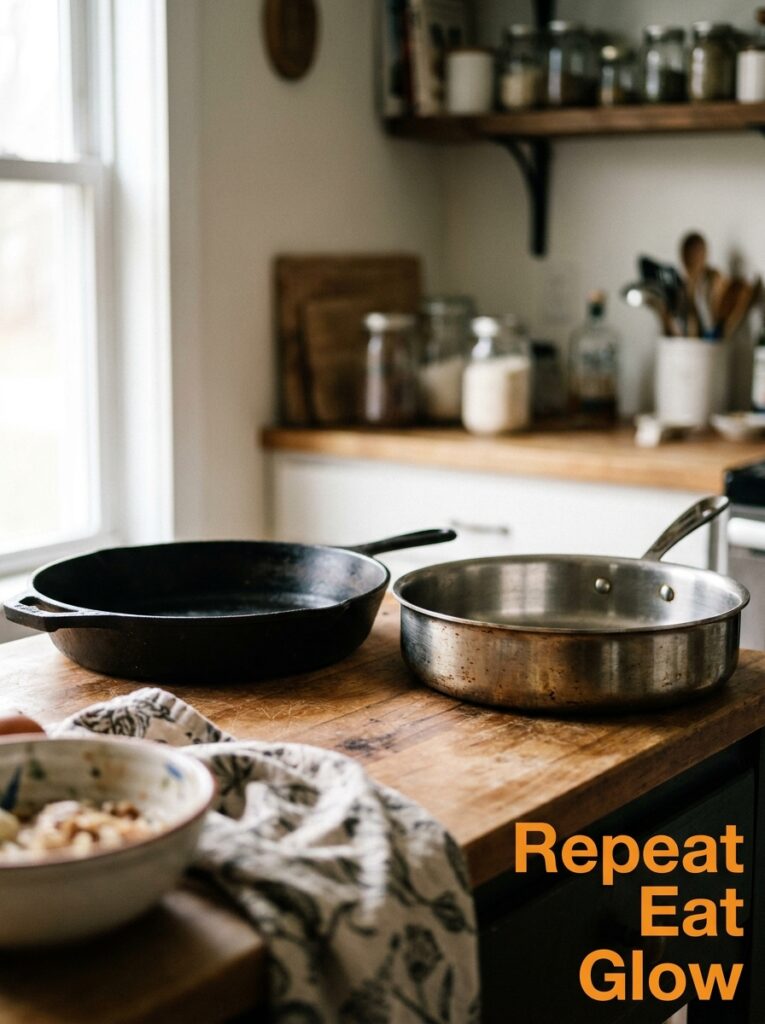
Cast iron gets all the glory. And look, I love my cast iron skillet, I really do. But for pan-seared chicken? Stainless steel is actually the better tool, and not enough people are saying this.
Here’s the thing about cast iron — it holds heat incredibly well, which sounds perfect. But it also takes longer to respond when you need to adjust the temperature. If your chicken is browning too fast on the outside before the inside is cooked through, you can’t just turn the heat down and expect an immediate response. Cast iron will keep pumping heat into the bird long after you’ve adjusted the dial.
Stainless responds faster. You’ve got more control. And yes, chicken will stick to stainless initially — but that’s actually FINE, because it’ll release on its own when it’s ready to flip. That’s the rule I always come back to. If it’s sticking, it’s not done yet. Don’t force it.
That said — if cast iron is what you’ve got, that’s what you use. Just preheat it longer than you think, keep the heat at medium rather than medium-high, and you’ll get there. A great pan-seared chicken has been made in every type of pan imaginable. The technique matters more than the equipment.
—
3. The Buttermilk Soak That Makes Even Cheap Chicken Taste Expensive

This one isn’t strictly necessary for a quick weeknight dinner. But if you’ve got time — even just two hours — a buttermilk soak will do things to chicken thighs that feel borderline unreasonable.
Buttermilk is slightly acidic, so it gently loosens the muscle fibers without making the meat mushy the way a vinegar or citrus marinade can. The result is chicken that’s tender all the way through, not just on the surface. And the lactic acid helps with browning, so you actually get a better crust too.
The basic ratio I use: enough buttermilk to submerge the chicken, a good pinch of salt, a clove of garlic smashed (not minced, just smashed), and a few sprigs of thyme. That’s it. You don’t need a complicated marinade. Bag it up, pop it in the fridge, come back later and pat it completely dry before searing. This works brilliantly with skin-on thighs, drumsticks, even boneless breasts if you’re careful not to overcook them afterward.
Side note — if you’re in the UK and buttermilk isn’t something you regularly stock, you can make a quick substitute with regular milk and a squeeze of lemon. Not identical, but genuinely close.
—
4. The Herb Butter Baste That Happens in the Last Three Minutes
This is the move. This is the thing that separates “good home cook” from “wait, did you go to culinary school.”
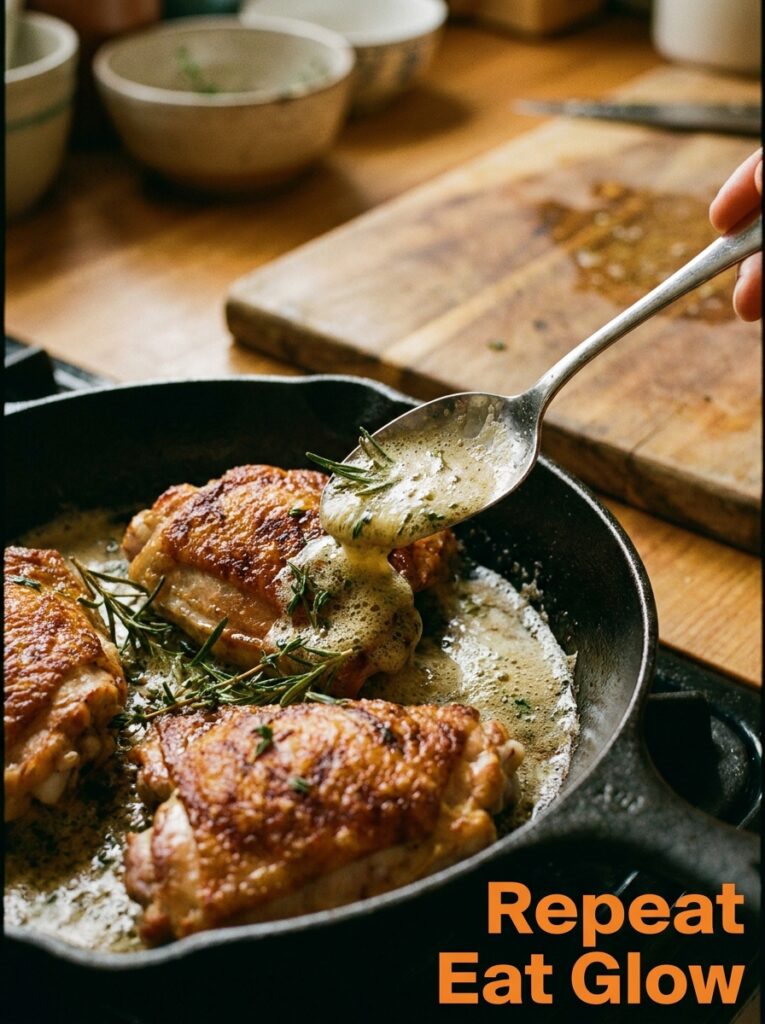
You’ve got your chicken in the pan, it’s been searing on the first side for five or six minutes, you flip it, and now — butter goes in. A good chunk. Real butter, not margarine, don’t @ me. Let it foam up, tip the pan slightly toward you, and use a spoon to repeatedly pour that foamy, golden, ridiculous butter back over the top of the chicken as it finishes cooking.
Throw a smashed garlic clove and a sprig of rosemary or thyme into the butter while you’re doing this. The butter picks up those flavors and deposits them directly onto your chicken with every baste. The smell alone is going to make your kitchen feel like a different building.
This whole process takes maybe three minutes. But those three minutes are doing SO much — building flavor, adding color, keeping the meat moist. It’s also just genuinely satisfying to do. There’s something meditative about standing there with your spoon, basting away, the butter sizzling and smelling incredible.
“Butter, a smashed garlic clove, and three minutes of basting — that’s the move every restaurant chef is doing while you’re sitting in the dining room wondering why yours doesn’t taste like theirs.”
—
5. Five-Ingredient Pan Sauce That Makes the Chicken Look Like a Full Meal
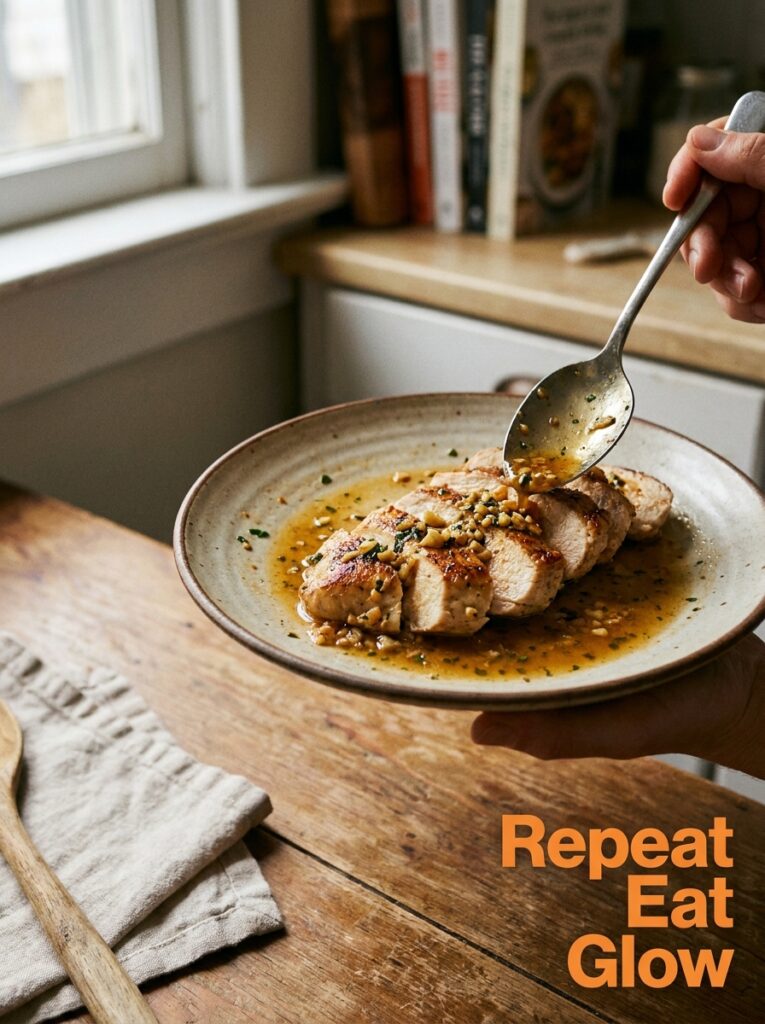
Don’t wash that pan. Whatever you do, don’t wash that pan after the chicken comes out. Those brown bits stuck to the bottom? That’s called fond, and it’s basically free flavor.
Here’s my go-to five-ingredient pan sauce, and I make some version of this probably twice a week:
Remove the chicken to a plate and rest it, tented loosely with foil. Pour off most of the fat from the pan, leaving just a thin coating. Add two minced shallots (or half a small onion if that’s what you’ve got) and cook for two minutes, stirring constantly. Then — and this is where the magic happens — add about a third of a cup of white wine or chicken broth and scrape up every single one of those brown bits. Let it reduce by half. Add a splash more broth, a teaspoon of Dijon mustard, and a knob of cold butter to finish. Swirl, don’t stir.
Pour it over your chicken. That’s the whole recipe. The Dijon gives it a quiet sharpness that makes it taste like something a French grandmother put together over an hour when it actually took you four minutes.
—
6. The Weeknight Version: Lemon Garlic Chicken Thighs in 25 Minutes Flat
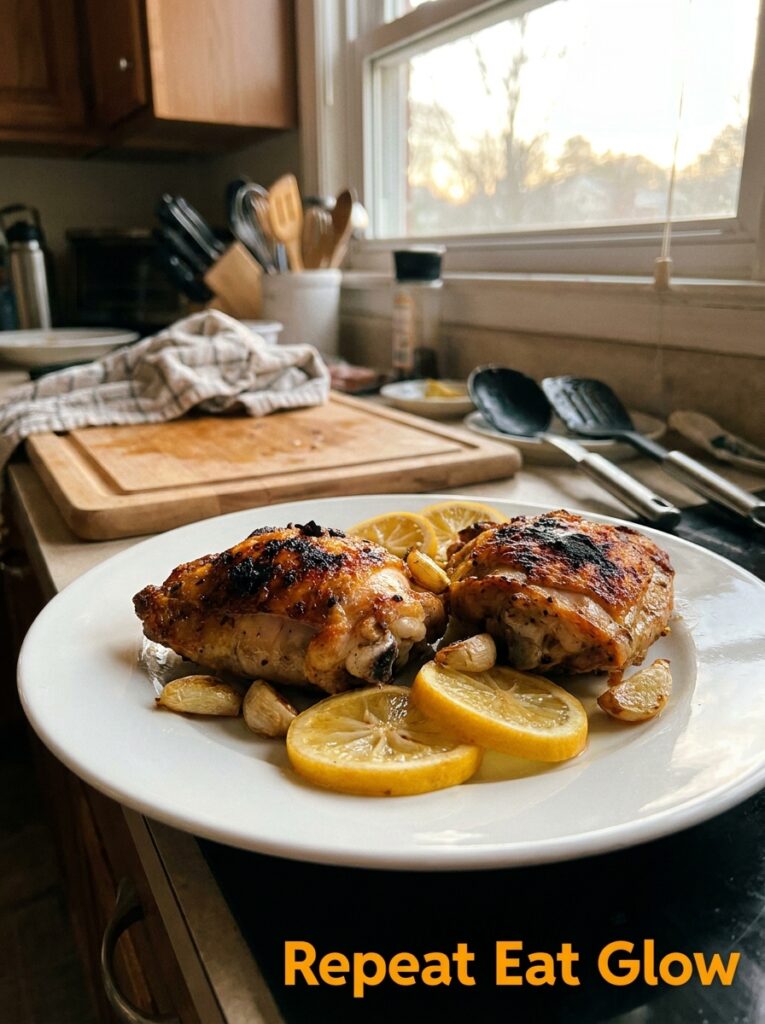
Okay but what about Tuesday? When you’re tired and you need dinner to happen and you don’t have the energy for a pan sauce and a basting situation?
This is the recipe I make on autopilot. Bone-in, skin-on chicken thighs — four of them. Pat them dry, season aggressively with salt, pepper, garlic powder. Get your pan hot with a little oil, lay them skin-side down, and don’t touch them for seven minutes. Flip, cook five more minutes, add two whole smashed garlic cloves and squeeze half a lemon over the whole thing. Put the pan in the oven at 400°F for ten minutes while you throw a salad together.
That’s it. The lemon caramelizes slightly on the skin and does something lovely. The garlic gets sticky and golden. The thighs are cooked through and juicy because thighs are forgiving in a way that breasts categorically are not, and if you’re not cooking mostly thighs at home, I kind of want to know why.
Not gonna lie — this is the recipe I’d make for company and dress it up with some fresh herbs and good bread, and people would think I’d been cooking for an hour.
—
7. What Temperature Actually Means (Because 165°F Is Not the Whole Story)
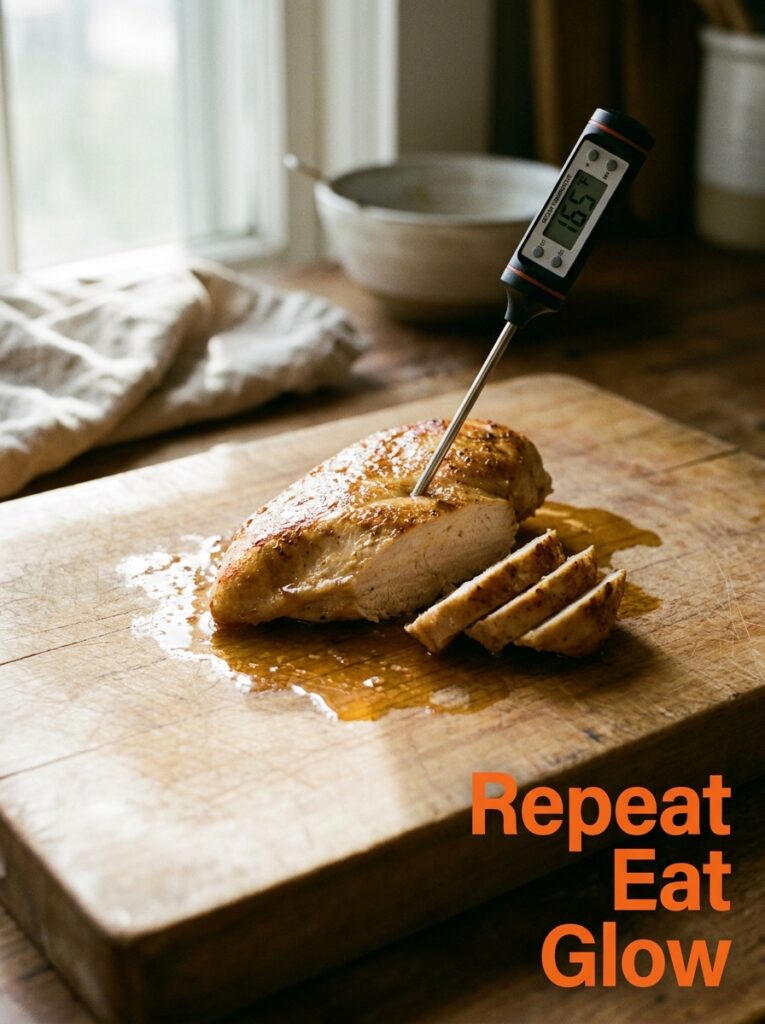
Here’s the thing about chicken and food-safe temperatures. 165°F is the number you’ll see everywhere, and yes — at 165°F, chicken is safe to eat. But it’s not necessarily the best chicken to eat.
The USDA says 165°F because it’s an instant kill temperature for bacteria. But chicken thighs, which have more connective tissue, actually become MORE tender and juicy if you bring them up to around 175°F and hold them there. The collagen has time to break down into gelatin, which gives you that rich, almost saucy quality inside a perfectly cooked dark-meat piece.
Breasts are the opposite. They’re done at 160°F (which carries over to 165°F with resting) and every degree above that is dryness happening in real time. Get a meat thermometer. An instant-read one. I’m not going to tell you it’ll change your life because that’s a lot of pressure to put on a kitchen gadget, but — okay, it kind of will.
“A meat thermometer isn’t about being precise. It’s about never ruining an expensive piece of chicken again.”
—
8. The Mediterranean Chicken That Smells Like Someone’s Grandmother’s Kitchen in Athens
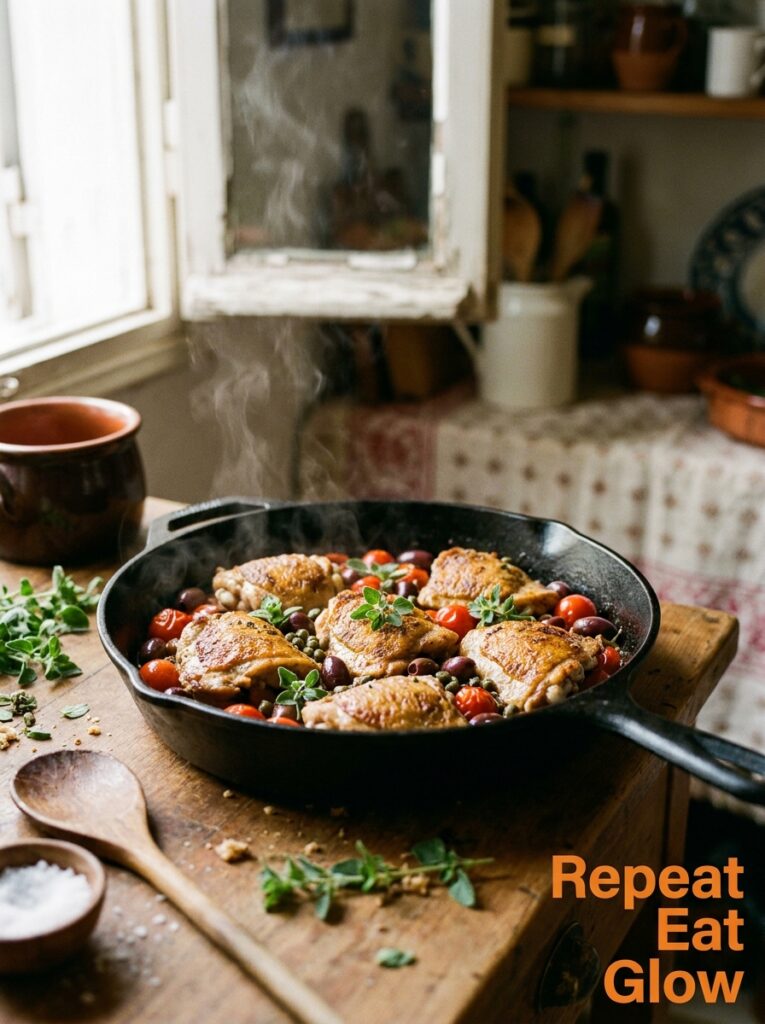
This is not a quick weeknight dinner. This is a Sunday afternoon recipe, the kind you make when you want the house to smell a certain way and dinner to feel like an event.
Season chicken pieces (a mix of thighs and drumsticks works best) with salt, pepper, dried oregano, smoked paprika, and a little cinnamon — yes, cinnamon, just a pinch, don’t skip it. Sear them hard on all sides in your biggest pan until they’re deeply golden. Remove to a plate. In the same pan, cook down a diced onion and three or four garlic cloves, add a can of chopped tomatoes, a handful of Kalamata olives, a glass of white wine, and a strip of lemon zest. Nestle the chicken back in, cover, and simmer on low for 30 to 40 minutes.
Serve with crusty bread. Maybe some crumbled feta on top. The broth that pools around the chicken is going to make you want to just drink it, which — honestly, no judgment.
—
9. Crispy Pan-Seared Chicken Over Wilted Butter Greens (The Fancy-Looking Easy One)
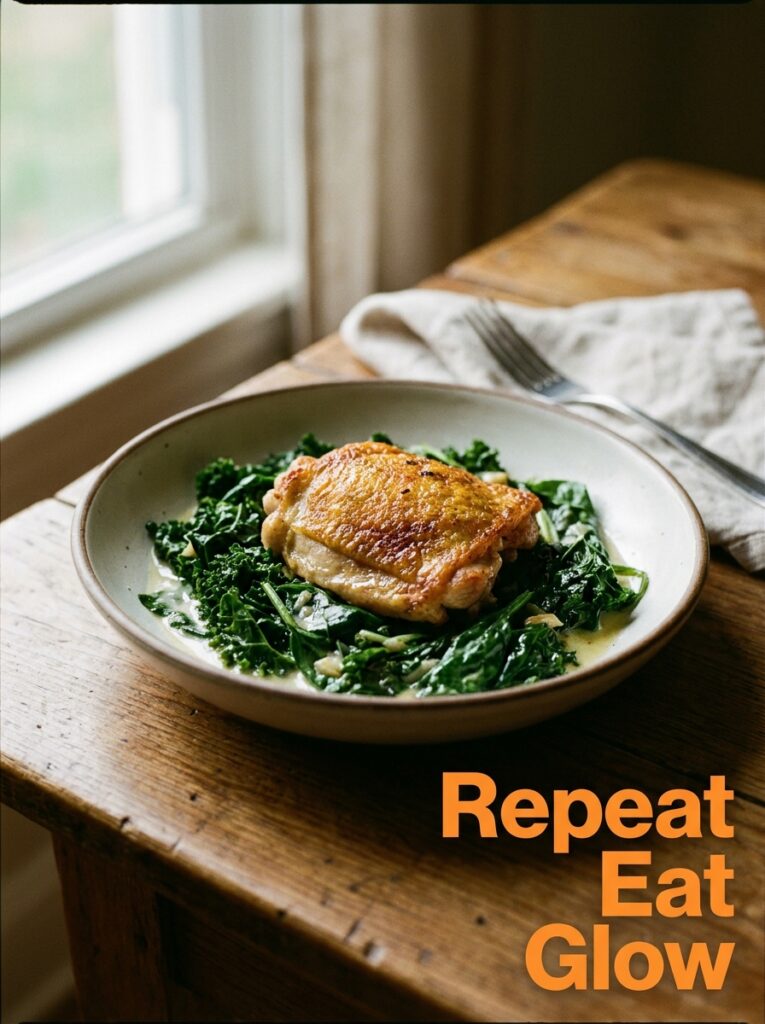
One of the best things about a properly seared chicken thigh is that it pairs with almost anything and automatically makes the plate look intentional. But this combination in particular has a kind of effortless sophistication to it.
After searing your thighs and resting them, use the leftover fat in the pan — don’t add more oil — to wilt a big handful of greens. Spinach works, cavolo nero is better, kale is fine if you massage it first. Add a small splash of water to help it steam down, a clove of garlic, a squeeze of lemon. Season well. The greens take about two minutes. Pile them on the plate and set the chicken on top.
What you’ve got is a dish that looks like something from a restaurant Instagram and took you approximately 25 minutes total. The chicken juices run down into the greens as you eat it, which kind of does the sauce’s job for you. Really good with a glass of white wine. Really good for a dinner party where you want to seem like the kind of person who has their life together.
—
10. The One Pan, Four Vegetables Method That Makes Cleanup Basically Nothing
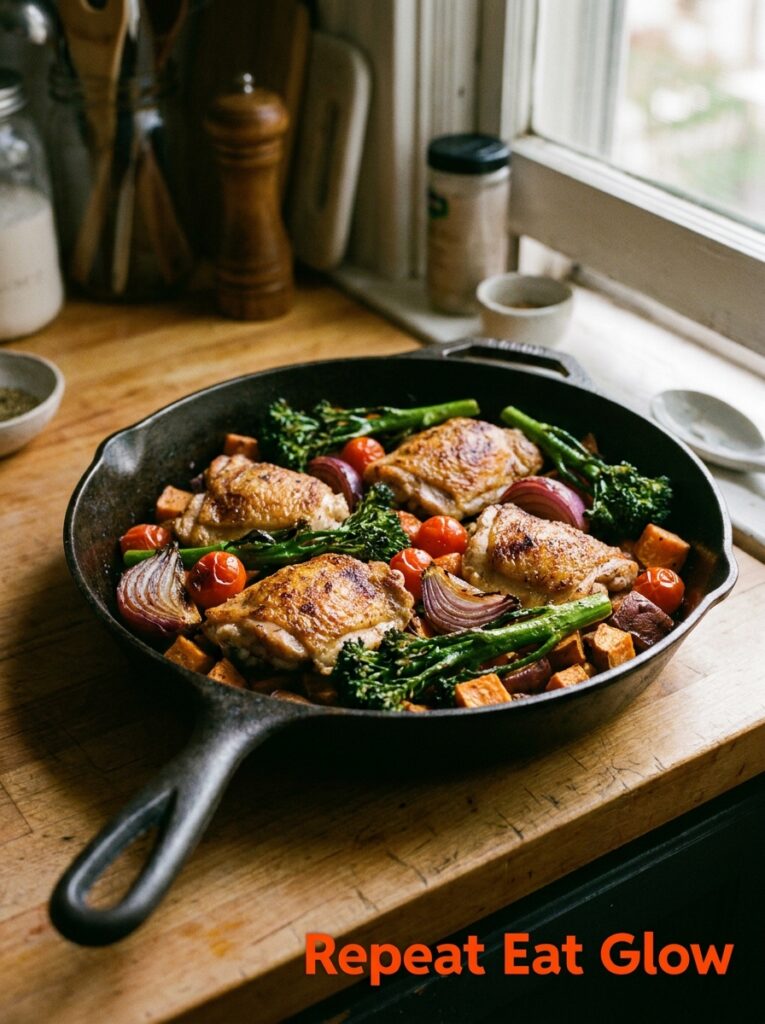
Here’s a whole-dinner approach that I keep coming back to because the cleanup is essentially one pan and a cutting board.
Quarter some baby potatoes, slice a red onion into wedges, halve a few cherry tomatoes, and toss some whole garlic cloves in with everything. Season the vegetables with olive oil, salt, dried thyme. Spread them in a single layer in your biggest oven-safe skillet or roasting pan. Sear your chicken separately (skin-side down in a hot pan, five to seven minutes) then nestle the pieces on top of the vegetables, seared side up, skin exposed. The whole thing goes into a 400°F oven for 35 to 40 minutes.
The chicken drips its fat down onto the vegetables while it finishes cooking. The potatoes absorb that and turn golden and slightly crisp at the edges. The tomatoes burst and become jammy. The garlic gets sweet and spreadable.
One pan. Dinner for four. Approximately fifteen minutes of actual effort.
—
11. The Spice Blend That Changes the Whole Feeling of a Simple Chicken
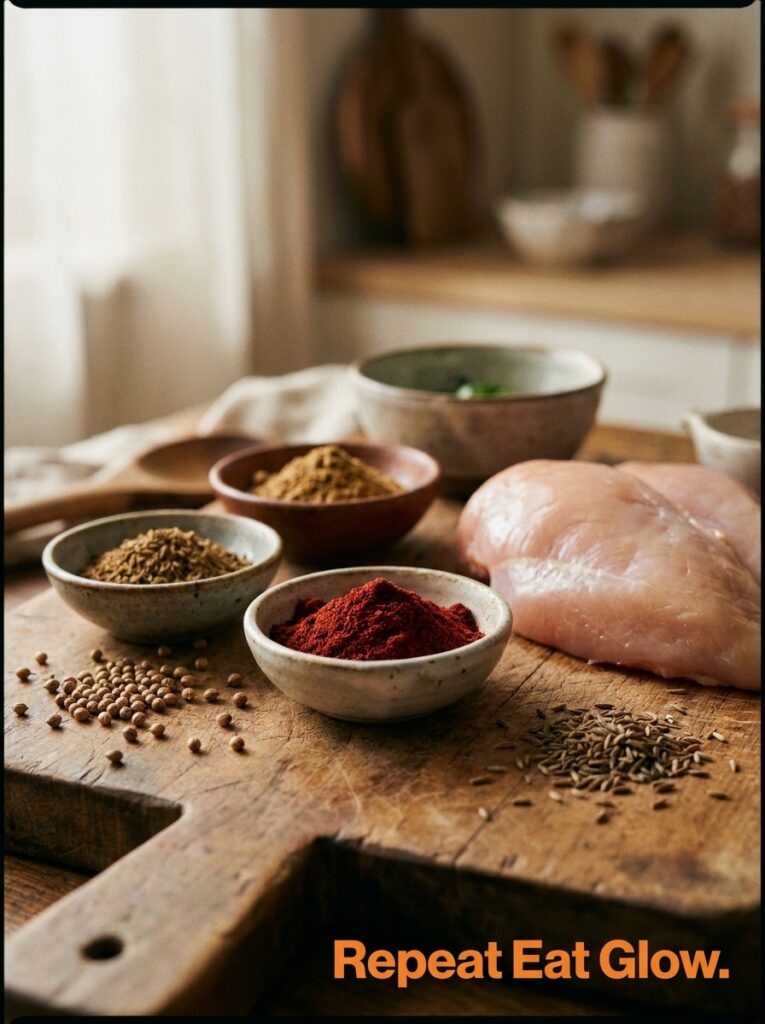
Same technique, completely different meal — and all you changed was the spice blend.
I keep a few mixes in little jars because it means weeknight dinner goes from “hmm” to “done” in about three seconds of decision-making. The three I come back to most:
Warm Moroccan: cumin, coriander, smoked paprika, cinnamon, a tiny bit of cayenne. Serve over couscous with a yogurt drizzle.
Smoky American BBQ dry rub: brown sugar, smoked paprika, garlic powder, onion powder, black pepper, a little mustard powder. Sear hard, finish in the oven, eat with slaw and pickles.
British herb classic: dried thyme, sage, onion powder, a little celery salt. This one smells like a Sunday roast in pan-seared form, which is a genuinely comforting thing.
The chicken technique doesn’t change. You’re just rotating the personality of the dish.
—
12. The Resting Rule That Most People Skip and Then Wonder Why the Chicken’s Dry
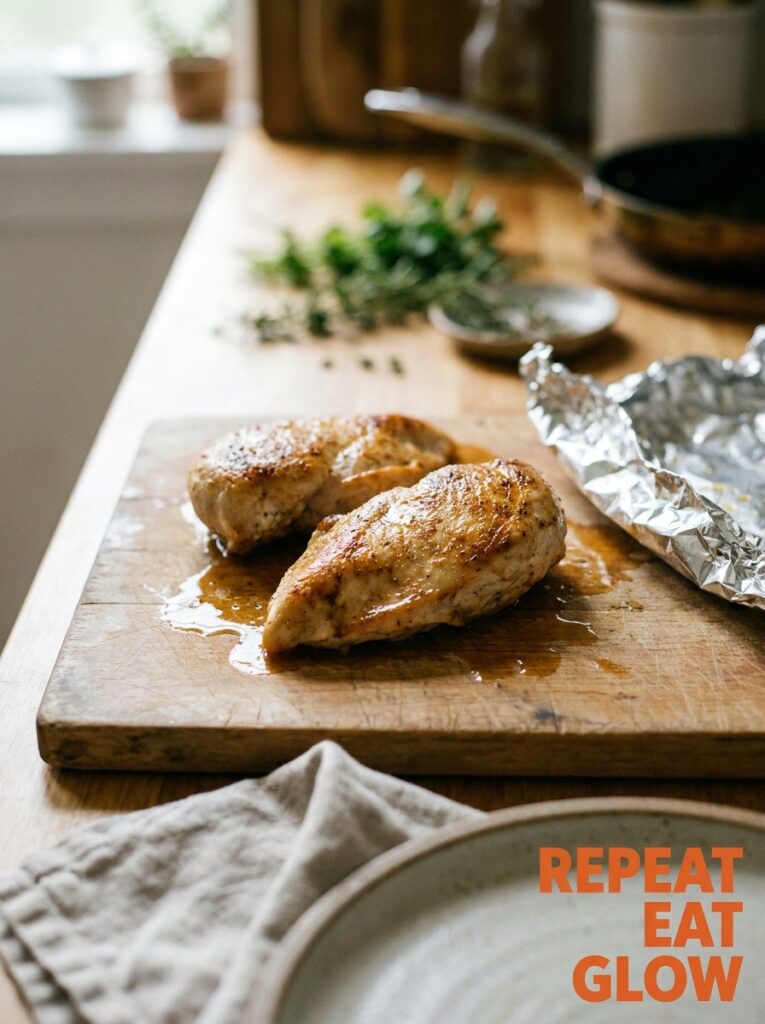
I know you’re hungry. I know the chicken smells incredible and the table is set and everyone’s waiting. But please — let it rest.
Five minutes minimum for breasts. Seven to eight for thighs and larger pieces. What’s happening during that time is that the muscle fibers, which have contracted from the heat, start to relax again. The juices redistribute through the meat instead of all pooling in the middle. If you cut into chicken immediately after it comes off the heat, those juices run out onto your cutting board and you’re left with drier meat and a puddle that does nobody any good.
Tent it with foil. Loosely — you don’t want it to steam. Use those five minutes to finish a sauce, pour drinks, wipe down the counter. When you finally cut into it, the chicken will hold its juices and the whole thing will just be better. Every time. It’s genuinely one of those things where knowing about it changes your results immediately, not after months of practice. Just — rest the chicken.
—
❓ FAQ
Q: Can I use frozen chicken for pan-searing, or does it have to be fresh? A: Fresh or fully thawed is really the way to go here. Frozen chicken releases a lot of water as it hits the heat, which completely kills your sear before it starts. If you’re working from frozen, thaw it fully in the fridge overnight and then pat it extra dry before it goes anywhere near the pan.
Q: My chicken skin always sticks to the pan and tears off. What am I doing wrong? A: Almost always, it means you’re flipping too soon. Chicken skin will release naturally from a hot pan once it’s done browning — if it’s sticking and tearing, it’s not ready to flip yet. Give it another minute or two, and try again. Don’t force it.
Q: Do I need oil AND butter, or just one? A: Start with a neutral oil (vegetable, avocado, or sunflower) for the actual sear because butter burns at high heat. Add butter only at the end for the basting stage, when the heat is more controlled. You get the high-heat sear from the oil and the flavor from the butter. Both, but at different times.
—
💭 Final Thoughts

Pan-seared chicken doesn’t need to be complicated — it just needs to be done right, and right is mostly about a few habits that take no extra time once they’re part of how you cook. Dry the chicken. Rest it after. Don’t rush the flip.
After that, everything else is just about what you feel like eating that night, which is the best part of it. Is there a pan-seared chicken recipe you’ve made a hundred times that still feels like home every single time?
