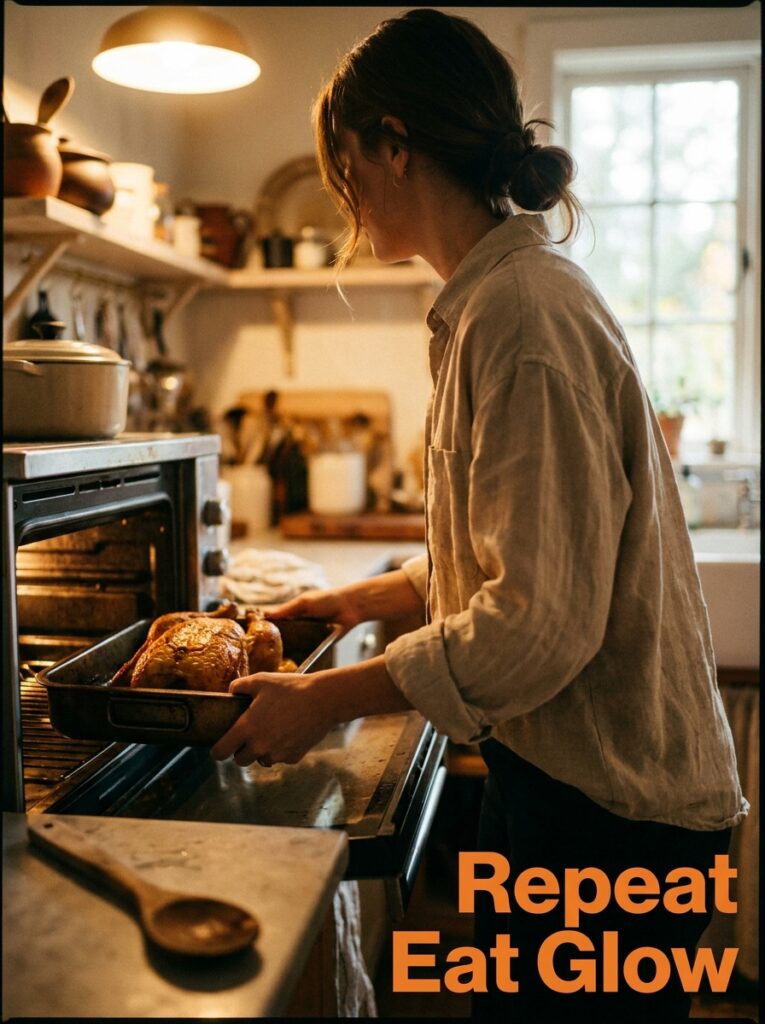
You know that feeling when you pull something golden and crackling out of the oven and the whole kitchen smells like a place you want to stay forever? That’s what we’re doing tonight. These aren’t backup-plan dinners. These are the ones that become your thing.
—
1. Why the Oven Is Your Best Friend on a Weeknight (And You’ve Been Underestimating It)
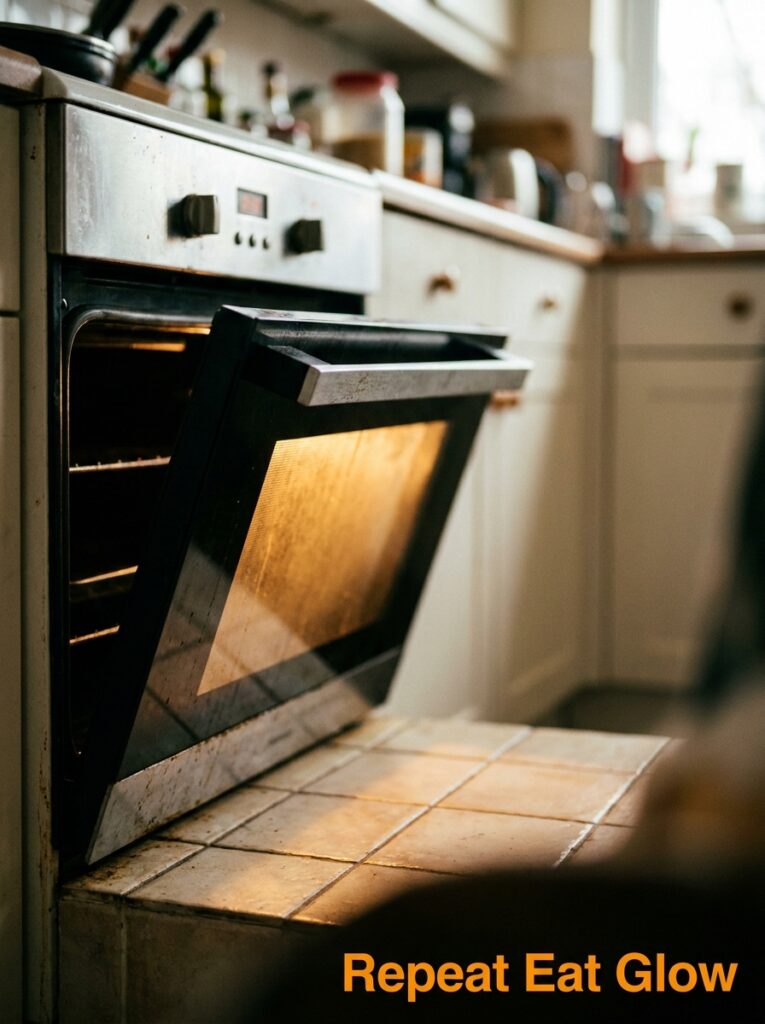
Okay so I know everyone’s obsessed with air fryers right now, and sure, fine — but there’s something the oven does that nothing else can touch. It’s the sustained, surrounding heat. The way it crisps the skin slowly while keeping the inside genuinely juicy, not just “technically cooked.” You can’t rush that.
And here’s what I love about baked chicken specifically: it doesn’t need you. You slide the pan in, set a timer, and you can actually do something else. Make a salad. Open some wine. Sit down for five minutes like a human being. The oven handles it.
For weeknight cooking, that hands-off quality is everything. Because there’s usually a lot happening — someone needs help with homework, there’s a pile of stuff on the counter, you’re already a little tired — and standing over a stove stirring things just makes all of that worse. Baked chicken says: go, I’ve got this.
The other thing? Cleanup. One pan. Maybe a sheet of foil underneath if you’re thinking ahead. That’s it. You’re not scrubbing a spattered stovetop at 9pm.
“The oven doesn’t need your attention. That’s the whole point.”
—
2. The Ingredient That Makes Garlic Butter Chicken Taste Like You Tried Really Hard
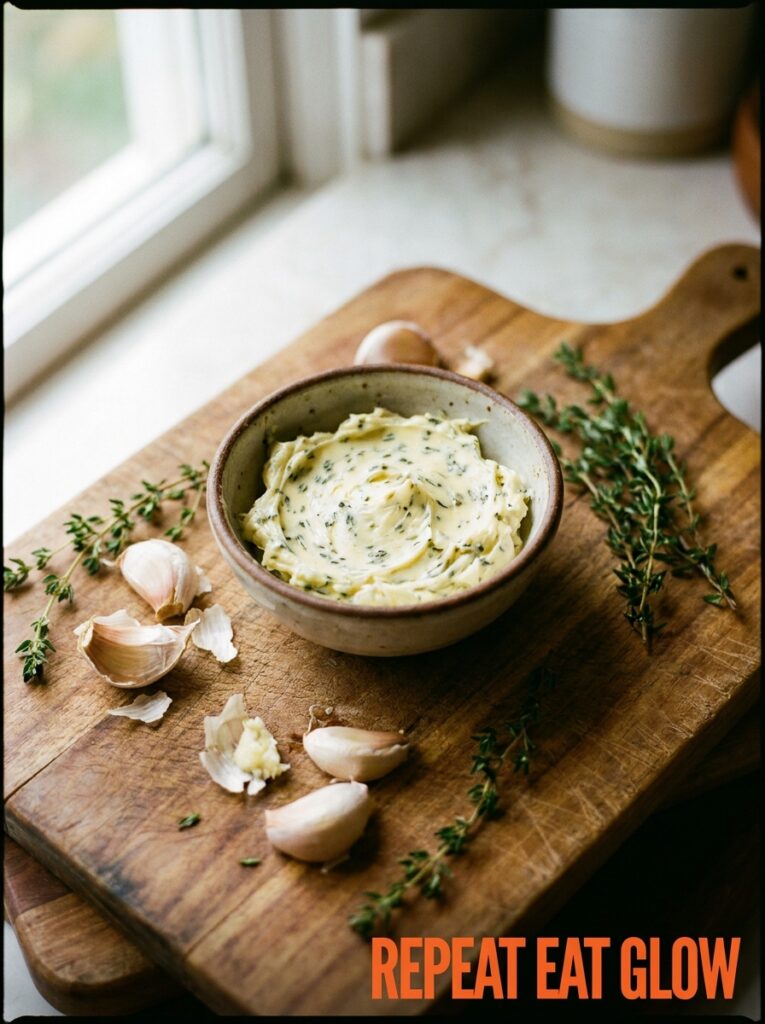
Garlic butter chicken is one of those recipes that LOOKS like effort but genuinely isn’t. The secret ingredient is patience — not a ton of it, like three minutes — at the very beginning, where you actually melt butter in a small pan with minced garlic and let it get just barely golden before you do anything else.
Most people skip that step. They throw everything in raw and call it garlic butter chicken when it’s really just butter-and-garlic-flavored chicken. Not the same. When the garlic goes gently golden in butter first, it turns sweet and nutty and the whole flavor deepens in a way that just doesn’t happen raw.
Here’s the quick version: melt 3 tablespoons of butter in a small saucepan with 4 minced garlic cloves over medium-low heat. Two minutes, maybe three, until it smells incredible and the edges are just starting to color. Take it off the heat. Stir in a pinch of salt, some fresh thyme if you have it, and a squeeze of lemon. Pour it over your chicken thighs — bone-in, skin-on, always — and roast at 425°F (220°C) for about 35-40 minutes.
The skin gets lacquered and golden. The garlic catches a little in the pan drippings and gets even richer. You’ll be spooning those drippings over rice and wondering why you don’t eat like this every night.
—
3. The Pan You Use Actually Matters More Than You Think
Not glamorous. But true.
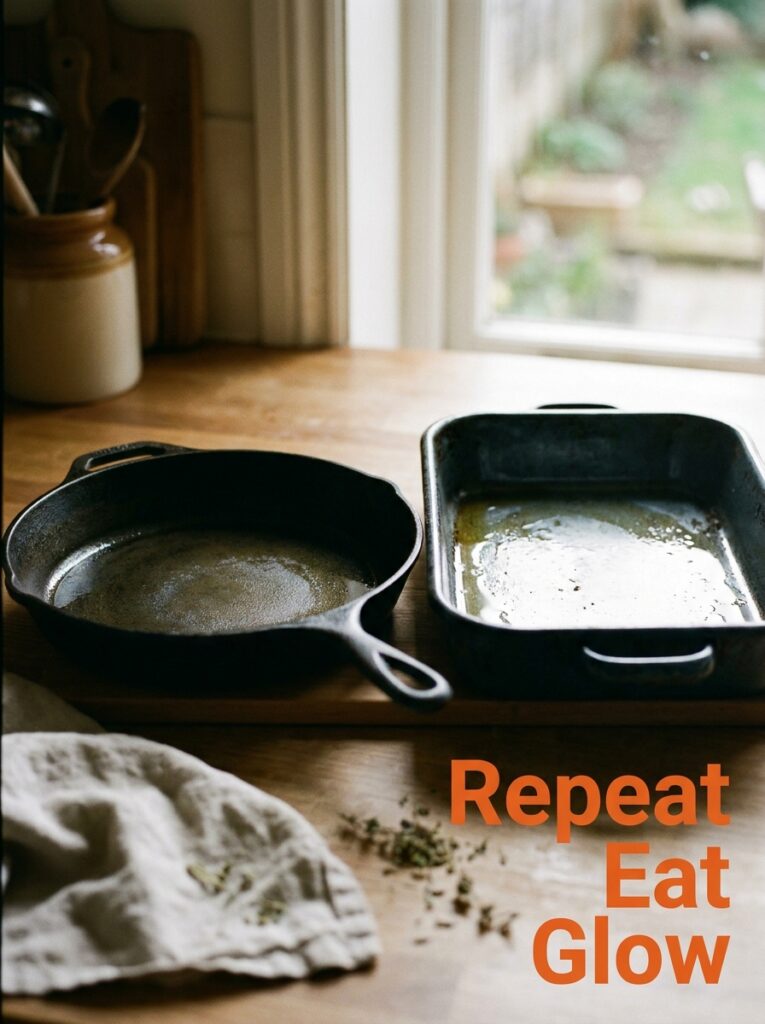
A dark, heavy roasting pan or a cast iron skillet will get you crispier chicken than a light-colored baking dish. Every time. The darker surface absorbs heat faster and transfers it more aggressively to the bottom of the chicken, which means the skin crisps underneath too, not just on top.
If you’ve ever had baked chicken that was beautifully golden on the top but a bit pale and sad underneath? Pan problem. (Or maybe the rack was in the wrong position — more on that in a second.)
Cast iron is my personal recommendation for smaller batches, like 4-6 thighs or a couple of breasts. It holds heat so well that even when you pull it out to flip or baste, the temperature doesn’t drop the way it does with a thin metal tray. For a whole chicken cut into pieces or a bigger family meal, a proper roasting pan gives you the room you need without crowding.
Crowding, by the way, is the other big thing. If your chicken pieces are touching, they steam each other instead of roasting. The skin can’t get crispy if there’s no hot dry air circulating around it. Give everything a bit of space and it’ll thank you.
—
4. Honey Mustard Baked Chicken That Doesn’t Taste Like It Came Out of a Jar
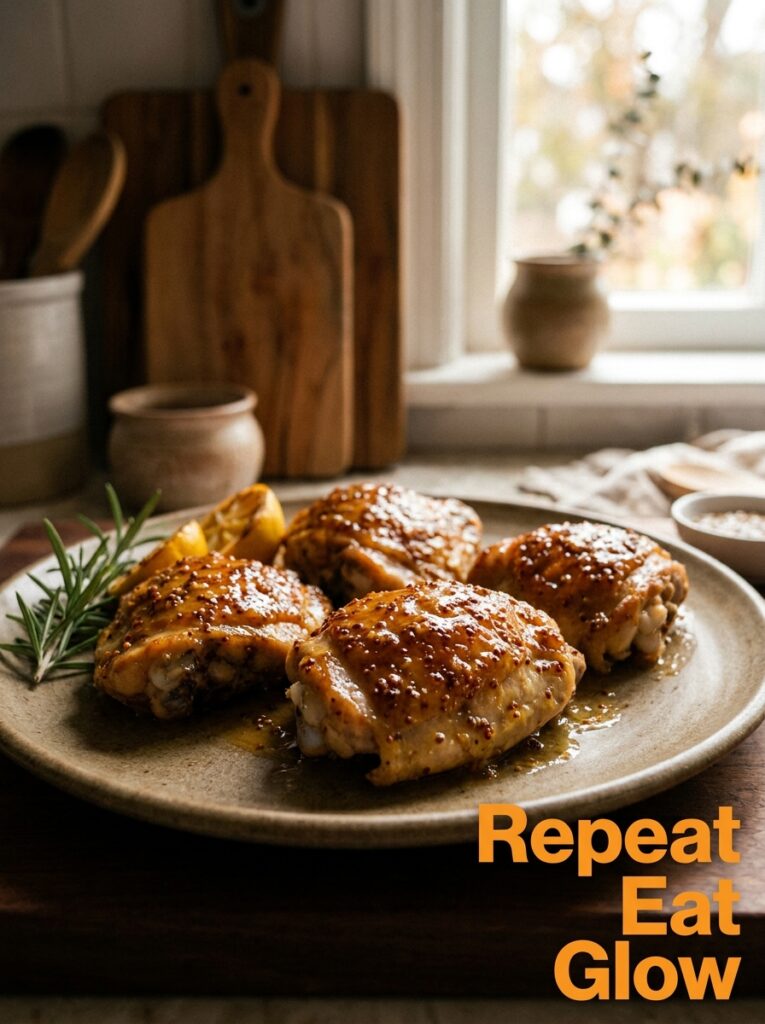
Store-bought honey mustard is fine. This is not fine. This is better.
The combination I keep coming back to: Dijon mustard (the good, sharp kind), a generous drizzle of honey, a splash of apple cider vinegar, some olive oil, and a decent pinch of smoked paprika. That’s honestly it. Mix it in a bowl, taste it — it should be a little tangy, a little sweet, slightly smoky in the background — then coat your chicken and let it sit for at least 20 minutes.
If you can let it sit for a few hours or overnight in the fridge, the marinade starts to work its way under the skin and into the meat, and the difference is actually noticeable. The whole thing gets more savory, more complex. The mustard seeds in the Dijon sort of press into the skin and create these tiny little crispy bits when it roasts. Love those.
Cook it at 400°F (200°C) for about 35-40 minutes depending on size. The honey caramelizes into something almost jammy. The edges catch and go dark in the best way.
Side note — this is genuinely one of the easiest things to put together on a Sunday, let sit in the fridge, and then roast on Monday when you don’t have any more brain space for decisions.
“The marinade you made on Sunday deserves a standing ovation on Monday.”
—
5. The Rack Position Nobody Talks About in Chicken Recipes
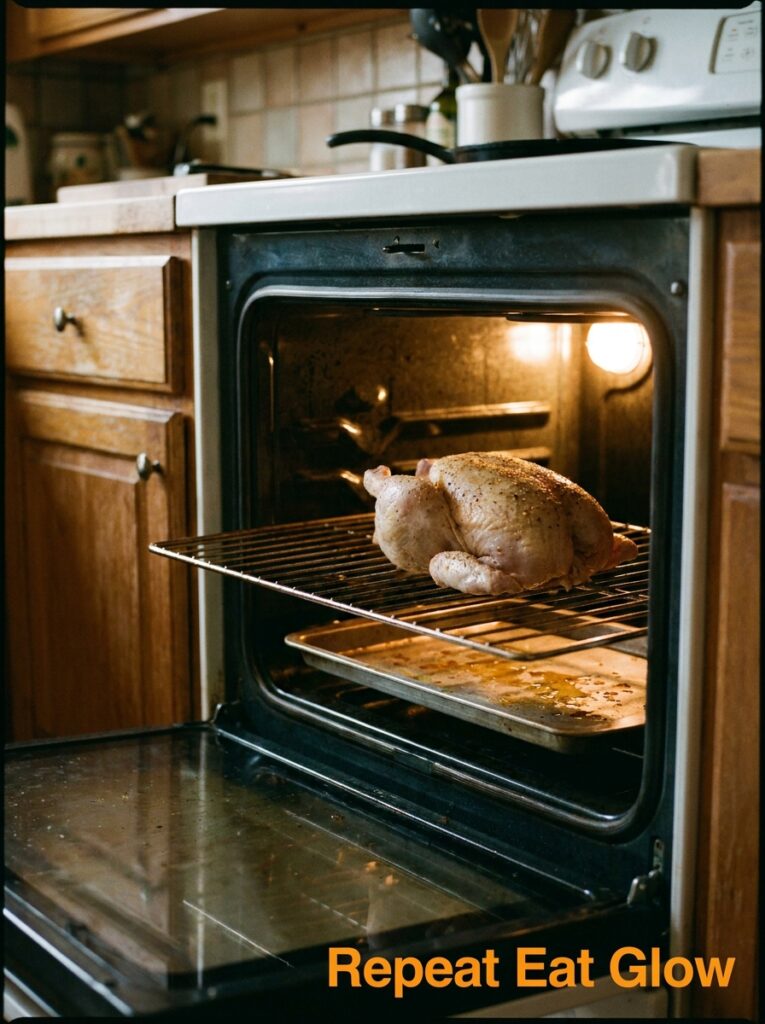
Middle rack? Not always your best bet.
For bone-in, skin-on chicken — thighs, legs, half-breasts — the upper third of your oven is where the magic happens. You want that top heat bearing down on the skin. Not so close that it burns before the meat cooks through, but high enough to really attack the surface.
For boneless chicken breasts, middle rack is fine, but the real tip there is temperature: don’t go above 400°F (200°C) or you’ll cook the outside to leather before the inside catches up. Lower and slower for breasts. Higher and faster for thighs, which have more fat and can handle the heat.
The other thing worth knowing: if you put your chicken in the oven and it’s still cold from the fridge, it’s going to cook unevenly. Take it out 15-20 minutes before it goes in and let it come up a bit. Not to room temperature exactly — just not stone cold. The center will cook more evenly and you won’t end up with that weird still-pink situation right next to the bone.
—
6. One-Pan Lemon Herb Chicken With Vegetables That Actually Taste Like Something
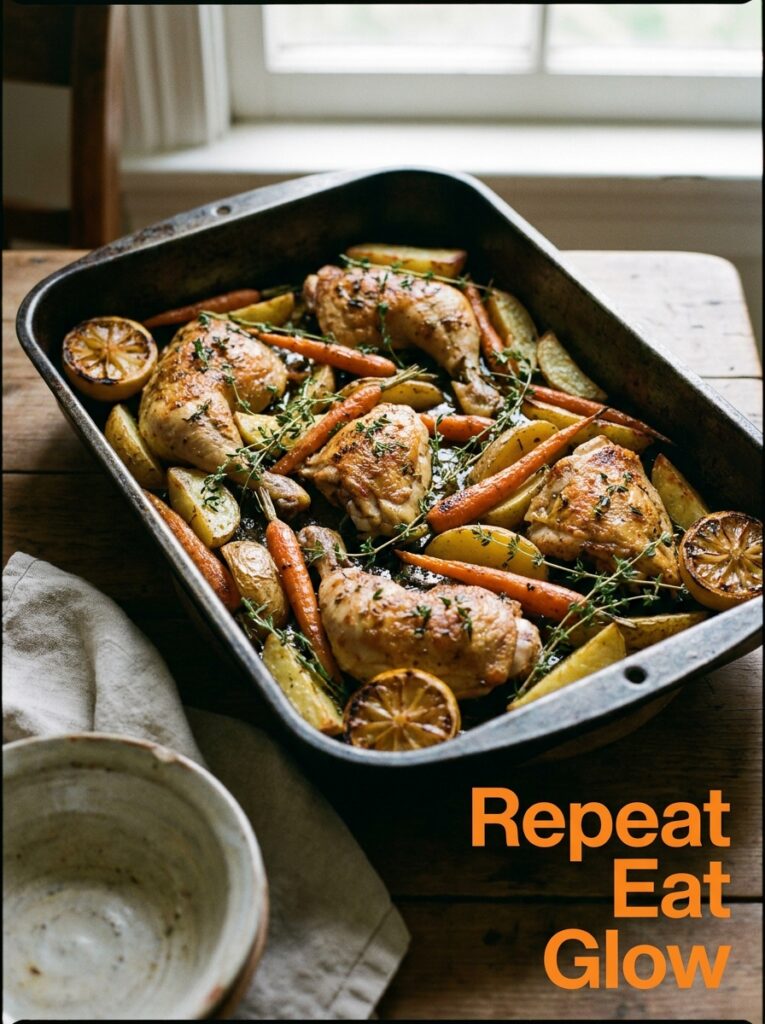
The problem with most one-pan chicken-and-veg recipes is that the vegetables end up sad. Either they’re undercooked because they went in with the chicken, or they’re mushy because they went in too early, or they just taste like chicken-adjacent sadness.
Here’s how to fix it: don’t put everything in at the same time.
Start your chicken at 425°F (220°C) for 15 minutes on its own. Then pull the pan and scatter your vegetables around it — I like baby potatoes halved, red onion wedges, and chunks of courgette (or zucchini if you’re on that side of the Atlantic). Toss them quickly in the hot chicken drippings right there in the pan. Season them. Then everything goes back in together for another 25 minutes.
The vegetables get the flavor of the chicken fat. The chicken keeps roasting without interruption. The potatoes get golden on the edges and creamy inside. The onions go slightly jammy and sweet.
For the herbs: fresh rosemary and thyme pushed under the chicken skin, lemon slices tucked under and around everything, and a thin drizzle of olive oil over the whole pan. It smells like something you’d eat in a farmhouse kitchen in Tuscany, or maybe a very good Sunday at your nan’s. Either way.
—
7. The Chicken Breast Problem (And Actually Fixing It, Not Just Accepting Dry Chicken)
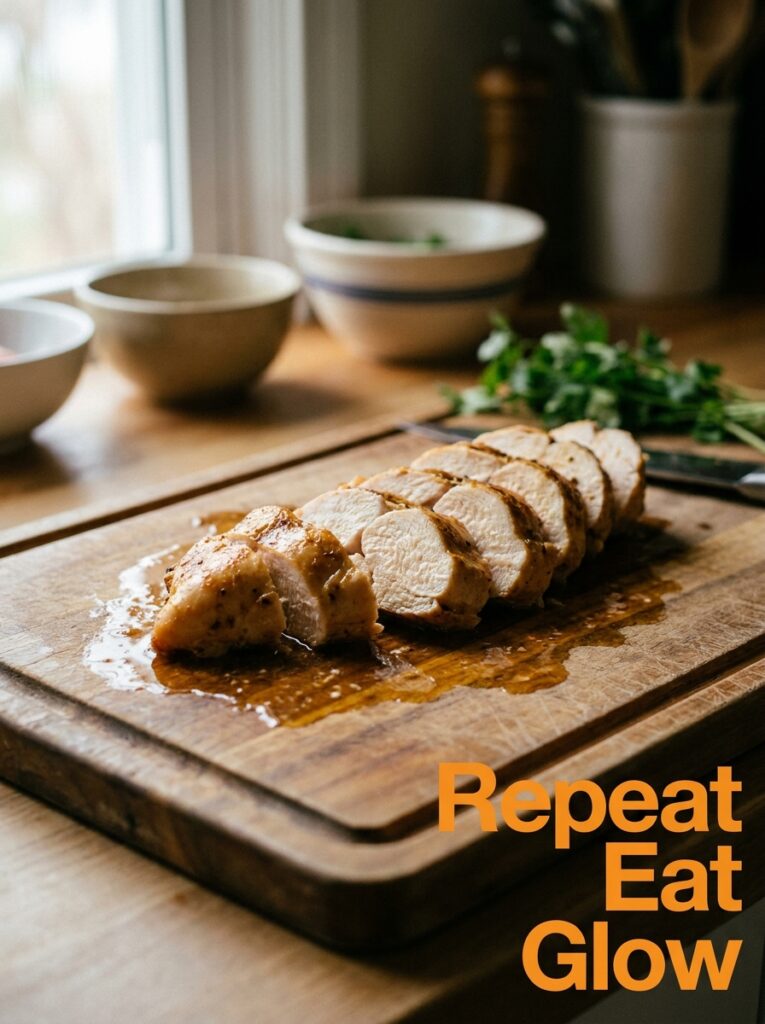
Dry chicken breast is a tragedy we don’t have to live with.
The fix isn’t complicated but it IS specific. First: pound them slightly. Put the chicken between two pieces of cling film and bash them to a more even thickness with a rolling pin or the bottom of a pan. Doesn’t have to be perfect, just more uniform. This means the thin end doesn’t dry out while the thick end finishes cooking.
Second: brine if you have time. Even a 30-minute brine in salted water (about 1/4 cup of salt to 4 cups of water) makes a significant difference. The meat absorbs some of that moisture before it hits the heat and has more to lose before it crosses into dry territory.
Third: don’t overcook them. I know, obvious. But it happens because people don’t use a thermometer. Get one. Chicken breast is done at 165°F (74°C) internal temperature. Not 175, not “when the juices run clear.” 165 and it comes out immediately.
Fourth — and this is the one people skip — let it rest. Five minutes, tented with foil. The juices redistribute. Cutting it immediately is what sends all that moisture onto your cutting board instead of staying in the meat.
“The thermometer isn’t extra. It’s the difference between dinner and disappointment.”
—
8. Parmesan and Herb Crusted Chicken That Somehow Takes 10 Minutes to Prep
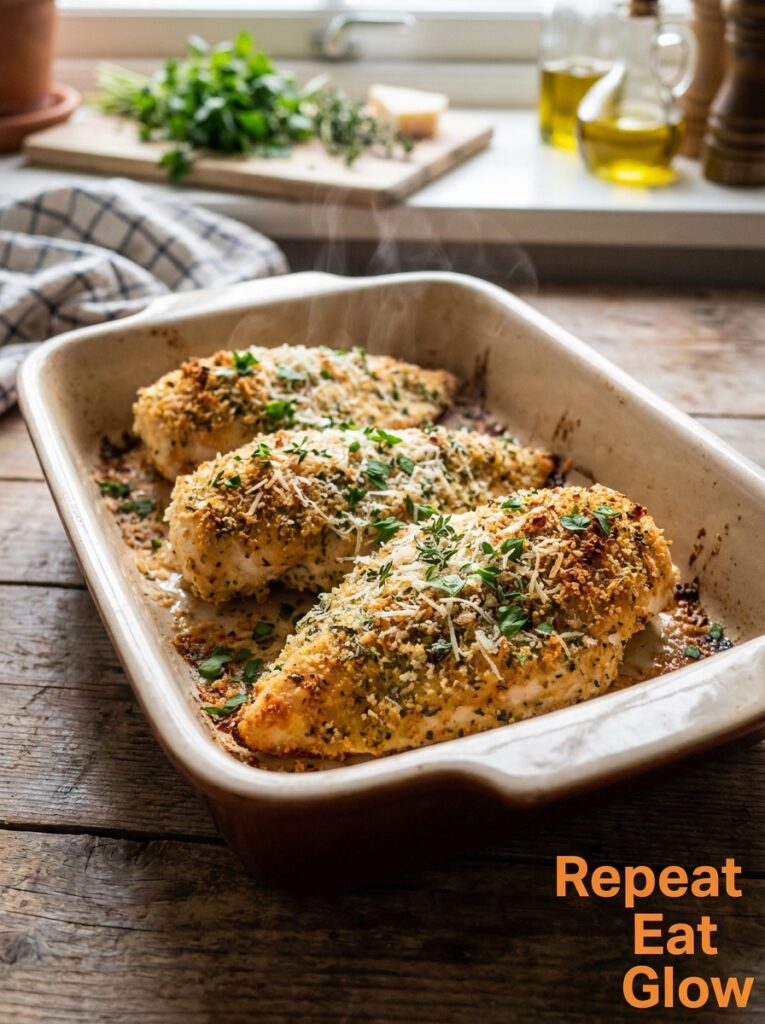
This one’s for the nights when you want it to feel a bit special without actually doing anything special.
Mix together: 1/2 cup grated Parmesan, 1/4 cup breadcrumbs (panko if you have it, regular if you don’t), a handful of chopped fresh parsley, some dried oregano, salt, black pepper, and enough olive oil to make it clumpy and just hold together. Press that mixture onto your chicken — breasts work well here, thighs work great too — and roast at 400°F (200°C) for 25-30 minutes.
The crust goes properly golden. It doesn’t fall off if you’ve pressed it on firmly. The cheese gets a little nutty and the herbs crisp up into something that crunches when you cut into it. Every. Single. Time.
You can serve this with absolutely anything and it’ll work. Pasta with a little butter and garlic. A simple green salad. Roasted tomatoes that have collapsed and gone sweet. Crusty bread that you’re using to mop up the plate. Not gonna lie, the plate-mopping is the best part.
—
9. The Spice Rub You’ll Stop Buying Pre-Made
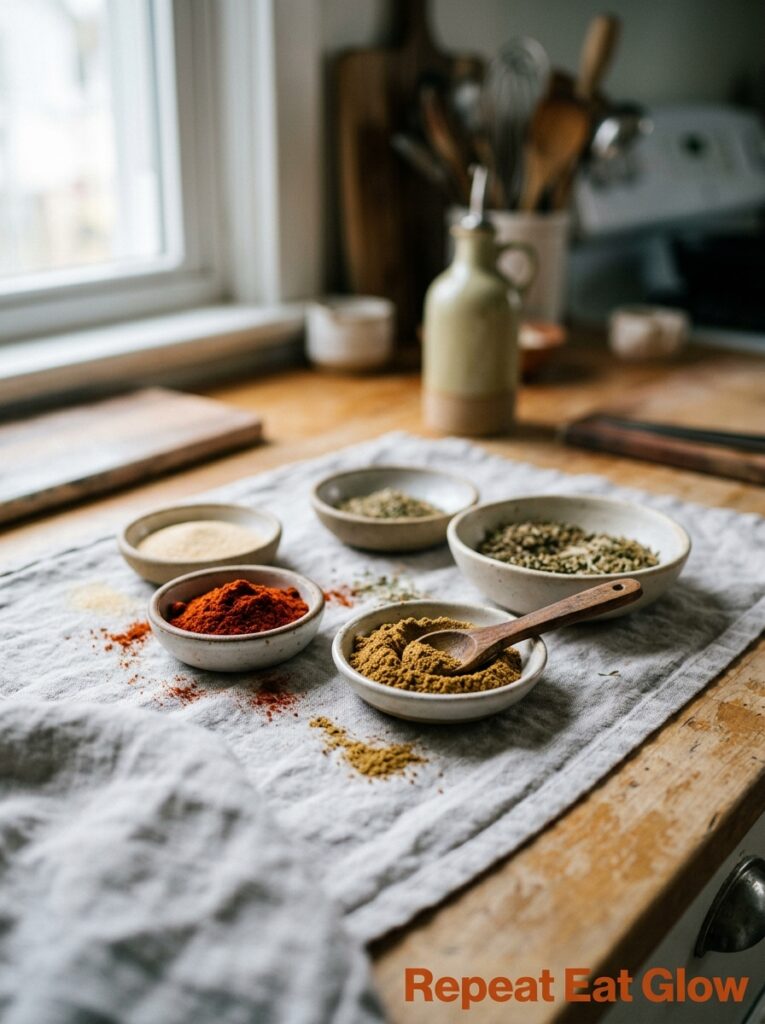
Here’s the thing about pre-made spice blends for chicken: they’re mostly salt, a tiny bit of actual spice, and a lot of garlic powder in a ratio that you didn’t get to decide.
Make your own and you’re in control. The base I use for almost everything: smoked paprika, garlic powder, onion powder, cumin, a bit of cayenne, dried oregano, salt, and black pepper. That’s it. Mix it in a jar. It keeps for months.
The smoked paprika is the one you can’t skip — it’s what gives that deep, dark color and that slightly smoky, complex note that makes people ask what you put on it. The answer is: a thing I made myself in thirty seconds. So.
For a whole chicken or a full tray of pieces, I use about 2-3 tablespoons of the rub, mixed with a tablespoon of olive oil to make a paste. Get it under the skin wherever you can. The flavor penetrates the meat directly instead of just sitting on top.
—
10. What to Do With Leftovers (The Part Everyone Skips But Shouldn’t)
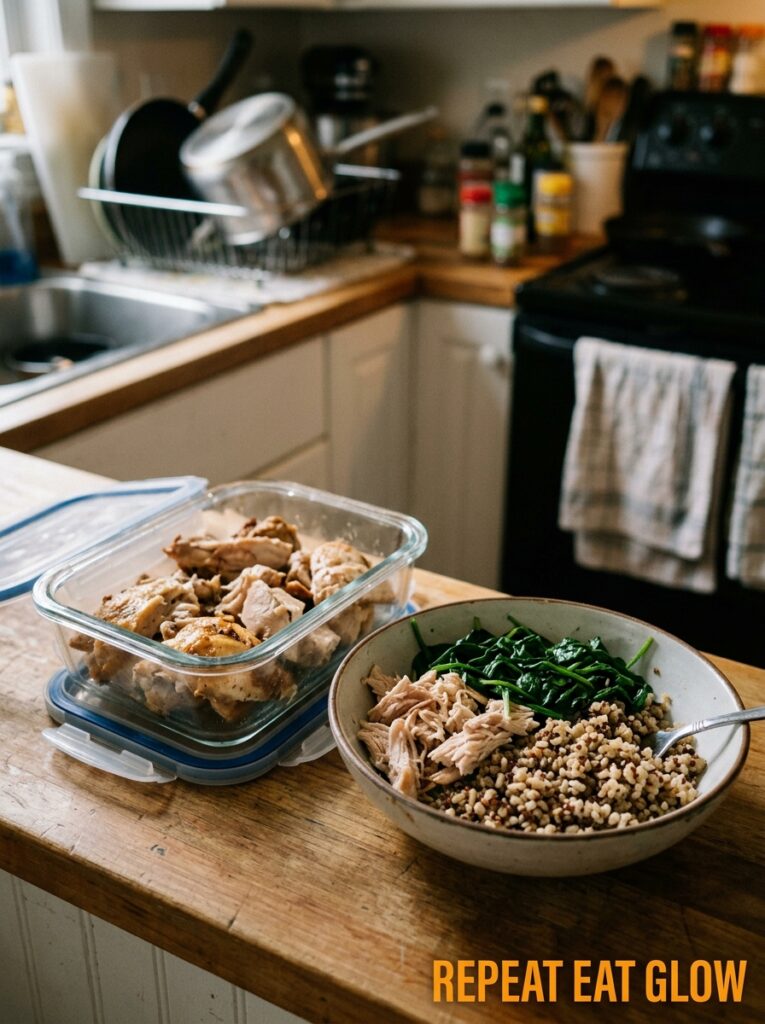
Baked chicken leftovers are genuinely some of the most useful things in your fridge.
Shred the meat off the bones while it’s still slightly warm — it comes off easier that way. Store it in an airtight container with a tiny splash of the pan drippings spooned over it so it doesn’t dry out.
Now you have: taco filling. Sandwich filling. Salad protein. The base of a chicken soup that tastes like it simmered all day. A pasta sauce if you shred it fine and mix it through something creamy. Chicken fried rice the next night — honestly one of the best things to do with leftover roasted chicken because the slightly dried-out edges get crispy again in the wok.
Don’t throw away the bones either, especially if you roasted a whole chicken. Simmer them with an onion, a carrot, a celery stalk, and some peppercorns for a few hours and you’ve got stock. Real stock. The kind that gels in the fridge overnight and makes every soup you ever make from it taste richer and deeper.
—
11. The Temperature Rule That Applies to Every Single Chicken Recipe Here
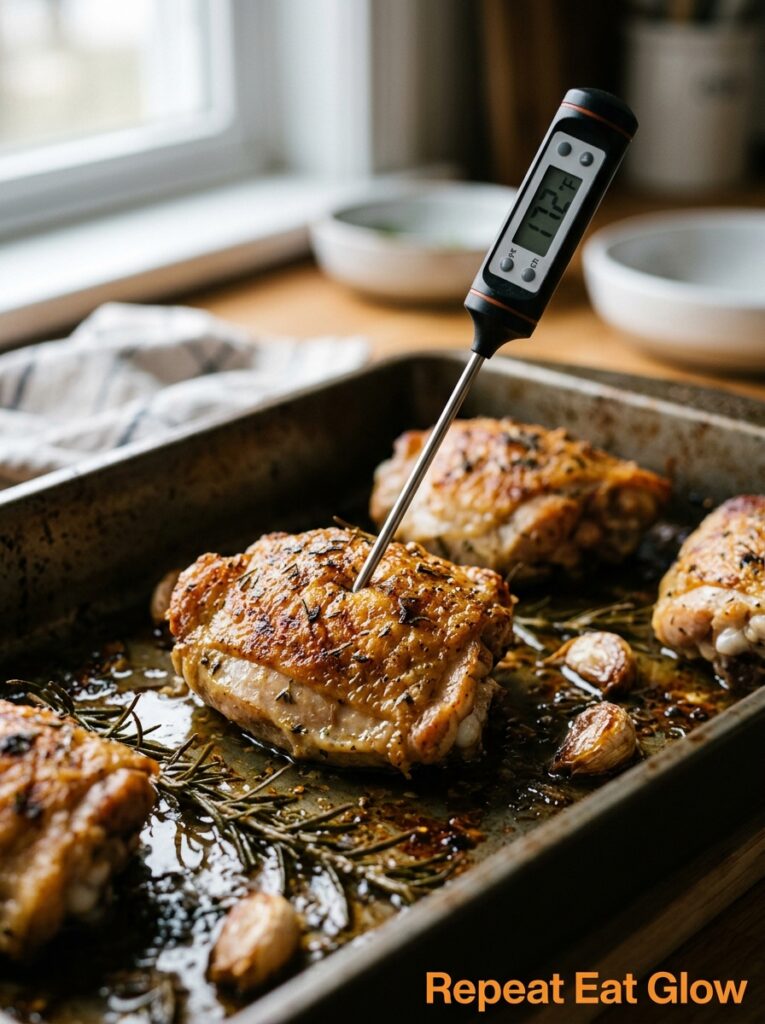
425°F (220°C) for bone-in, skin-on pieces. 400°F (200°C) for boneless. 375°F (190°C) for a whole chicken or anything in a covered dish where you want slower, more even cooking.
Those three temperatures will serve you for basically every baked chicken situation you’ll ever encounter. I know recipes are all over the place — 350°F, 450°F, “until done” (my personal nightmare instruction) — but commit those three numbers and you’ll stop second-guessing yourself.
And always, ALWAYS rest your chicken before cutting it. I mentioned it earlier but it bears repeating because I still see people slice into a breast thirty seconds out of the oven and then complain it’s dry. The resting isn’t optional. It’s the last step.
—
12. The Thing That Makes Baked Chicken Worth Putting on the Table Every Week
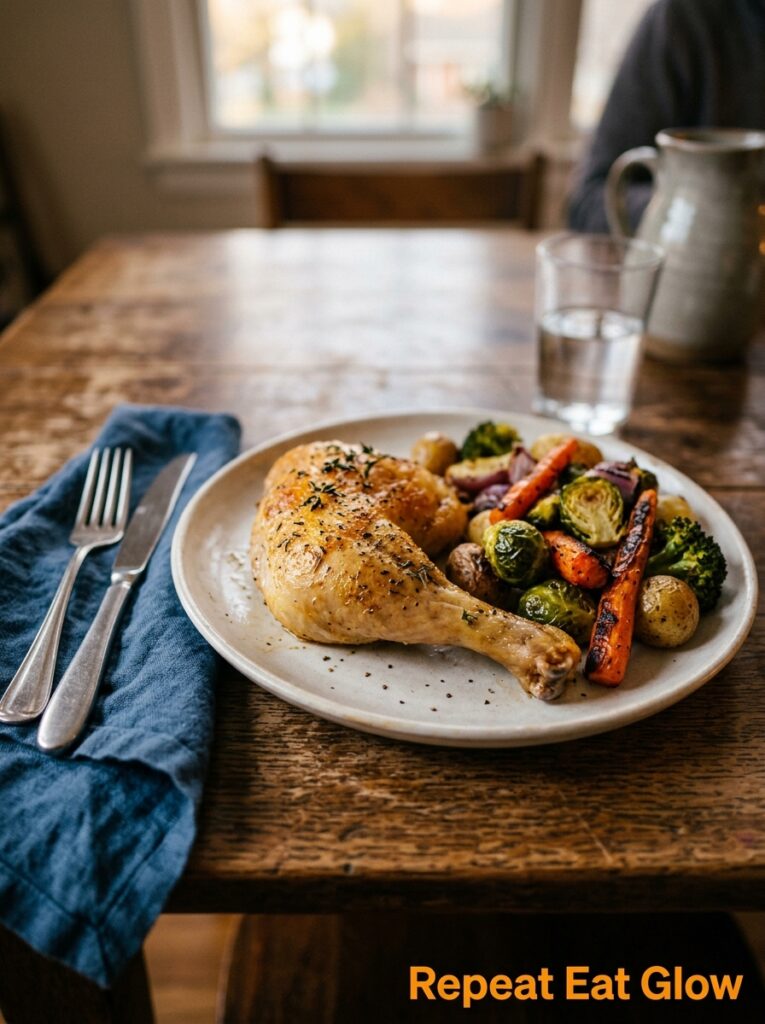
Not gonna pretend it’s the flavor. I mean, the flavor is the POINT, obviously — but what keeps people coming back to baked chicken every single week is that it fits real life.
It fits the budget. It fits the time constraints. It fits the fact that you’re cooking for picky eaters sometimes, and adventurous ones other times, and sometimes just for yourself at 7pm on a Tuesday when you don’t have much to give.
A good baked chicken dinner with something simple on the side — roasted potatoes, a salad, some good bread — is a complete, satisfying, genuinely delicious meal that costs almost nothing and requires maybe 15 minutes of your actual attention. That’s rare. That’s worth coming back to.
It’s also incredibly forgiving. You over-seasoned? The rest of the meal balances it. You pulled it out five minutes late? Thighs don’t care. You forgot the fresh herbs? Dried herbs are fine, really. The oven handles most of your mistakes and turns them into dinner anyway.
—
❓ FAQ
Q: What’s the best cut of chicken for easy weeknight baking? A: Bone-in, skin-on thighs, honestly. They’re cheaper than breasts, more forgiving of a few extra minutes in the oven, stay juicy almost no matter what, and they’ve got the best flavor. They’re hard to get wrong, which makes them the right call when you’re tired and just need dinner to work.
Q: Can I bake chicken from frozen? A: You can, but you’ll need to add about 50% more cooking time and you won’t get great skin because of the excess moisture. For best results, thaw overnight in the fridge. If you’re genuinely stuck with frozen chicken, make sure the internal temperature hits 165°F (74°C) before you eat it — don’t guess on that one.
Q: How do I stop baked chicken breasts from going dry? A: The short answer: brine them for even 30 minutes in salted water, don’t cook them past 165°F (74°C) internal temperature, and let them rest under foil for 5 minutes before cutting. Those three things together make a real difference. A thermometer isn’t optional if you’re serious about fixing this problem.
—
💭 Final Thoughts

Baked chicken isn’t boring. It’s just patient, and sometimes that’s exactly what dinner needs to be. There’s something genuinely comforting about knowing that a pan of good chicken going into a hot oven means everything is going to be okay tonight.
Pick one of these and make it this week. See which one becomes yours.
And honestly — what’s the one thing that always goes wrong when you bake chicken? I’d love to know.
