My grandmother never measured a thing. Handful of flour, glug of butter, apples “until it looks right.” I watched her make this exact pie maybe forty times before she passed, and I still got it wrong the first six attempts on my own.
But I finally cracked it. And now I can’t stop.
—
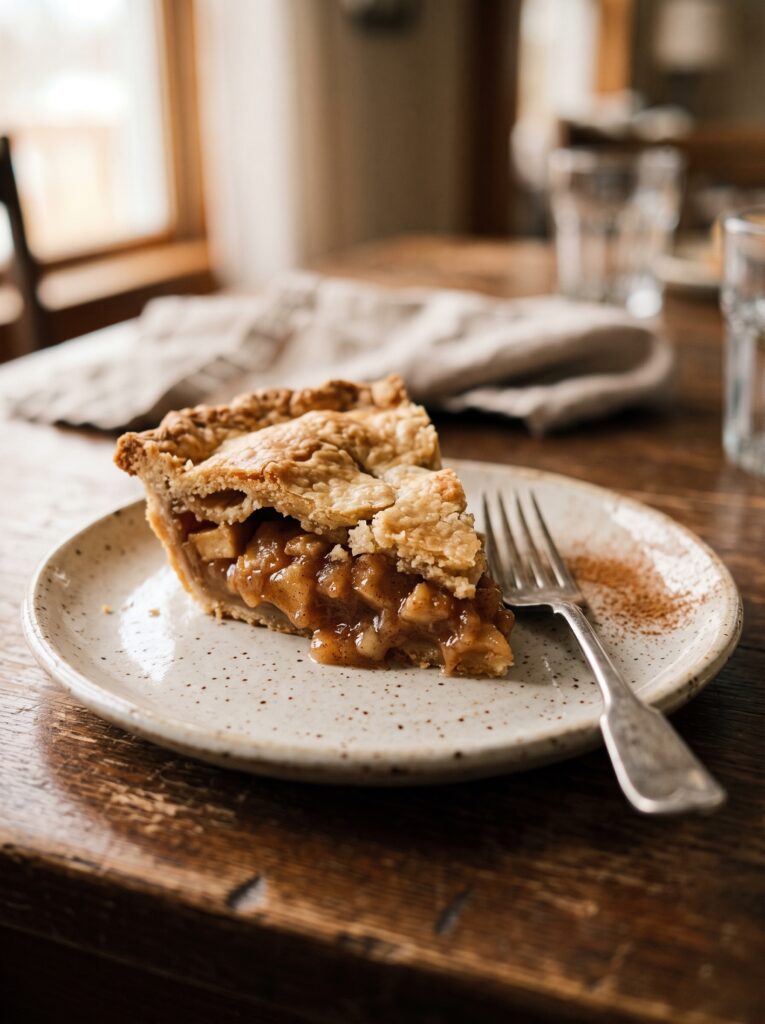
1. The Apples Most Recipes Get Completely Wrong
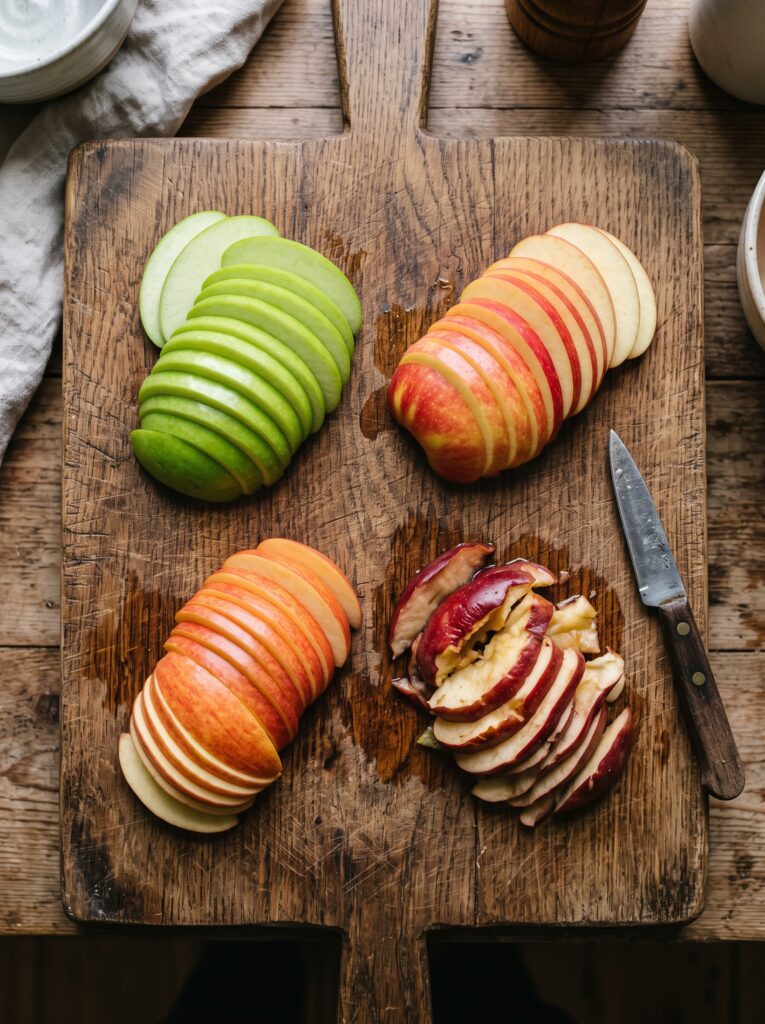
Here’s the thing nobody tells you: one type of apple makes a mushy, flat, disappointing pie. Every time.
You need at least two varieties. A firm, tart apple — Granny Smith is the obvious choice but Cox’s Orange Pippin works beautifully if you’re in the UK — and something softer and sweeter to fill the gaps. Braeburn. Fuji. Even a Golden Delicious if that’s what’s in the bowl. The tart apples hold their shape through the bake. The softer ones break down just enough to create that saucy, almost jammy layer at the bottom. That’s the layer you’re chasing.
Don’t peel them with a vegetable peeler if you can help it. A good paring knife gives you more control and thinner skins come off cleaner. Slice them to about a quarter inch — not paper thin, not chunky. You want them to cook through without turning to baby food.
“The difference between a great apple pie and a forgettable one is usually decided in the fruit bowl, before you’ve touched a single cup of flour.”
Side note — if your apples have been sitting in the fridge for a week, they’re actually better for this. Cold, slightly drier apples absorb the spices more deeply. I have no idea why. They just do.
—
2. The Cold Butter Shortcrust That Actually Works Every Single Time
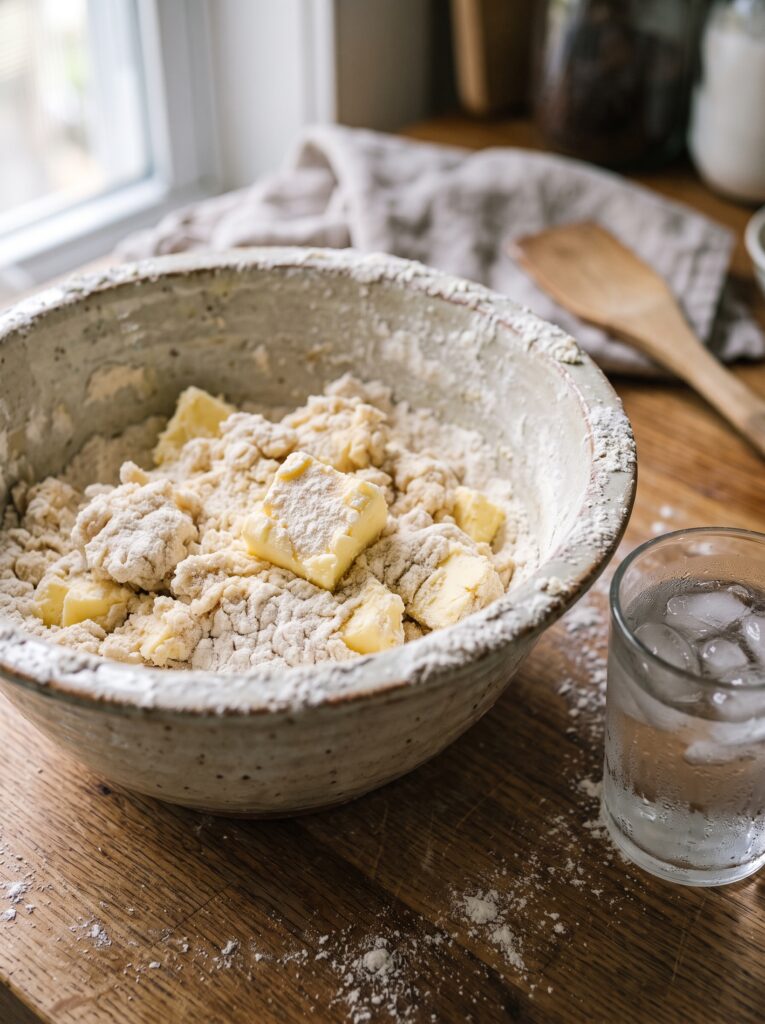
Cold. Everything must be cold.
That’s not a tip. That’s the law.
Your butter should be cut into small cubes and sitting in the freezer for at least 20 minutes before it touches the flour. Your water should be ice water — literally a glass with ice cubes in it, then you pour from that. Some people even chill their mixing bowl. I don’t go that far, but I understand the impulse.
For the pastry you’ll need 2 ½ cups of all-purpose flour (plain flour in the UK), 1 cup of cold unsalted butter (that’s 2 sticks or about 225g), 1 teaspoon of salt, 1 tablespoon of sugar, and 6-8 tablespoons of ice water. Work the butter into the flour with your fingertips — quickly, roughly — until it looks like rough breadcrumbs with some pea-sized chunks still visible. Those chunks are exactly what you want. They’re what creates the flaky layers.
Add the ice water one tablespoon at a time, tossing with a fork. Stop the moment it comes together. Don’t knead it. Don’t smooth it. Split it in half, flatten each piece into a disk, wrap tightly, and refrigerate for at least an hour. Two hours is better. Overnight is honestly the best.
—
3. Why Your Pie Filling Used to Come Out Watery (and How to Stop It)
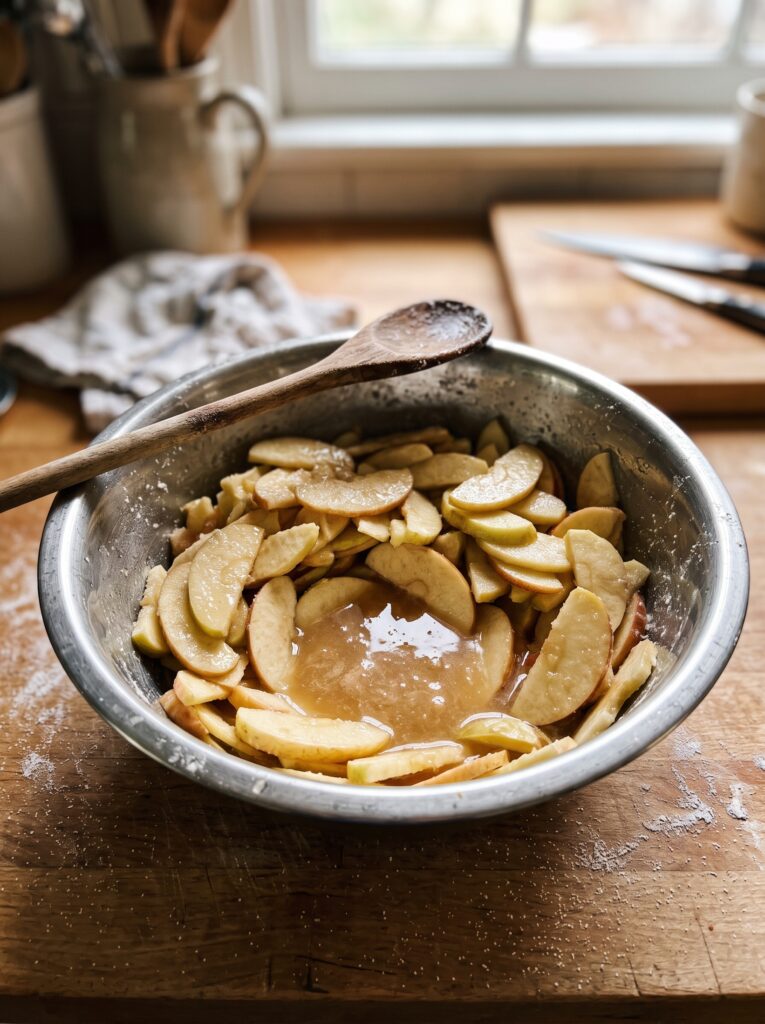
This one stung when I figured it out, because the fix is so simple and I’d been making wet, soupy pies for YEARS.
Once you’ve peeled, cored, and sliced your apples — around 6-7 medium apples — toss them with the sugar and spices and let them sit in a colander over a bowl for 30 minutes. They’ll release a shocking amount of liquid. Don’t use that liquid in the filling. You can reduce it in a small pan and drizzle it over the top as a glaze, or just throw it away, but do NOT pour it into your pastry shell.
The filling: ¾ cup granulated sugar (or a mix of granulated and light brown sugar for more depth), 2 tablespoons of plain flour or cornstarch/cornflour to thicken, 1 teaspoon of cinnamon, ¼ teaspoon of nutmeg, a tiny pinch of allspice, and the juice of half a lemon. Toss everything together once the apples have drained. They should smell incredible at this point — warm spice and sharp apple and something almost caramel-ish from the brown sugar.
That’s your filling. It’s everything.
—
4. The Rolling Technique That Doesn’t Tear the Pastry
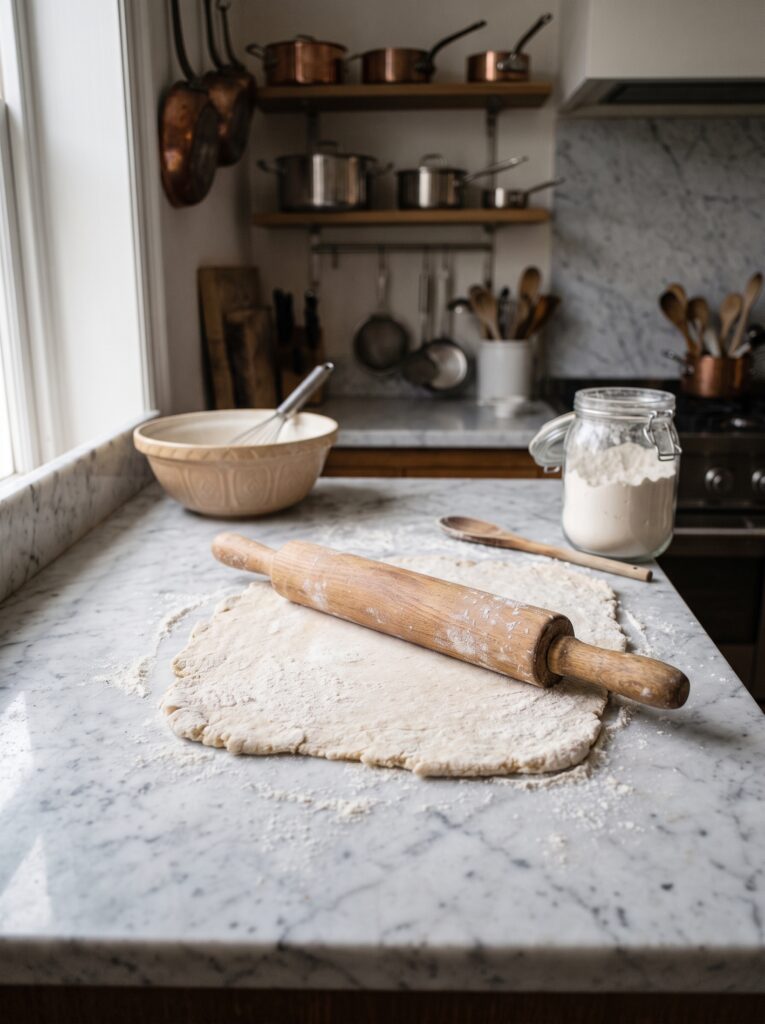
Take your chilled dough out of the fridge about 5 minutes before you want to roll it. Not longer. On a lightly floured surface, start from the center and roll outward, turning the dough a quarter turn every few rolls. You’re not pushing down, you’re stretching gently outward.
If it cracks at the edges, just press it back together with your fingers. This isn’t bread — you’re not developing gluten — so a little handling won’t ruin it. You want it about ⅛ inch thick and a couple of inches wider than your pie dish all the way round.
I use a 9-inch pie dish, deep if I can find one. Transfer the rolled dough by loosely wrapping it around your rolling pin, then unrolling it over the dish. Let it drape in naturally without stretching it. Stretching means shrinking in the oven. Press it gently into the base and sides, and trim the overhang to about an inch.
—
5. Piling the Filling In and Why Heaping Is Not Optional
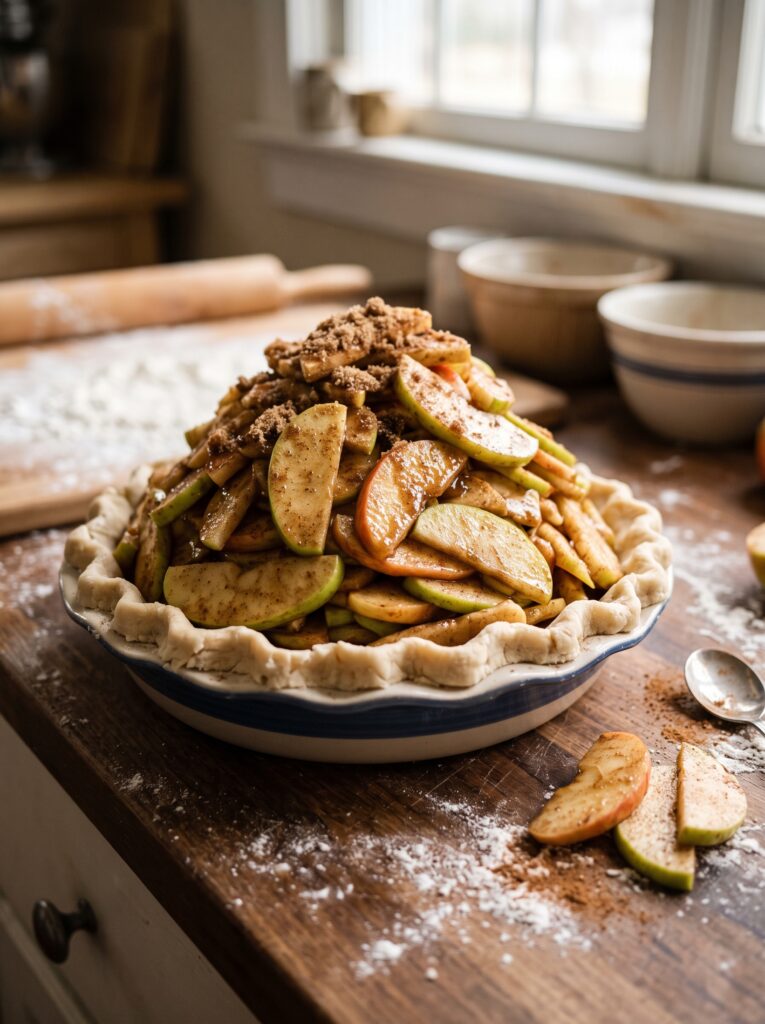
Don’t be timid here.
Pile the apples HIGH. They will shrink significantly as they bake, and if you’re conservative now you’ll end up with that hollow gap between the top crust and the filling that everyone hates. Mound them up in the center. It’s going to look like too much. It isn’t.
Dot the top of the filling with about a tablespoon of cold butter, cut into small pieces. This isn’t strictly essential but it adds a richness and helps everything sort of meld together as it cooks. I always do it. My grandmother always did it. I’m not questioning it.
“Pile the apples high. They will shrink. They always do. Give them room to disappoint you and you’ll still come out ahead.”
Roll out your second dough disk the same way. Lay it over the top of the filling. Trim the overhang, then fold and crimp the edges together — just pinch and fold, pinch and fold, working around the rim. Press down firmly. You want a proper seal so the juices stay in.
Cut 4-5 small slits in the top crust. These are steam vents. They’re not decorative (well, they can be, but their job is practical). Brush the whole top with an egg wash — one egg beaten with a tablespoon of milk — and dust with a little sugar. Coarse sugar if you have it. It crunches slightly and catches the light.
—
6. The Temperature Trick That Gives You a Crispy Bottom Crust
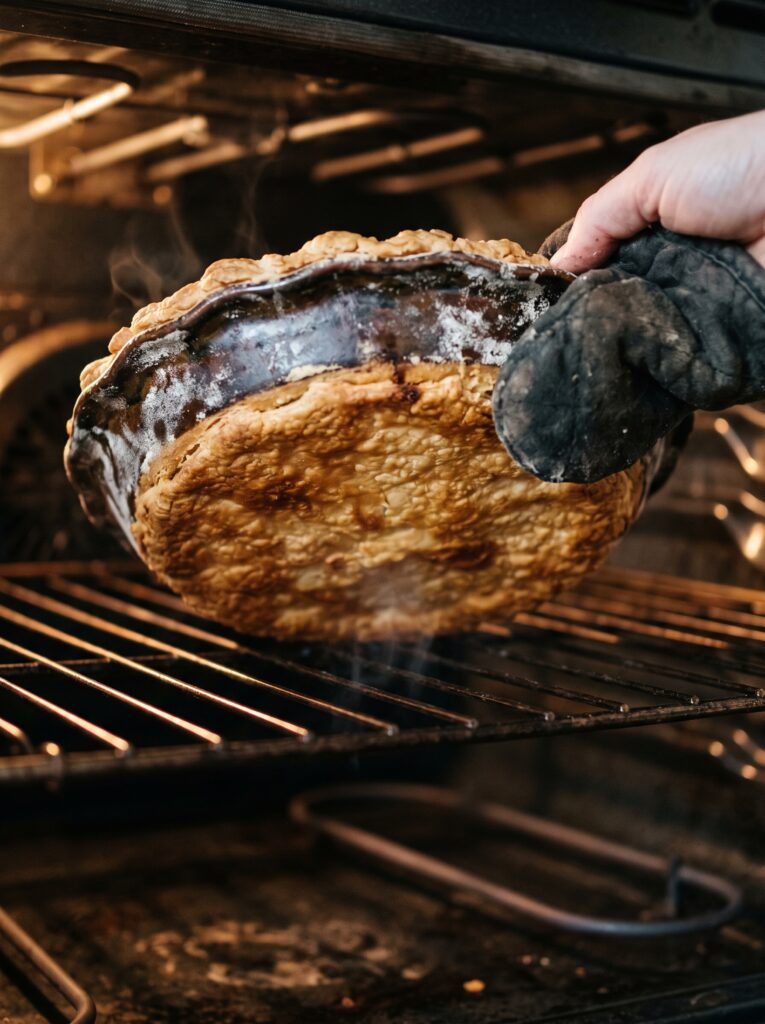
Soggy bottom. The phrase that haunts every home baker.
Start the pie at 425°F (220°C) for the first 20 minutes. That high initial heat shocks the bottom crust into setting before the filling has time to saturate it. Then reduce the temperature to 375°F (190°C) and bake for another 40-45 minutes until the filling is bubbling through the vents and the crust is deep golden.
And put it on the lowest rack. Always.
If the edges start to brown too fast — which they usually do around the 30-minute mark — cover them loosely with small strips of foil or use a pie shield if you have one. The center needs more time than the edges, every single time.
—
7. The Smell That Tells You It’s Nearly Done (Better Than Any Timer)
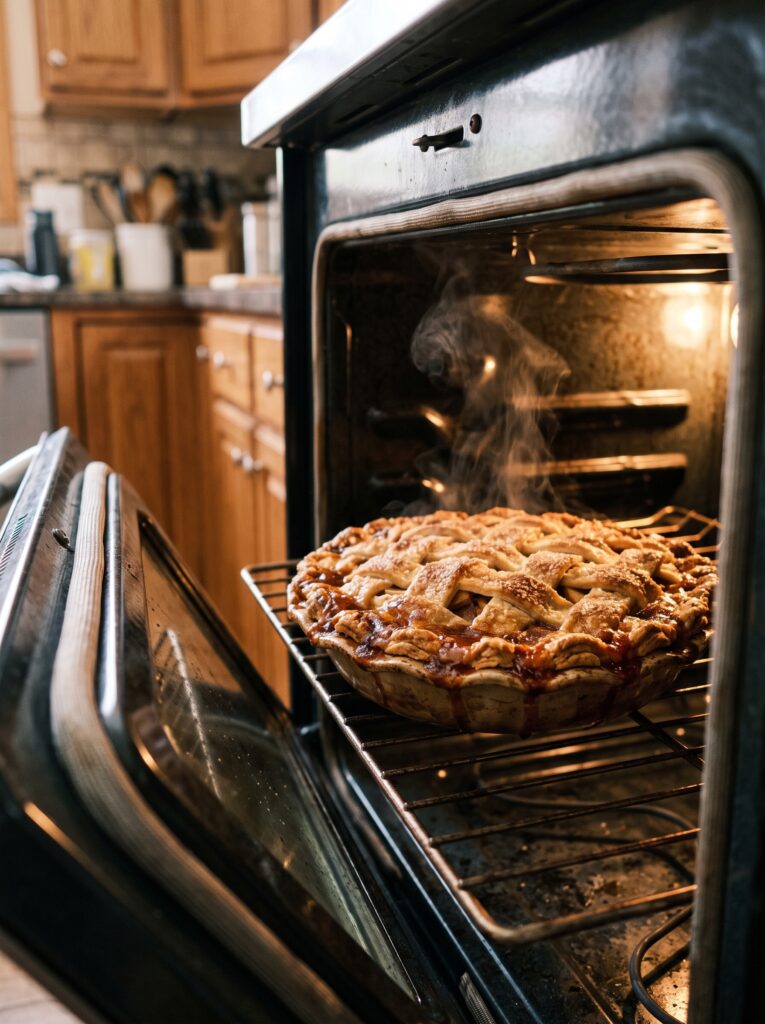
This sounds ridiculous but it works.
When the kitchen smells like cinnamon and caramel and something almost nutty, you’re close. When you can hear it actually bubbling — not just simmering softly but properly bubbling through those steam vents — that’s the sound you want. The bubbling thickens the filling. A pie that hasn’t bubbled is a pie with a watery center, no matter what the clock says.
Not gonna lie, I’ve stood in my kitchen with my ear to the oven door more times than I’d like to admit.
The crust color is your final check. You want it properly golden, not pale. Pale means underdone pastry, and underdone pastry tastes like cardboard. Aim for the color of a digestive biscuit. That warm amber-brown. Then take it out.
—
8. The Part Everyone Skips That Ruins the Whole Thing
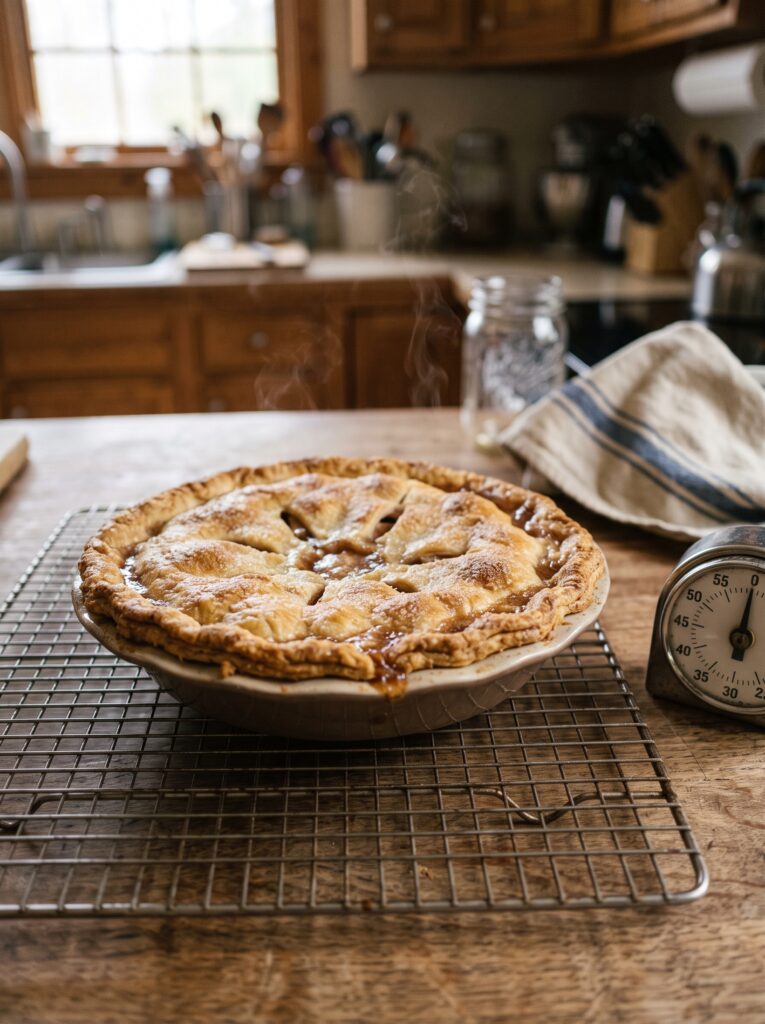
Cooling.
I know. You want to eat it. I want to eat it. The whole house smells incredible and there it is, right there on the counter.
You have to wait at least 2 hours. Honestly, 3 is better.
The filling needs time to set. Cut into a hot pie and everything slides out in a molten mess. It tastes fine — let’s be honest, hot apple pie is never actually bad — but the texture is wrong and the slices won’t hold. If you’re serving this to people, if you want it to look like something, wait.
Put it somewhere you can’t easily see it. That helps.
—
9. The One Spice Addition That Changes Everything (And Most Recipes Leave It Out)
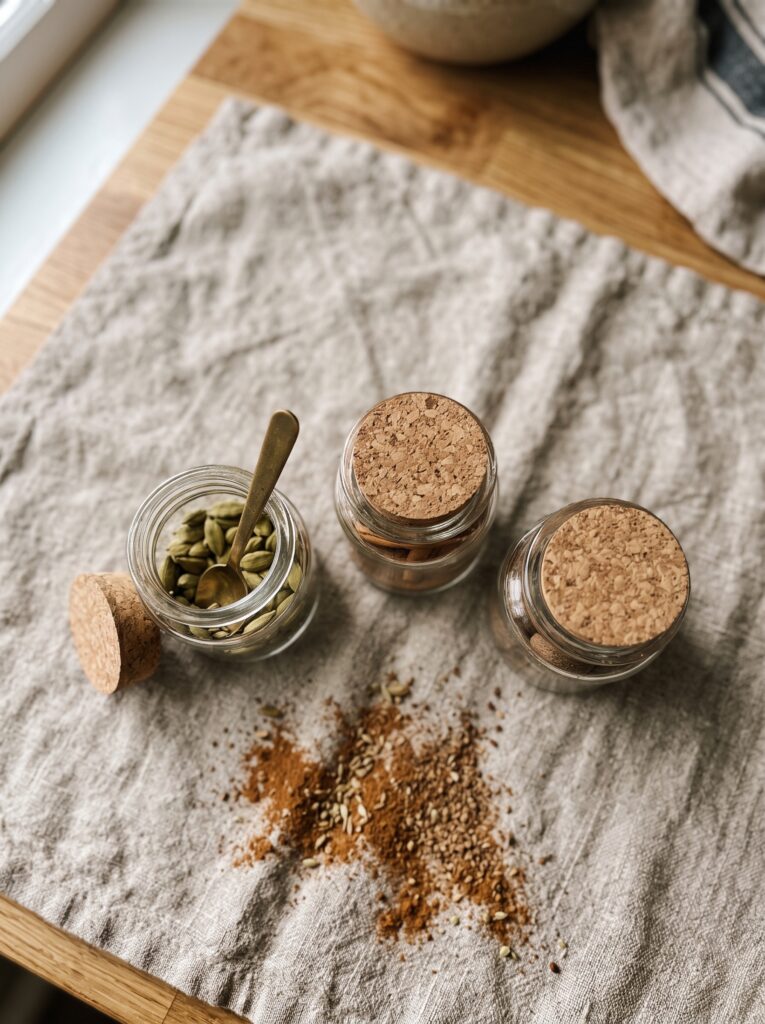
Cardamom.
Just a pinch. Like, ⅛ of a teaspoon. It sounds strange with apple and I almost didn’t try it, but a food writer I follow mentioned it once in passing and I couldn’t get the idea out of my head.
It doesn’t taste like cardamom when it’s done — it just makes everything taste more like itself, brighter and more complex, with a faint floral warmth underneath the cinnamon. My friend Emma tasted it and asked what was different. She couldn’t name it. She just kept eating.
That’s the goal with a secret ingredient. Not to be tasted, but to be missed when it’s gone.
—
10. Serving It the British Way Versus the American Way
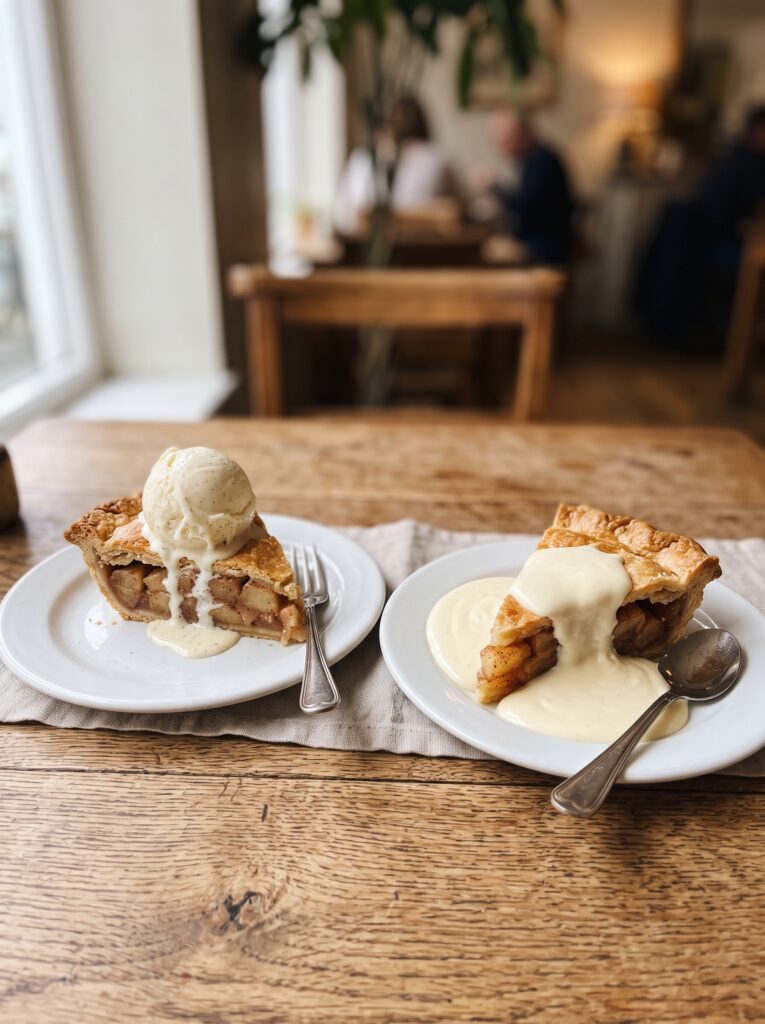
This is genuinely a fun debate.
In the US, it’s a scoop of vanilla ice cream. Full stop. The contrast of the cold ice cream melting against the warm pie filling is sort of perfect. It’s the thing. You know it’s the thing.
In the UK — or at least in my experience — it’s a pour of double cream (heavy cream, Americans), slightly cold, swirled over the top. Or it’s proper custard, which is a whole other argument. Warm poured custard over apple pie might actually be the best version of all. I’m not ready to commit to that fully but I’m not not saying it.
“Warm custard over apple pie is something I’m not prepared to argue against anymore.”
Clotted cream works too. It’s richer and sweeter and a bit indulgent but it holds its shape better on the plate and it has a slight tang that cuts through the sweetness of the filling in a genuinely good way.
Try all of them. This is research.
—
11. Making It a Day Ahead Without Losing Anything
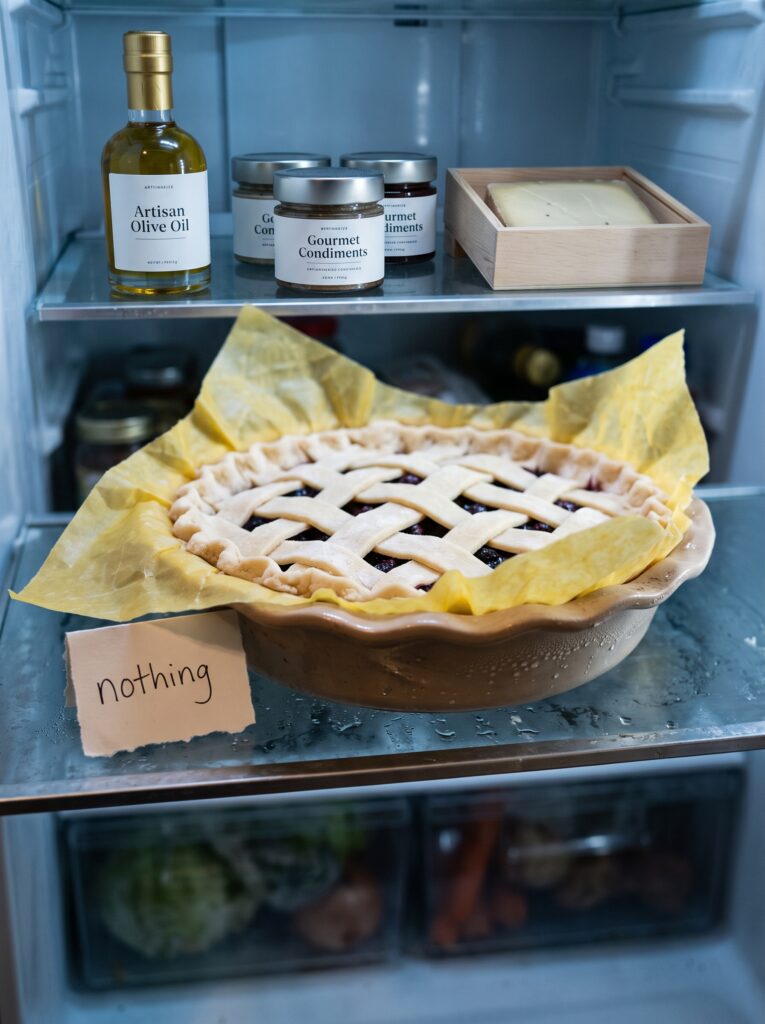
You can absolutely bake this the day before. Once it’s fully cooled, cover loosely with foil and keep it at room temperature. Don’t refrigerate it — cold kills the texture of the pastry. When you’re ready to serve, warm it in a 300°F (150°C) oven for about 15-20 minutes. It comes back to life almost completely.
The filling actually deepens overnight. The spices settle in, the apple softens a touch more, and the whole thing tastes somehow more integrated, more settled. Like it’s made up its mind about what it wants to be.
You can also freeze it fully baked. Wrap well, freeze for up to 3 months. Thaw at room temperature and warm as above. It loses maybe 10% of its crust crispness but honestly, for a made-from-scratch apple pie on a Tuesday night in February? Still extraordinary.
—
12. What to Do With the Scraps (Because Wasting Pie Dough Feels Wrong)
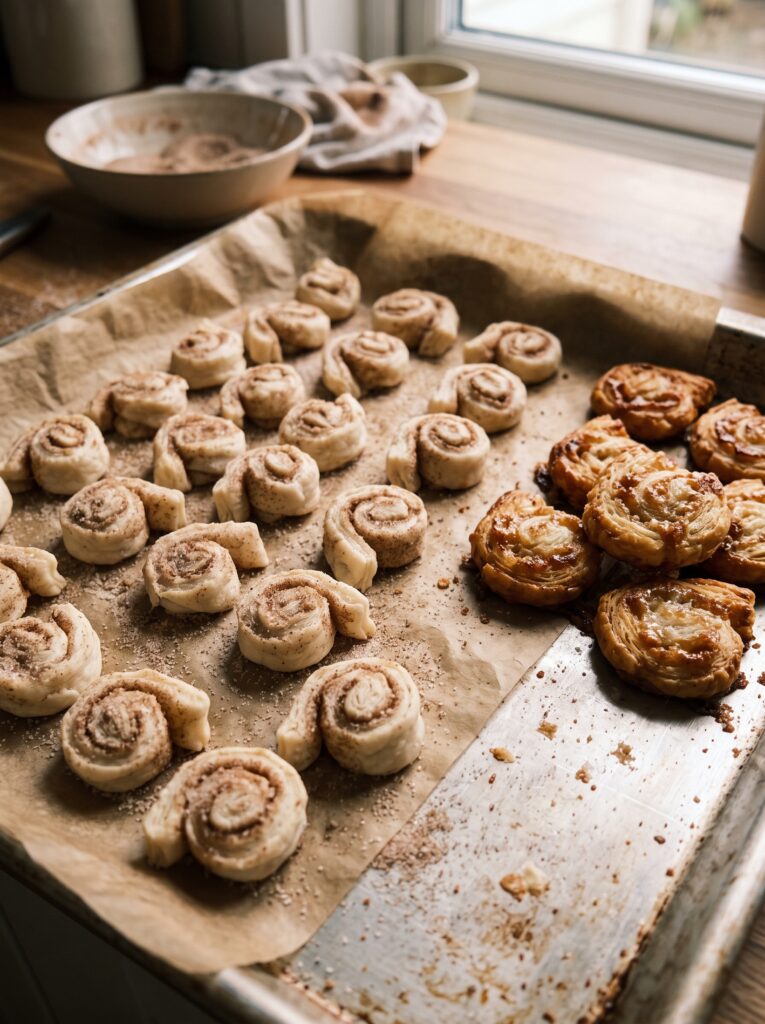
This is a small thing but I love it.
Gather up the pastry scraps, press them together gently, and roll out roughly. Brush with melted butter, dust with cinnamon sugar, cut into rough strips, and bake on a lined tray at 375°F (190°C) for about 10-12 minutes. They come out like little cinnamon twists, flaky and buttery and slightly caramelized at the edges.
They’re the best snack. Kids love them. Adults love them more. They disappear while the actual pie is still cooling and I’ve never once felt guilty about it.
If you have any leftover filling — which sometimes happens if your apples were particularly large — spoon it into a small ramekin, top with a square of dough, and bake it alongside the pie as a little individual crumble-ish thing. It’s not pretty. It’s delicious. Those are the best food moments, honestly.
—
❓ FAQ
Q: Can I use pre-made shortcrust pastry instead of making it from scratch? A: You absolutely can, and there’s no shame in it — a good quality store-bought shortcrust works well and saves a lot of time. Homemade gives you a noticeably flakier, more buttery result because you control the butter content, but if it’s the difference between making the pie and not making it, use the ready-made.
Q: How do I know which apples are best for pie in the UK when the US varieties aren’t available? A: Cox’s Orange Pippin, Bramley, and Braeburn are your best bets in the UK. Bramley is very tart and breaks down more than a Granny Smith, so if you use Bramley, increase it to about 60% of your apple mix and use something firmer for the rest. It’s a great combination.
Q: My pastry always shrinks and slides down the sides during baking — what am I doing wrong? A: Almost always, it’s because the dough was stretched when you fitted it into the dish rather than allowed to settle in on its own. The second cause is not resting the dough long enough in the fridge — that rest relaxes the gluten and means less shrinkage. Make sure you’re resting it for at least an hour, and drape the dough into the dish rather than pressing it in.
—
💭 Final Thoughts
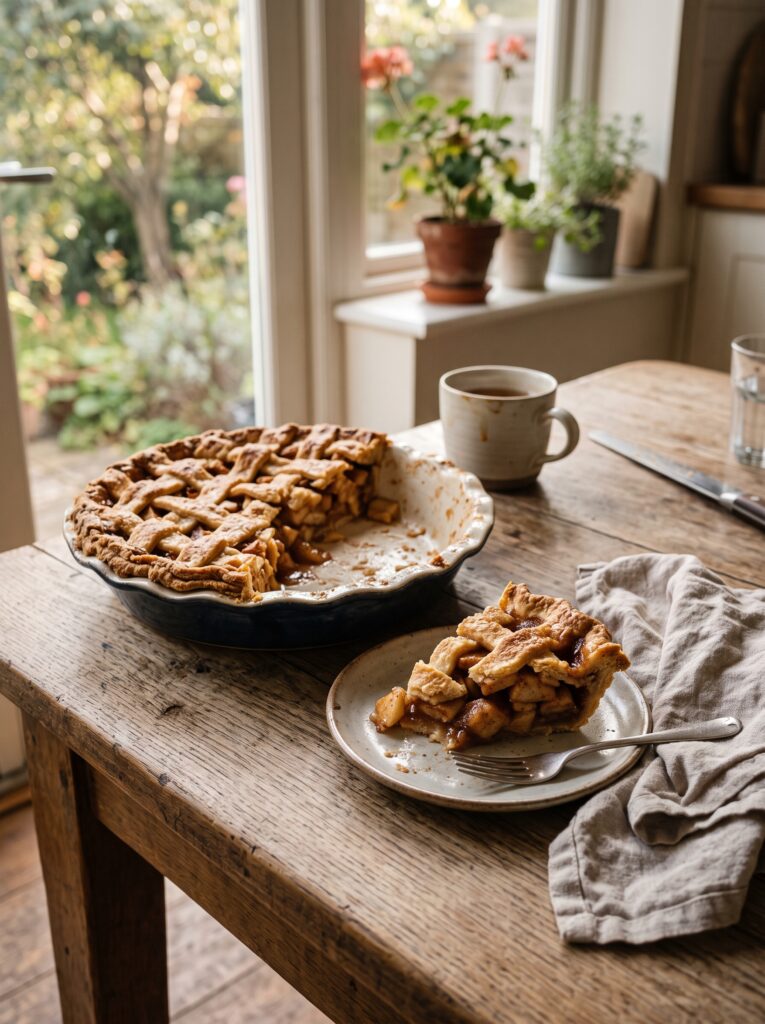
There’s something about making a pie completely from scratch — rolling the dough yourself, smelling the spices hit the hot filling, hearing that bubbling through the oven door — that feels like doing something right. Not just cooking. Something older than that.
This recipe isn’t fussy. It just asks you to slow down a little, pay attention to a few things, and trust the process even when the filling looks too liquid or the edges seem too brown. It sorts itself out. It always does.
What’s the first thing you’re going to serve it with?
