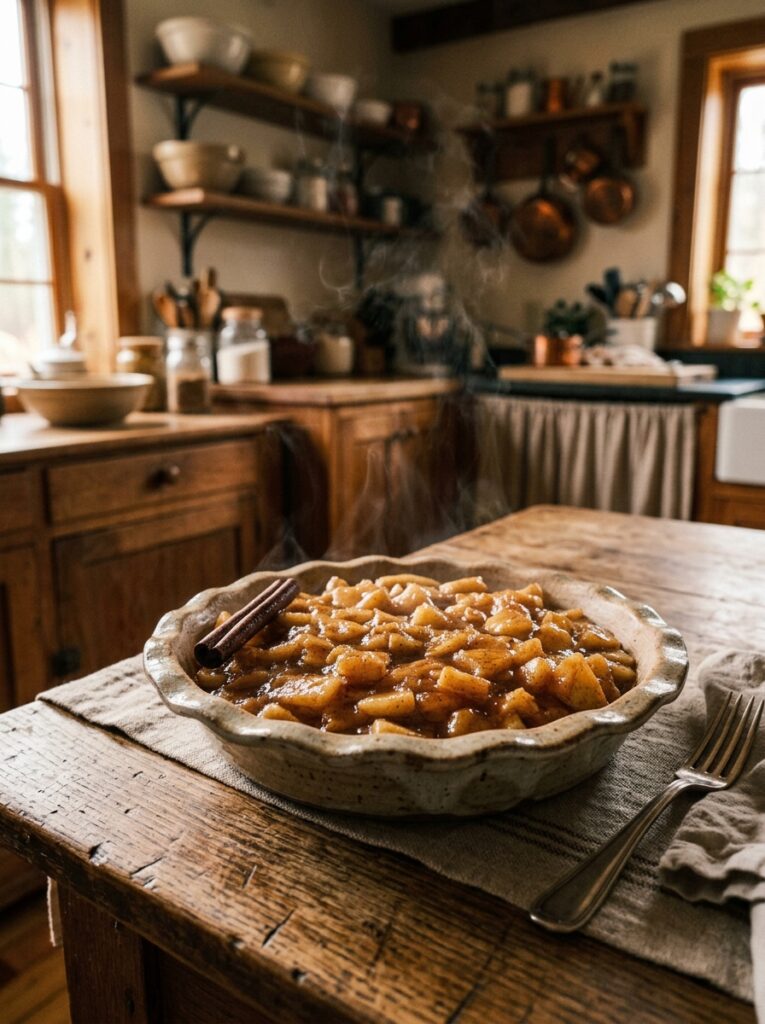
My grandmother kept a can of pie filling in the pantry at all times. Like, always. I thought that was just how it was done. Then I made my own from scratch on a rainy Sunday afternoon, basically by accident because I had too many apples going soft on the counter, and I genuinely couldn’t believe I’d waited this long.
—
1. Why Your Homemade Filling Tastes Different (Better) Than Anything from a Tin
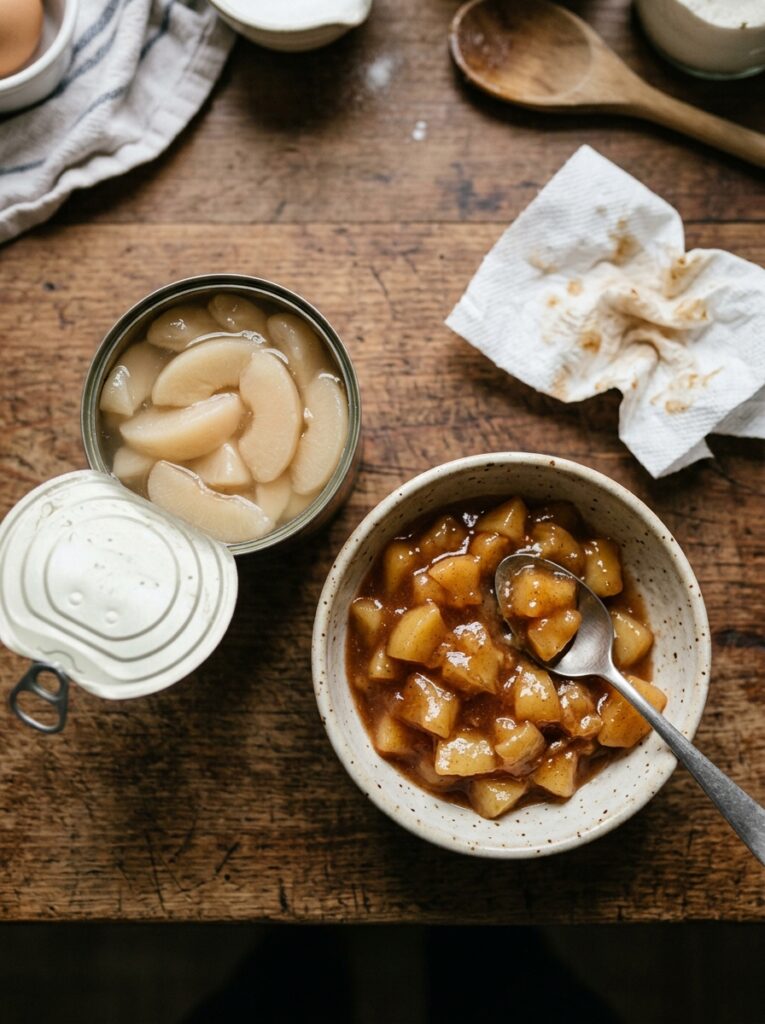
The canned version has a specific flavour — kind of gelatinous, a little artificial, and weirdly uniform. Every spoonful tastes exactly like the last. Homemade filling doesn’t work like that. It shifts. The apples hold their shape in some spots and go completely tender in others, and there’s this moment when the cinnamon and brown sugar hit the heat together and the whole kitchen smells like it’s been transported somewhere else entirely.
That smell is NOT achievable from a can.
The other thing nobody talks about is texture. Homemade filling has actual chunks — apples that still have a bit of resistance, not just mush in thickened syrup. And you get to control that. You want it saucier? Cook it longer. You want apple slices you can actually bite into? Pull it off the heat sooner. That control is everything.
—
2. The Apples That Actually Hold Up When You Cook Them
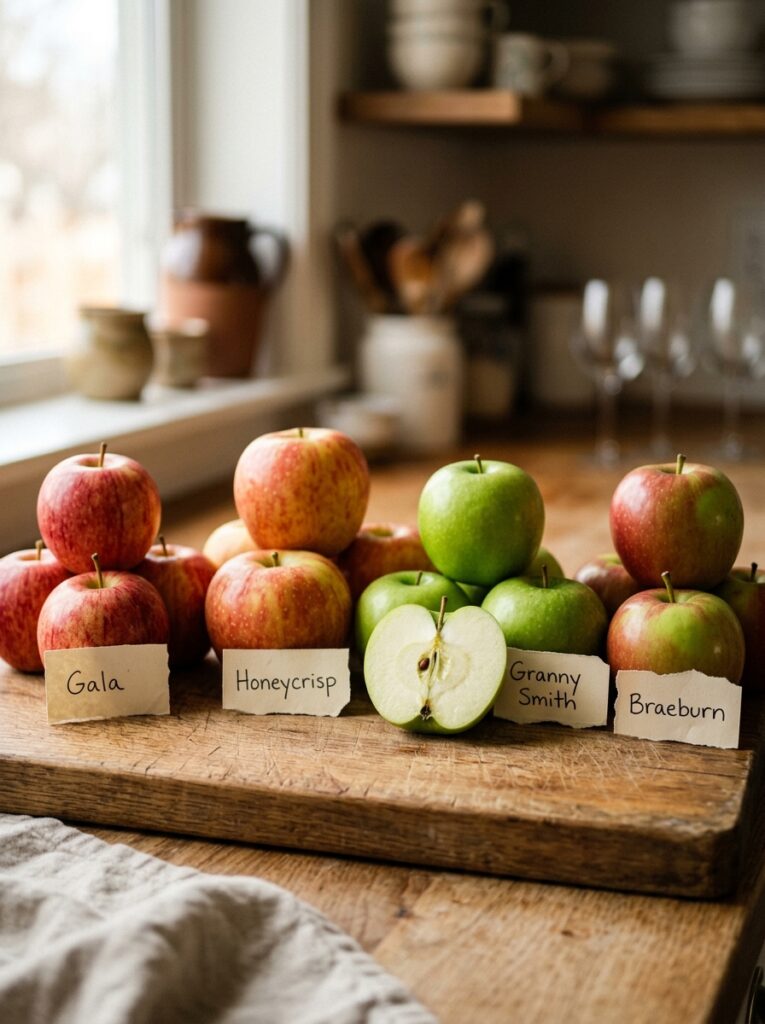
Not every apple is built for this. I learned that the hard way with a bag of Gala apples that turned into applesauce the second they hit the pan. Fine for porridge, not great for pie.
The ones that actually hold up: Granny Smith, Bramley (if you’re in the UK — they’re SHARP and perfect), Braeburn, Honeycrisp if you can find them. Granny Smiths are the most forgiving, honestly. They stay a little firm, they’re tart enough to balance all that sugar, and they don’t go grey and weird looking.
A mix works well too. Half Granny Smith, half something sweeter like a Cox or a Golden Delicious. The tartness from one, the flavour complexity from the other. It sounds fussy but it’s not, it’s just grabbing two different bags at the shop.
“The Bramley apple was basically made for pie. It collapses just enough to become part of the filling without disappearing entirely.”
—
3. The Simple Classic Filling You’ll Make on Repeat
This is the base. Everything else in this article is a variation or upgrade of this.
You’ll need about 6 medium apples (roughly 6 cups once peeled and sliced), ¾ cup of granulated sugar, 2 tablespoons of brown sugar, 2 tablespoons of cornflour (that’s cornstarch if you’re American, same thing different name), 1 teaspoon of cinnamon, a pinch of nutmeg, 1 tablespoon of lemon juice, and 1 tablespoon of butter.
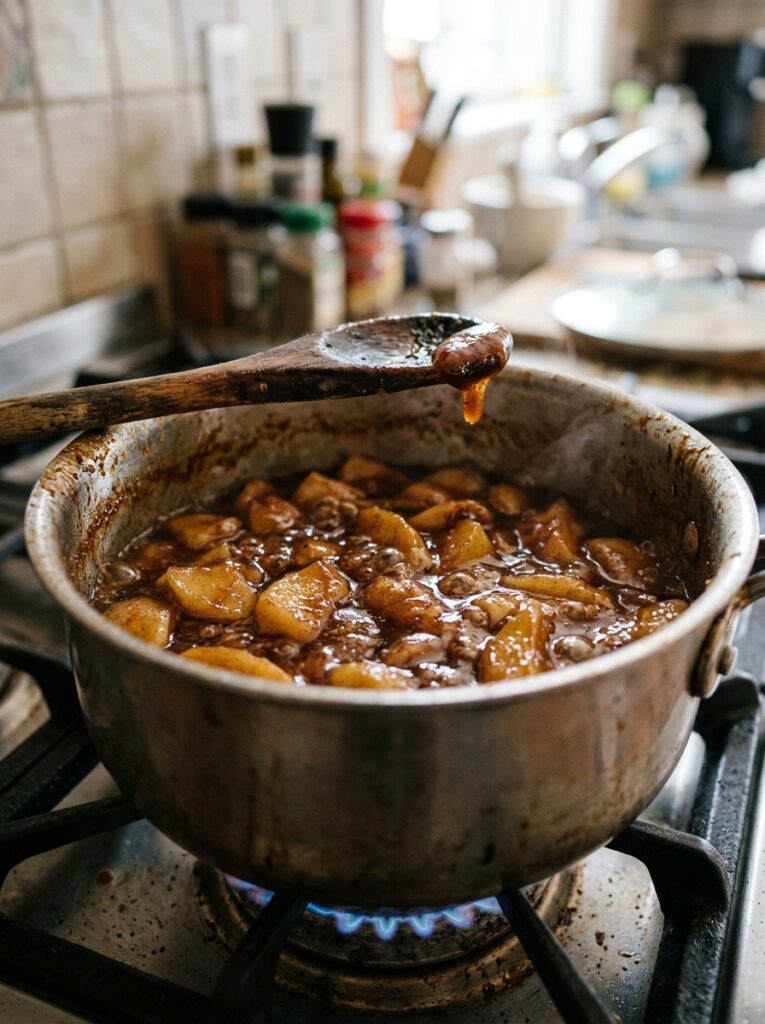
Peel and slice your apples into roughly ¼ inch pieces — not too thin or they’ll vanish, not so thick they won’t cook through. Toss them in a bowl with the sugars, cornflour, spices, and lemon juice, then tip the whole lot into a saucepan over medium heat. The lemon juice keeps them from browning and adds a brightness you’d really notice if it wasn’t there. Cook for about 8-10 minutes, stirring gently, until the syrup thickens and coats everything. Add the butter at the end. That’s it.
—
4. The Brown Butter Version That Changes Everything About the Flavour
Okay this one. THIS one.
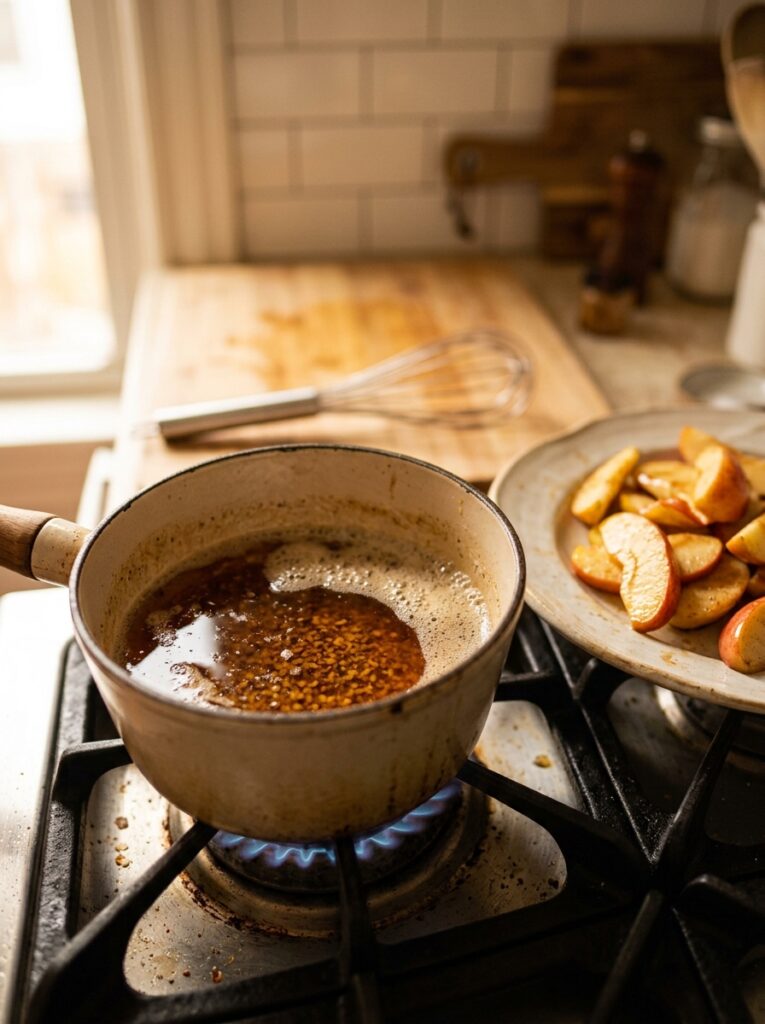
If you’ve never browned butter before: you just melt it slowly in a light-coloured pan and let it go past the foam stage until it smells like toasted hazelnuts and goes golden. Takes maybe 4 minutes. Don’t walk away from it.
Instead of adding plain butter at the end of your filling, make 2 tablespoons of brown butter first, then cook your apples in it. The nutty, almost caramel quality it adds is subtle but you’d DEFINITELY notice if it wasn’t there. It makes the filling taste more expensive. More considered, somehow. This is the version I make when I want to quietly impress someone without making a thing of it.
Add a splash of vanilla extract too — real vanilla, not the synthetic stuff if you can help it — and swap half the granulated sugar for dark muscovado or dark brown sugar. It goes deep and slightly treacly and honestly it might ruin the classic version for you. Sorry.
—
5. What Actually Makes the Filling Thick (and How to Avoid the Watery Disaster)
A watery pie filling is one of the most demoralising baking outcomes. You do everything right, you bake the pie, you cut into it, and it just… runs. Soggy bottom, soup filling, sad dinner.
Here’s what’s happening: apples release a LOT of liquid as they cook, and if your thickener can’t handle it, you end up with filling soup.
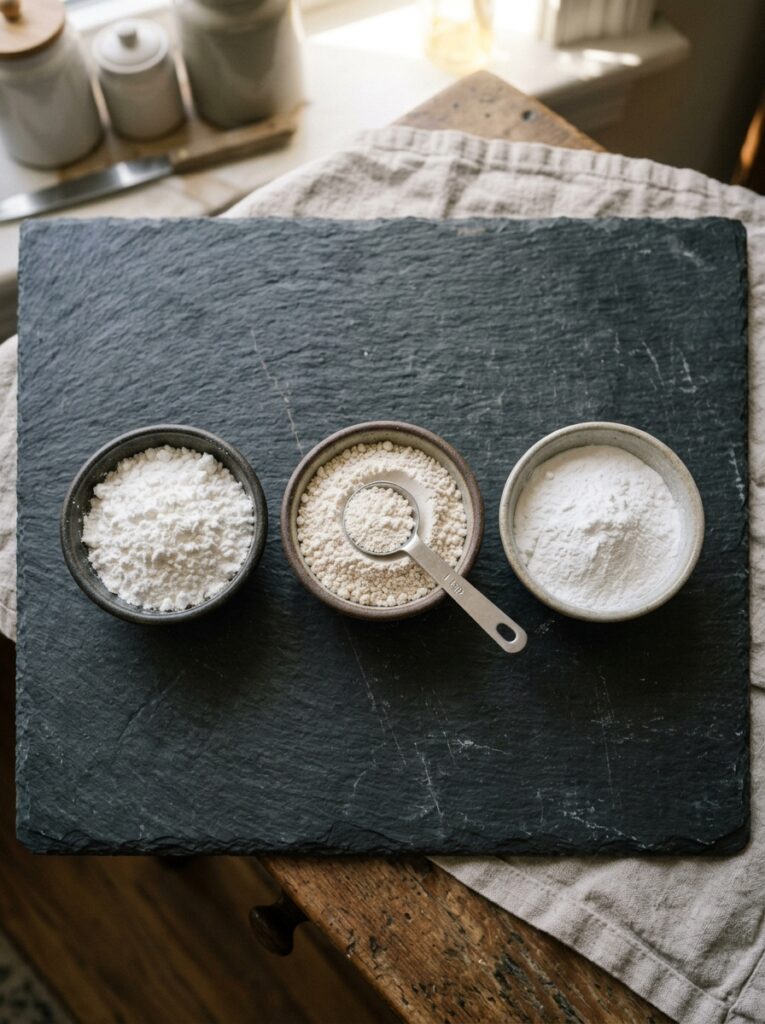
Cornflour (cornstarch) is the most reliable thickener. Plain flour works but you need more of it and it can taste a bit raw if you’re not careful. Some people swear by tapioca starch for a clearer, glossier finish — it doesn’t cloud the syrup the way cornflour sometimes does, which matters if you’re making a lattice pie where people can see through the top.
The key thing, though, is pre-cooking the filling before it goes in the pie. If you do that, you know exactly how thick it is going in. No guessing, no hoping. Pre-cooked filling is the single biggest upgrade most home bakers can make.
“Pre-cooking your filling isn’t extra work — it’s the difference between a pie that holds its shape and one that weeps all over the plate.”
—
6. The Spice Combinations Nobody Talks About Enough
Cinnamon and nutmeg is the default. It’s good. It’s a classic for a reason. But there’s a whole world of spice combinations that work brilliantly with apple and most people never try them.
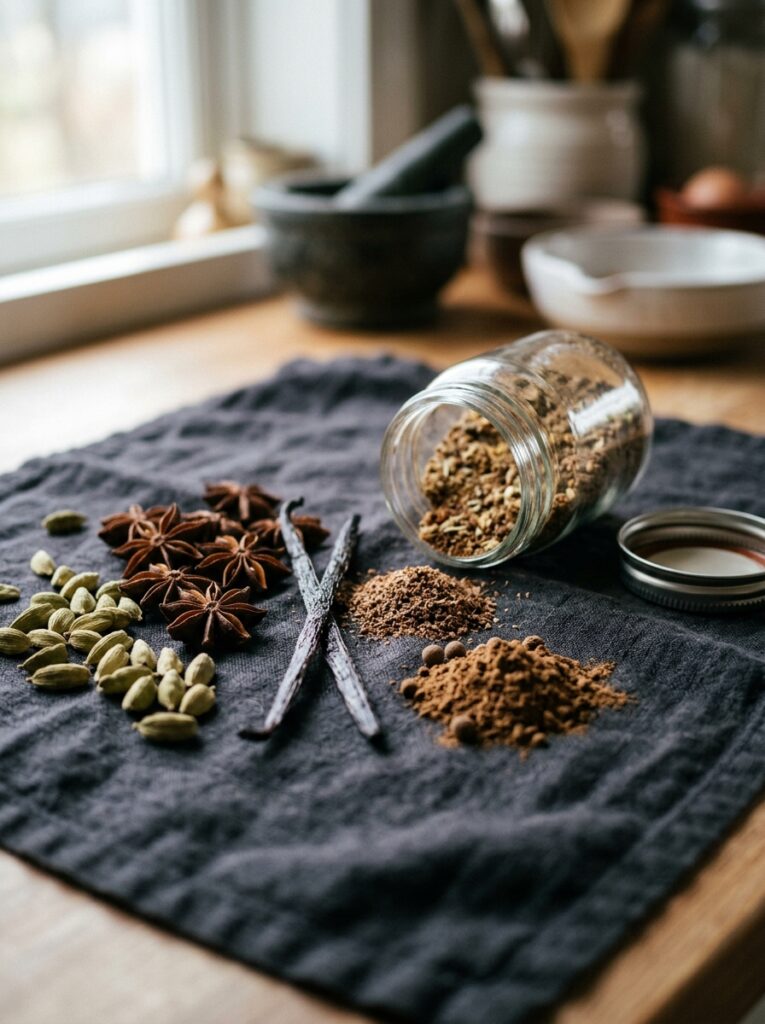
Cardamom. Just a quarter teaspoon of ground cardamom in a standard filling quantity and it adds this floral, slightly citrusy note that makes people stop mid-bite and go “wait, what is that?” It’s a bit Scandinavian, a bit mysterious, very good.
Black pepper. Tiny amount. An eighth of a teaspoon. You won’t taste pepper exactly but it adds warmth and depth in a way that’s hard to explain. It just makes everything taste more alive.
Star anise. Either grind a small piece into powder or drop a whole star into the filling while it cooks and fish it out at the end. It’s quite strong so use it sparingly — it should be a background note, not the main event.
Allspice is underused and a little goes a long way. It’s actually already common in British apple puddings, more than people realise.
—
7. A Filling That Works in More Than Just Pie (This Is the Flexible One)
Here’s the thing about a good apple pie filling — you don’t actually need a pie.
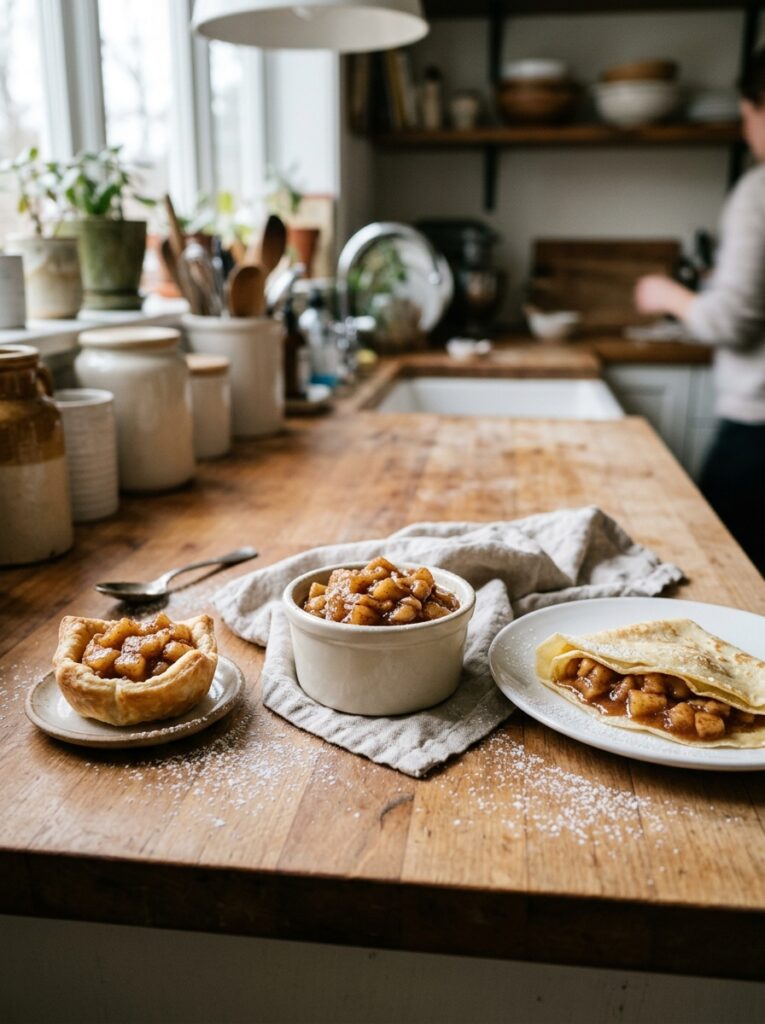
The same filling works poured warm over vanilla ice cream, and honestly that might be better than the pie. It works spooned onto thick Greek yoghurt for breakfast (especially when it’s cold, the filling is warm, and there’s granola involved). It works as a crumble filling with an oat topping baked over it. It works stirred into porridge on a grey morning when you need something that feels like a hug.
I’ve also used it as a pancake filling — thick American-style pancakes with filling inside and a drizzle of maple syrup on top. That was a weekend breakfast that got very quiet at the table, which is always the highest compliment.
Make a big batch. Keep it in a sealed jar in the fridge for up to a week. Use it in three different ways across that week and feel genuinely smug about it.
—
8. The Caramel Apple Filling (Better Than It Sounds, Which Is Already Great)
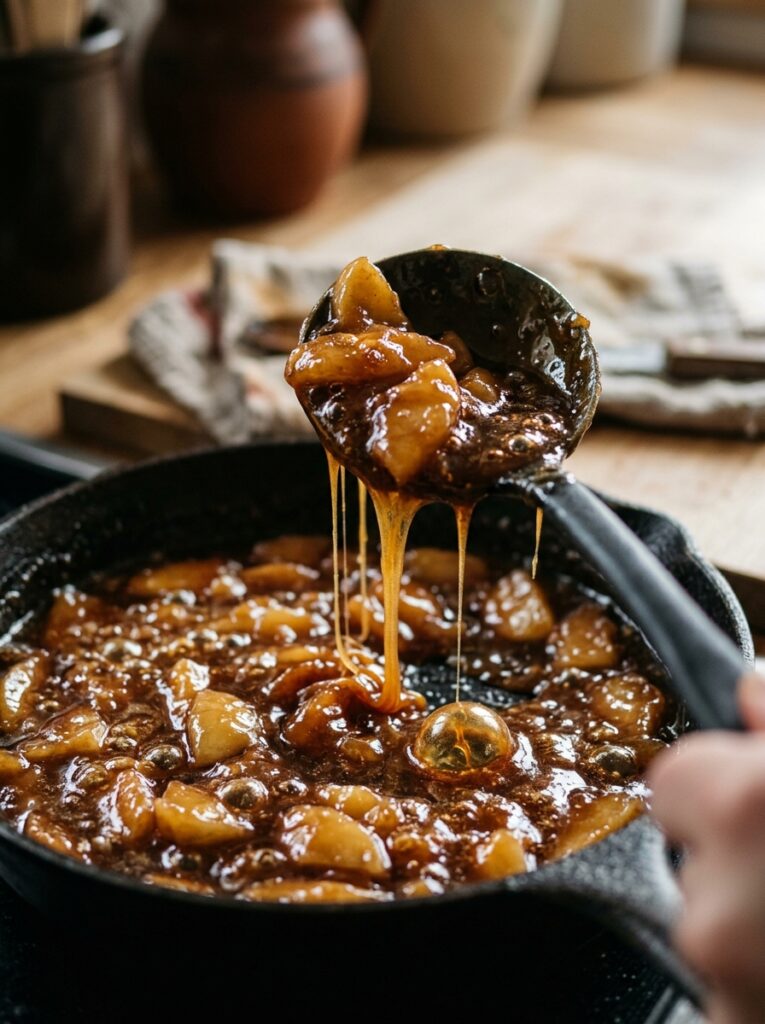
This version takes maybe five extra minutes and the payoff is disproportionately large.
Make a quick caramel: put ½ cup of sugar in a light pan over medium heat, don’t touch it until it starts melting around the edges, then swirl (don’t stir) until it’s all liquid and amber. Pull it off the heat and carefully add 3 tablespoons of double cream (heavy cream) — it’ll spit, that’s normal. Stir it smooth, add a pinch of salt, and that’s your caramel sauce.
Add that to your apple filling in place of the plain sugar. Or alongside a reduced amount of it. The caramel adds this deep, slightly bitter sweetness that cuts through the richness in a way that plain sugar just can’t. Salt is non-negotiable here — it makes the caramel taste like caramel and not just sweet.
This filling is particularly good in hand pies or turnovers where the pastry is buttery and flaky and you need the filling to be BOLD enough to hold its own.
—
9. Making It Ahead and Storing It (the Practical Bit)
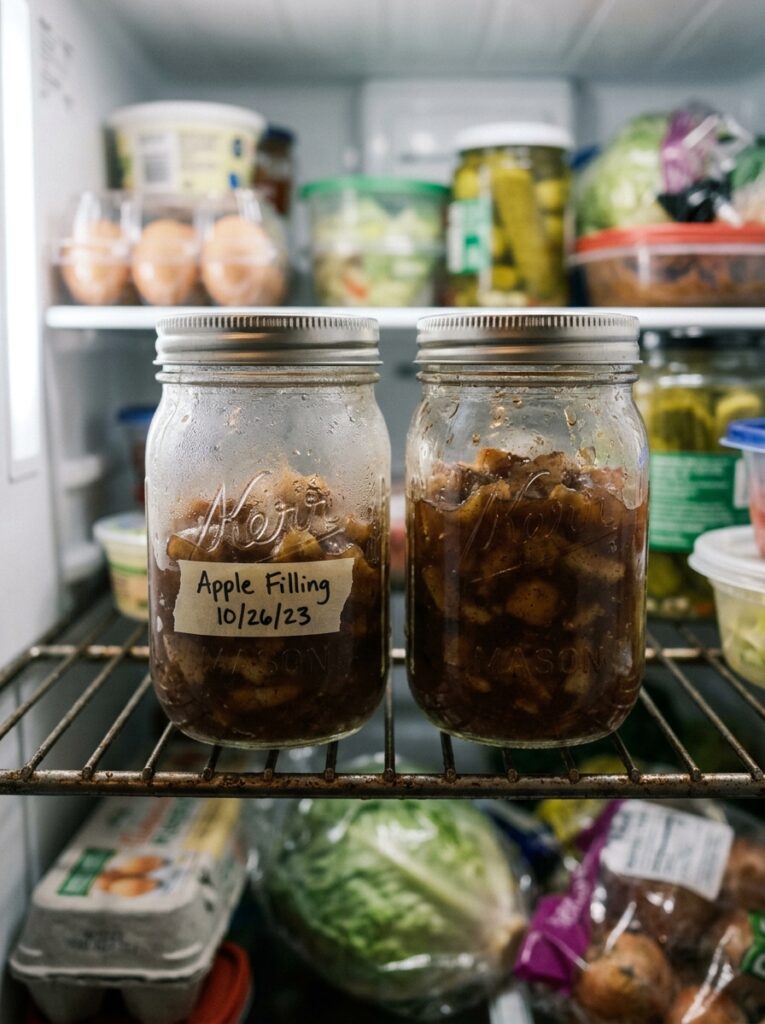
Good news: apple pie filling is one of the most make-ahead friendly things in baking.
In the fridge, it’ll keep for up to a week in an airtight container. It thickens up considerably when cold — that’s normal, it’ll loosen when you heat it back up.
For longer storage, you can freeze it. Lay it flat in freezer bags, squeeze the air out, and it keeps for about 3 months. Defrost it overnight in the fridge when you need it. I keep a bag of this in the freezer basically always now. It means a pie or crumble is never more than a pastry or a bag of oats away.
Some people jar and water-bath can their apple filling for shelf-stable storage — this is a whole process but if you’re the type who batch cooks and preserves things, there are solid tested recipes out there worth following exactly (food safety is serious with canning, don’t improvise that bit).
—
10. The Version That Tastes Like a Hug from a Bakery in Vermont
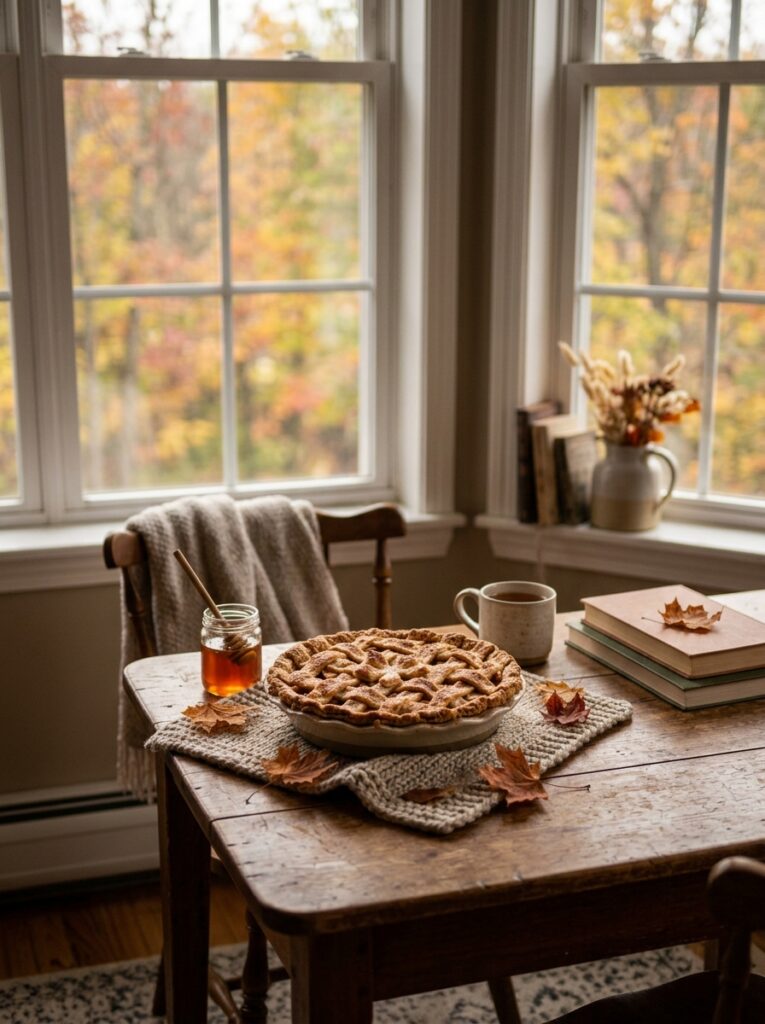
This one’s got a bit more going on.
You’re going to add a tablespoon of maple syrup to your base recipe. Real maple syrup, not pancake syrup, there’s a difference and it matters. Then add a teaspoon of vanilla, an extra pinch of cinnamon, and — this is the bit — a tablespoon of apple cider vinegar.
I know. Stay with me.
The vinegar doesn’t make it taste sour. It makes everything else taste MORE like itself. It’s the same thing as lemon juice in a fruit dessert — it brightens and sharpens without announcing itself. Combined with the maple and the vanilla, you get this warm, rounded, complex filling that tastes like it came from a place with wooden beams and a chalkboard menu.
This one I’d put in a deep dish pie with a thick pastry lid and serve with proper vanilla ice cream.
“Apple cider vinegar in a sweet filling sounds wrong until you taste it. Then it sounds obvious.”
—
11. Getting the Apple Slices Right (The Part Most Recipes Skip)
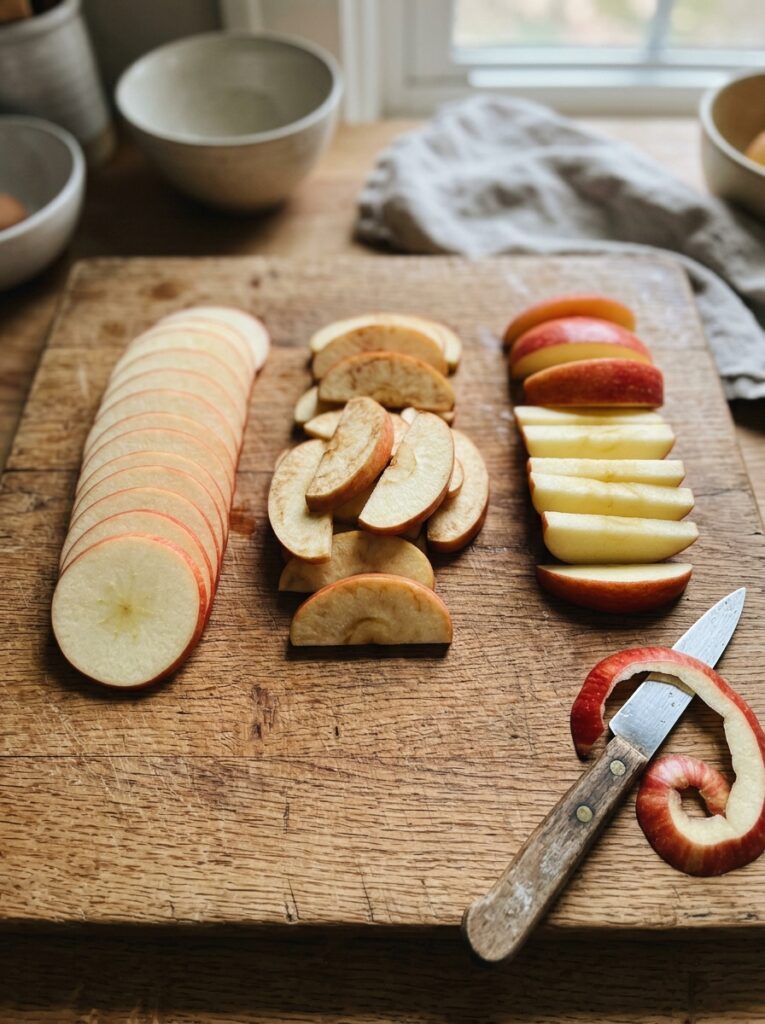
Slice thickness is genuinely important and most recipes just say “slice the apples” and leave it at that, which, helpful, thanks.
Too thin (under ⅛ inch) and they cook away completely, you lose all texture. Too thick (over ½ inch) and you get the outside cooking while the inside stays raw and crunchy in a bad way. The sweet spot is ¼ inch — thick enough to hold some bite, thin enough to cook through properly in a reasonable time.
Cut them lengthways from the core if you want more structural slices — they hold together better. Cut them across the apple if you want a more casual, rustic look where the filling has more variety of shapes and sizes.
And don’t skip the peel-and-core step to save time. The peel gets leathery and weird in the filling, and biting into a piece of it in a smooth, buttery pie is genuinely unpleasant. Just peel the apples.
—
12. The Low-Sugar Version That Doesn’t Taste Like a Compromise
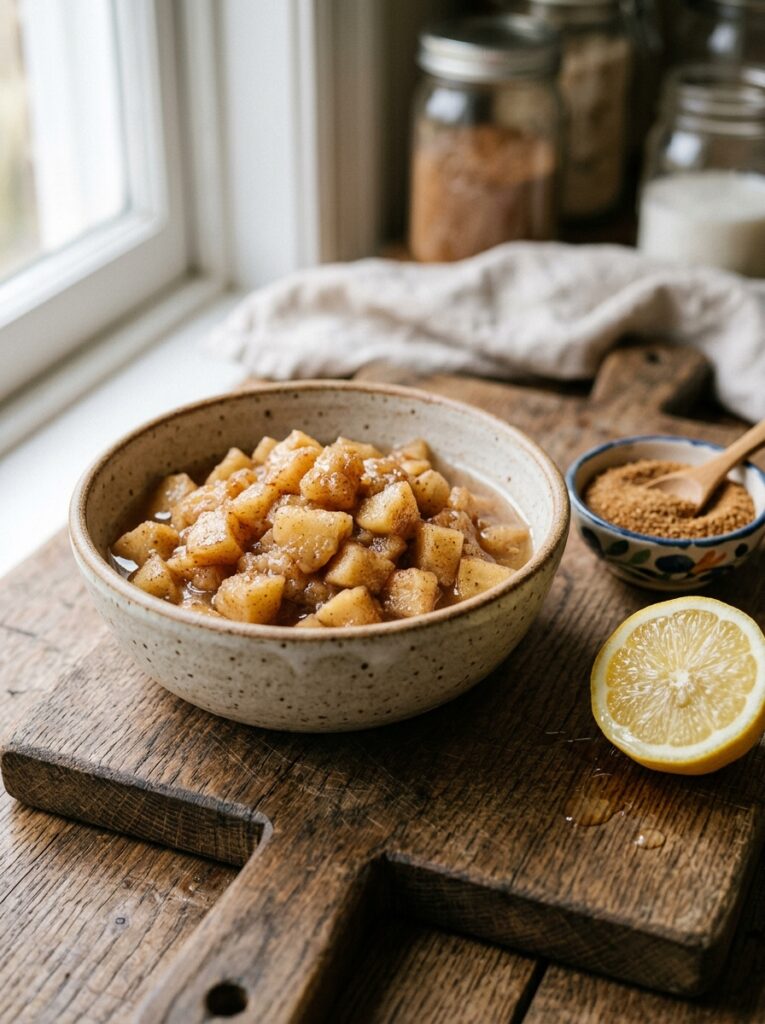
Sometimes you want the filling without the full sugar hit, and the good news is you can pull this back quite a bit without losing what makes it good.
Drop the granulated sugar down to ¼ cup and lean harder on the natural sweetness of the apples — use sweeter varieties here, so a Fuji or a Gala instead of a Granny Smith. Add more cinnamon and vanilla to compensate, because those are what the brain reads as “sweetness” in a filling even when the actual sugar content is lower. A tablespoon of honey can replace some of the sugar and adds its own mild floral note.
It’s not the same as the full-sugar version. Let’s be honest about that. But it’s genuinely good in its own right, especially if you’re serving it over something already rich or sweet — double cream, ice cream, thick yoghurt. The filling doesn’t need to carry all the sweetness when the accompaniments are doing some of that work.
—
❓ FAQ
Q: Can I use cooking apples instead of eating apples for pie filling? A: Yes, and in the UK, Bramley cooking apples are actually ideal — they’re tart, they break down beautifully, and they give the filling a sharpness that balances all the sugar really well. Just know that cooking apples tend to go softer than eating apples, so the texture of the filling will be more saucy than chunky. Some people prefer that.
Q: Why does my apple pie filling always come out watery? A: Usually one of two things — either not enough thickener, or the filling went into the pie uncooked and released all its liquid during baking without enough starch to hold it. Pre-cooking the filling before it goes into the pie is the most reliable fix. Also make sure you’re using the right amount of cornflour: 2 tablespoons per 6 cups of apple is a solid baseline.
Q: How far ahead can I make apple pie filling? A: Up to a week in the fridge, or around 3 months in the freezer. Make sure it’s fully cooled before you store it, keep it in an airtight container, and give it a gentle reheat (with a splash of water or apple juice if it’s thickened too much in the fridge) before using.
—
💭 Final Thoughts
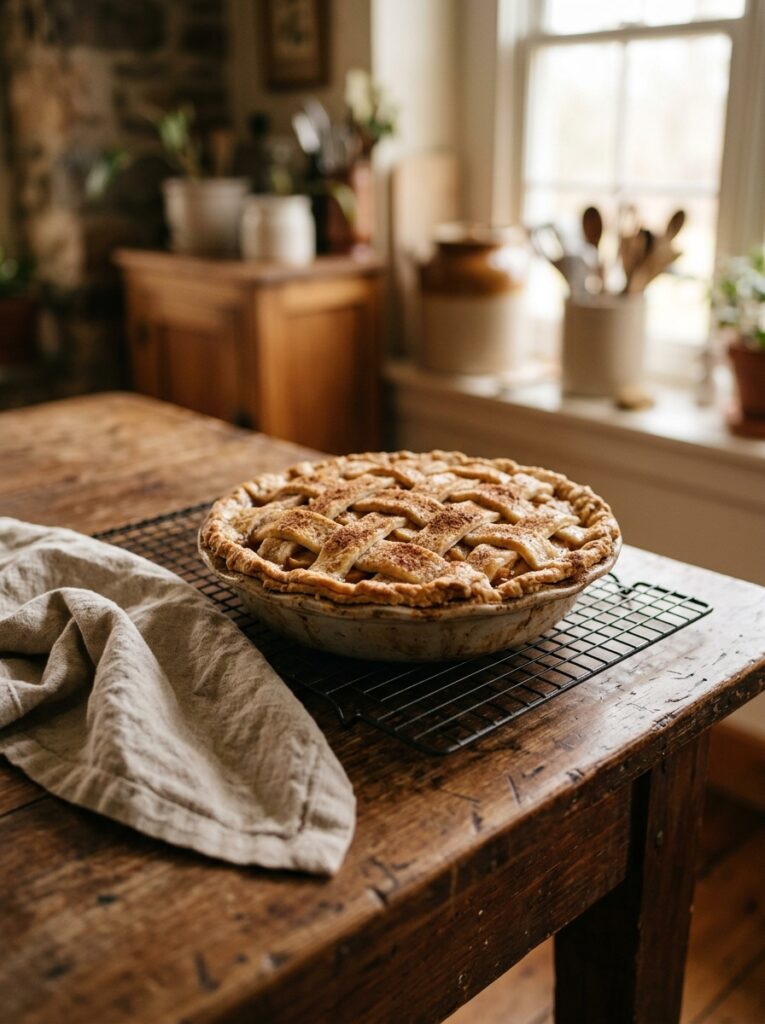
The first time you make your own filling and see it bubbling in the pan, thick and glossy and smelling incredible, you’ll understand why people stopped using the canned version. There’s a version here for every mood — simple, caramel-rich, maple-warm, barely sweet. But honestly? Even the most basic recipe is so much better than what comes out of a tin that the comparison feels a little unfair.
Which one are you making first?
