My mum called it “cheating.” I call it genius.
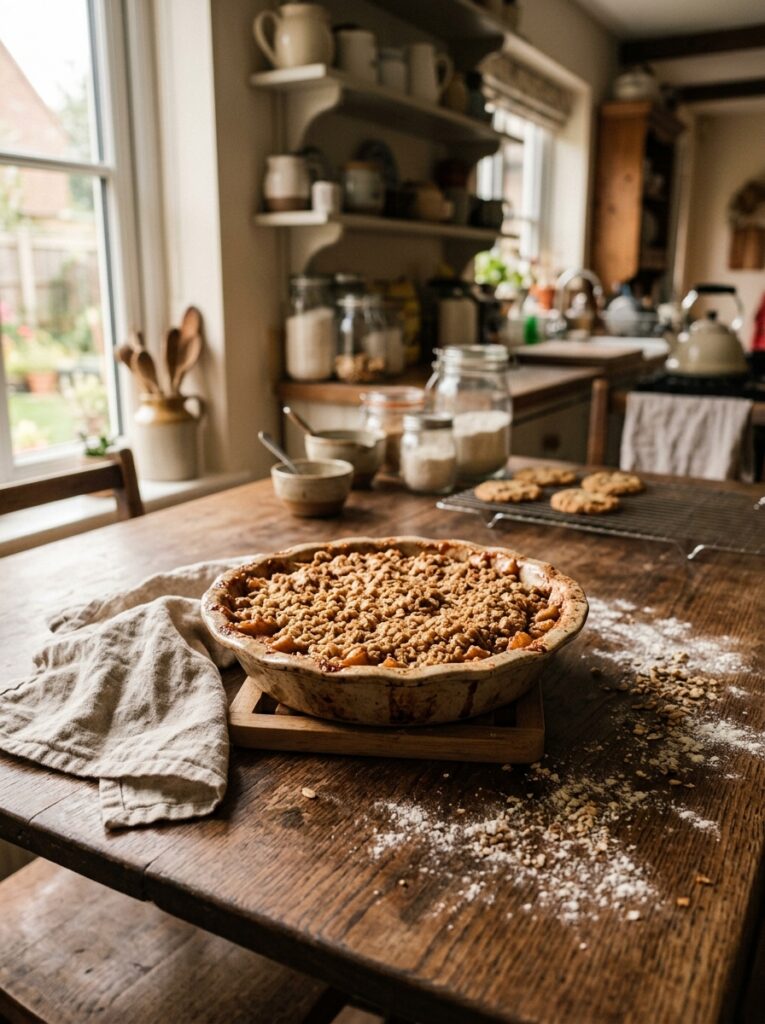
She came over last autumn, took one look at what I was pulling out of the oven, and said “that’s not a proper pie.” And then she ate three slices. So.
—
1. Why This Exists (And Why Regular Apple Pie Can’t Compete)
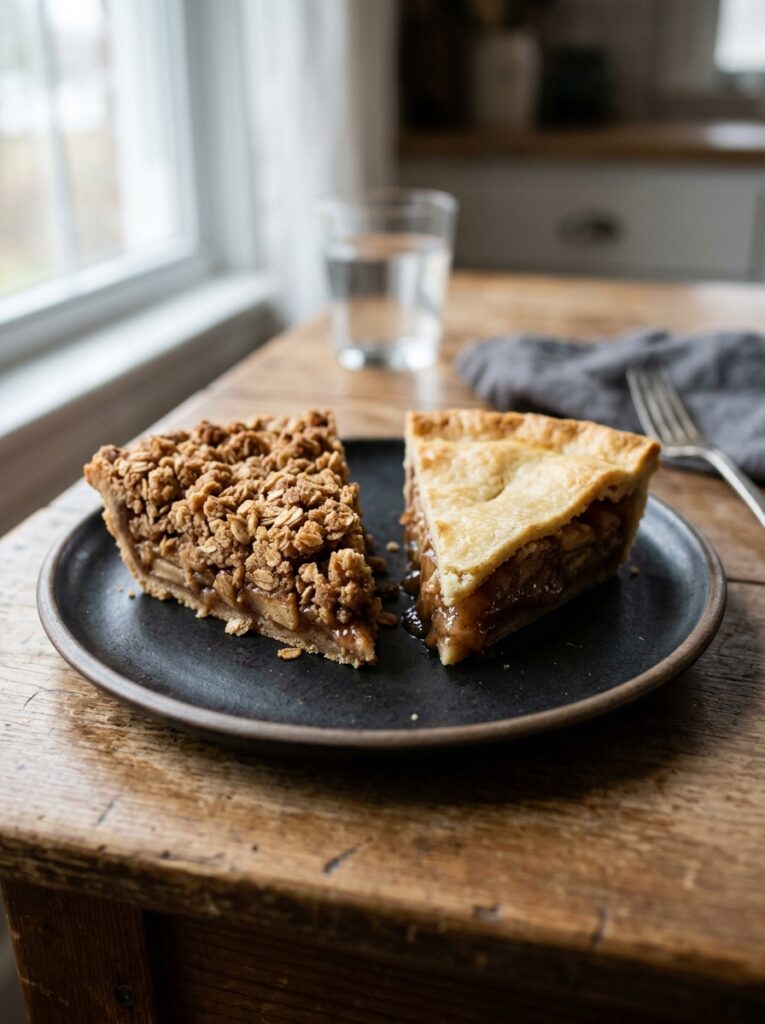
Here’s the thing about apple pie. The top crust — the buttery, flaky part everyone claims to love — gets soft. It steams under the oven dome, sits on top of all that warm fruit filling, and by the time you’re cutting into it at the table, it’s already lost half its crunch. That’s not a flaw, exactly. It’s just what pastry does.
But apple crisp? That golden rubble of oats and brown sugar and cold butter? It stays crunchy. It deepens. It gets this toasted, almost caramel-edged texture that holds up even an hour after you pull it from the oven.
So this recipe keeps the bottom — a proper buttery shortcrust, blind-baked so it doesn’t go soggy — and replaces the pastry lid with crisp topping. You get the structure of a pie and the crunch of a crisp, all at once. It sounds like a compromise but it isn’t. It’s better than both.
—
2. The Apples That Actually Hold Their Shape Under Heat
Not all apples are created equal, and I’m going to be annoying and specific about it because it matters.
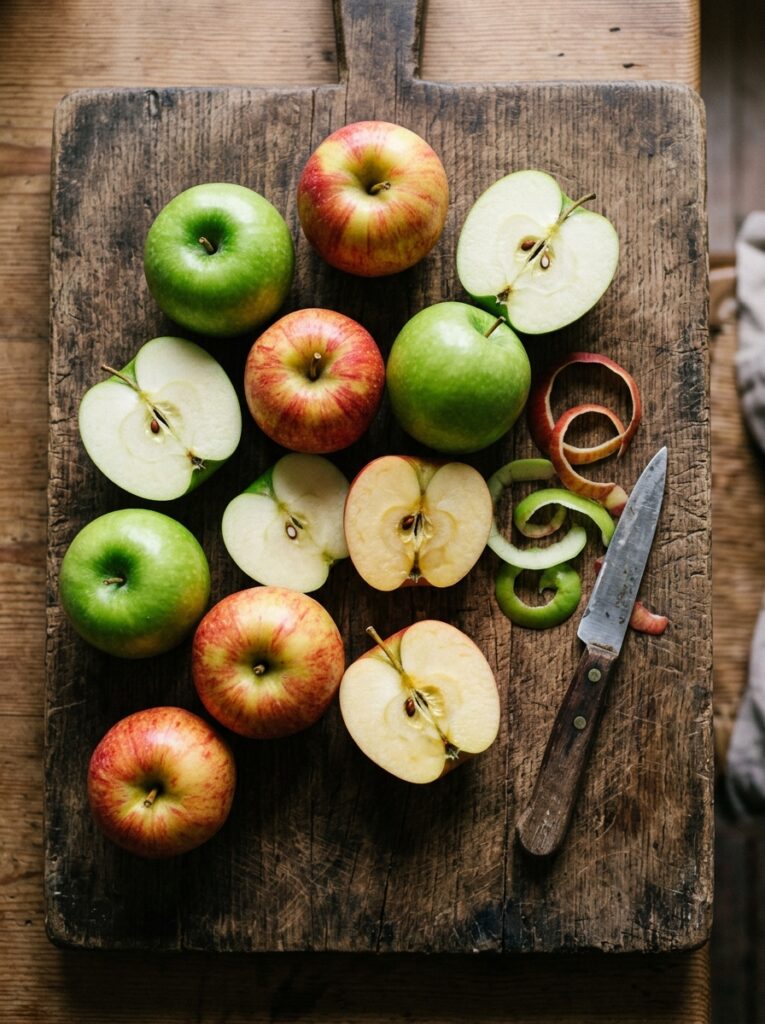
You want apples that don’t turn to mush. Granny Smiths are the obvious call — firm, tart, they hold a shape under 45 minutes of heat like they were built for it. But I’d argue for mixing in one or two sweeter apples too, like a Braeburn or a Cox’s Orange Pippin if you’re in the UK. The Granny Smiths bring the structure and the brightness, the sweeter ones bring a softer fruitiness that rounds everything out.
What you don’t want: anything labeled “eating apple” without a firm texture. Red Delicious apples are a disaster in the oven. They collapse, they go watery, they taste like nothing. Same goes for Golden Delicious, mostly — they’re fine in a pinch but they’re not the hero this filling needs.
Six apples total, peeled, cored, sliced thin. About a quarter-inch. Thinner than you think you need.
“The apples need to be thin enough to soften right through, but firm enough to keep the filling from turning into baby food.”
—
3. The Filling Spices That Don’t Need to Be Complicated
Cinnamon, obviously. But how much cinnamon is a whole conversation.
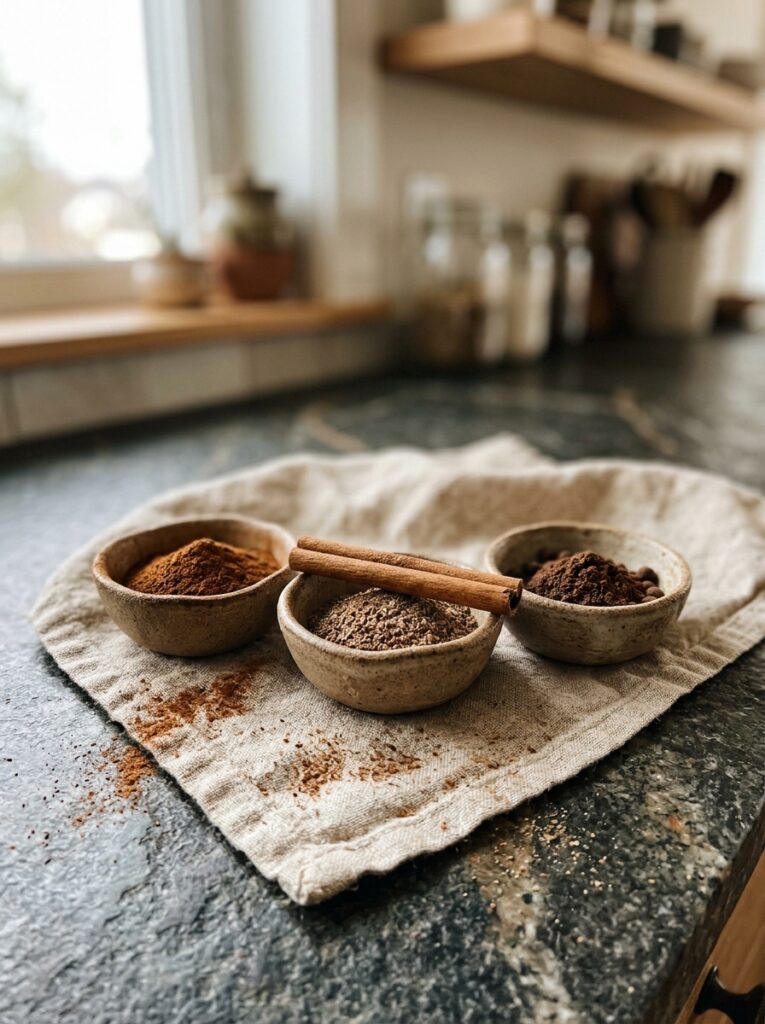
I’ve seen recipes that use half a teaspoon for six apples. Half a teaspoon! You’d barely smell it. I use a full teaspoon and a half, and not gonna lie, sometimes I sneak in a little extra at the end.
Beyond that: a quarter teaspoon of nutmeg, freshly grated if you have a microplane. Ground nutmeg from a jar works but fresh nutmeg smells completely different — warmer, almost floral, a little sharp. Quarter teaspoon of ground ginger. A tiny pinch of allspice if you’re feeling bold, though you can skip it.
The sugar situation in the filling is two tablespoons of light brown sugar and two of regular white granulated. The brown sugar gives a bit of molasses depth, the white sugar helps the liquid release and thicken properly with the cornstarch. Speaking of — one and a half tablespoons of cornstarch (or cornflour, if you’re reading this from the UK), tossed right through the sliced apples before they go in. This is what stops the filling from being a watery soup at the bottom. Don’t skip it.
One teaspoon of vanilla extract. A squeeze of lemon juice, maybe half a lemon. Toss the whole lot together and let it sit for ten minutes while you sort the crust.
—
4. The Shortcrust Base, Done Right the First Time
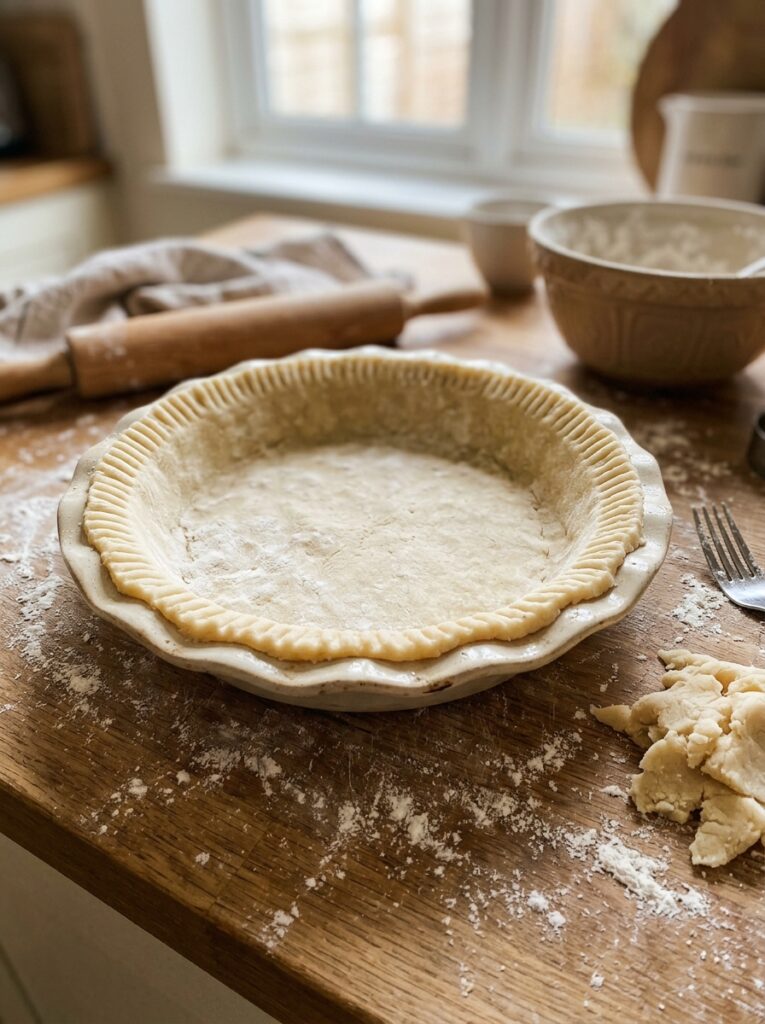
I know, I know. Shop-bought pastry exists. I’m not here to shame anyone for using it, and honestly a good quality ready-made shortcrust is totally respectable. But if you’ve got 15 minutes and some cold butter, making your own gives you something the shop stuff can’t quite match — that slightly crumbly, rich, almost savory edge that makes the sweet filling pop.
One and a quarter cups of plain flour. Half a teaspoon of salt. One tablespoon of caster sugar. Eight tablespoons of cold unsalted butter, cut into cubes. Keep that butter cold, in the fridge until the second you need it. Cold butter is non-negotiable. Then two to three tablespoons of ice water added one at a time, mixing until the dough just barely comes together.
You don’t want to overwork it. As soon as it holds together when you squeeze a bit between your fingers, stop. Flatten it into a disc, wrap it, chill it for 30 minutes minimum.
Then roll it out, lay it into your 9-inch pie dish, and blind-bake it. Line with parchment, fill with baking beans or dried rice, bake at 375°F (190°C) for 15 minutes, then pull out the parchment and beans and bake another 8 minutes until it’s just barely golden. This step is not optional. A raw bottom crust under all that apple filling is one of the great disappointments in baking.
—
5. The Crisp Topping, Which Is Honestly the Best Part
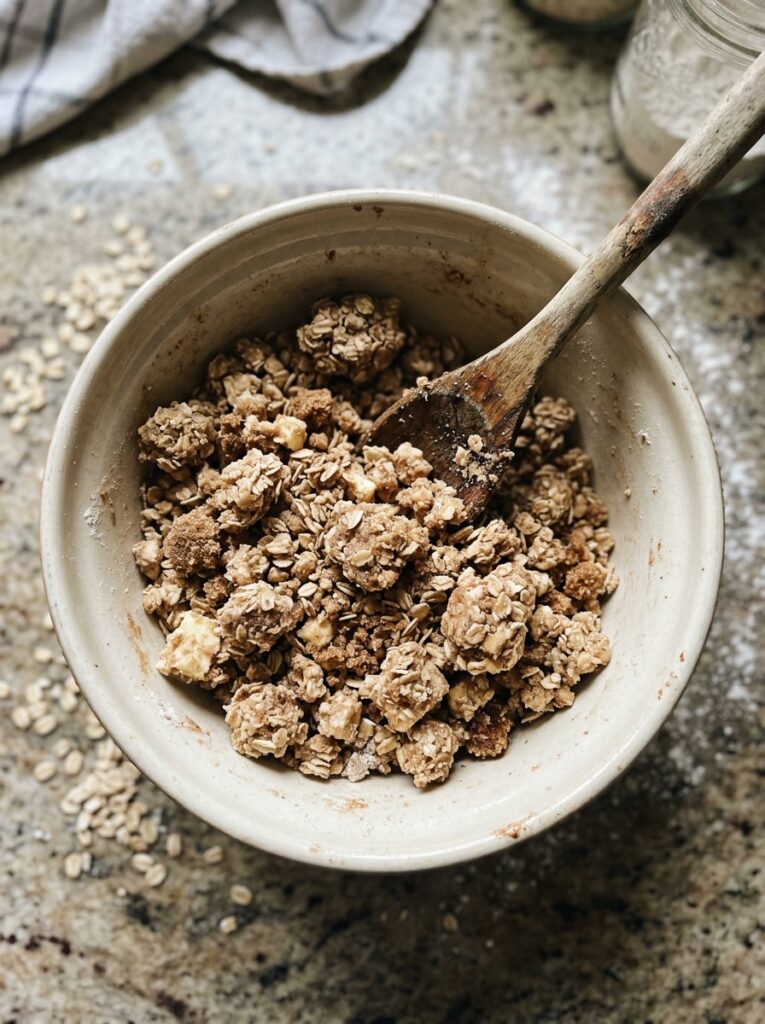
Okay so I have extremely strong feelings about crisp topping. It should be thick. Generous. You should pile it on and feel like you’re doing something slightly irresponsible.
Here’s what goes in: three-quarters of a cup of rolled oats (old-fashioned oats, not instant — instant oats go soft and sad), half a cup of plain flour, half a cup of packed light brown sugar, a quarter teaspoon of cinnamon, a pinch of salt, and six tablespoons of cold unsalted butter, cubed.
Work the butter in with your fingers until you get a mix of fine crumbs and small clumps. And here’s the part that people skip and shouldn’t — you want some bigger pieces. Uneven pieces. The bigger bits get golden and chewy, the smaller bits get fully crisp. That contrast is everything.
“A crisp topping that’s too fine and uniform bakes into a crust. What you want is rubble — deliberate, golden, crumbly rubble.”
Scatter it across the apple filling in a thick, messy layer. Don’t press it down. Don’t smooth it. Just pile it on and trust the oven.
—
6. The Assembly Step Most Recipes Rush Past
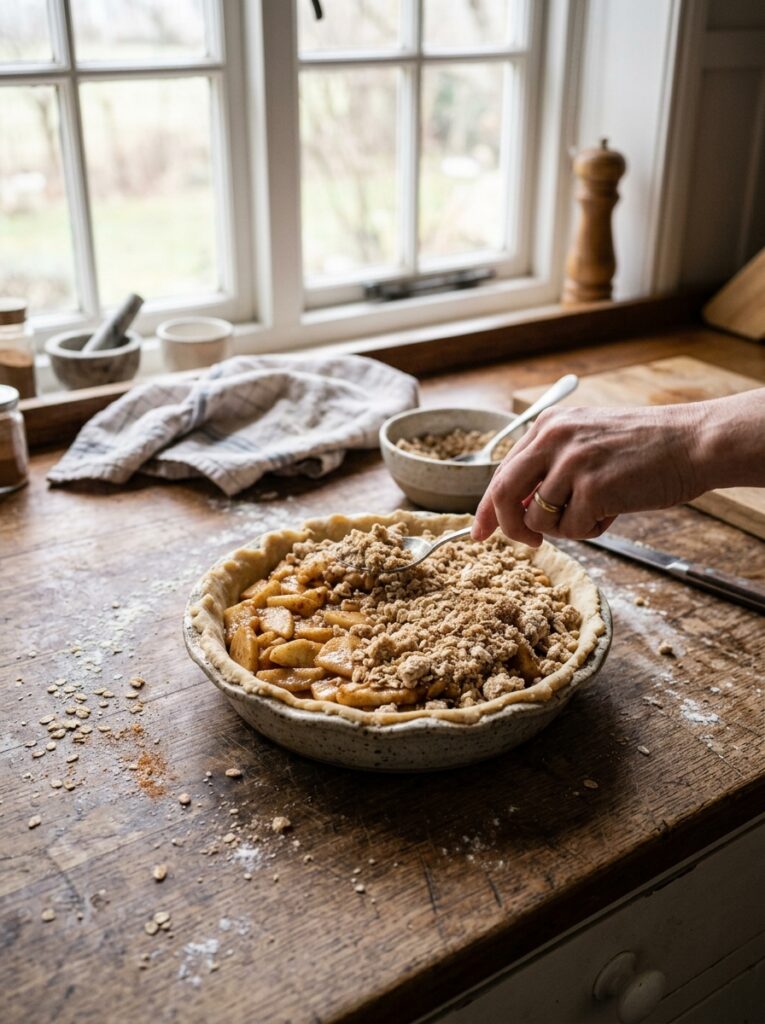
This is where things go wrong for people. So I’m going to slow down here.
Your blind-baked crust is sitting in the dish, slightly warm. Your apple filling has been sitting in the bowl, releasing juices. Don’t pour those juices in — scoop the apples in with a slotted spoon first, then decide how much liquid to add back. If you tip everything in, the bottom of your pie will be swimming and the crust you worked so carefully to pre-bake will get soggy from the inside.
Scoop the apples into the crust, mounding them slightly in the center because they’ll settle and shrink as they bake. Then drizzle maybe a couple tablespoons of the released juice back over the top of the apples — just enough to keep things moist, not so much that you’ve created a lake.
Then — the crisp topping, piled high, pressed nowhere.
Into the oven, 350°F (180°C), for 45 to 50 minutes. The topping should be deeply golden. Not pale gold. DEEPLY golden. The filling should be bubbling at the edges, which means the apples have cooked through and the juices have thickened. If the topping is browning too fast, just tent it loosely with foil for the last 15 minutes.
—
7. That Window After Baking That You Cannot Rush
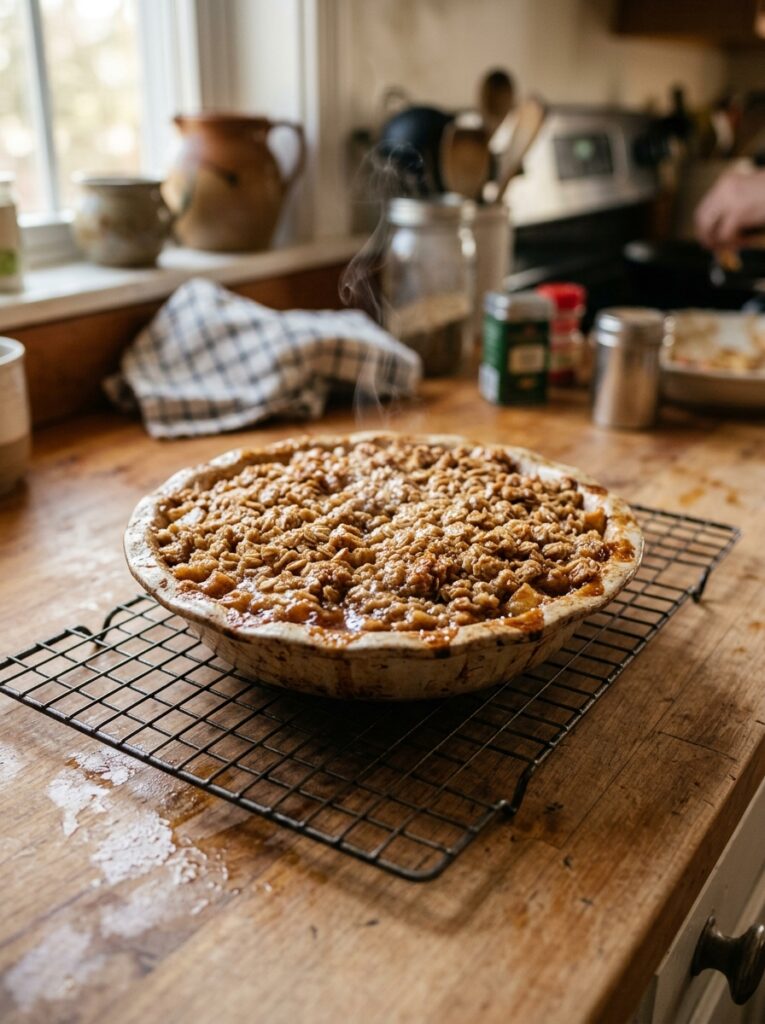
Let it sit. I mean it.
Forty-five minutes, minimum. An hour is better. The filling needs to set up or it’ll run when you cut into it, and nothing is sadder than a slice of apple crisp pie that collapses on the plate in a watery heap. The wait is excruciating because your kitchen is going to smell INCREDIBLE — warm cinnamon and browned butter and caramelizing sugar — but you have to wait.
This is a great time to make tea. Or argue with someone about whether this counts as a proper pie. Or text a friend the recipe, side note.
—
8. The Serving Situation: What Goes on Top
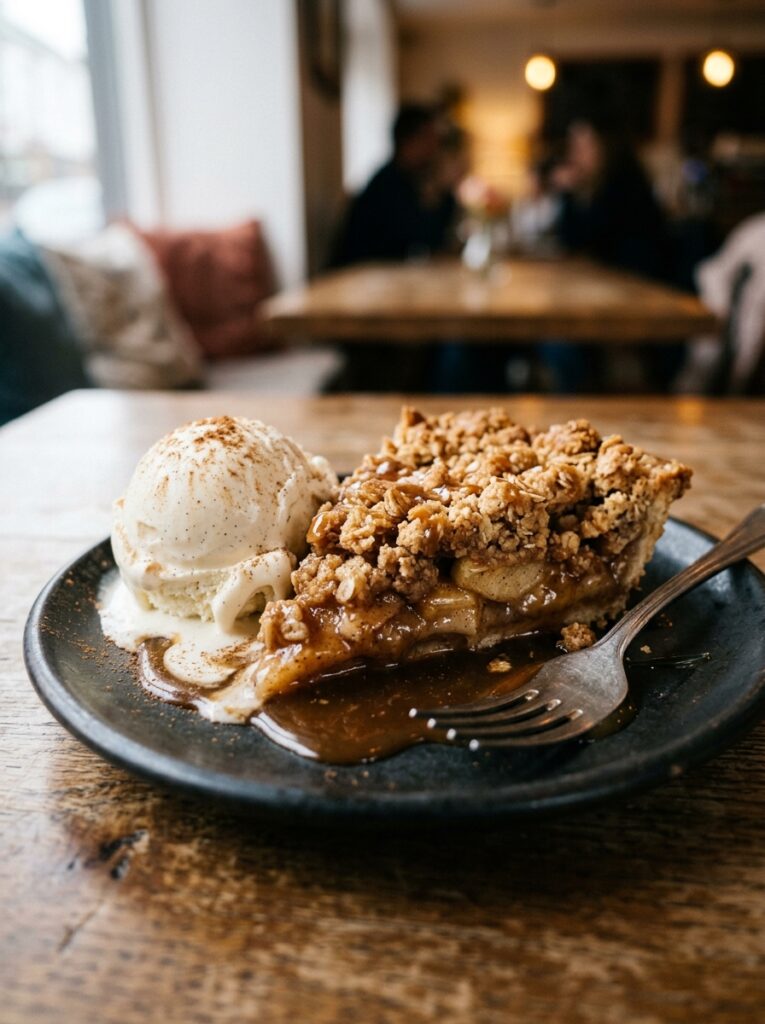
Vanilla ice cream is the classic call and I’m not going to argue with it. The contrast of cold-sweet against warm-spiced is basically unbeatable.
But warm custard — proper pourable custard, the kind that turns everything into a pudding in the best possible way — is the British move and it’s correct. If you’ve never had apple crisp with hot custard poured over the top, add it to the list.
Clotted cream if you can get it. A spoonful of crème fraîche if you want something a little tangy to cut through the sweet. All of these are right answers, depending on your mood and your audience.
Or just eat it plain. Honestly, it doesn’t need anything.
—
9. Can You Make This Ahead? (Yes, But Here’s the Catch)
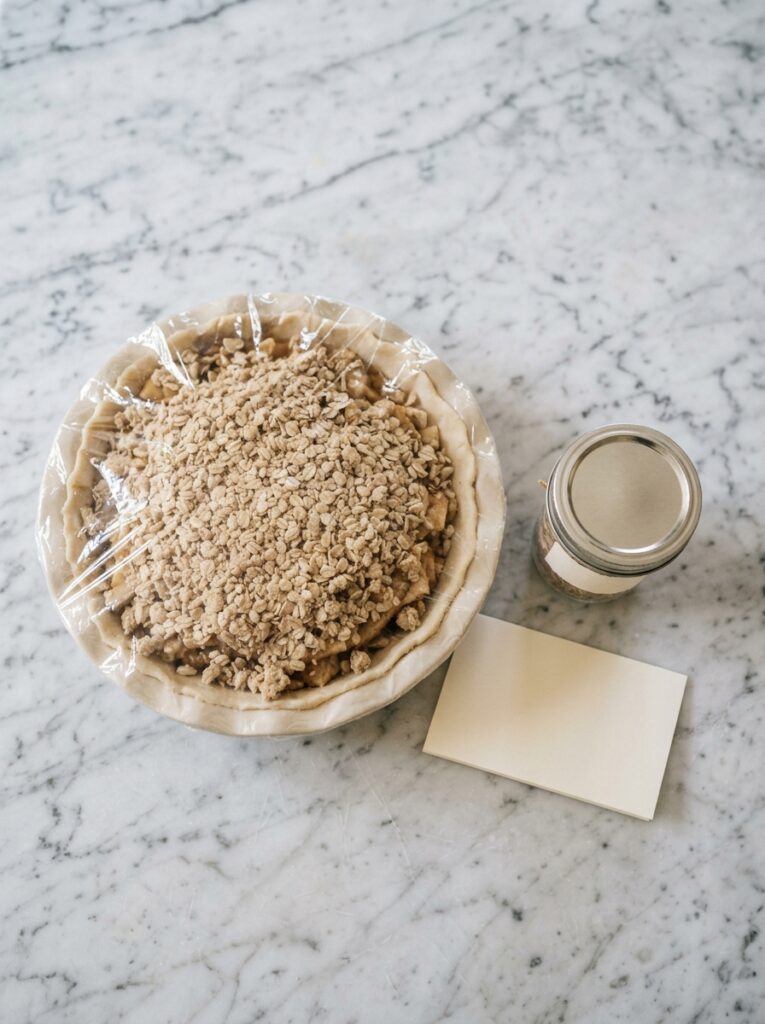
You can prep almost every component in advance, which is one of the things I love about this recipe for a dinner party or a holiday.
The crust can be made and blind-baked a day ahead, covered, left at room temperature. The apple filling can sit in the fridge, covered, for up to a day — it’ll release more liquid as it sits, so just be extra diligent about draining when you assemble. The dry crisp topping can be mixed and stored in the fridge for a couple of days.
But — and this is the catch — the assembled pie doesn’t refrigerate well once the topping is on. The topping absorbs moisture and goes soft overnight. So assemble right before you bake, or bake it fresh on the day. You can reheat the whole baked pie at 325°F (160°C) for about 20 minutes and it comes back to life pretty well, though the topping won’t be quite as crisp as fresh.
Leftovers? Still delicious cold. Different, but delicious.
—
10. The Small Adjustments That Make a Huge Difference
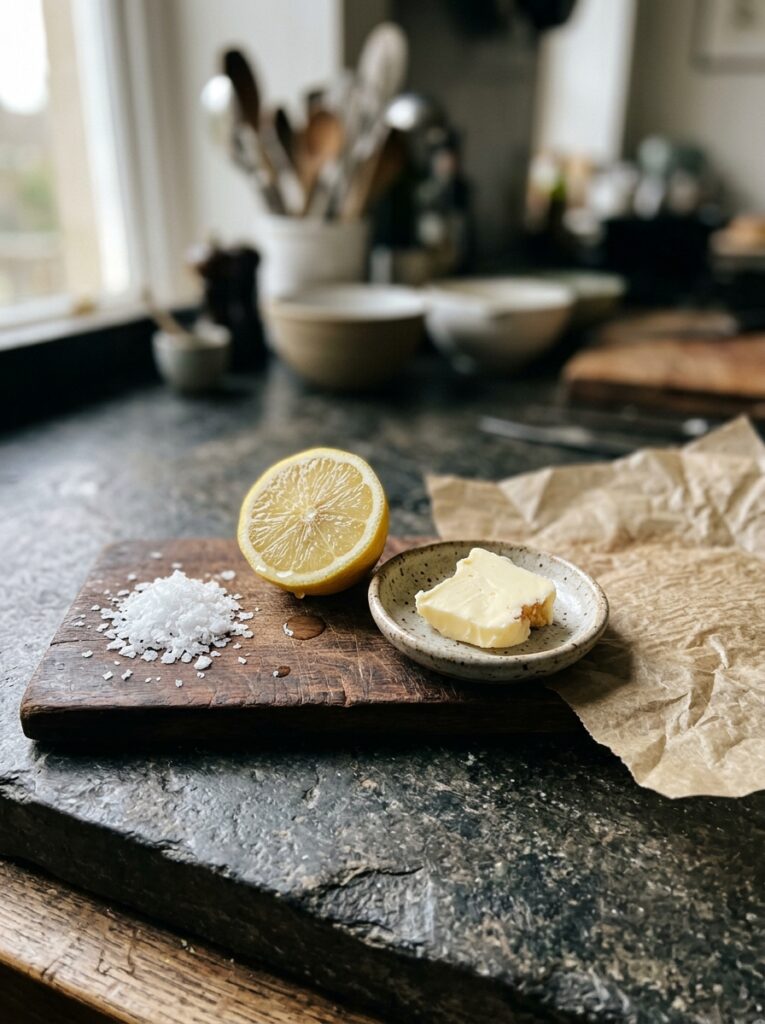
A few things I’ve figured out over probably thirty attempts at this:
- Brown the butter for the crisp topping. It takes four extra minutes and it makes the topping taste nutty and deep in a way that regular melted butter just doesn’t.
- Salt your apples with a tiny pinch, separately, before adding the spices. It sharpens the apple flavor.
- If you want a richer filling, stir a tablespoon of cold unsalted butter into the apple mix before it goes into the crust. It melts in and makes the filling silkier.
- A handful of chopped walnuts or pecans in the crisp topping adds a different kind of crunch — not everyone loves this, but the people who do really love it.
None of these are essential. All of them are worth trying at least once.
—
11. Why the Bottom Crust Is Worth the Extra Effort
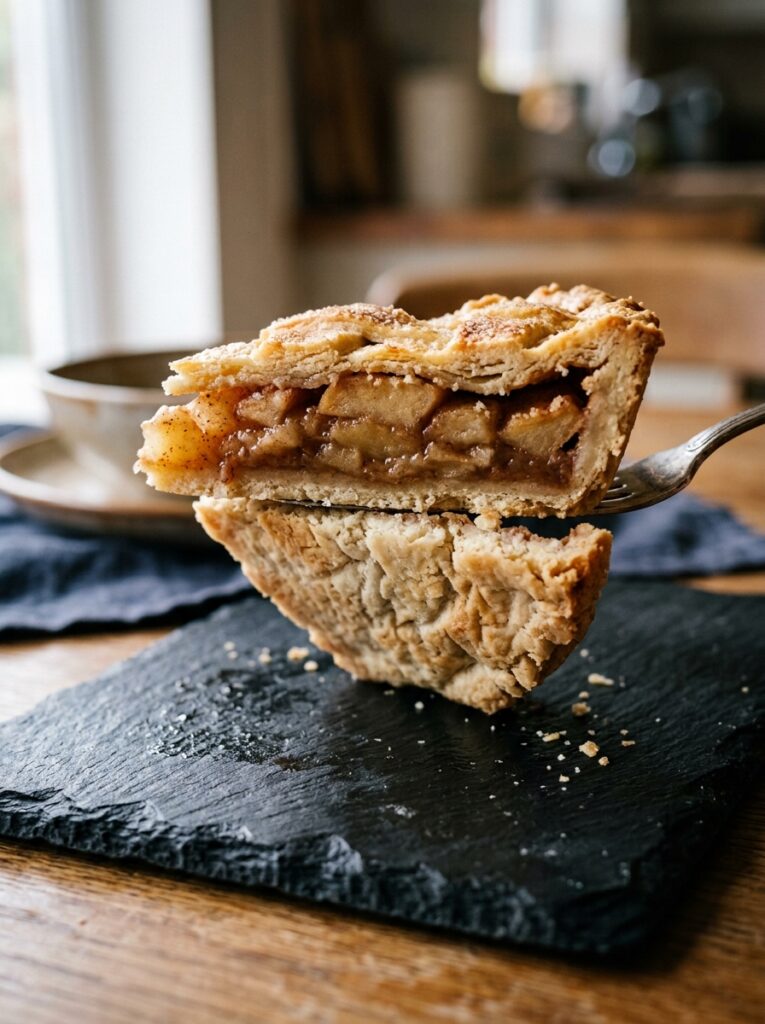
Some apple crisp pie recipes skip the pastry base entirely and just use a baking dish. Which is fine! That’s basically just apple crisp. And apple crisp is genuinely wonderful.
But the crust gives you something different — a clean, structural edge to cut against, a buttery contrast to the sweet filling, a way to serve actual slices instead of scooped portions. It turns a comforting baked dish into something that feels a little more like an occasion.
“The crust is what makes it a pie. And making it a pie is what makes it feel like something worth gathering around.”
If you’re pressed for time, use ready-made shortcrust. The recipe still works. But if you’ve got an afternoon and you want to do the whole thing from scratch, the homemade base is a small but real upgrade.
—
12. How to Know You’ve Nailed It
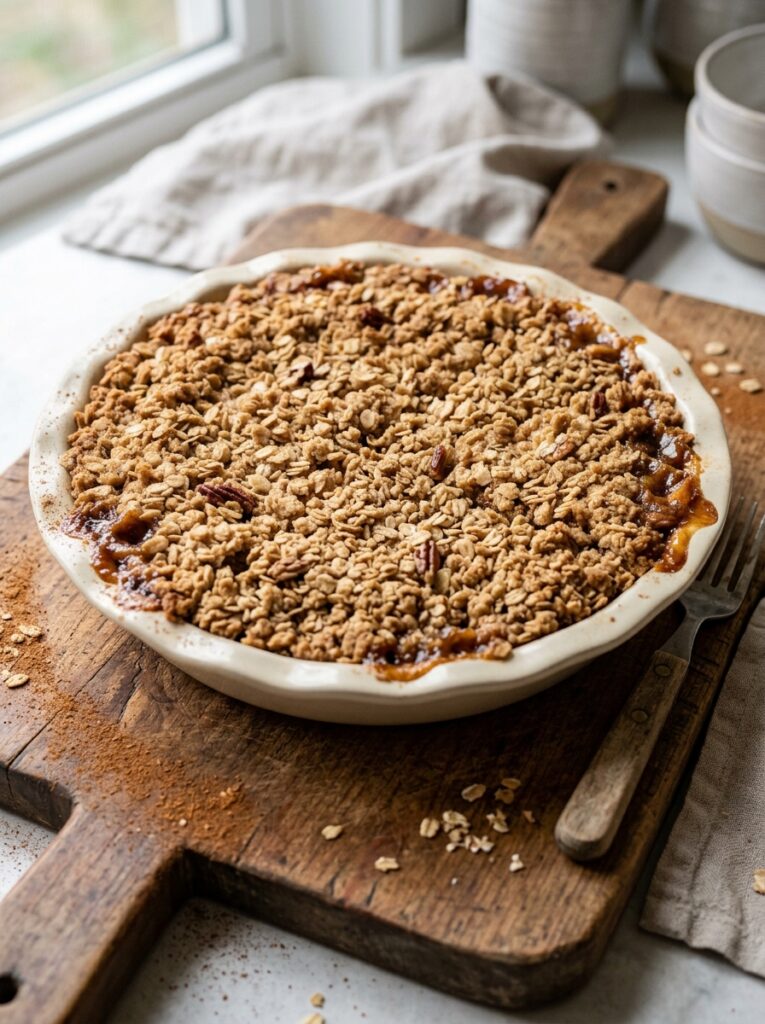
The topping is dark gold, with crisp, uneven chunks across the surface. The filling is bubbling and thick, not watery. The crust is cooked through — no pale, soft patches on the bottom. The whole kitchen smells like October.
You’ll know. And so will everyone sitting around your table.
—
❓ FAQ
Q: Can I use a different flour for the crisp topping to make it gluten-free? A: Yes — almond flour works surprisingly well in the topping, though it browns faster so keep an eye on it after the 30-minute mark. For the crust, a good gluten-free plain flour blend (one with xanthan gum already in it) works fine; the texture is slightly more crumbly but still holds together.
Q: My crisp topping always goes soggy after baking. What am I doing wrong? A: Almost always one of two things — either the topping was too fine (no larger clumps to bake up crunchy), or there was too much liquid in the filling when you assembled. Make sure you’re draining the apples before adding them to the crust, and don’t smooth the topping down flat. Uneven and loose is what you want going into the oven.
Q: Can I make this in individual ramekins instead of a full pie dish? A: Absolutely, and they’re honestly adorable for serving. Skip the pastry crust for individual portions (too fiddly), press a thin layer of the crumble mix into the bottom instead, add the apples, then top with more crumble. Bake at 350°F (180°C) for 25-30 minutes. They freeze well too.
—
💭 Final Thoughts
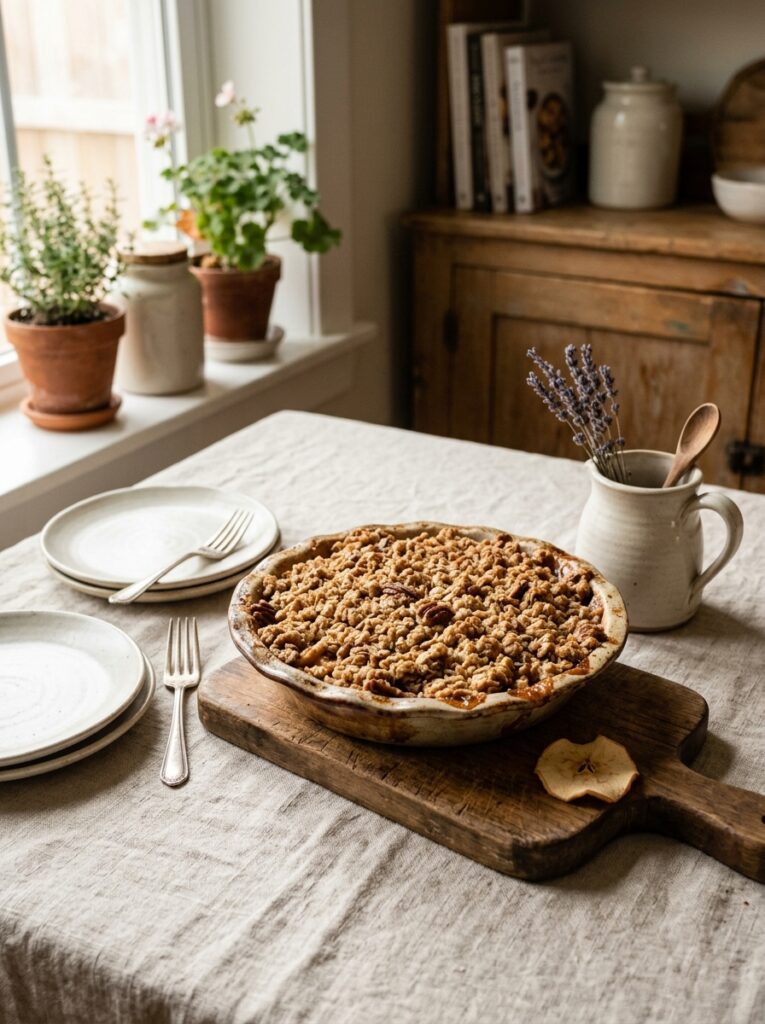
This is the kind of recipe that looks impressive without being difficult — which is sort of the best category a dessert can be in. It takes a little longer than a pure crisp, a little less effort than a full double-crust pie, and it lands somewhere better than either. Warm, golden, genuinely satisfying in that deep, wintery way that not many desserts actually manage.
So. Are you a crisp person or a pie person? Because maybe you don’t have to choose.
