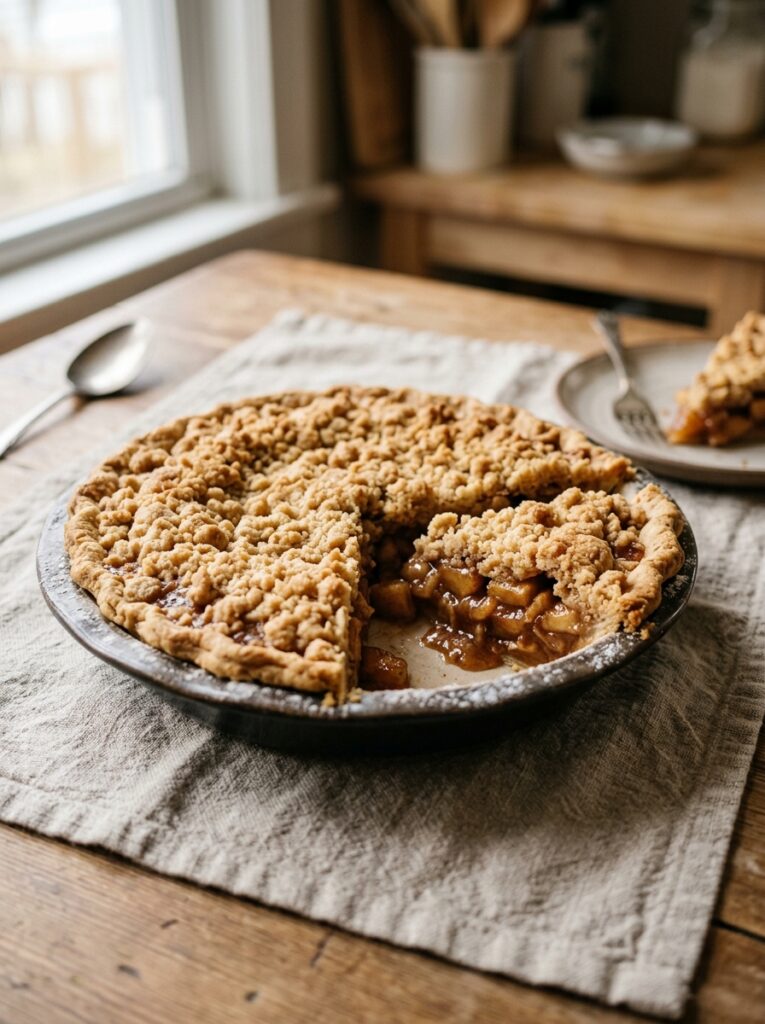
I’ve been wrestling with pie crust my whole adult life. Rolling it, patching it, chilling it, cursing at it — and then one autumn a friend served me this crumb-topped apple pie and I just sort of… stopped caring about lattice entirely. That was five years ago. I haven’t looked back.
—
1. Why the Crumb Topping Wins Every Single Time
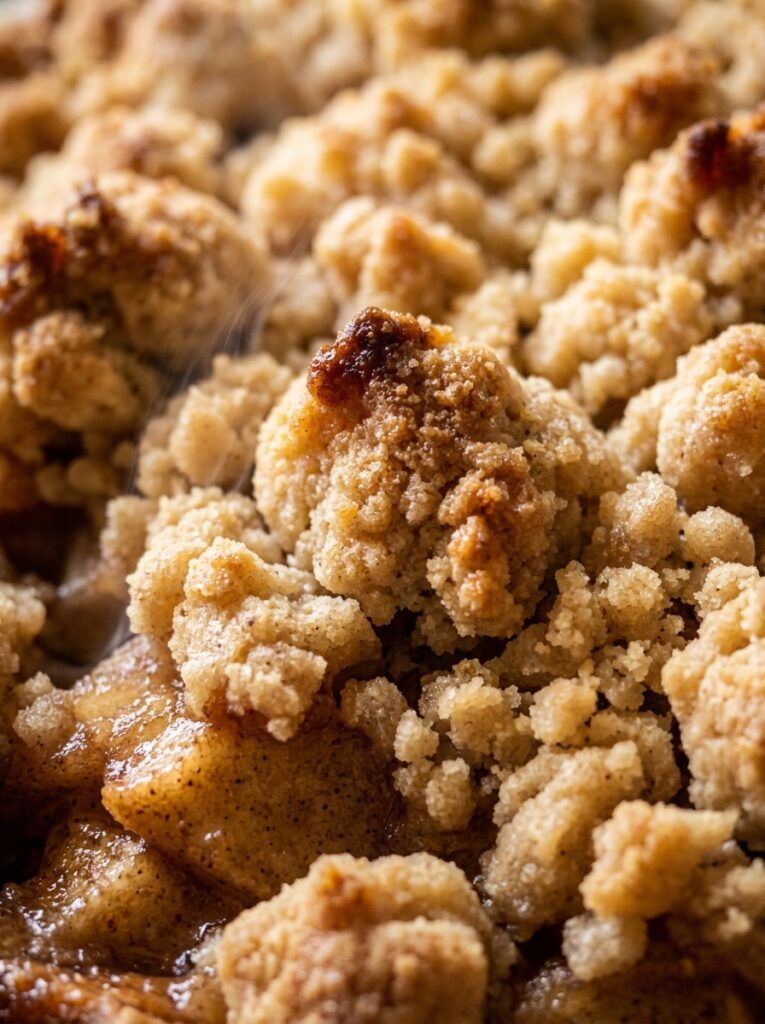
Okay, I’ll just say it. The crumb topping is better than the pastry lid. I know that’s controversial in certain circles — the kind of circles where people have strong feelings about their grandmother’s recipe — but hear me out.
A crumb topping does things a double crust can’t. It drinks up the bubbling apple juices as it bakes and turns them into these dark, caramelized, slightly crunchy edges that are genuinely worth fighting your family for. The whole surface becomes golden and crackly, and the bits that fall into the filling go soft and pudding-like underneath while the top layer stays crisp. You get texture contrast without any fuss.
And the fuss. There’s none. You’re rubbing butter into flour and sugar with your fingers, which is maybe the most satisfying thing a person can do on a cold afternoon. No rolling pin. No patching. No tearing.
It just works. Every time.
2. The Apples That Actually Hold Their Shape When It Counts
This is where most pies go wrong and nobody talks about it.
Some apples turn to mush. Beautiful, fragrant, totally useless mush that makes your filling look like applesauce and makes the whole slice collapse the second you cut it. And that’s a tragedy, honestly, because everything else can be perfect.
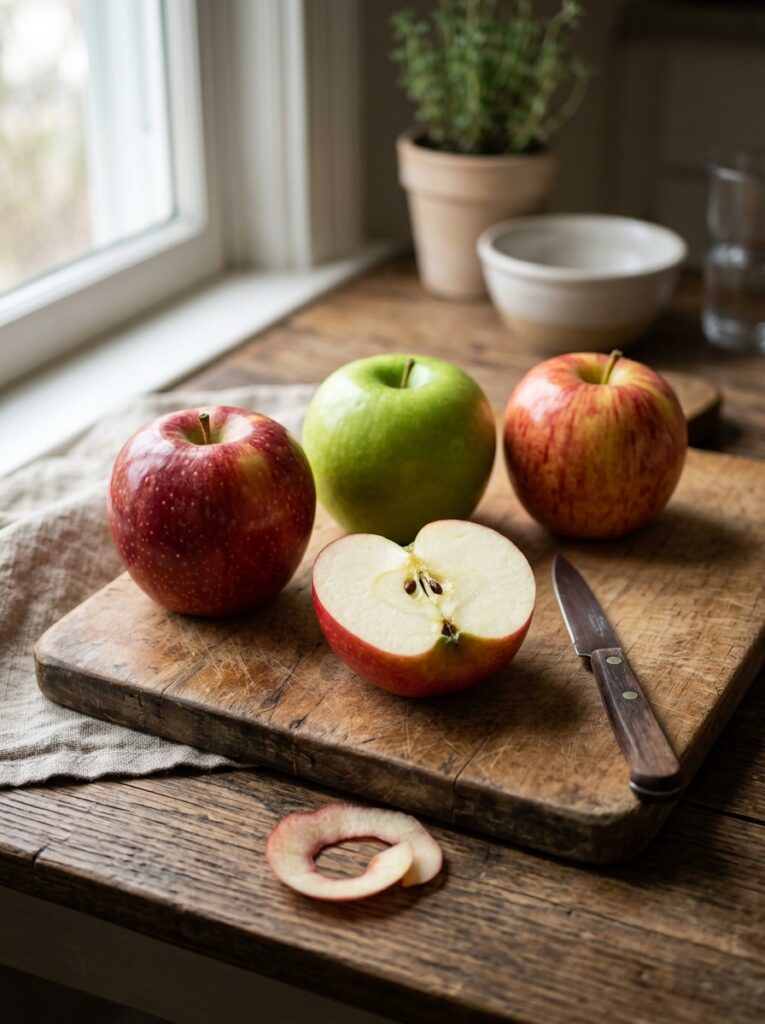
You want apples that have a little backbone. Bramley apples are brilliant for this if you’re in the UK — they’re tart and they hold structure but they also soften beautifully, and the sourness plays incredibly well against a sweet crumb topping. If you’re in the US, Granny Smith is the go-to, and for good reason. Mix in a couple of Honeycrisp if you can find them, because the flavor they add is sort of floral and complex in a way that’s hard to explain but very easy to eat.
“The apples carry the whole thing. Get this part right and the pie practically bakes itself.”
I use about 6 to 7 medium apples, which sounds like a lot, because it is — the filling shrinks as it cooks, and a flat pie is a sad pie. Pile them HIGH before the topping goes on. Higher than feels right. Trust me.
3. The One Spice Combination That Doesn’t Make It Taste Like a Candle
Cinnamon alone is fine. But fine isn’t what we’re going for.
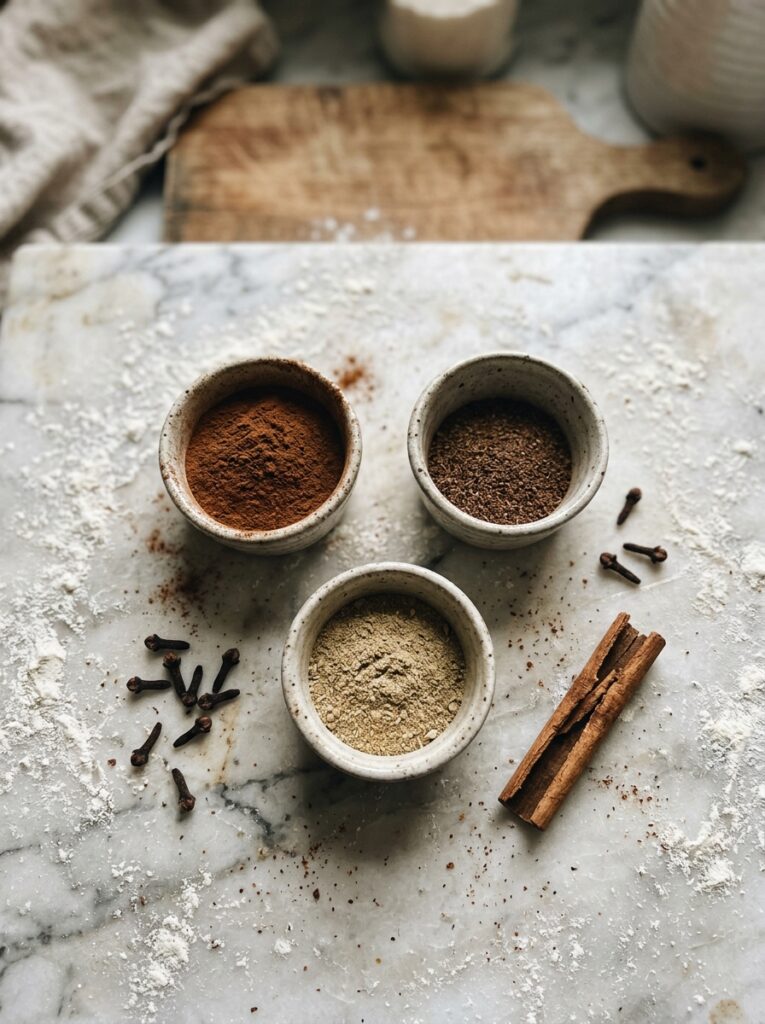
Here’s the combination I’ve landed on after years of tweaking: cinnamon, obviously, but also a little nutmeg (freshly grated if you can be bothered, and you really should), a pinch of ground ginger, and the tiniest amount of cardamom. Not enough to identify. Just enough to make people go “what IS that?” in the best possible way.
The cardamom in particular — I was skeptical. A friend suggested it once and I thought she’d lost her mind. But it adds this warm, slightly citrusy background note that lifts the whole filling and stops it from tasting one-dimensional.
Skip the allspice. I’ve never liked what it does here, kind of medicinal, and I won’t apologize for that opinion.
Also: a squeeze of lemon juice on the apples, always. Brightens everything and keeps them from going brown while you work.
4. Brown Sugar in the Filling Changes the Whole Personality of the Pie
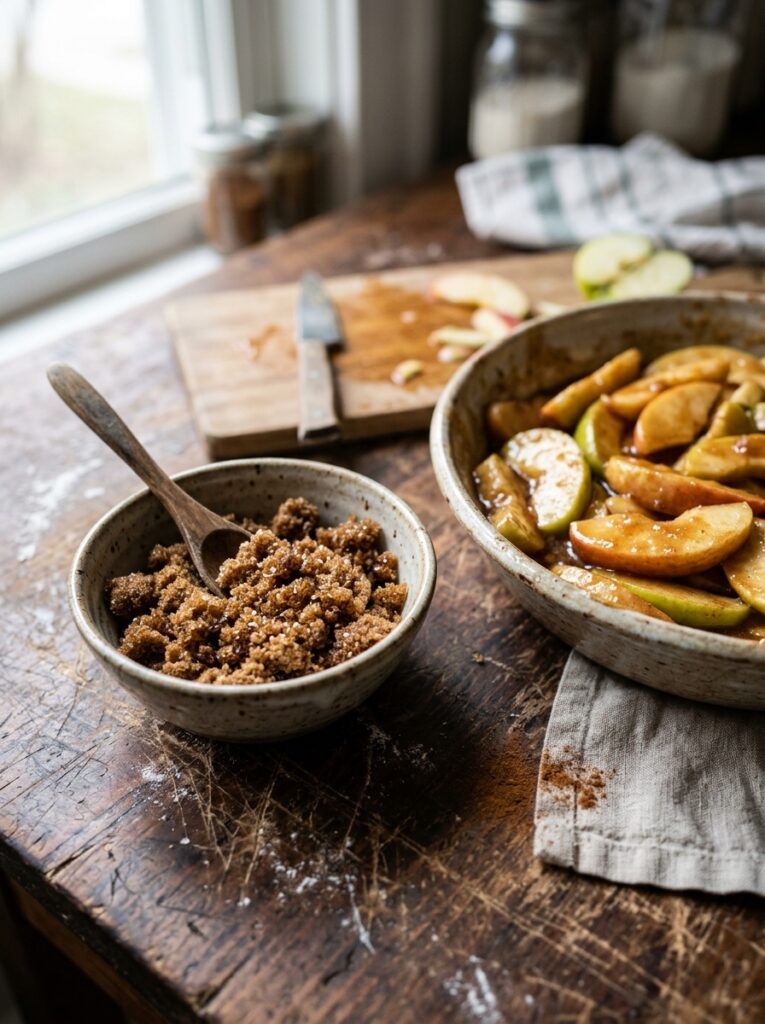
White sugar makes the filling taste sweet. Brown sugar makes it taste deep.
I’m talking about that dark, molasses-y warmth that hits the back of your throat after you swallow. You don’t necessarily register it as brown sugar — you just register that this pie tastes more interesting than the one you had last time. Use about ¾ cup of light brown sugar, packed. A tablespoon of plain flour goes in too, to help the juices thicken up as it bakes. If your apples are very juicy, add a second tablespoon. No shame in it.
Some people add a bit of vanilla extract to the filling. I do about half a teaspoon. It’s subtle but it rounds out the spices in a way that makes the whole thing feel more finished.
5. The Crumb Topping Recipe You’ll Use on Everything From Now On
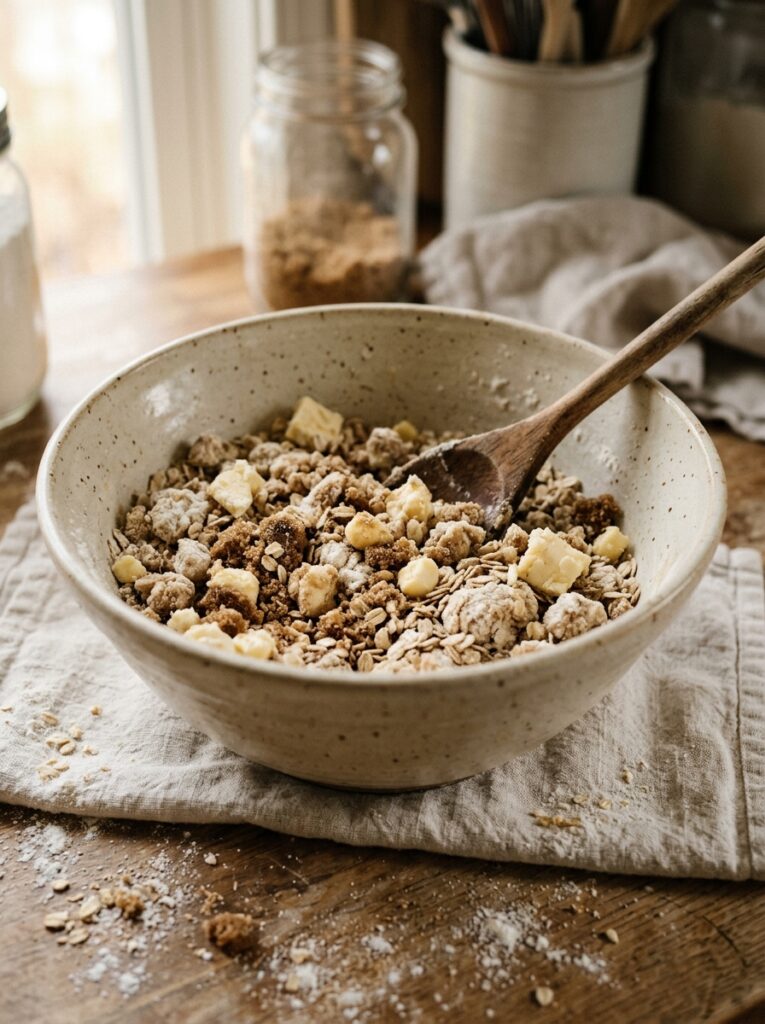
Right. Here’s the thing about this topping: once you make it, you’ll start putting it on everything. Plum crumble. Muffins. That random bag of pears sitting on your counter.
For the crumb topping:
- 1 cup plain flour (all-purpose if you’re in the US)
- ½ cup rolled oats — not instant, the proper kind
- ½ cup light brown sugar, packed
- ¼ teaspoon cinnamon
- ¼ teaspoon fine salt
- ½ cup (1 stick / 115g) cold unsalted butter, cut into small cubes
Rub the butter into the dry ingredients with your fingertips until you get a rough, clumpy mixture. You want some pea-sized chunks left in there — those are what become the crunchy bits on top. Don’t overwork it. The oats are non-negotiable, by the way. They add chew and nuttiness and a slightly rustic look that photographs beautifully, since we’re all taking pictures of our food these days apparently.
“Clumpy is correct. Smooth is wrong. If your topping looks like sand, you’ve gone too far.”
Refrigerate the topping while you prep the filling. Cold butter means better crunch.
6. Your Pie Crust, Your Rules (But Here’s What Actually Works)
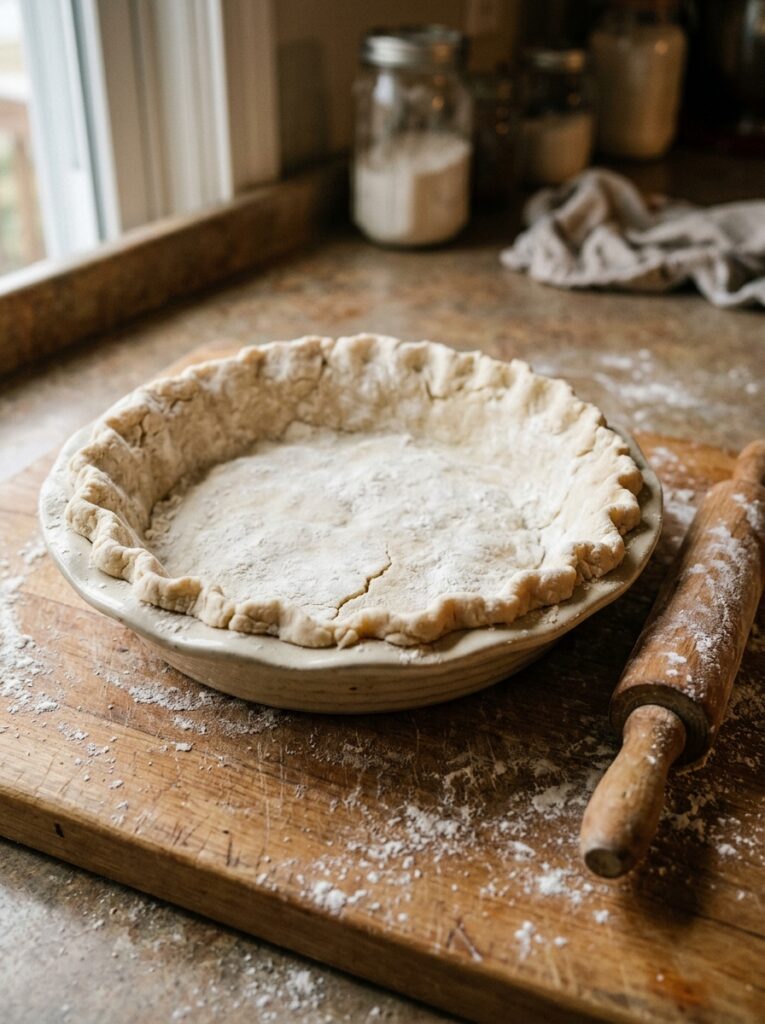
I’m not going to tell you to make your own pie crust. You can! It’s genuinely not that hard and it tastes better than shop-bought. But also — a ready-made shortcrust pastry shell from the supermarket, blind-baked for ten minutes, works completely fine here. The crumb topping is the star, and if buying a ready-made base means you actually MAKE the pie instead of just thinking about it, that’s the right choice.
If you’re making your own: 1¼ cups flour, ½ teaspoon salt, ½ tablespoon sugar, ½ cup cold butter (same cold-butter principle applies), and 3 to 4 tablespoons ice water added one at a time until the dough just comes together. Chill for an hour minimum. Roll it out, fit it into a 9-inch pie dish, crimp the edges however you like, and blind bake at 375°F (190°C) for about 12 minutes before filling.
The blind bake matters. It keeps the bottom crust from going soggy under all those apple juices, and no one wants a soggy bottom. No one.
7. How to Layer the Filling So Every Slice Looks as Good as It Tastes
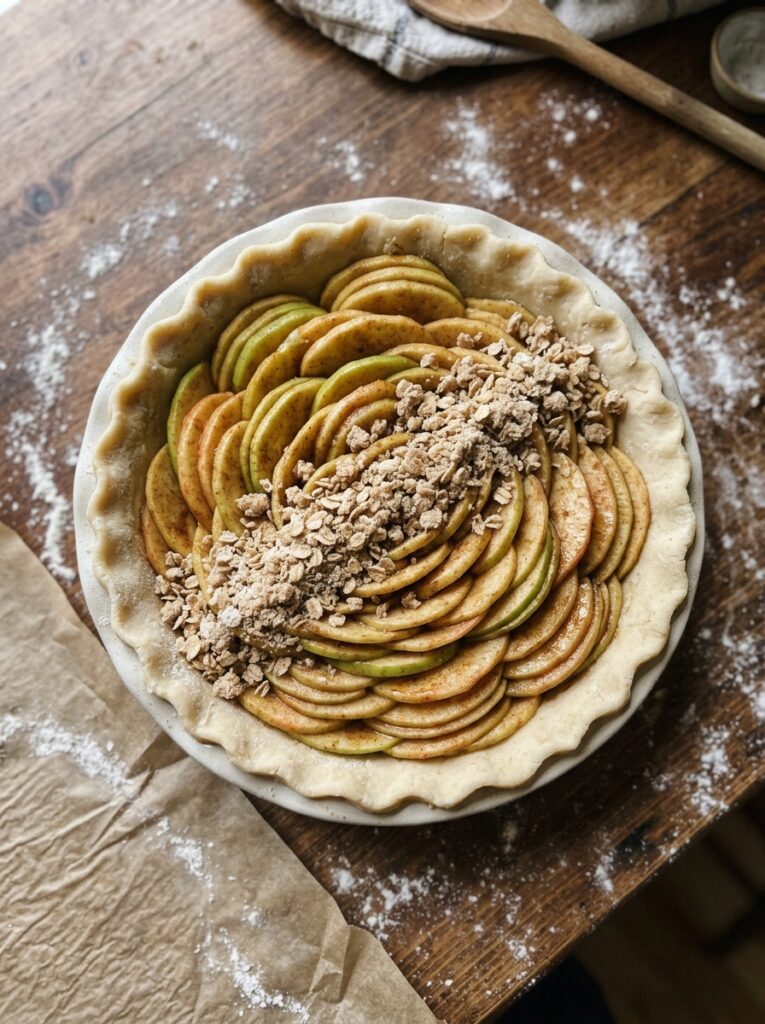
Don’t just dump the apples in. I mean, you CAN, but there’s a better way that takes about thirty extra seconds.
Toss the sliced apples with your sugar, spices, flour, vanilla, and lemon juice in a big bowl first and let them sit for about ten minutes. They’ll release some juice and start to soften slightly at the edges — this is good. Pour off about half the accumulated juice (too much liquid = soggy disaster) and then fan the apple slices as you layer them into the crust. Loosely fan, not obsessively — this isn’t a tarte tatin. But layering rather than piling means fewer air pockets and a filling that holds its shape when sliced.
Mound them generously in the center. The filling will compress during baking, and a flat-topped pie is always a little disappointing to look at.
8. Baking Temperature Is Not One Thing — It’s Two Things
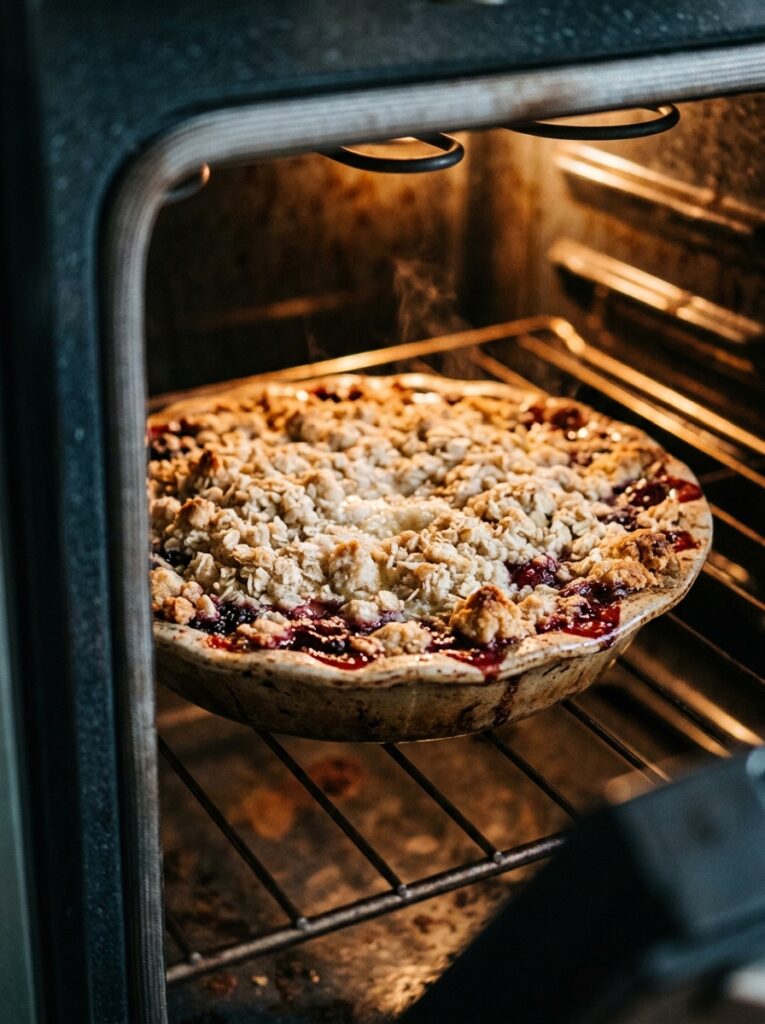
This is the part most recipes don’t explain properly, and it drives me a bit mad.
You start hot — 425°F (220°C) — for the first 20 minutes. This gets the crust crisping quickly and starts the apple juices bubbling. Then you drop the temperature to 375°F (190°C) for the remaining 35 to 45 minutes. The lower temperature finishes cooking the apples through without burning the crumb topping.
If the topping is browning too fast (it happens — ovens are all different and not to be trusted), tent a piece of foil loosely over it. Don’t wrap it tight, just lay it over the top to deflect the heat.
You’ll know the pie is done when the juices are visibly bubbling up around the edges of the topping. Not just steaming. Actually bubbling. If you pull it out before that, the filling won’t be cooked through and you’ll cut into it and it’ll pour everywhere and that’s deeply upsetting.
9. The Cooling Window That Most People Completely Ignore
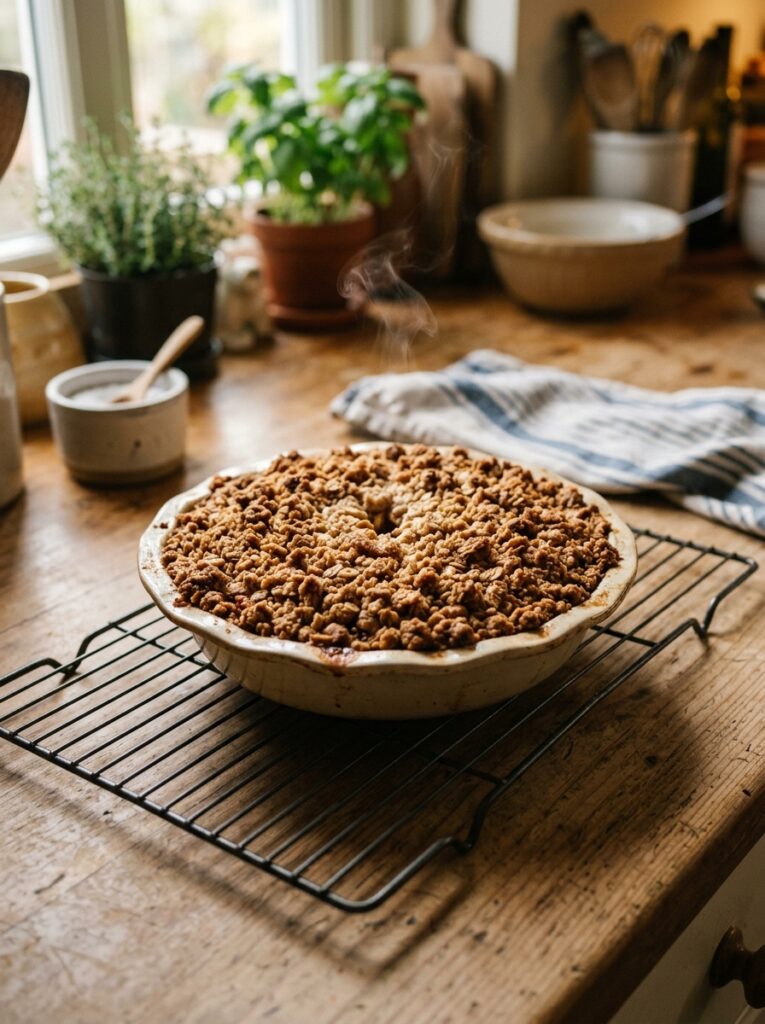
At least two hours. The pie needs at least two hours to cool before you cut it.
I know. I know how cruel that sounds when the whole kitchen smells like caramel and warm apples and you’ve been waiting the entire time it was in the oven. But the filling is essentially a hot liquid when it comes out, held together by starch molecules that need time to set as the pie cools. Cut it too soon and you get soup. Delicious soup, but still.
“Leave it alone. Set a timer. Go for a walk. It will still be there when you get back, and it’ll be worth every minute.”
Room temperature is actually when apple pie tastes BEST, by the way. Not warm, not cold — room temperature. The flavors settle and the filling firms up and the crust stays crisp. Warming individual slices later in a low oven (300°F / 150°C for about ten minutes) brings it back perfectly.
10. The Moment You Realize This Needs Cream, Not Ice Cream
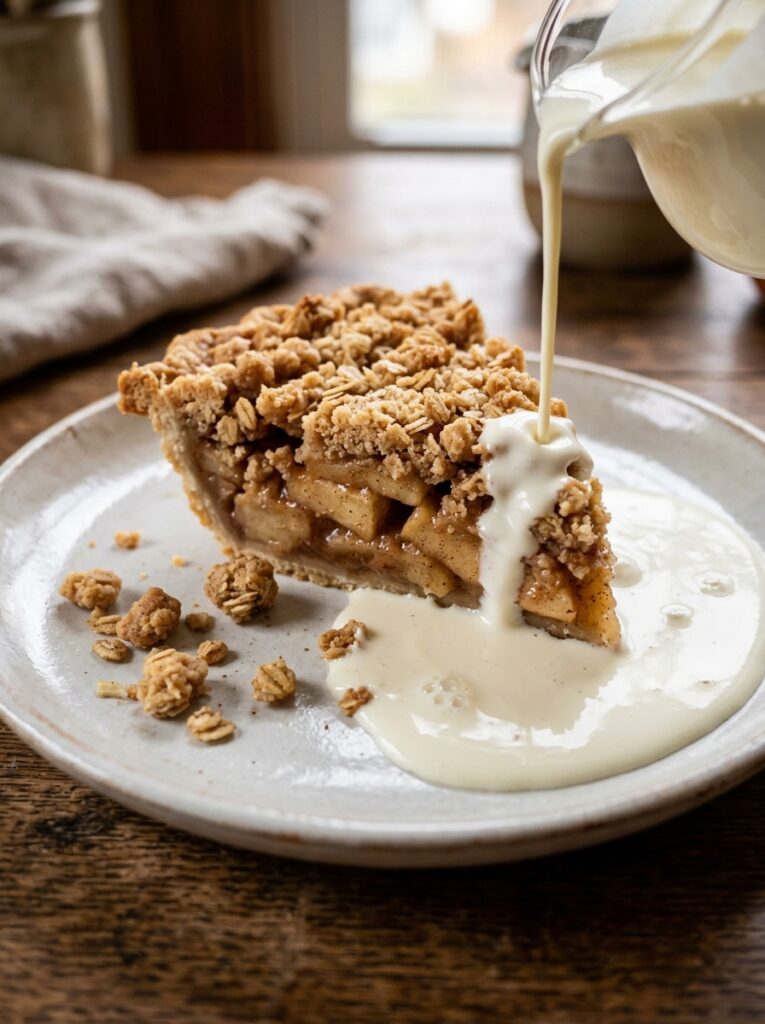
Hot take, and I’m standing by it: this pie is better with cold cream than with vanilla ice cream.
Ice cream is wonderful. I love ice cream. But it melts fast, it goes watery, and it competes with the caramel notes in the crumb topping. A really good pouring cream — double cream if you’re in the UK, heavy cream in the US — poured cold right over a warm slice does something completely different. It runs into all the gaps in the crumb, pools around the bottom of the slice, and creates these cool little pockets of creaminess against the warm apple. The contrast is everything.
Clotted cream is also an option, and I will not apologize for putting that out there. A spoonful of clotted cream on warm apple pie with a crumb topping is one of those things that makes you briefly feel like everything is fine.
11. Why This Pie Is Actually More Forgiving Than It Looks
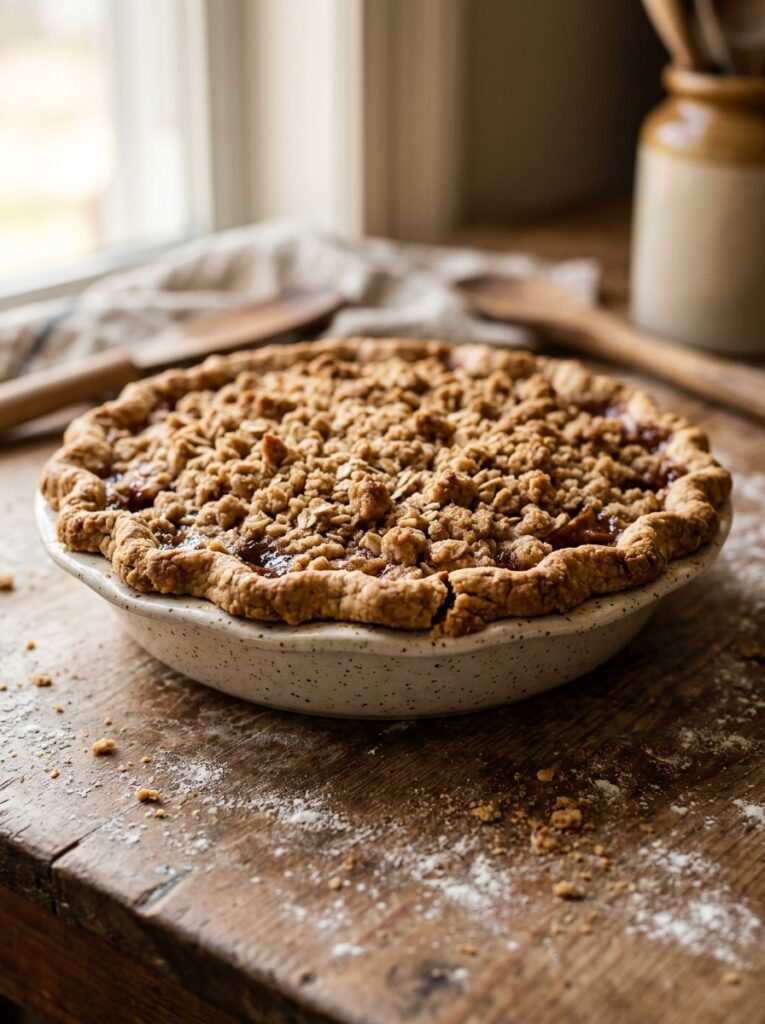
Here’s something I genuinely didn’t expect when I first started making this: it’s hard to ruin.
The crumb topping hides a lot of sins. Uneven apple slices? Covered. Slightly wonky crust edge? You can’t see it. Apple filling that bubbled over a little? Just part of the rustic charm. The whole aesthetic of a crumble-topped pie is “made with love, not perfection,” which is honestly my personal brand in the kitchen.
You can make the crumb topping a day ahead and keep it refrigerated. You can prep the apples a few hours in advance (toss with lemon juice, keep covered in the fridge). You can even bake the whole pie the evening before and reheat it low and slow the next day, and it’s genuinely almost as good as fresh.
This is not a pie that requires twelve years of pastry school. It requires apples, butter, patience during the cooling window, and a functioning oven.
12. The Small Thing That Makes People Think You’re a Better Baker Than You Are
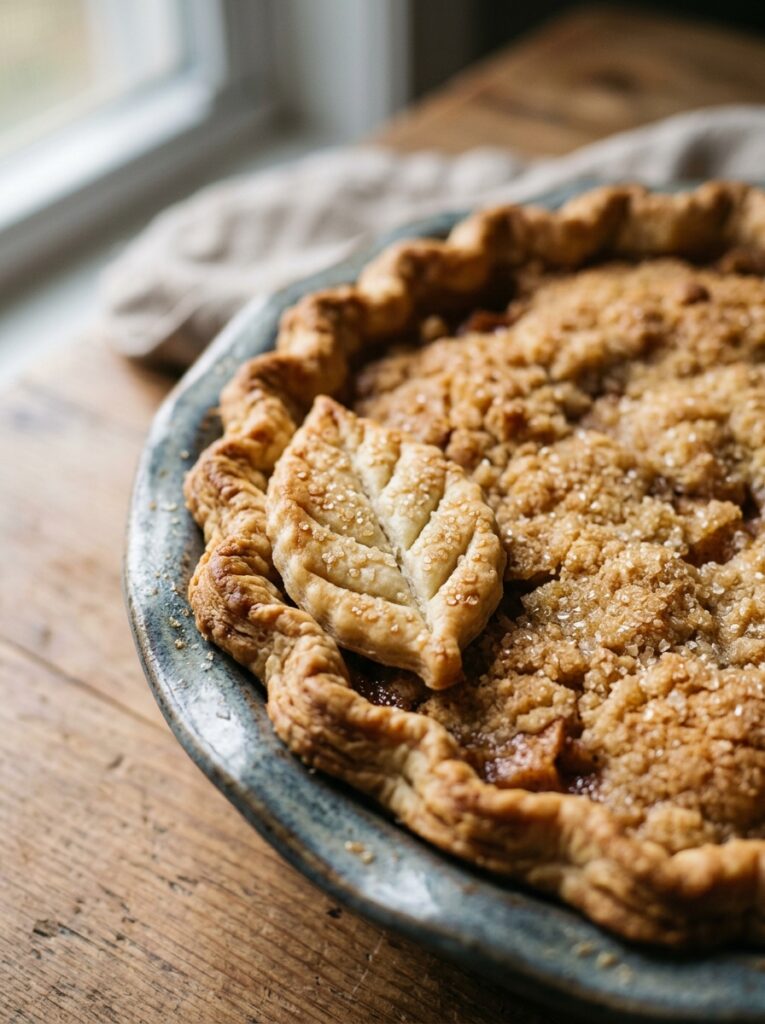
This is almost embarrassing how well it works.
Before the pie goes in the oven, brush the exposed edge of the pastry crust lightly with a beaten egg mixed with a splash of milk. Just the edge — not the crumb topping, which will get its own gorgeous color on its own. The egg wash makes that crust go deep golden, almost mahogany at the very edge, and it looks like something from a magazine.
Also: flake a tiny bit of flaky sea salt over the crumb topping right before baking. Just a pinch. It makes the sweetness taste more like itself, if that makes sense, and it catches the light in a way that photographs beautifully. Side note — I started doing this because my kitchen was out of regular salt one day and I’m honestly a bit embarrassed it took that accident to discover how good it is.
These two things take about ninety extra seconds combined. They’re worth every one of them.
—
❓ FAQ
Q: Can I make this apple pie ahead of time? A: Yes, and it reheats really well. Bake it the day before, let it cool completely, then cover loosely with foil and store at room temperature overnight. To reheat, place it (uncovered) in a 300°F (150°C) oven for about 15 to 20 minutes until warmed through. The crumb topping won’t be quite as crispy as fresh, but it’s close enough that no one will complain.
Q: My crumb topping always sinks into the filling — how do I stop that? A: Two things help a lot. First, make sure the topping is cold before it goes on — refrigerate it while you prep everything else. Second, don’t over-toss the apple filling; if there’s too much loose juice, the topping drinks it up and sinks. Pouring off the excess juice before assembling (as mentioned in section 7) really does make a difference.
Q: Can I use frozen apples for this recipe? A: You can, with a caveat. Frozen apples release a lot more liquid as they thaw and bake, so you’ll need to increase your flour or thickener in the filling to about 3 tablespoons instead of 1 or 2, and definitely pour off excess liquid before assembling. The texture won’t be quite as firm as fresh, but in a pinch — especially in winter when good baking apples aren’t easy to find — it works.
—
💭 Final Thoughts
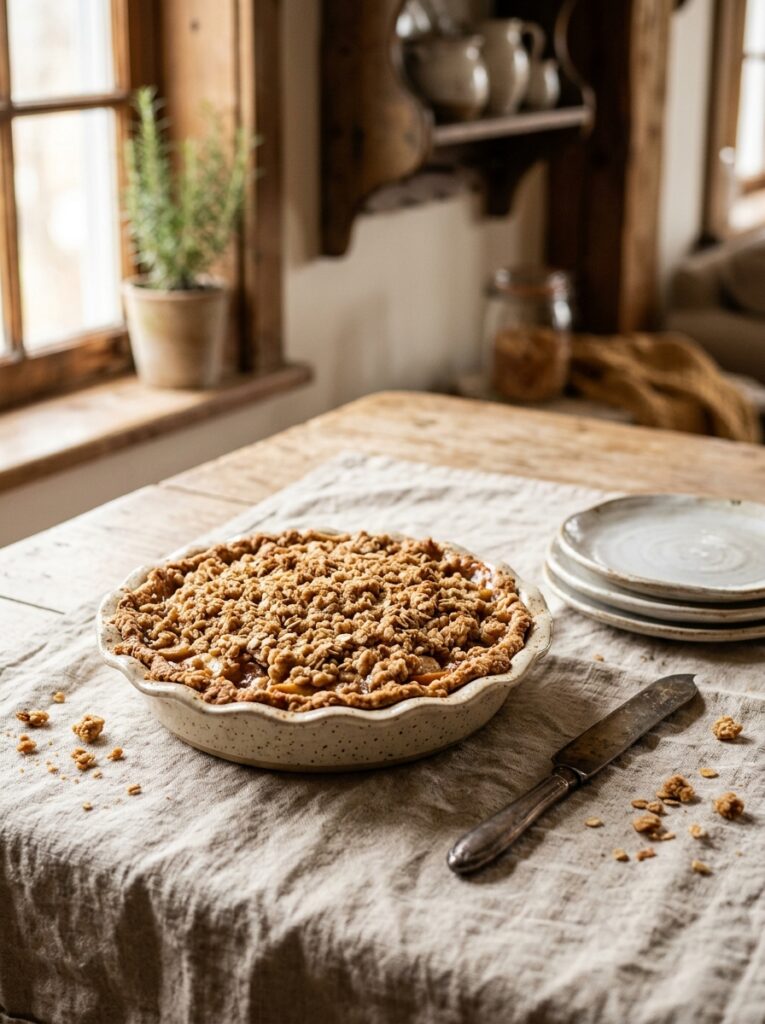
There’s something almost unfairly good about the moment you cut the first slice of this pie. The crumb topping splinters slightly, the apples hold their shape, the juices have set into this thick, glossy, cinnamon-dark syrup that you can smell from across the room. It doesn’t look perfect. But it doesn’t need to.
This is the kind of baking that makes a house feel like a home, and I mean that without even a hint of irony. If you try it, I’d genuinely love to know — did you go clotted cream or cold pouring cream?
