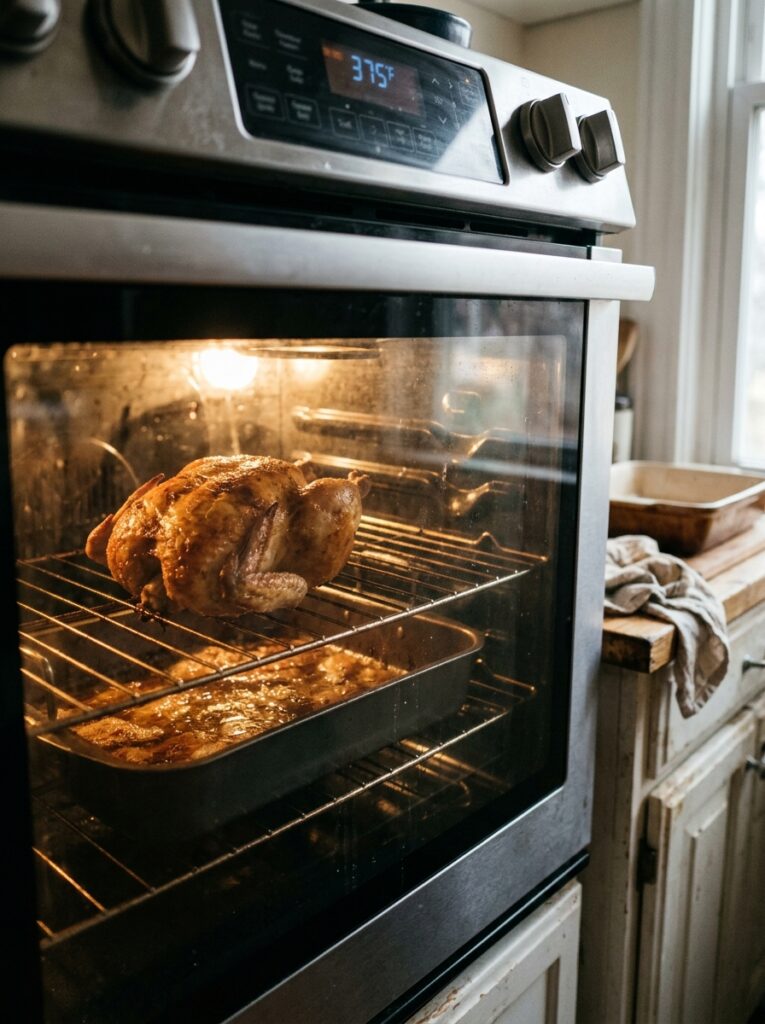
My neighbor knocked on my door last Sunday and asked what I was cooking. I told her it was just a chicken. She didn’t believe me.
That’s the thing about roasting a whole chicken in the oven — it does something to a house. The smell gets into the walls, the curtains, probably your soul a little bit. And I know everyone’s obsessed with air fryers and sheet pan meals and whatever the algorithm is pushing this week, but NOTHING touches a properly roasted whole chicken for Sunday dinner.
—
1. Why Whole Chicken Beats Every “Easier” Option Every Single Time
Okay, hear me out before you roll your eyes at the prep time.
Chicken breasts are fine. Thighs are great. But when you roast the whole bird, something happens that no individual piece can replicate — the fat from the skin bastes the meat as it cooks, the bones add flavor to every drip that hits the pan, and the whole thing sort of… becomes more than the sum of its parts. Sounds dramatic, I know.
But it’s also just practical. One whole chicken feeds a family of four with leftovers. Those leftovers become next-day sandwiches, or soup, or pasta. You’re basically cooking twice at once. And you spent maybe 20 minutes of actual active work.
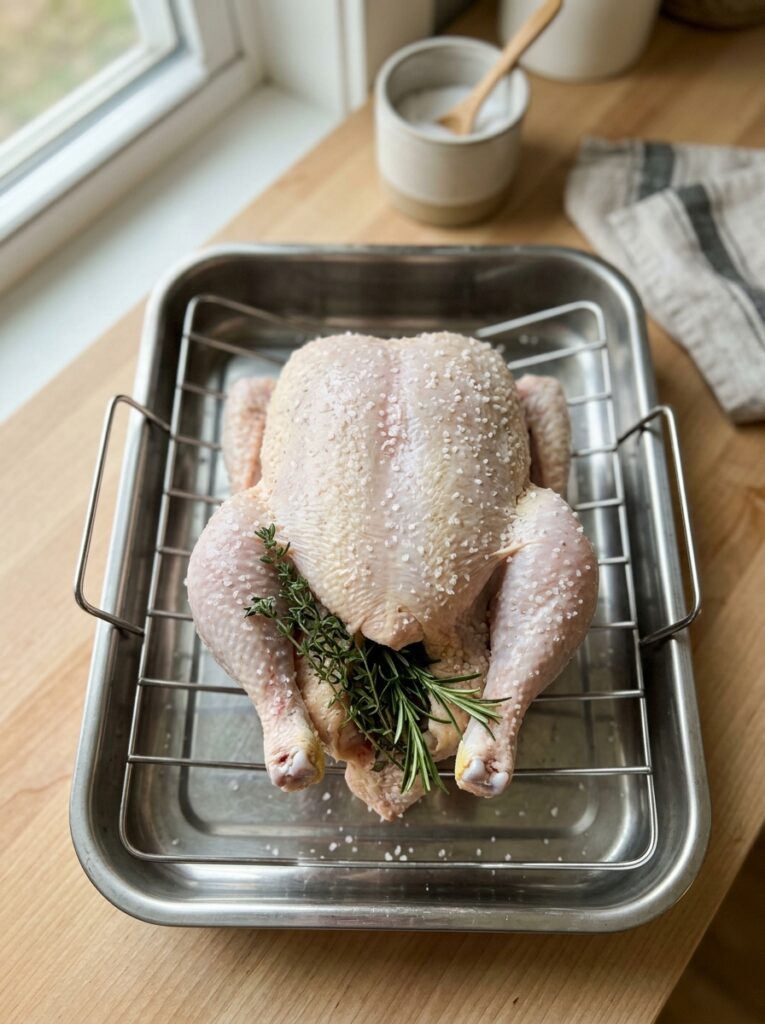
Not gonna lie, I put off whole chicken cooking for years because it felt “advanced.” It absolutely isn’t. A 4 to 5 pound bird, some fat, some salt, some heat. That’s the whole game.
“A properly roasted whole chicken is the most forgiving impressive thing you can make. It wants to be delicious. You just have to let it.”
—
2. The Temperature Question That Actually Matters (And It’s Not What You Think)
Most recipes tell you 350°F (175°C). And they’re not wrong exactly, but they’re also not giving you the best chicken.
Here’s what changed how I roast: start HOT. Like, 425°F (220°C) hot. The first 20-25 minutes at high heat does something to the skin that lower temperatures just can’t — it tightens it, starts rendering the fat, gets a little color going. Then you can drop it down or just ride out the rest of the cook at that same temperature if your oven runs moderate.
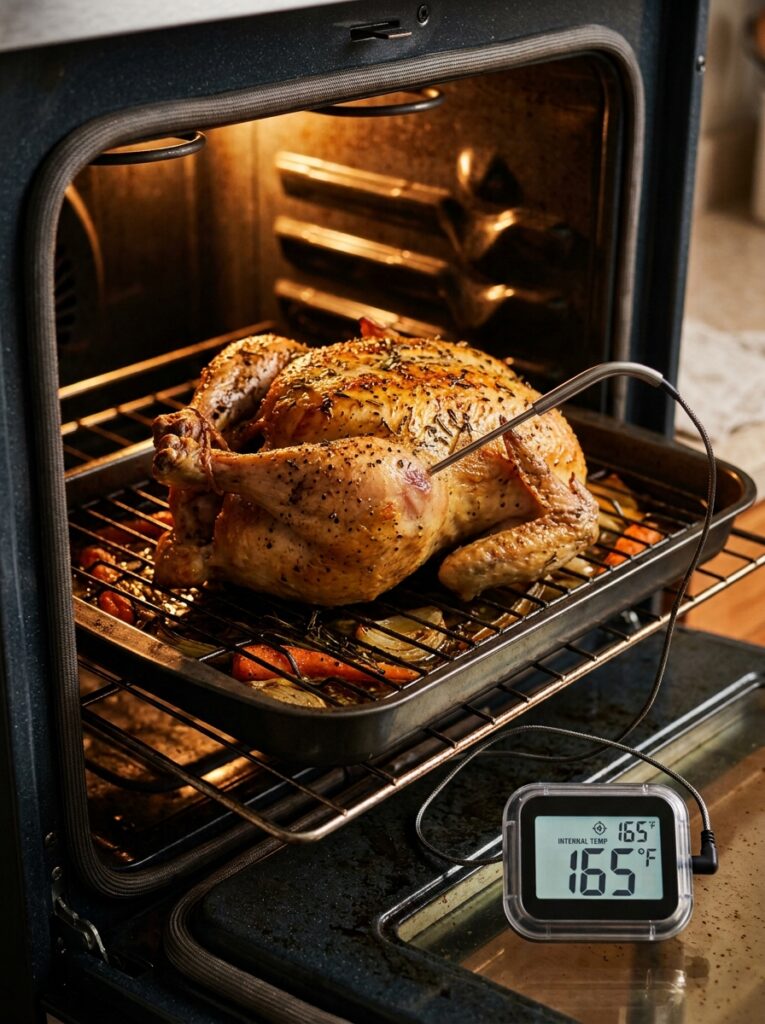
The internal temperature is the only number that actually matters though. You want 165°F (74°C) in the thickest part of the thigh, not touching bone. Get a meat thermometer if you don’t have one. Seriously, this is the single purchase that stops overcooked chicken forever.
Oven times vary wildly depending on your bird’s size and your oven’s actual temperature (which, by the way, almost never matches the dial). A 4-pound chicken at 425°F is roughly 60-75 minutes. A 5.5-pound bird might be closer to 90. Use the thermometer, not the clock.
—
3. The Butter-Under-the-Skin Move Everyone Keeps Recommending (Because It Works)
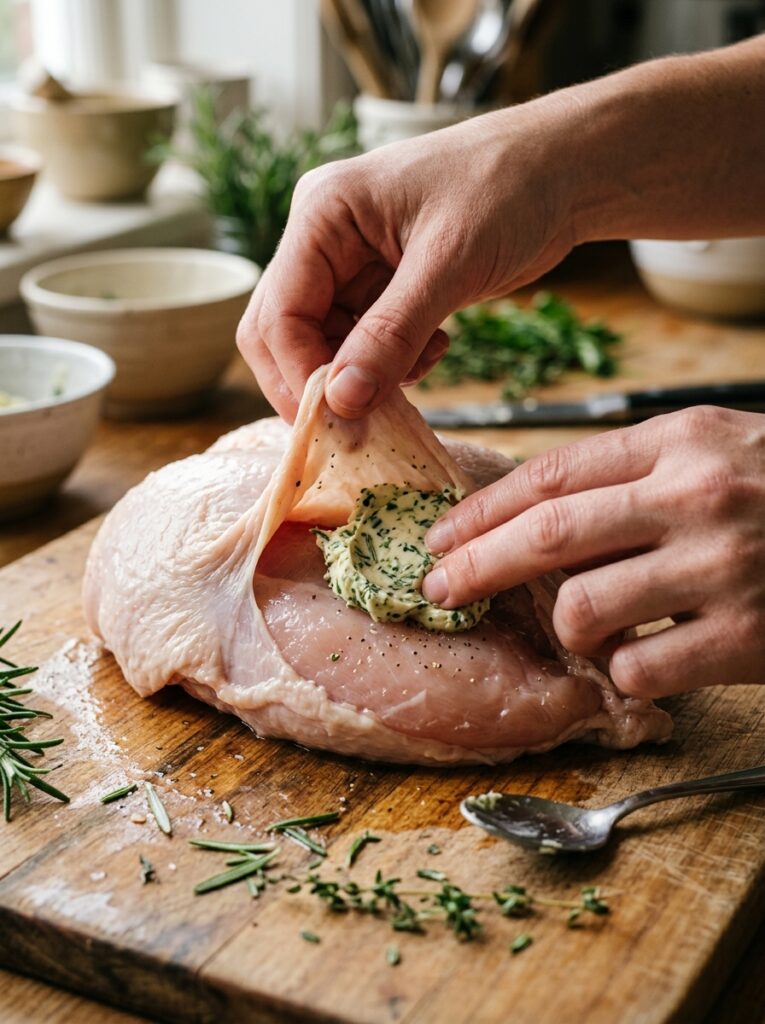
Yes, it sounds fussy. Yes, you have to get your hands in there. Yes, it’s completely worth it.
Softened butter — a couple tablespoons, maybe three — mixed with garlic, herbs, lemon zest, salt. Then you gently separate the skin from the breast meat with your fingers (it’s more forgiving than it looks) and push that butter mixture directly onto the meat.
What this does is essentially self-baste your chicken from the inside out. The butter melts slowly under the skin, keeps the breast meat from drying out, and because the seasonings are right there against the meat instead of just on the skin, every bite is actually seasoned. Not just the outside.
You can swap the herbs around completely depending on mood. Tarragon and lemon is very French and feels sort of fancy. Rosemary, garlic, and a pinch of paprika is more rustic. Thyme and softened cream cheese if you want to go really rich.
—
4. The Herb and Garlic Oven Roast That Never Gets Old
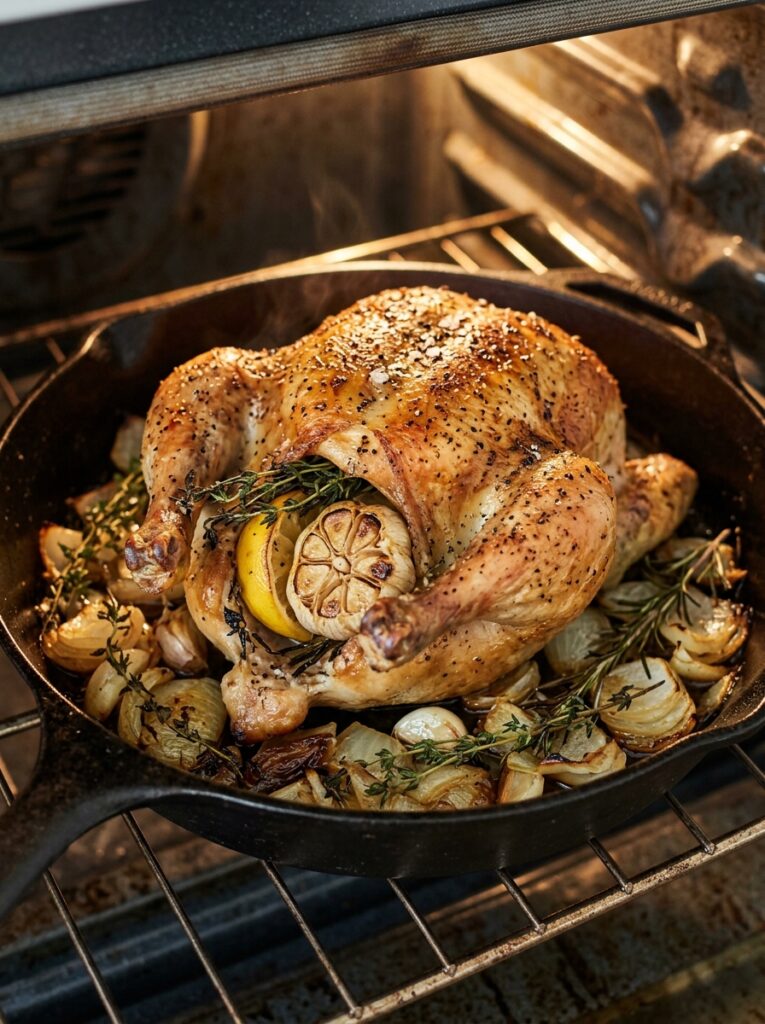
This is the baseline. The one you’ll make a hundred times and never actually get tired of.
Pat the chicken dry — really dry, paper towels, don’t skip this, surface moisture is the enemy of crispy skin. Rub the whole outside with olive oil or softened butter. Salt it AGGRESSIVELY. Like, more than you think. The skin is thick and needs real coverage.
Stuff the cavity with half a lemon (squeezed first), a smashed head of garlic, and a big handful of fresh thyme. Not because the cavity magically seasons the meat from inside — it mostly doesn’t — but because those aromatics steam as the chicken cooks and the whole kitchen becomes something else entirely.
Roast on a rack if you have one. If you don’t, just prop the bird up on halved onions or carrots in the roasting pan so air can circulate underneath.
“The skin only gets truly crispy if there’s air underneath it. The rack isn’t optional. Well, it is. But don’t skip it.”
Rest the bird for at least 15 minutes after it comes out. I know. It’s hard. Do it anyway. The juices redistribute and the whole thing gets more tender as it sits.
—
5. Spatchcock Roasting: The Method That Cut My Cook Time in Half
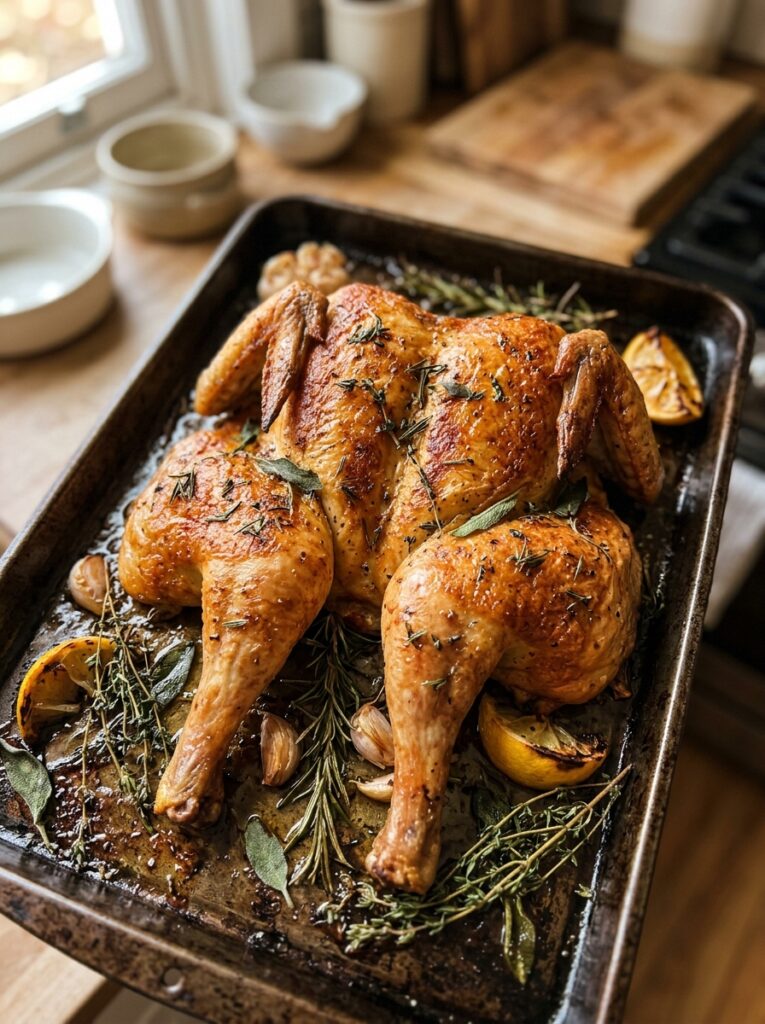
A friend showed me this and I was annoyed it had taken me so long to learn it.
Spatchcocking (also called butterflying) means removing the backbone so the bird lays completely flat. You need strong kitchen scissors or poultry shears. Cut along both sides of the spine, pull it out, then press down on the breastbone until you feel it crack flat.
Sounds aggressive. Kind of is. But the results are genuinely wild — more even cooking, crispier skin all over because the whole surface is exposed to oven heat at once, and you knock 20-30 minutes off the cook time for a 4-pound bird. We’re talking about 45 minutes at 425°F (220°C) for a fully cooked, golden, gorgeous chicken.
The backbone doesn’t go to waste either. Freeze it with any other carcass scraps for stock.
—
6. A Lemon-Preserved Slow Roast for When You’ve Got Time and No Patience for Fuss
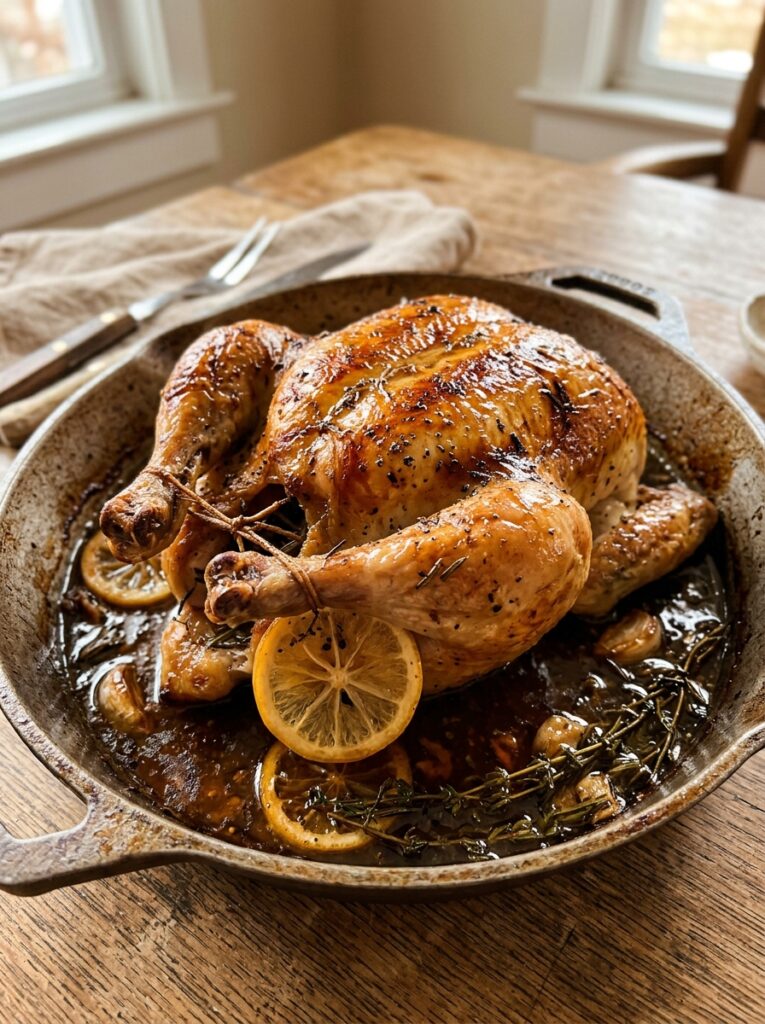
Okay, this one is the opposite energy. Low and slow. 325°F (165°C) for almost two hours.
The chicken ends up falling-off-the-bone tender in a way that high-heat roasting just doesn’t get you. The skin won’t be shatteringly crispy — it’ll be soft and almost sticky with its own rendered fat, which, depending on your mood, is actually incredible.
The trick here is preserved lemons if you can find them. They’re in most grocery stores now, or you can order them online, and they add this deep funky citrus note that regular lemon just can’t replicate. Tuck slices under the skin, in the cavity, around the pan.
Add a splash of white wine or dry vermouth to the roasting pan. The steam helps keep everything moist. By the time it’s done, the pan drippings are basically already a sauce — just spoon them straight over.
This is the recipe for a Sunday when it’s raining and you’re not in a hurry. Which, if you’re in the UK, is statistically most Sundays. I say that lovingly.
—
7. The Pan Dripping Situation Nobody Talks About Enough
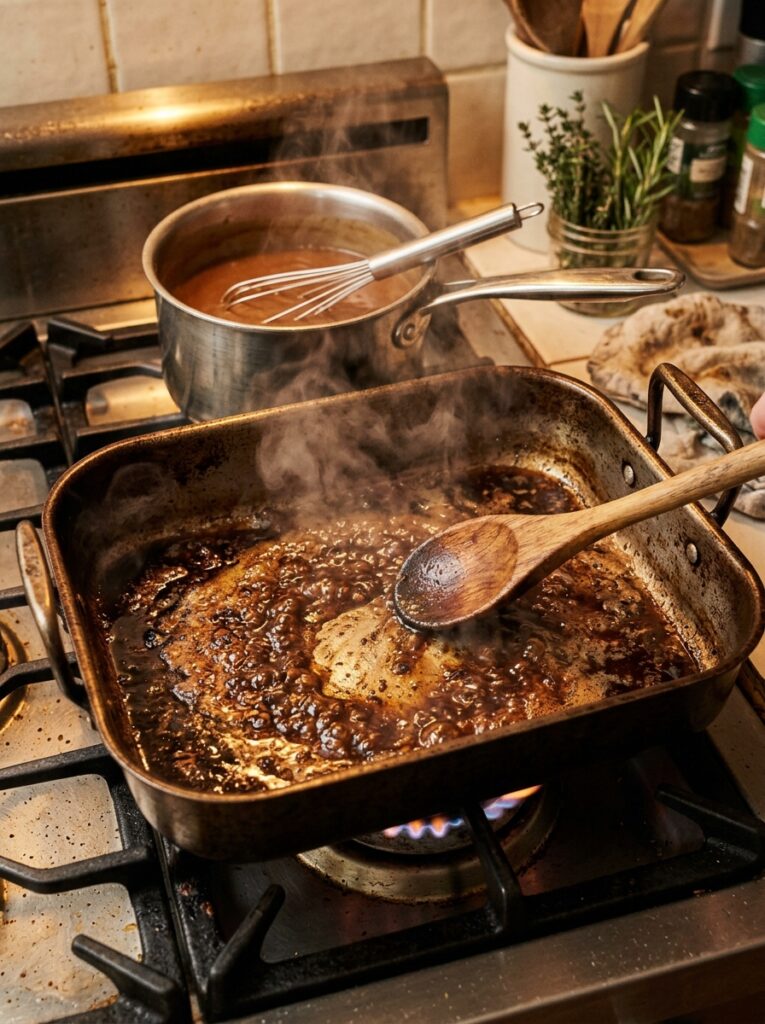
Here’s where so many people leave money on the table. Metaphorically.
Those drippings at the bottom of your roasting pan? That dark, slightly syrupy, incredibly savory liquid and fat? Don’t you dare throw it away.
The simplest move: skim most of the fat off, set the roasting pan directly over a burner on medium heat, pour in a cup of chicken stock or white wine, and scrape up every brown bit from the bottom. That’s basically a pan sauce. Taste it, add a bit of butter, maybe a squeeze of lemon, salt if needed. Done. It’s better than any gravy packet you’ve ever opened.
If you want actual gravy — and sometimes you do, especially in winter — whisk a tablespoon of flour into the remaining fat before you add the liquid. Whisk constantly, it comes together fast.
Don’t let the pan drippings steam off into nothing while the chicken rests. Keep an eye on them.
—
8. Vegetables Roasted in the Same Pan (and Which Ones Actually Work)
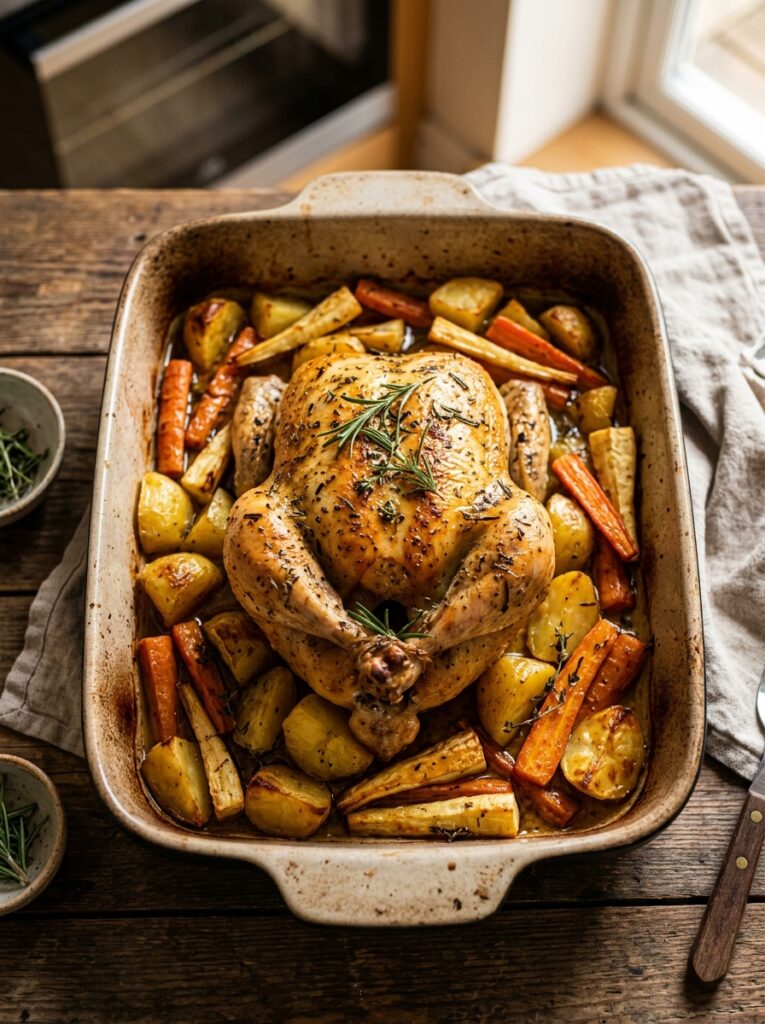
Potatoes. Always potatoes.
Halved small potatoes or chunked Yukon Golds go in the pan from the start, ideally in a single layer around the bird where they can sit in the drippings as they render out. They end up soft inside, slightly caramelized on the bottom, and they taste better than any potato you’ve ever roasted separately. Because the fat and juice from the chicken gets INTO them as they cook.
Carrots and parsnips work brilliantly too, though they cook faster than potatoes so add them about halfway through.
What doesn’t really work: zucchini (too much water, turns to mush), anything delicate, cherry tomatoes unless you want them very broken down and saucy — actually, wait, that’s kind of good. Never mind.
The one thing to watch: don’t crowd the pan so much that the vegetables steam instead of roast. One layer, some space between things, high heat. That’s it.
“Potatoes roasted in chicken fat are the side dish that ruins all other potatoes for you. Consider this a warning.”
—
9. The Weeknight Version: Spices, High Heat, 60 Minutes
Not every whole chicken dinner needs to be an event.
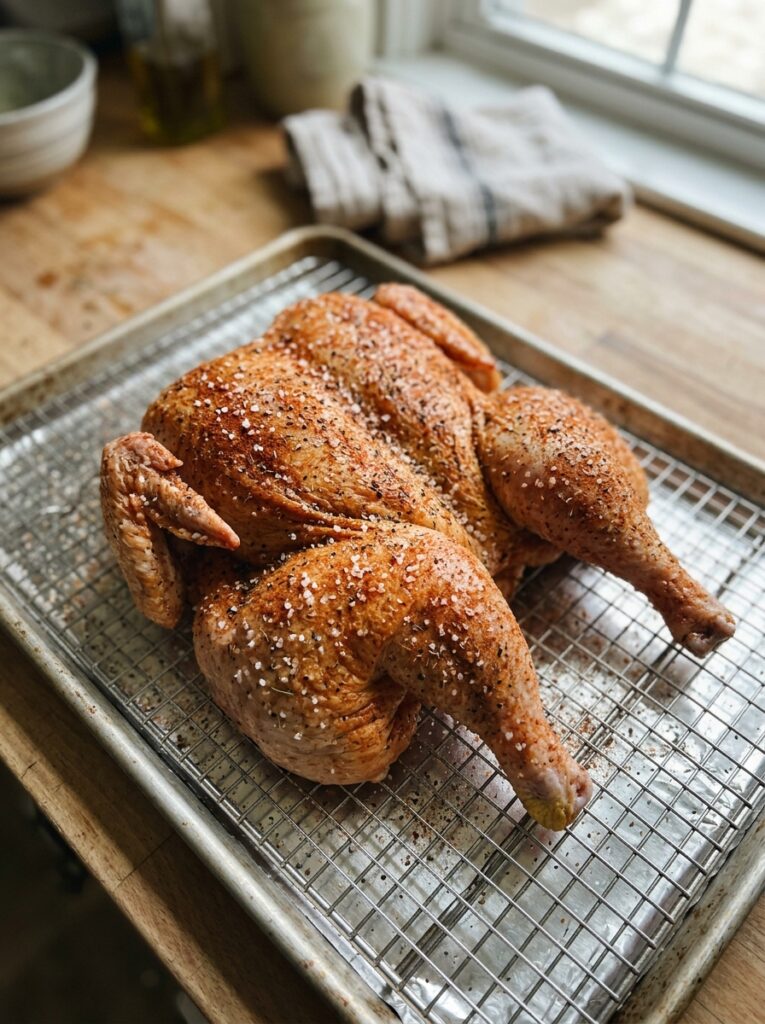
Dry brine the night before if you remember — just rub salt all over the bird and leave it uncovered in the fridge overnight. This dries out the skin and seasons the meat all the way through. If you forget, still worth doing it the morning of. Even 30 minutes helps.
Then just: smoked paprika, garlic powder, a pinch of cumin, dried oregano, olive oil, black pepper, more salt. Rub it everywhere. Roast at 425°F (220°C) for an hour or until the thermometer reads done. Let it rest.
This is not complicated. It’s a Tuesday dinner that somehow tastes like you tried harder than you did. That’s sort of the whole point of the whole chicken thing, honestly — the oven does the work, you take the credit.
—
10. What To Do With Every Single Leftover Part
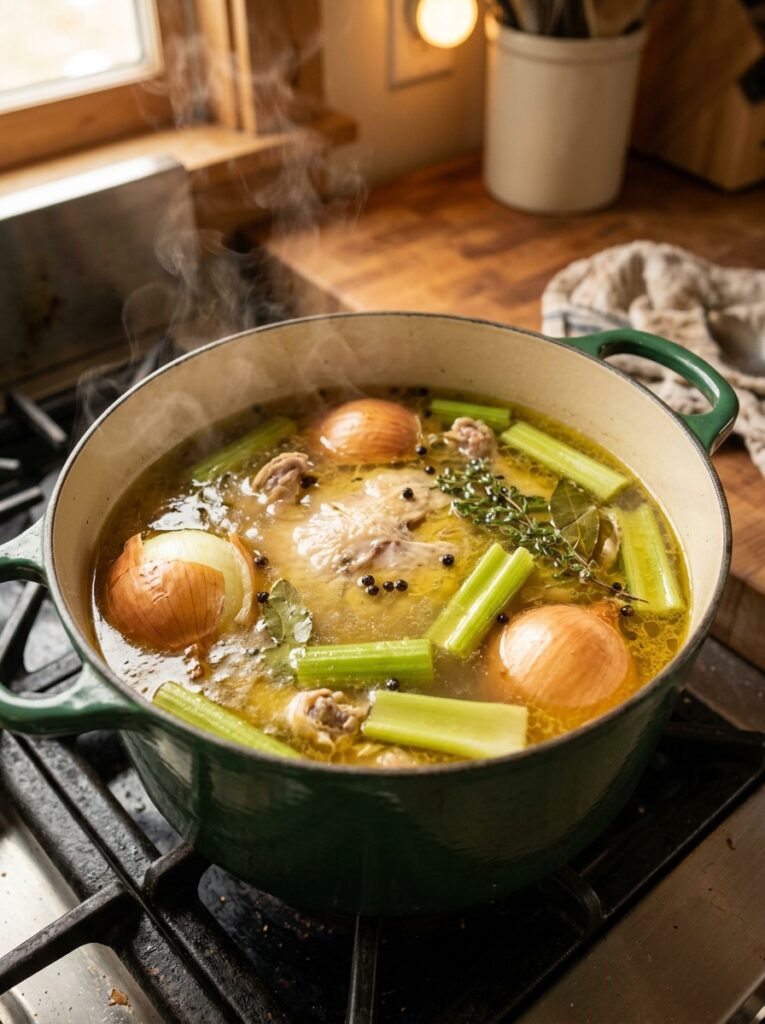
The carcass goes in a pot. Cold water, an onion cut in half, a couple celery stalks, peppercorns, a bay leaf. Simmer it for two hours (or just toss it all in a slow cooker overnight). You’ll have homemade chicken stock that bears absolutely no resemblance to the stuff in cartons.
That stock becomes soup. Or risotto. Or you just drink it like a mug of broth, which sounds weird and is actually just very soothing.
The leftover meat goes in sandwiches with mayonnaise and a little bit of dijon. Or shredded into a bowl of ramen. Or mixed with cream cheese for a quick pasta sauce that takes nine minutes and feeds two people. Or just eaten cold from the fridge at 11pm because you walked past it and suddenly you were hungry.
None of this is complicated. It’s just not throwing away a perfectly good thing.
—
11. Brining: Is It Actually Worth the Trouble?
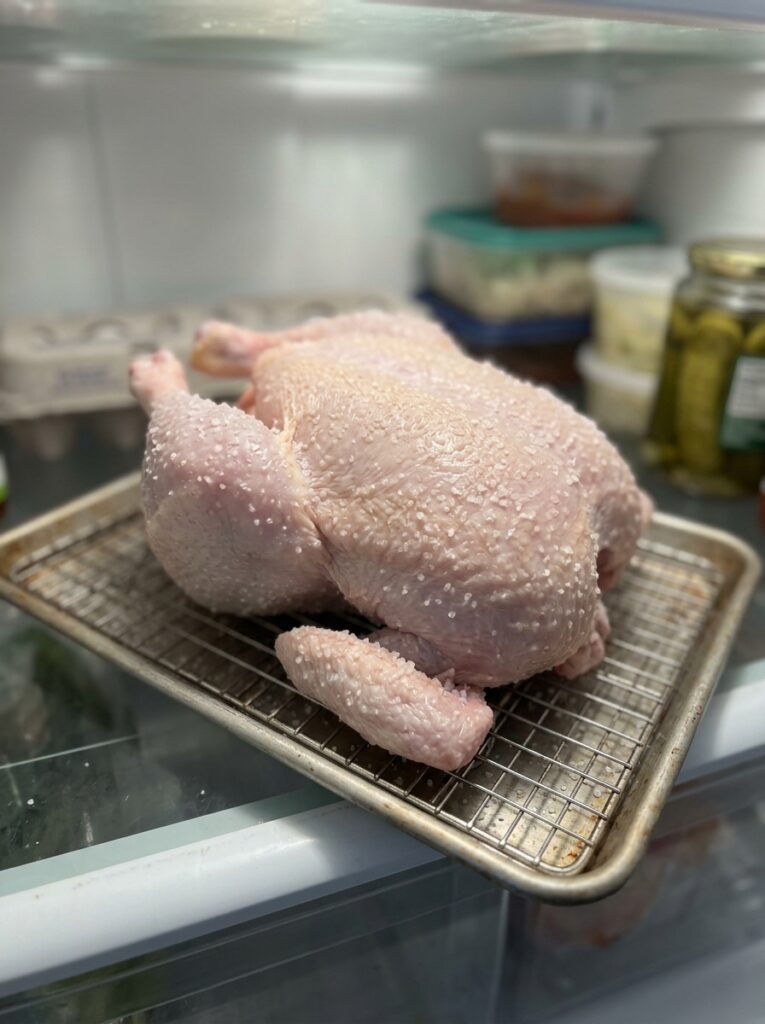
Short answer: wet brining is a lot of work for moderate payoff. Dry brining is barely any work and genuinely transforms the texture.
Wet brining means submerging the whole bird in salted water (sometimes with sugar, herbs, aromatics) for several hours to overnight. It does make the meat juicier. But it also takes up a huge amount of fridge space and the skin never gets as crispy afterward because the surface is waterlogged.
Dry brining — just salt, applied generously, left uncovered in the fridge — pulls out a tiny bit of surface moisture, which then gets reabsorbed back into the meat as a salty brine. The surface dries out, which is exactly what you want for crispy skin. It’s the method professional cooks actually use, and it takes maybe four minutes of effort.
If you’ve got a day or two: dry brine. If you’re cooking it today: still season it more aggressively than you think you should. Salt is the main thing between good chicken and great chicken.
—
12. The Finish That Makes It Actually Look Like the Photos
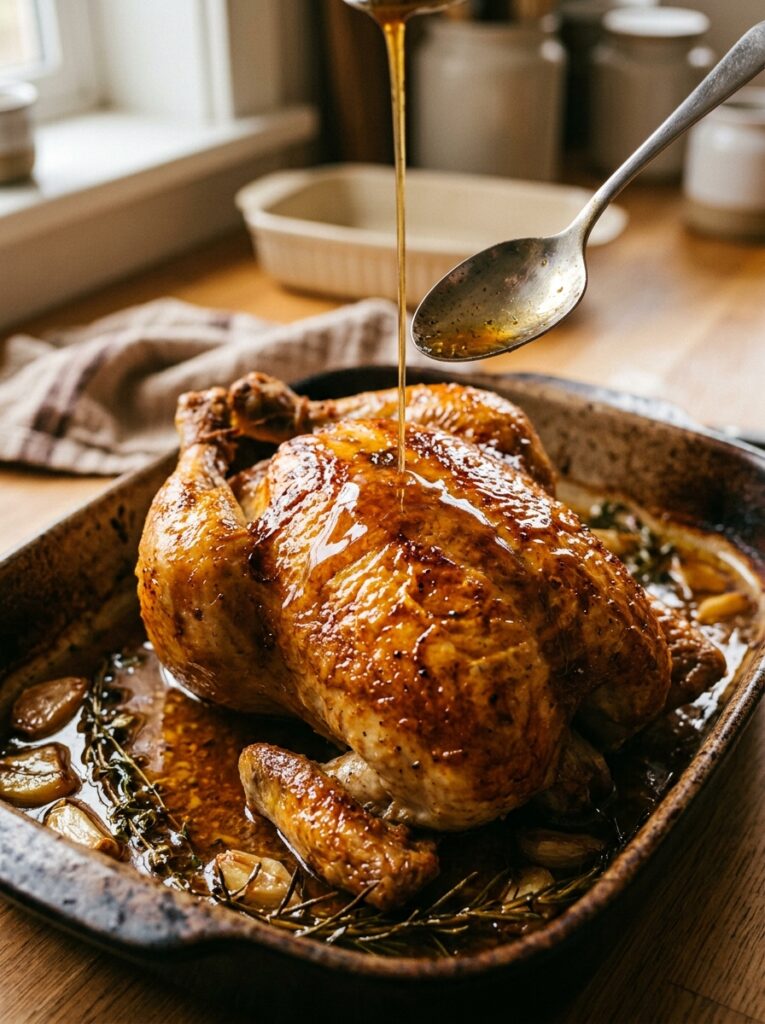
You pull the chicken out and it looks… fine. Not golden and lacquered and gorgeous like every food photograph. Here’s why: you probably didn’t baste.
Basting gets a lot of grief as unnecessary extra work — and honestly, for the first 45 minutes, it mostly is. But in the last 15 minutes of cooking, one or two passes with the pan drippings spooned over the skin makes a real visible difference. The skin browns faster, develops color and a slight sheen, and the whole bird starts to look like what you pictured when you started.
A tiny bit of honey or maple syrup mixed into your last basting liquid also helps if you want more color. Like, a teaspoon. Just to coax the browning along.
Then — and this is non-negotiable — let it REST. Tented loosely with foil, 15-20 minutes. This isn’t about food safety, it’s about physics. Cutting into it right out of the oven means all those juices run out onto the board. Letting it rest means they stay inside where they belong. Your carving board should be basically dry when you’re done.
—
❓ FAQ
Q: How long does a whole chicken take in the oven at 375°F? A: At 375°F (190°C), plan on roughly 20 minutes per pound, plus an extra 20 minutes — so a 4-pound bird is about 100 minutes. That said, always verify with a meat thermometer reading 165°F (74°C) in the thickest part of the thigh, because oven temperatures vary more than most people realize.
Q: Should I cover the chicken in the oven while roasting? A: Only if you’re specifically going for fall-apart tender meat and don’t care about crispy skin. Covering traps steam and basically braises the bird — great for certain recipes, but if you want that crackling golden skin, leave it uncovered the whole time. Some people cover just the breast for the first half if it’s browning too fast.
Q: Can I roast a whole chicken from frozen? A: Technically the USDA says you can, but the cook time extends significantly (roughly 50% longer) and you’ll get very uneven results — the outside overcooks before the inside is done. It’s really worth thawing completely first. In the fridge, a 5-pound bird takes about 24 hours to thaw safely.
—
💭 Final Thoughts
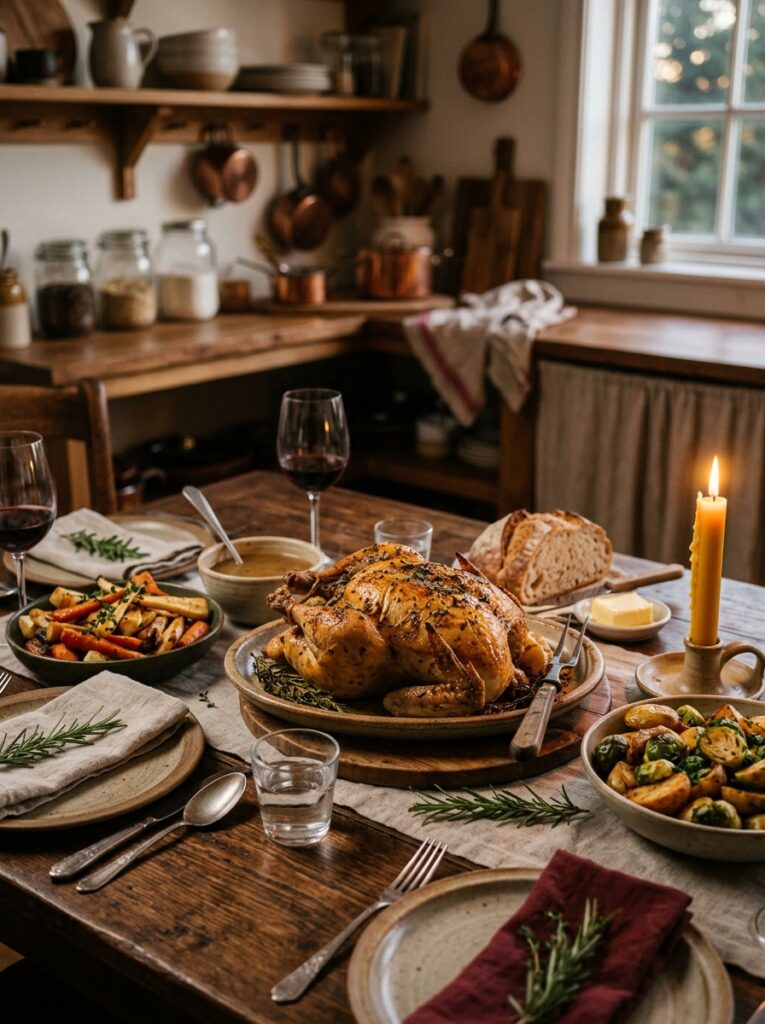
There’s something quietly satisfying about pulling a whole roasted chicken out of the oven. It’s not trendy. It doesn’t need a special pan or a complicated technique. It just needs a little time and a kitchen that smells like something good is happening.
Maybe that’s why it keeps coming back around — on food blogs, in cookbooks, on everyone’s Pinterest boards every single autumn. Some things don’t need improving.
What does your go-to seasoning combination look like — and is there a version you’ve been meaning to try but keep putting off?
