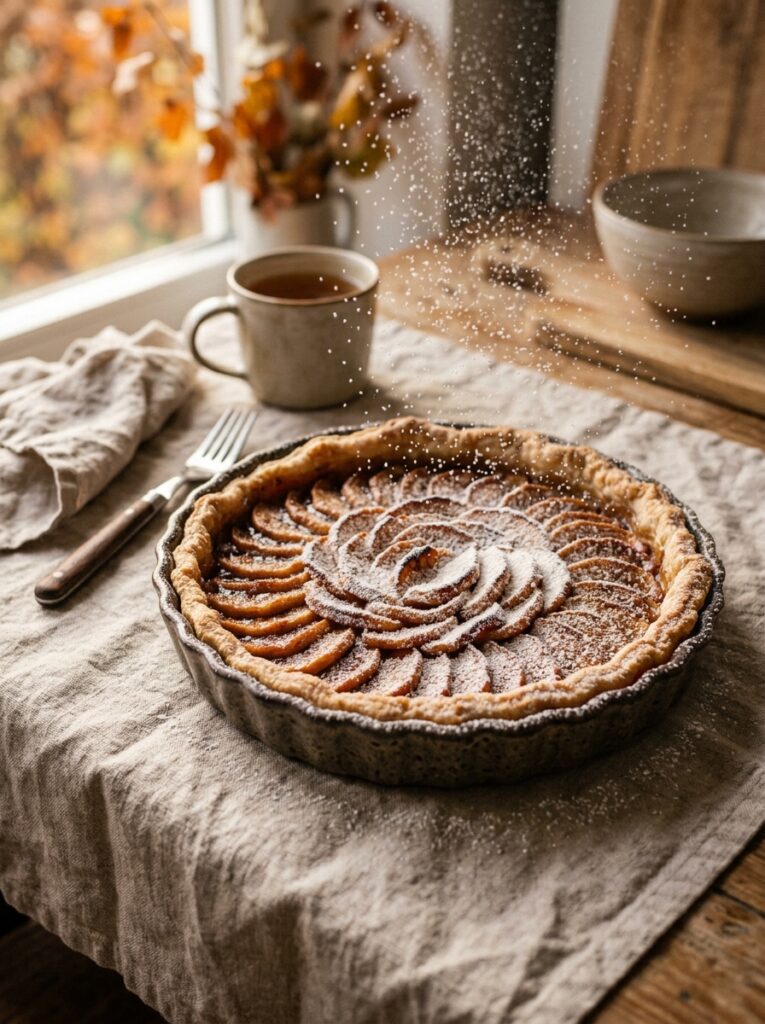
My neighbor dropped one off on a Tuesday. Just showed up at my door with this thing — perfectly golden, smelling like cinnamon and brown butter, apples fanned out so neatly they looked almost impossible. I stood in my doorway holding it and genuinely couldn’t think of a single thing to say.
That was two years ago. I’ve made some version of it every autumn since.
—
1. Why Apple Tarts Are Better Than Pie and I’ll Die on This Hill
I know. I know what you’re thinking. Pie is comfort. Pie is American. Pie is, like, a whole thing.
But hear me out.
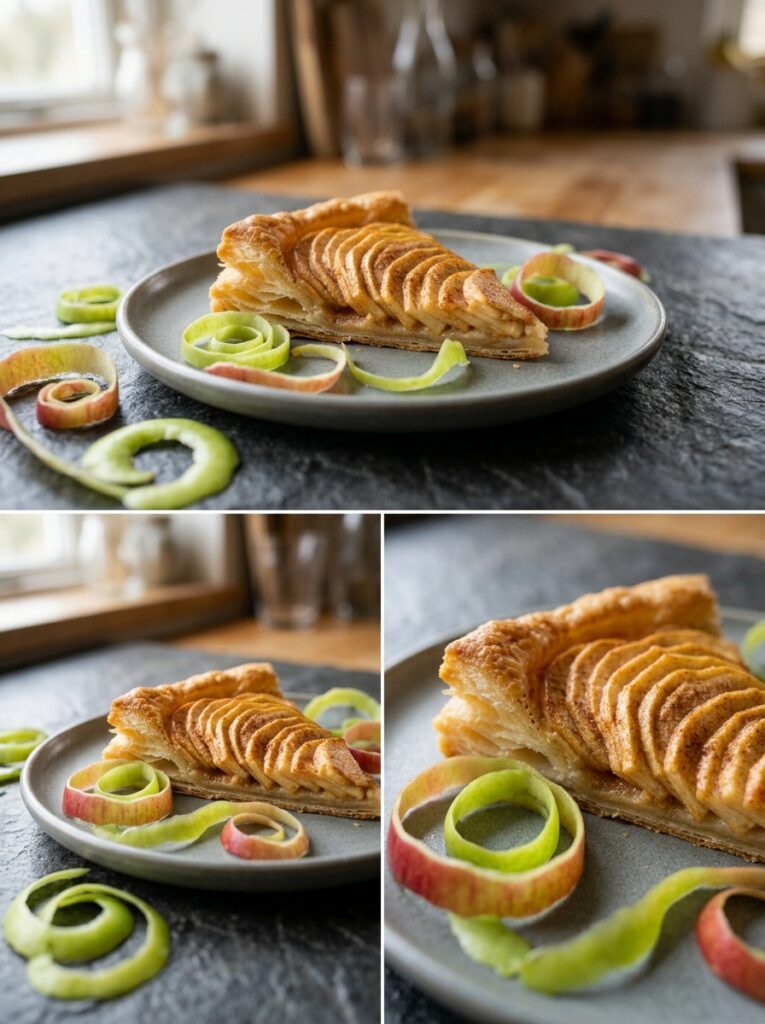
Apple pie has a moisture problem. The filling steams inside that top crust and you end up with either a soggy bottom (very much not a British Bake Off goal) or apples that’ve gone completely to mush. An apple tart doesn’t do that. The apples sit on top, exposed to heat, and they caramelize instead of steam. The edges get a little crisped. The sugars concentrate. You can actually TASTE each layer — the buttery pastry, the thin spread of something custardy or jammy underneath, and then the apple, doing its whole thing right there in the open.
And honestly? A tart looks like you tried harder. Even when you didn’t.
—
2. The Pastry Question That Trips Everyone Up
Shortcrust or puff? This is genuinely where most people get stuck, and I’ve tried both enough times to have an opinion.
Puff pastry gives you drama. It rises up around the edges, it flakes, it shatters satisfyingly when you cut into it. If you want something that photographs beautifully and impresses people at a dinner party, puff is your answer. And yes, you can use store-bought. Nobody needs to know. Nobody WILL know.
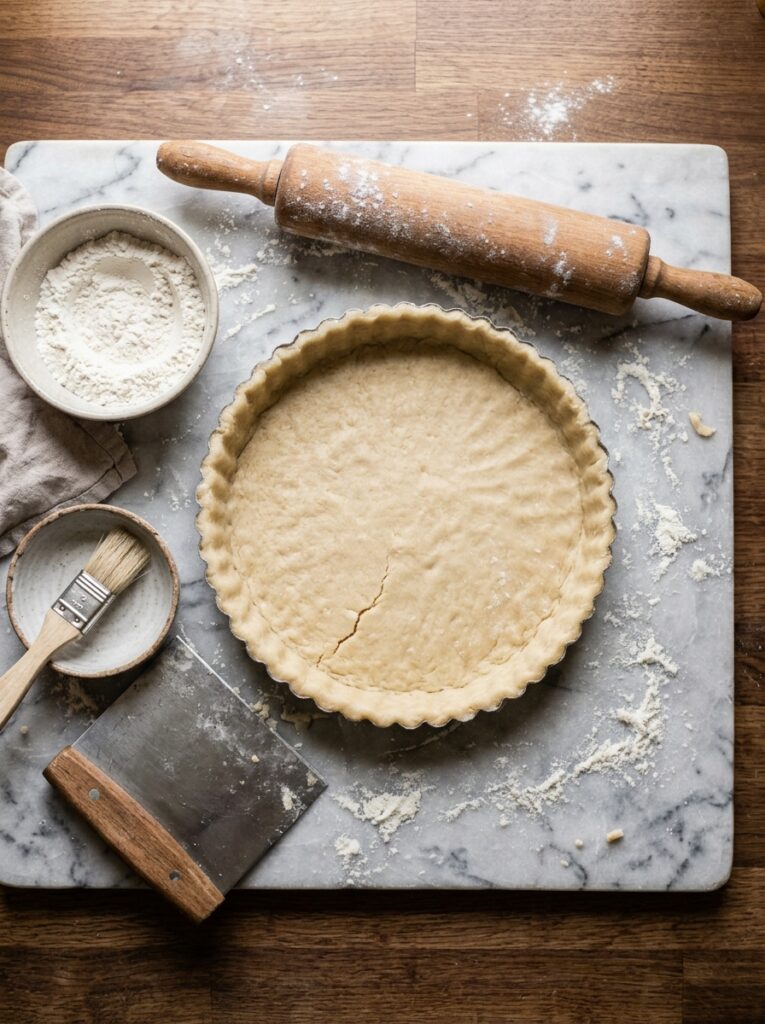
Shortcrust is quieter but it’s more structurally honest, I guess. It holds its shape, it doesn’t compete with the filling, and it tastes more like proper pastry — buttery and dense and slightly crumbly in the best way. If you’re making a tart you want to slice cleanly and serve in neat wedges, shortcrust is where it’s at.
I go back and forth. For weeknight baking? Puff. For when I actually want to impress myself? Shortcrust, made by hand, with cold butter and a bit of patience.
“The pastry is a decision about what kind of baker you want to be today. Some days you’re a puff-pastry-from-the-freezer person. Both versions are correct.”
—
3. The Secret Layer Nobody Talks About Enough
Okay so this is the thing that took my apple tarts from pretty good to actually great.
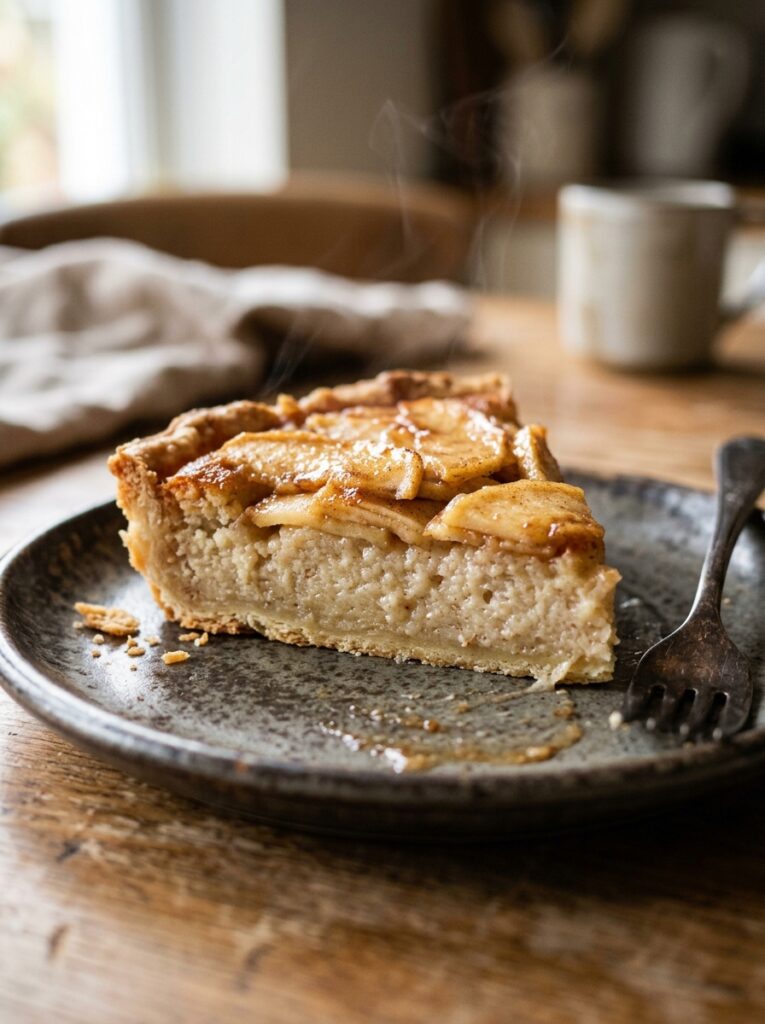
Before the apples go on, you spread something thin across the pastry base. A lot of French recipes call for frangipane — that almond cream that’s sweet and slightly dense and absorbs the apple juices during baking. Other versions use a smear of crème pâtissière. Some people (including me, on lazy Sundays) just spread a very thin layer of good apricot jam thinned with a splash of water.
Each of these does something different. Frangipane puffs up around the apples and gives you a soft, almost cake-like middle. The crème pâtissière stays silky. The apricot jam — and don’t roll your eyes at this — adds this jammy, slightly tart sweetness that plays really well against the apple. It’s also dead simple.
My recommendation if you’re making this for the first time: go frangipane. Make a small batch, spread it about a quarter inch thick, and let the apples do the rest.
—
4. The Color That Keeps Showing Up in Every Beautiful Apple Tart Right Now
Okay this is partly aesthetic and partly practical.
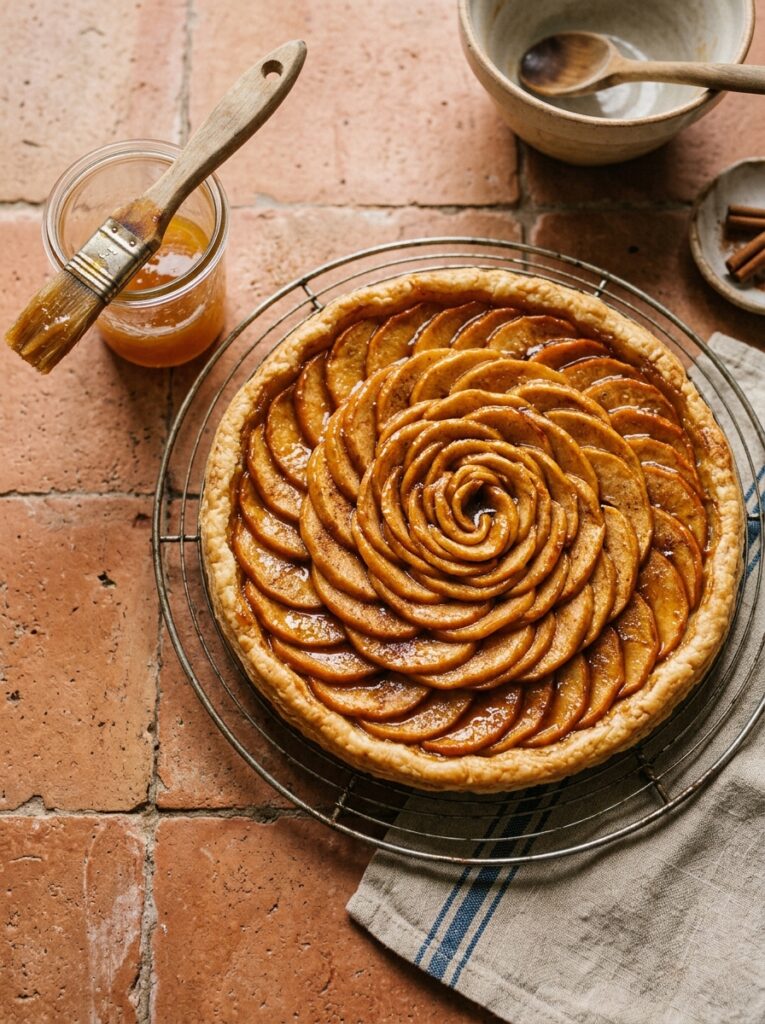
The apples that look the most stunning fanned out in a tart are not always the ones you’d reach for first. Pink Lady, Honeycrisp, and Braeburn all hold their shape AND have that gorgeous blush-to-yellow gradient when thinly sliced. When they bake they go golden and slightly translucent at the edges, which is genuinely one of the prettiest things that can happen in your oven.
Granny Smith is tart and firm and excellent but goes a bit dull color-wise — good for flavor, less interesting visually. Golden Delicious are soft and sweet but can turn to mush. Bramley (a UK classic) is incredible for taste but breaks down with heat, so I’d avoid it for this specific application.
My favorite combination lately: half Pink Lady, half Braeburn. You get color variation, the flavor’s more complex, and the different densities mean the slices caramelize at slightly different rates, which gives you those gorgeous varying shades of gold.
—
5. How to Slice Apples So They Actually Fan Out Nicely
I used to skip this step mentally and then wonder why my tarts looked like a before photo.
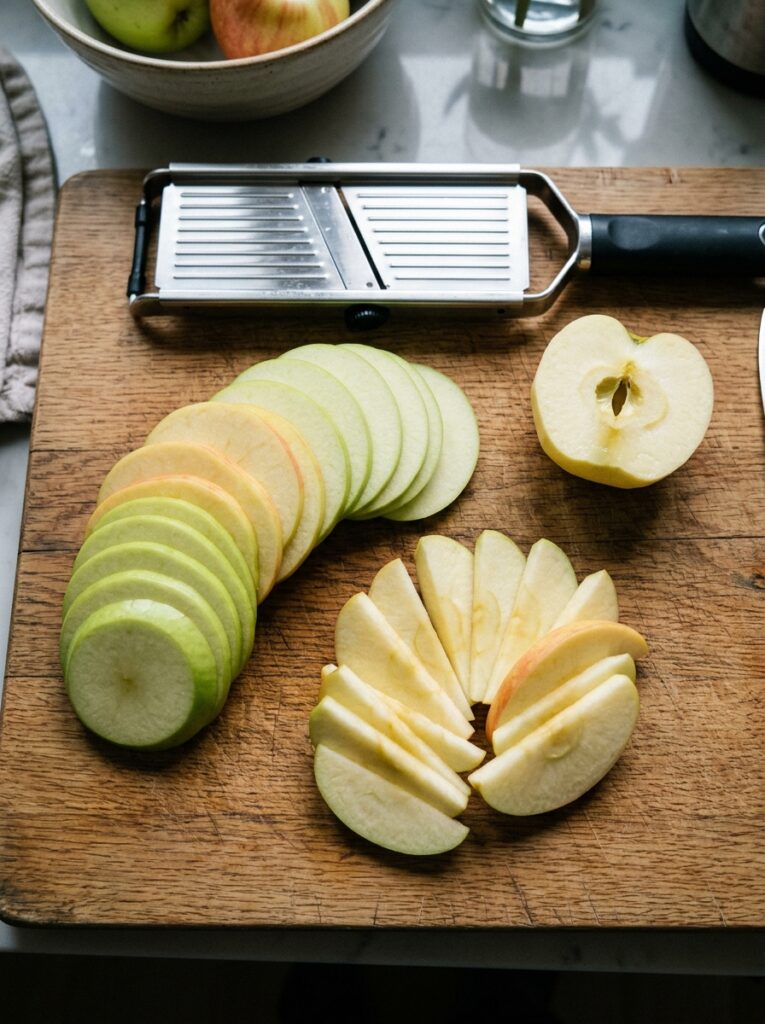
Core the apple first. A melon baller works better than an apple corer because you can control the depth. Then halve it top to bottom. Then slice each half crosswise as thinly as you can manage — we’re talking an eighth of an inch if you can, a quarter at most. If the slices are too thick, they won’t fan and they won’t cook through properly. Too thin and they disintegrate.
Here’s the trick I learned embarrassingly late: after slicing, keep each half-apple’s slices together in a little stack. Press the stack gently to fan it, then slide it as a unit onto the tart. This is SO much easier than trying to individually place each slice. It also keeps them evenly spaced without any effort.
Work from the outside in, slightly overlapping each piece by about half. Leave a small gap at the very center and fill it with a few slices stood slightly upright. It looks intentional. It takes about four minutes.
“Work from the outside in. Keep your slices stacked until the last possible second. That little trick is worth more than any fancy tart mold.”
—
6. The Sugar and Spice Situation (And Why Less Is More Here)
This is where I want to push back gently on most apple tart recipes.
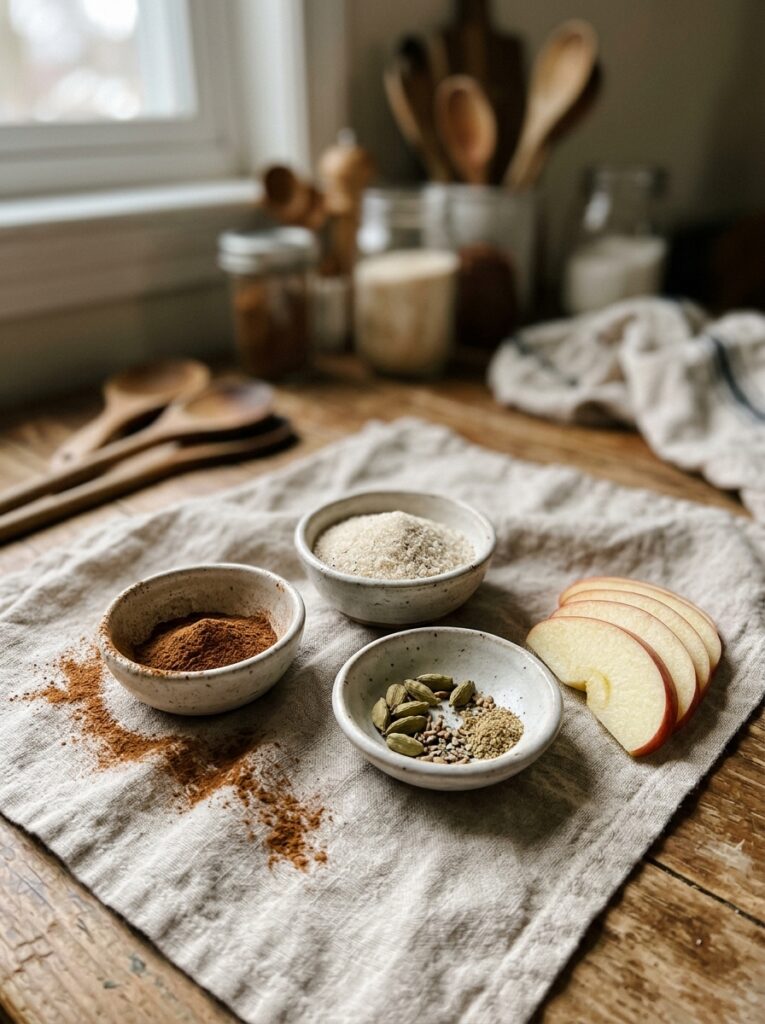
They overcomplicate it. You’ll see recipes calling for cinnamon AND nutmeg AND cardamom AND clove AND ginger. Which, fine, those spices are all delicious. But an apple tart isn’t a spice cake. The apple is the point. The pastry is the point. The caramelization is the point.
I use cinnamon. Just cinnamon. Maybe a whisper of nutmeg if I’m feeling it. And I sprinkle the sugar directly over the apples — just regular granulated, or turbinado if I want more texture — before it goes in the oven. The sugar melts, the apple juices bubble underneath, and you get this thin, crackly, almost brittle layer on top. It’s almost like a crème brûlée situation, but apple.
Brown butter drizzled over the top in the last ten minutes of baking is optional but I’ve never once regretted it.
—
7. Temperature, Timing, and the One Sign That Tells You It’s Done
Hot oven. This is non-negotiable.
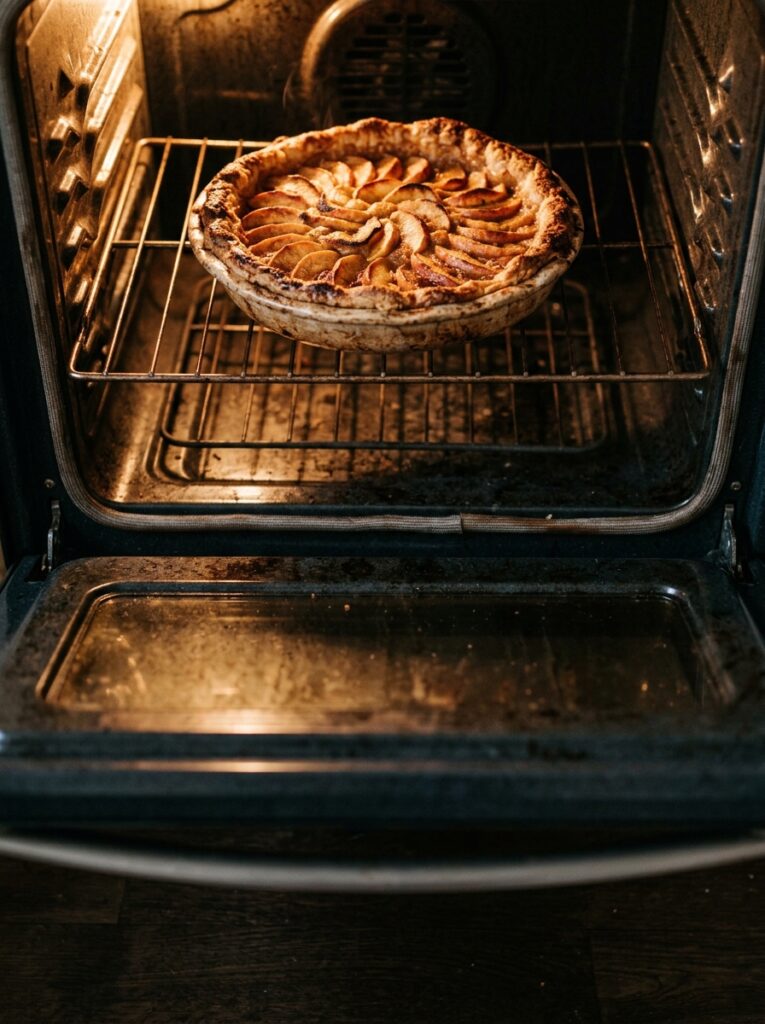
You want somewhere between 375°F and 400°F (190–200°C). The high heat is what gives you that golden color on the pastry and caramelized edges on the apple. If you bake this too low, it kind of just… sits there. Pale and a bit sad.
My tart goes in at 400°F for the first fifteen minutes, then I drop it to 375°F for another twenty to twenty-five. Total time is roughly 35–40 minutes depending on your oven and the thickness of your apple slices.
How do you know it’s done? The edges of the pastry will be a deep golden brown, not pale gold — DEEP gold. The apples at the edges will have curled slightly and darkened. And if you’ve got a layer of frangipane or jam underneath, it’ll have puffed up around the apples and set firm. Give the tart a very gentle shake — there shouldn’t be any wobble in the center.
Let it cool on the tin for at least fifteen minutes before you even think about slicing. I know. It’s hard.
—
8. The Glaze Step That Most People Skip (And Shouldn’t)
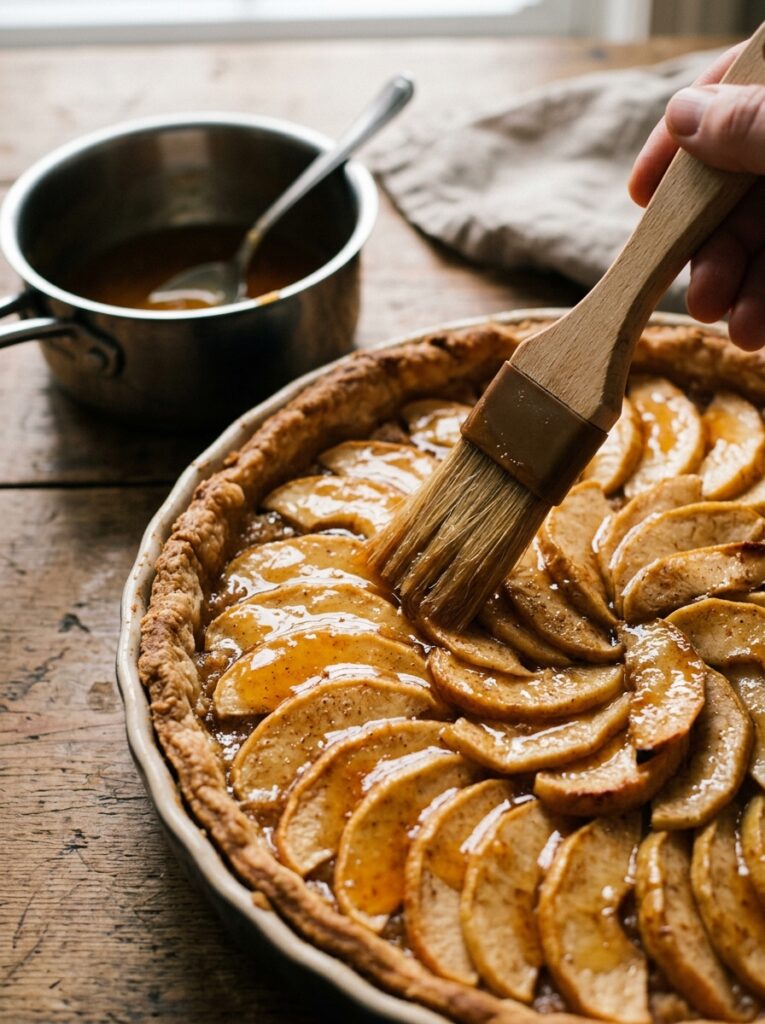
After the tart comes out, warm some apricot jam in a small saucepan with a splash of water — just until it’s liquid and brushable. Then paint it over the entire top of the tart with a pastry brush.
This does three things. It keeps the apples from drying out as the tart cools. It adds a slight sweetness and that faint apricot note. And it makes everything look GLOSSY and professional in a way that takes about 90 seconds and costs nothing.
I’ve seen people use honey here instead. It works. But it can be a bit heavy and actually masks the apple flavor slightly. Apricot jam is the classic for a reason — the flavor’s subtle enough to disappear into the background and just leave the shine behind.
Side note — if your jam is chunky, strain it first. Chunky bits look odd on an otherwise elegant tart.
—
9. The Frangipane Recipe That Actually Fits Inside a Normal Tart
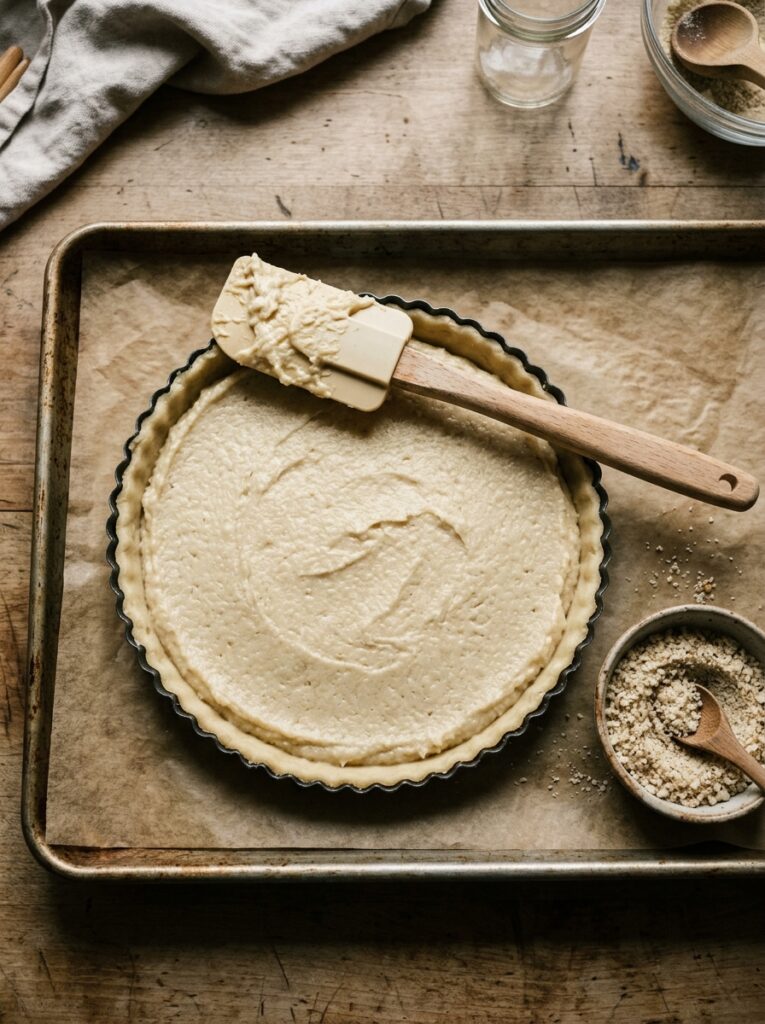
Most frangipane recipes make way too much. You don’t need a mountain of it. Here’s the amount that works for a standard 9-inch tart:
- 3 tablespoons softened unsalted butter
- 3 tablespoons granulated sugar
- 1 egg
- ¾ cup ground almonds (almond flour works too)
- A few drops of vanilla extract
Beat the butter and sugar until pale, beat in the egg, fold in the almonds and vanilla. That’s genuinely it. Spread it thin — you want about a quarter inch — and it’ll puff up during baking to maybe half an inch. Any thicker and it overwhelms everything.
You can make this a day ahead and keep it covered in the fridge. It actually spreads more easily when it’s been chilled overnight and then sat out for twenty minutes. Not essential, but nice to know.
—
10. Serving It Warm vs. Room Temperature vs. Cold From the Fridge
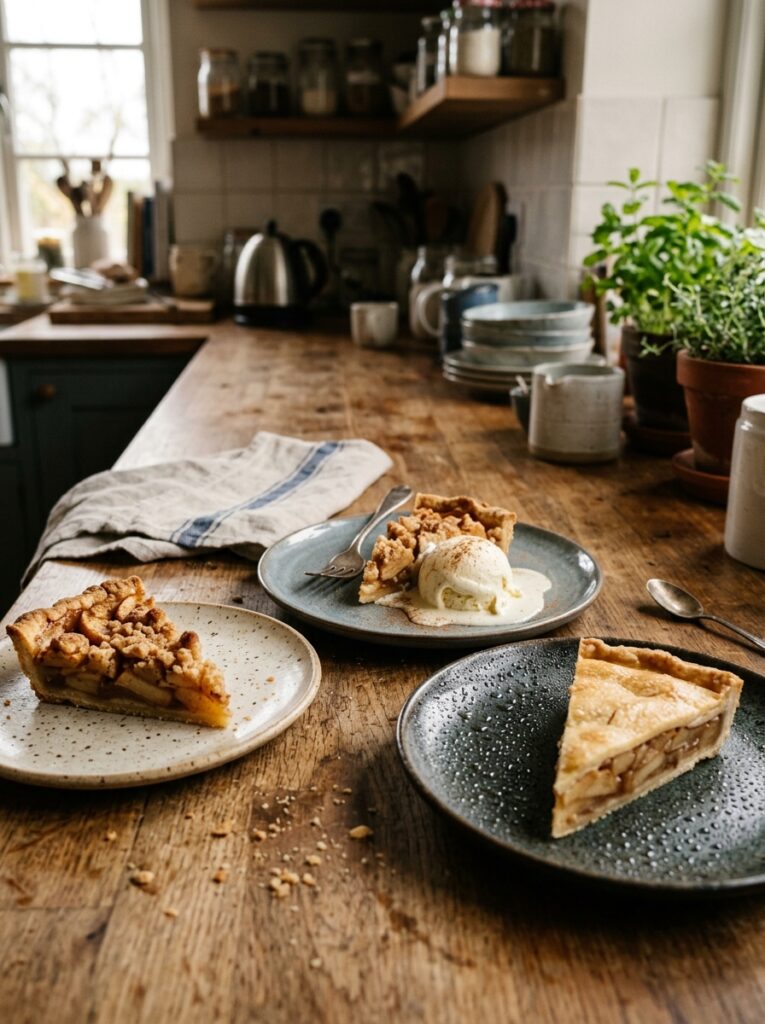
All three are valid and I’m not going to pretend otherwise.
Warm from the oven (or gently reheated at 300°F for ten minutes) is the most dramatic. The pastry is crispest, the apples have that just-caramelized softness. This is the version that makes people go quiet.
Room temperature is honestly my favorite for flavor. Everything has had a chance to settle and the sweetness feels more rounded. The apricot glaze has set slightly. The frangipane is dense and good. If you’re serving it at a dinner party, bake it an hour ahead and don’t stress about reheating.
Cold from the fridge the next morning? Don’t discount this. With a cup of strong tea, it’s a legitimate breakfast. I don’t make the rules, I just report them.
“Cold apple tart from the fridge with a cup of tea at 7am is an experience that deserves more conversation than it gets.”
—
11. The One Thing That Will Actually Make or Break Your Tart
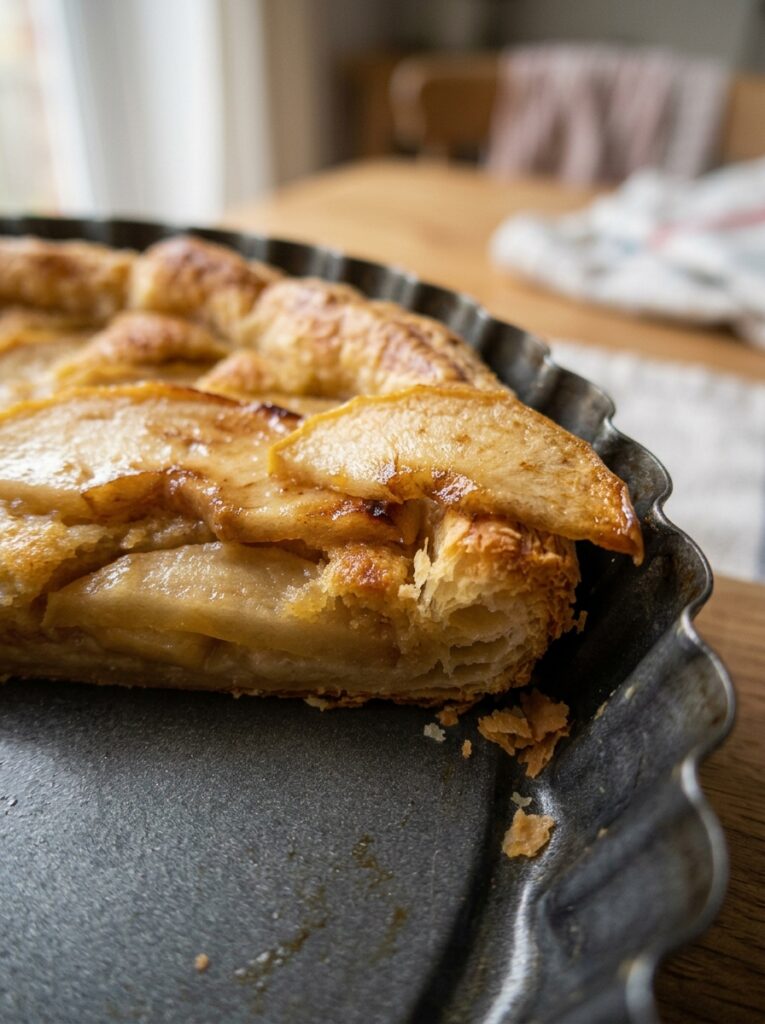
After everything I’ve said — the apples, the frangipane, the temperature, the glaze — here it is.
Don’t skip blind baking your pastry if you’re using shortcrust.
I know it’s annoying. You have to line it with parchment, fill it with baking beans (or uncooked rice, or whatever), bake it partway, remove the beans, bake it a little more. It takes an extra fifteen minutes and feels like unnecessary fuss.
But without it? The base won’t cook through. You’ll have a pale, doughy bottom under all your beautiful apples and it will undermine the whole tart in a way that’s really depressing after you’ve put in all that effort. Soggy bottom. Every time. And then you’ll feel sad.
If you’re using puff pastry, you can skip this — the puff bakes through on its own. Shortcrust needs the head start.
—
12. How to Store It, Freeze It, and Bring It Back to Life
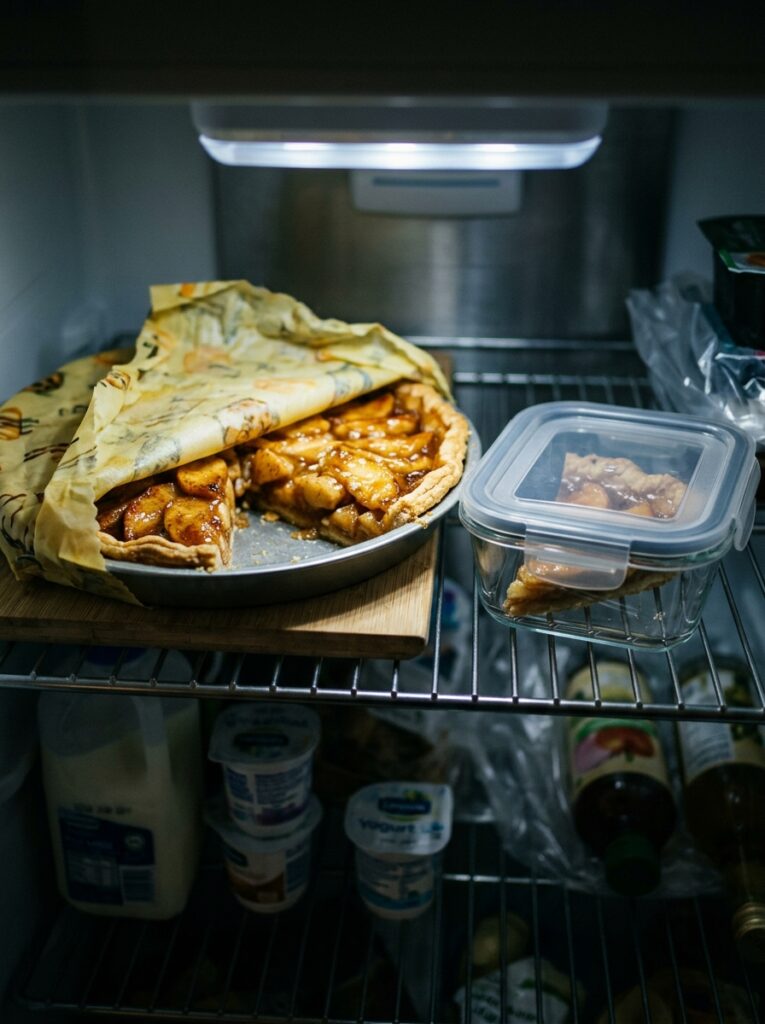
An apple tart keeps at room temperature, loosely covered, for about a day. After that, refrigerate it and it’ll last another two days without losing much quality.
To freeze: wrap individual slices tightly in cling film, then in foil. They freeze well for up to a month. Reheat from frozen at 325°F for about fifteen minutes — don’t microwave it unless you want the pastry to go completely limp and sad.
The frangipane filling actually freezes better than a custard-based one, which is another reason I default to it. It doesn’t weep or separate when it thaws, it just comes back to itself quietly.
And if you’ve got a slice that’s gone a bit soft — fifteen minutes in a low oven brings the pastry back almost completely. Honestly one of the more satisfying kitchen rescues.
—
❓ FAQ
Q: Can I use store-bought puff pastry for an apple tart? A: Absolutely, and you shouldn’t feel any guilt about it. Most store-bought puff pastry is made with butter and bakes up beautifully. Just make sure you’re using an all-butter version for the best flavor — the ones with vegetable fat tend to taste a bit flat by comparison.
Q: Do I need a special tart tin or can I use what I’ve got? A: A tart tin with a removable base makes your life much easier, but it’s not strictly essential. A springform cake tin works in a pinch. Even a pie dish will do — you just won’t get those neat straight sides, but the tart will taste identical. Don’t let the equipment question stop you from making it.
Q: Why do my apples sink into the frangipane during baking? A: Usually because the frangipane layer was too thick or too warm when the apples went on. Keep the layer thin — a quarter inch — and make sure it’s been refrigerated so it’s firm before you start laying the apple slices. They’ll still sink very slightly as the frangipane puffs, but they should hold their position and not disappear into it.
—
💭 Final Thoughts
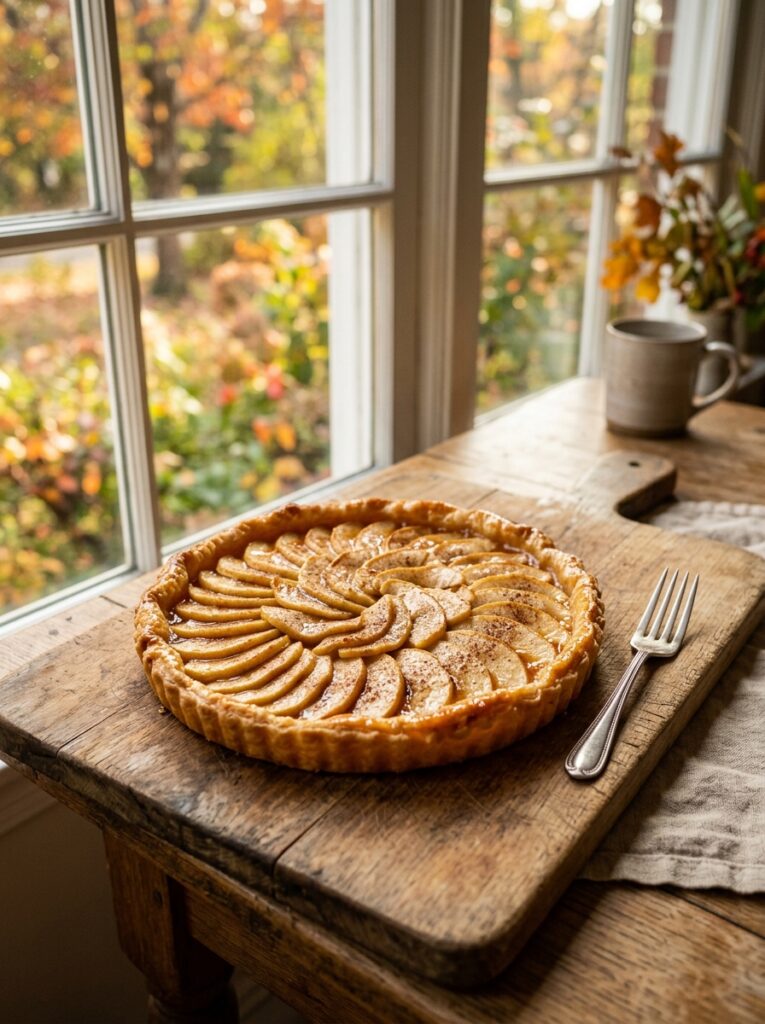
There’s something about an apple tart that feels like it knows what it’s doing, you know? It’s not fussy or demanding. It doesn’t require special equipment or an entire afternoon. You can make it on a Thursday because you had apples sitting in the bowl and suddenly felt like baking something real.
It’s the kind of thing that makes a kitchen smell like autumn for three hours, and then it sits on the counter looking quietly beautiful, and you cut into it and the pastry shatters just slightly and the apples are soft and golden underneath.
Makes me wonder — what’s the one bake you keep coming back to, year after year, that never gets old?
