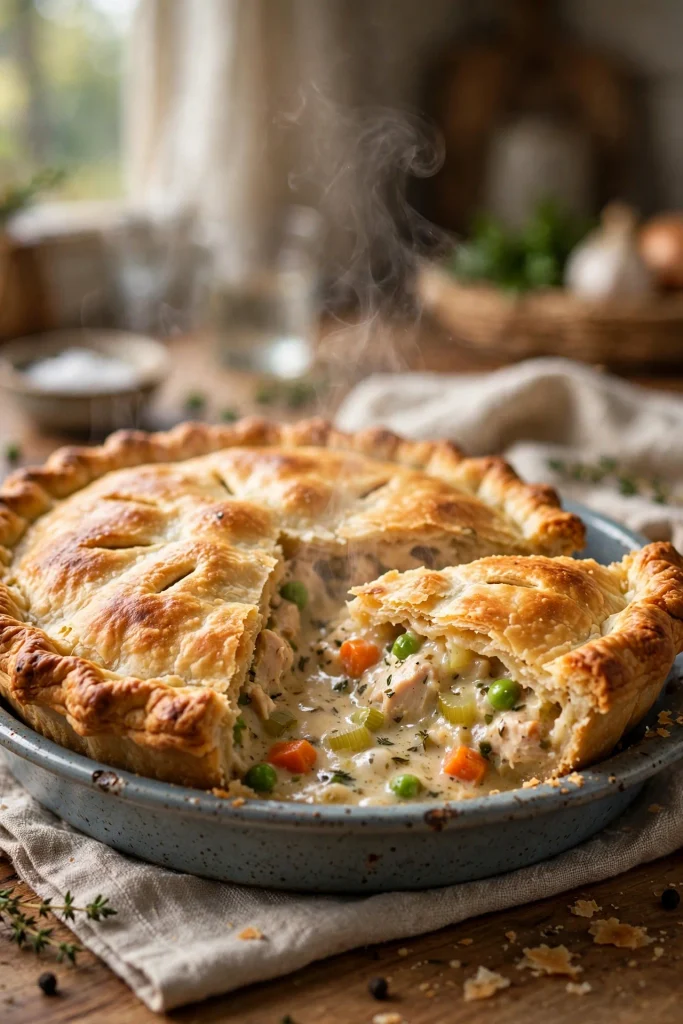
Chicken pot pie is one of those classic comfort meals that makes a house feel warm and cozy. It has a creamy chicken and vegetable filling wrapped inside a buttery, flaky crust. This dish feels fancy enough for company but is simple enough to make on a regular weeknight. Making chicken pot pie from scratch is easier than most people think, and the result is so much better than a frozen version. In this article, we will walk through how to make a delicious homemade chicken pot pie step by step.
1. Why This Recipe Is A Classic Favorite
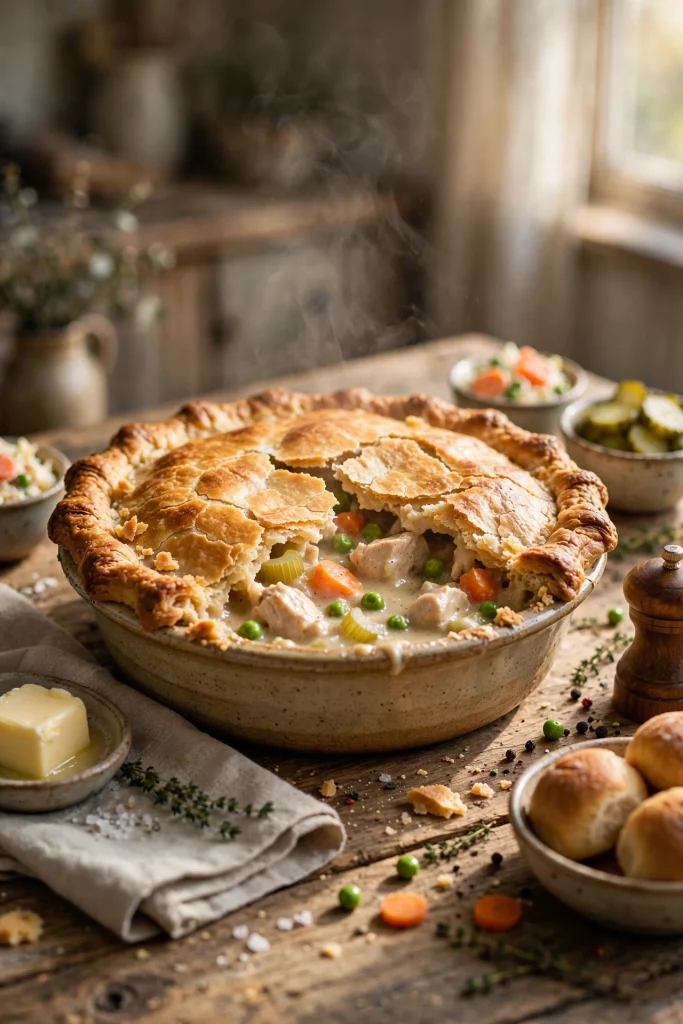
Chicken pot pie has been a beloved comfort food for generations, and it is easy to see why. The combination of warm, creamy filling and crispy crust hits every comfort food craving at once. This dish is also a great way to use up leftover chicken or vegetables in the fridge. It feels like a complete meal in one dish, since it has protein, vegetables, and carbs all together. This recipe proves that classic dishes stay popular because they truly taste amazing.
2. Ingredients You Will Need
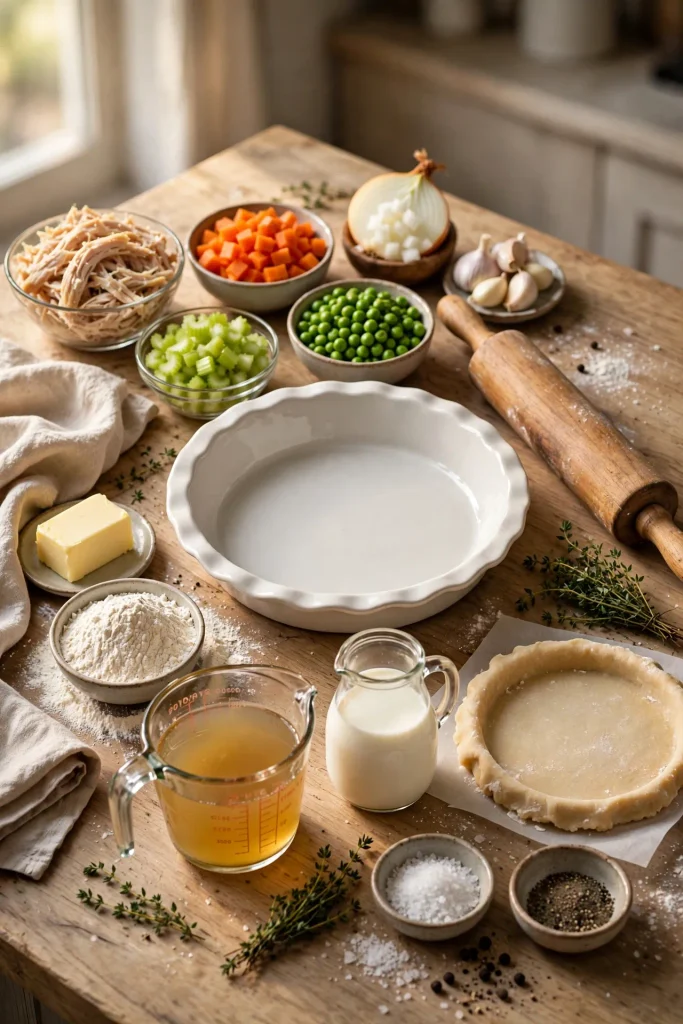
For the filling, you will need two cups of cooked, shredded chicken along with one cup each of diced carrots, celery, and peas. You will also need one small diced onion, three cloves of minced garlic, and one third cup of butter. For the sauce, gather one third cup of flour, two cups of chicken broth, and one cup of milk or cream. For the crust, you can use store bought pie crust or make your own with flour, butter, and cold water. Salt, pepper, and fresh thyme round out the seasoning for this dish.
3. Making The Chicken Pot Pie Filling

Start by melting the butter in a large pot over medium heat. Add the diced onion, carrots, and celery, cooking until they begin to soften, about five minutes. Stir in the garlic and cook for another minute until fragrant. Sprinkle the flour over the vegetables and stir well, cooking for about one minute to remove the raw flour taste. Slowly pour in the chicken broth while stirring, followed by the milk or cream, letting the mixture thicken into a creamy sauce.
4. Finishing The Filling
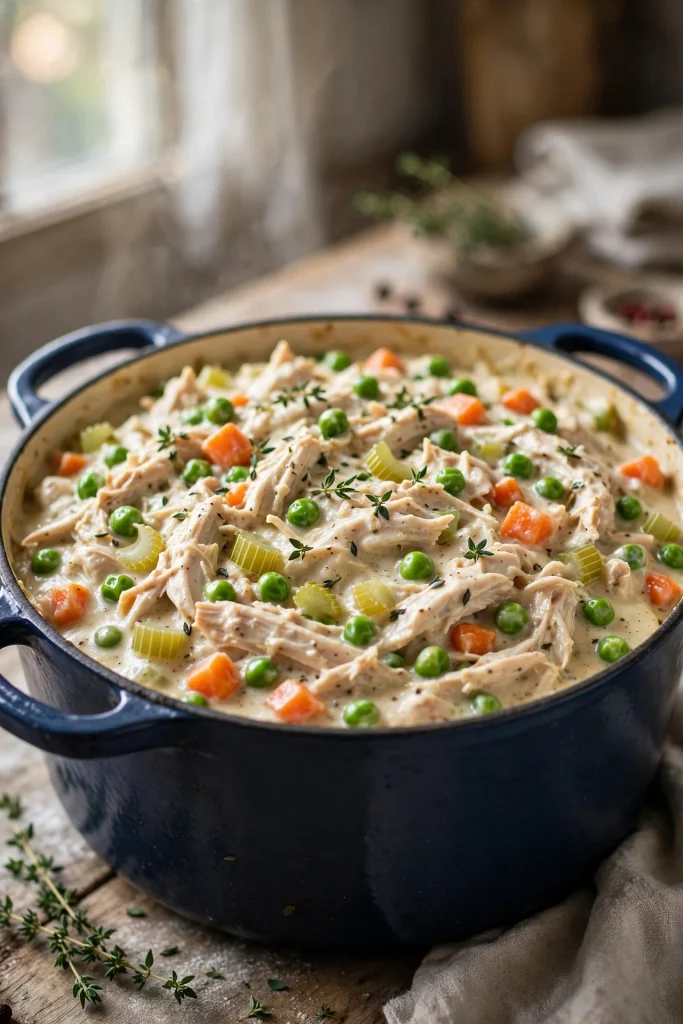
Once the sauce has thickened, add the shredded chicken and peas into the pot. Season with salt, pepper, and fresh thyme, stirring everything together well. Let the filling simmer for a few more minutes so the flavors blend together nicely. Taste and adjust the seasoning if needed before moving on to the next step. The filling should be thick and creamy, not runny or watery.
5. Assembling The Pie
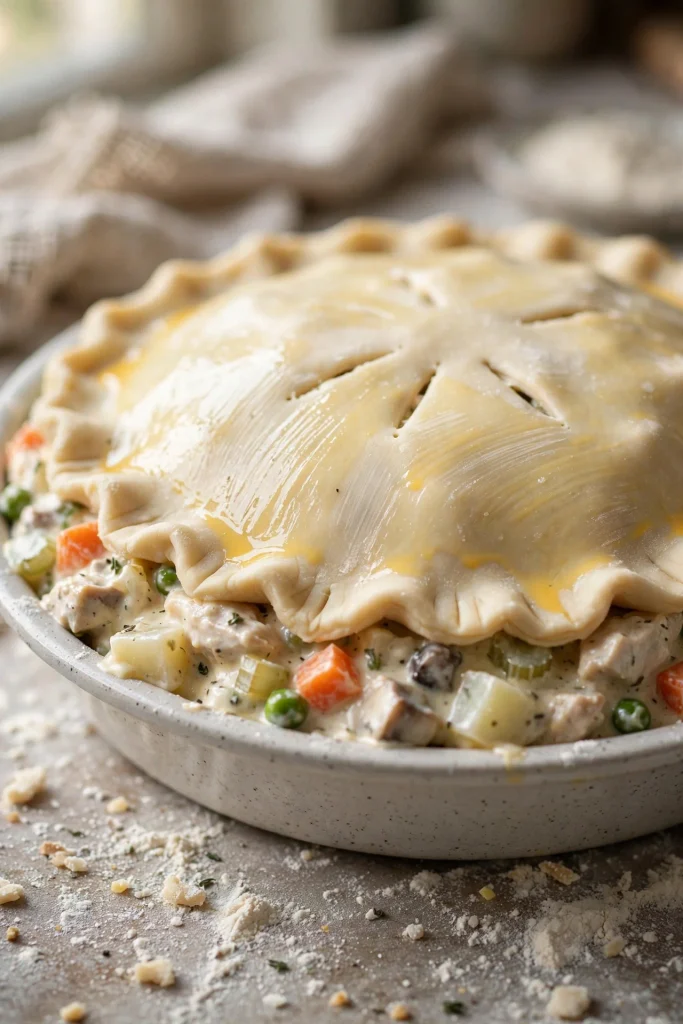
Pour the warm filling into a pie dish or baking dish, spreading it out evenly. Roll out your pie crust and place it over the top of the filling, trimming any extra edges. Cut a few small slits in the top crust to let steam escape while baking. Brush the top with a beaten egg for a golden, shiny finish. This step makes the pie look just as good as it tastes.
6. Baking The Pot Pie
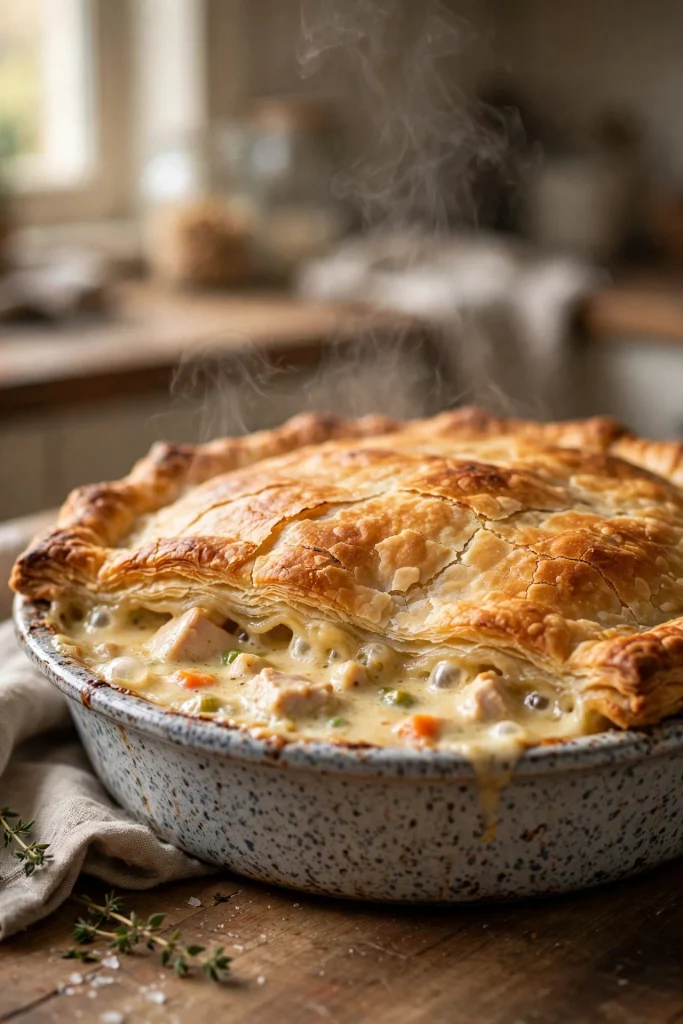
Place the assembled pie in an oven preheated to four hundred degrees Fahrenheit. Bake for about thirty to thirty five minutes, until the crust turns golden brown and the filling bubbles. If the edges of the crust start browning too fast, cover them loosely with foil. Let the pie rest for about ten minutes after baking before cutting into it. This resting time helps the filling set so it does not spill out when sliced.
7. Tips For The Best Chicken Pot Pie

Using rotisserie chicken is a great shortcut that saves time without losing flavor. Make sure your filling is not too thin, since a watery filling will make the crust soggy. Chilling your pie crust before rolling it out helps create a flakier texture. Do not skip the egg wash, since this simple step gives the crust a beautiful golden color. Letting the pie rest before cutting really does make a difference in how clean the slices come out.
8. Easy Ways To Change This Recipe
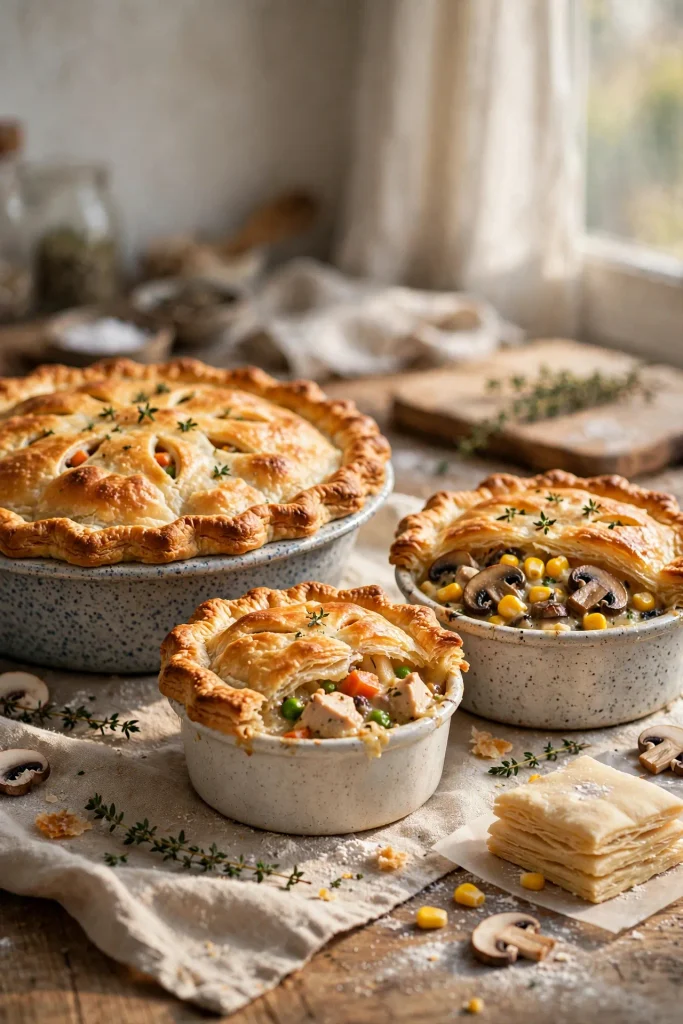
Add mushrooms or corn to the filling for extra flavor and texture variety. Use puff pastry instead of regular pie crust for an extra flaky, buttery top. Make individual pot pies in small ramekins for a fun, personal sized version. Swap chicken for turkey if you have leftovers after a holiday meal. These simple changes let you make this recipe your own.
9. Make Ahead And Freezing Instructions
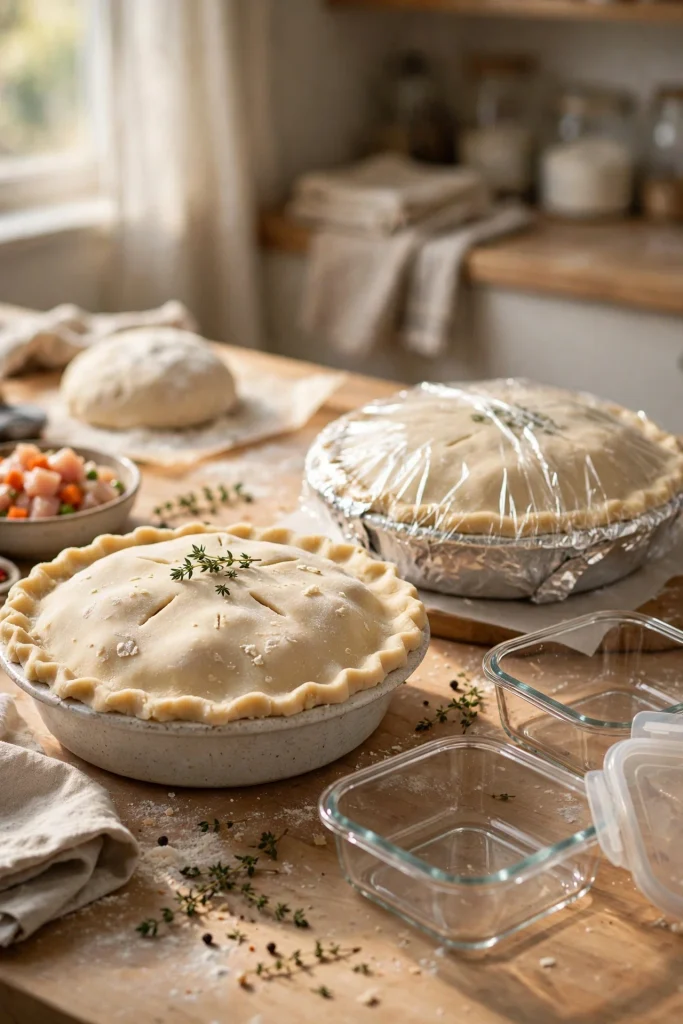
You can prepare the filling a day ahead and store it in the fridge until you are ready to bake. Assembled, unbaked pot pies also freeze well for up to three months, making this great for meal prep. When baking from frozen, add about fifteen to twenty extra minutes to the baking time. Covering the pie tightly with plastic wrap and foil helps prevent freezer burn. Having a pot pie ready in the freezer makes busy nights so much easier.
10. Storing And Reheating Leftovers

Store any leftover chicken pot pie in the refrigerator for up to four days in an airtight container. Reheat individual slices in the oven at three hundred fifty degrees until warmed through. Avoid microwaving if possible, since this can make the crust soft instead of crispy. Leftover pot pie often tastes just as good, if not better, the next day. This makes it a great dish for planning ahead.
11. What To Serve With Chicken Pot Pie
A simple green salad with a light vinaigrette balances out the richness of the pie nicely. Steamed vegetables like green beans also make a nice side dish. Since this pie already has vegetables and protein inside, you do not need much else to make it a full meal. A light soup on the side can also round out the meal for a chilly evening. Keeping the sides simple lets the pot pie be the star of the table.
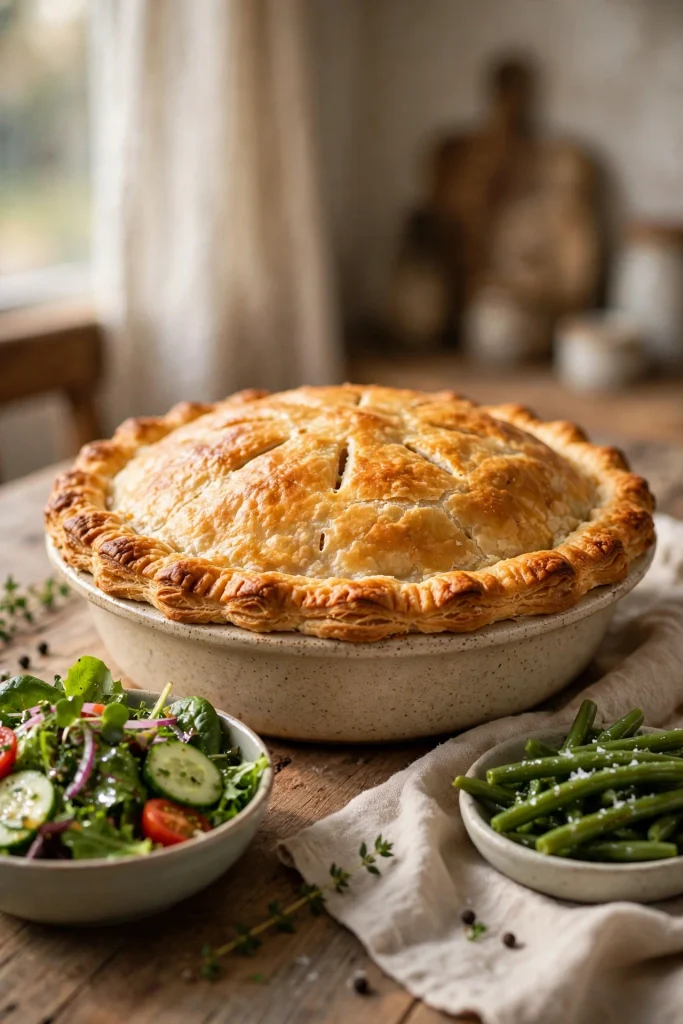
Chicken pot pie is the kind of meal that brings people together around the table with its warm, comforting flavors. While it takes a bit more time than some weeknight dinners, the result is well worth the effort. Once you make this dish from scratch, you will understand why it has remained a favorite for so many years. Keep this recipe on hand for cold nights, family gatherings, or whenever you need a truly comforting homemade meal.
