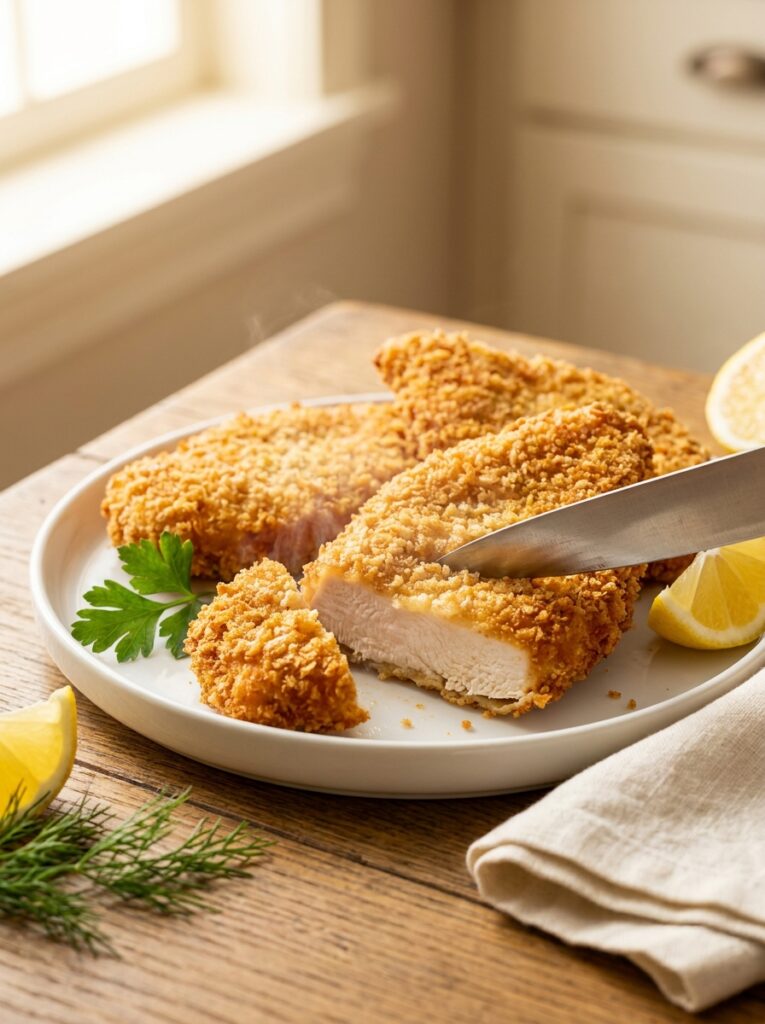
There’s something incredibly satisfying about biting into a chicken cutlet with a perfectly golden, crunchy exterior and a tender, juicy center, and the air fryer has made achieving that texture easier than ever before. Traditionally, crispy chicken cutlets required deep frying in a generous amount of oil, leaving the kitchen smelling of grease and the dish feeling far heavier than necessary. The air fryer changes that entirely, using rapid hot air circulation to create that same crave-worthy crunch with just a fraction of the oil. Chicken cutlets are also incredibly versatile, working beautifully in sandwiches, salads, pasta dishes, or simply served on their own with a squeeze of lemon. In this article, we’ll cover 12 practical ideas to help you achieve consistently golden, delicious air fryer chicken cutlets every single time.
1. Pound the Chicken to an Even Thickness
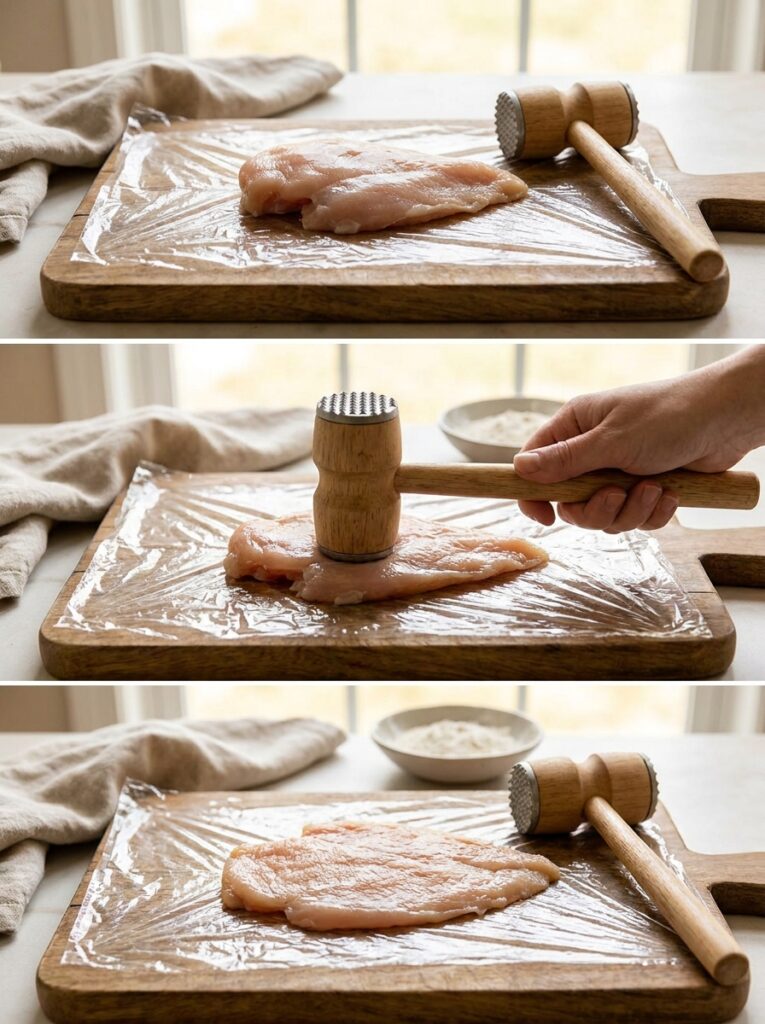
Before anything else, pounding chicken breasts to an even thickness of about half an inch ensures the cutlets cook evenly throughout in the air fryer. Uneven thickness often leads to thinner portions drying out while thicker sections remain undercooked in the same amount of time. Placing the chicken between two sheets of plastic wrap before pounding also helps prevent mess and keeps the meat from tearing. This simple prep step is essential for achieving that perfectly juicy interior beneath the crispy coating. Skipping it is one of the most common reasons homemade cutlets turn out inconsistent.
2. Set Up a Proper Three-Station Breading Process
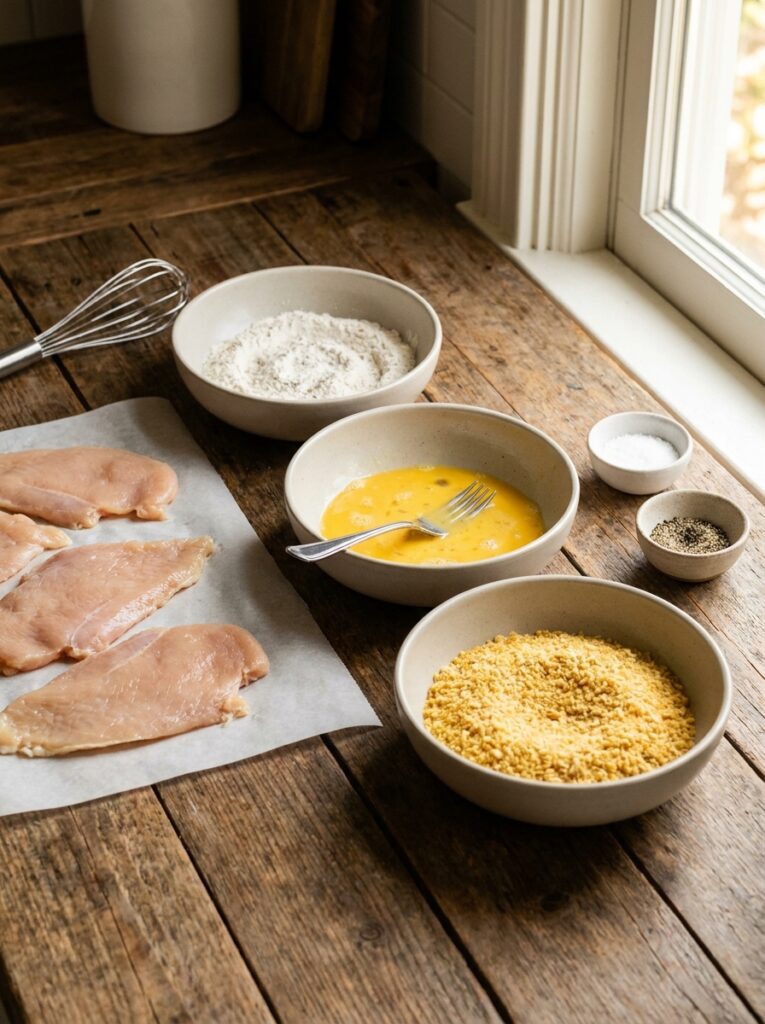
A classic three-station breading setup, flour first, then egg wash, then breadcrumbs, is essential for creating a coating that adheres properly and crisps beautifully in the air fryer. The flour helps the egg stick to the chicken’s surface, while the egg wash acts as the glue that allows the breadcrumbs to cling on evenly. Skipping any one of these steps often results in patchy, uneven coating that falls off during cooking. Keeping one hand dedicated to the wet ingredients and the other to the dry ingredients also helps keep the process clean and efficient. This method is the foundation of achieving that iconic golden, crispy cutlet texture.
3. Use Panko Breadcrumbs for Extra Crunch
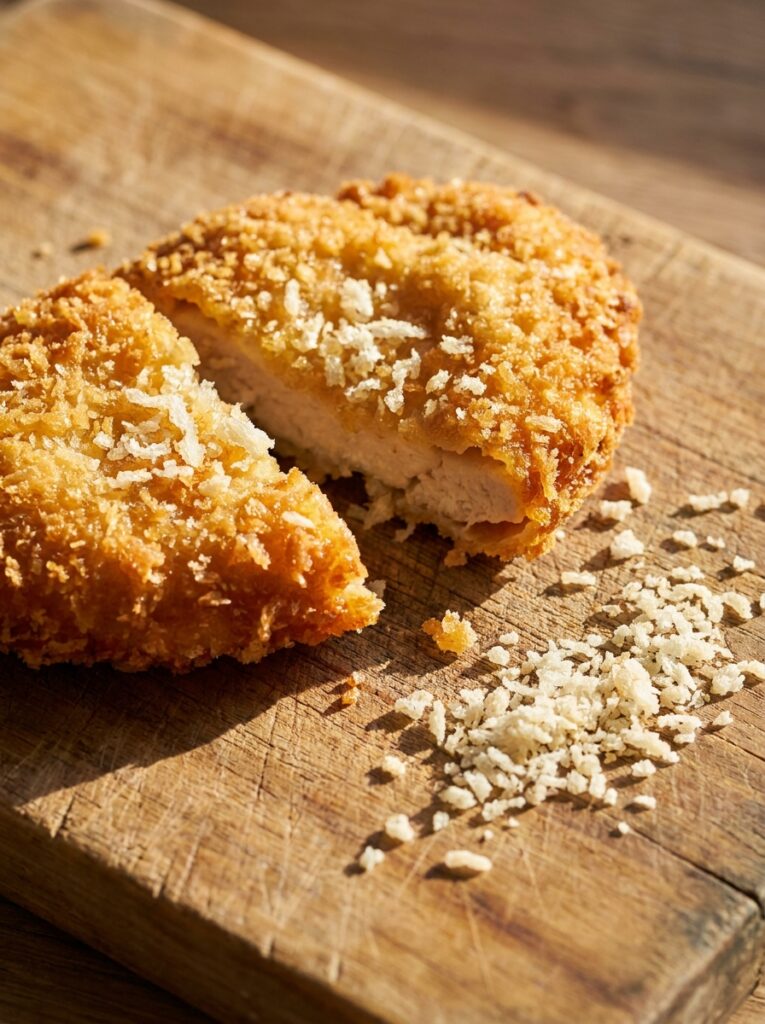
Swapping traditional breadcrumbs for panko breadcrumbs makes a significant difference in achieving that light, extra-crispy texture that air fryer cutlets are known for. Panko’s larger, airier flakes create more surface area and texture compared to finer, denser breadcrumbs, resulting in a noticeably crunchier bite. This type of breadcrumb also tends to brown more evenly in the air fryer, giving cutlets that beautiful golden color without needing excessive oil. For extra flavor, panko can be lightly toasted in a dry pan before breading to deepen the color and crunch even further. This one ingredient swap is often the difference between good and truly great air fryer cutlets.
4. Season Every Layer, Not Just the Chicken
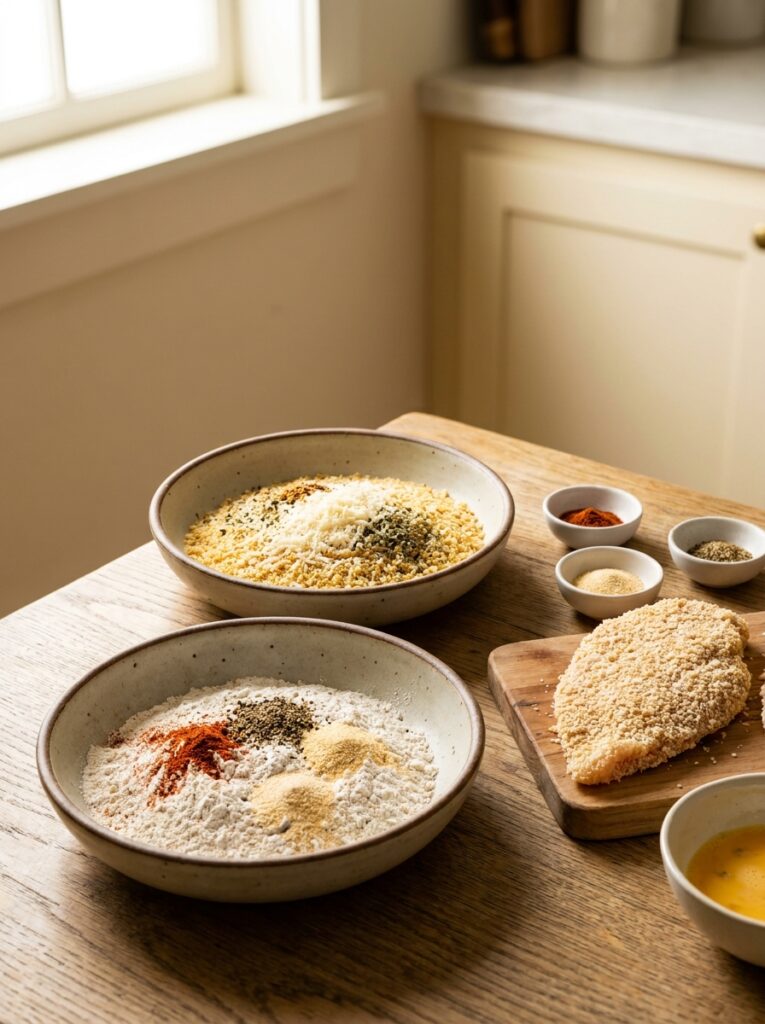
Many home cooks make the mistake of seasoning only the chicken itself while leaving the flour and breadcrumb layers plain, resulting in a coating that tastes bland compared to the seasoned meat underneath. Adding salt, pepper, garlic powder, and paprika to both the flour and breadcrumb mixtures ensures every bite is flavorful from the outside in. This layered seasoning approach creates a more balanced, well-rounded taste rather than relying solely on the chicken for flavor. Grated parmesan cheese mixed into the breadcrumbs is another popular addition that adds richness and helps deepen the golden color during cooking. Thoughtful seasoning at every stage makes a noticeable difference in the final result.
5. Lightly Spray or Brush the Coating with Oil
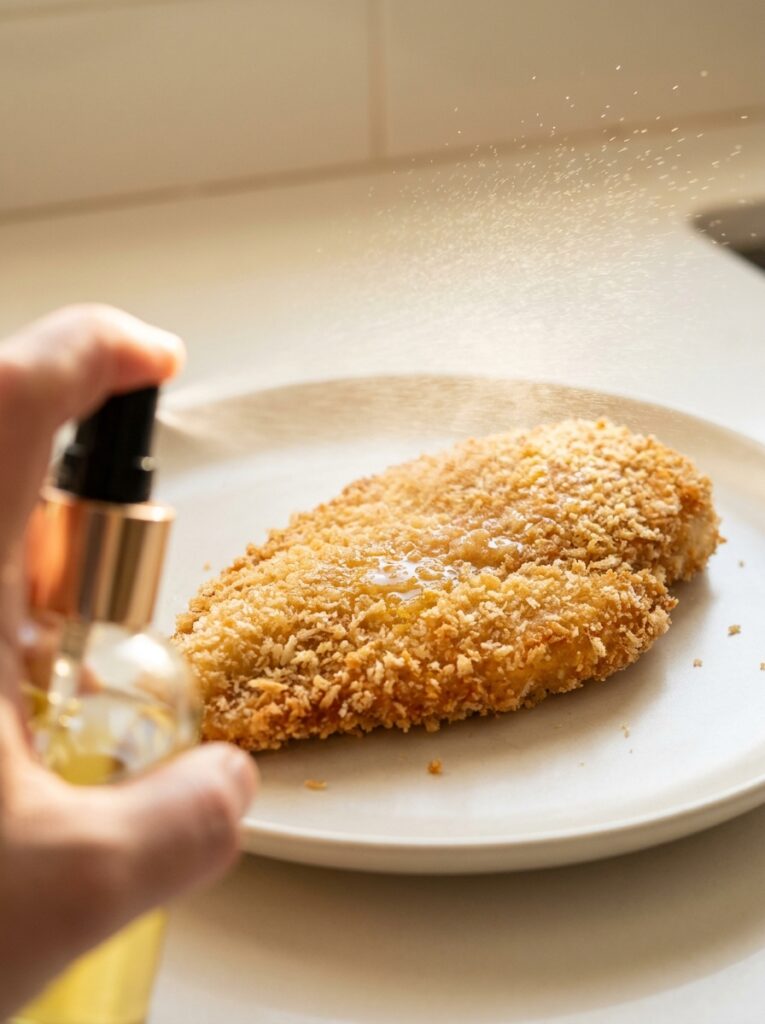
While air frying uses significantly less oil than deep frying, a light spray or brush of oil directly on the breaded cutlet before cooking is essential for achieving that golden-brown color. Without this step, the breadcrumb coating often turns out pale and slightly dry rather than crisp and appetizing. Using an oil mister or spray bottle allows for more even, controlled coverage compared to pouring oil directly onto the chicken. Olive oil, avocado oil, or a neutral oil like canola all work well for this purpose. This small step is often the key difference between soggy and beautifully golden results.
6. Preheat the Air Fryer Before Cooking
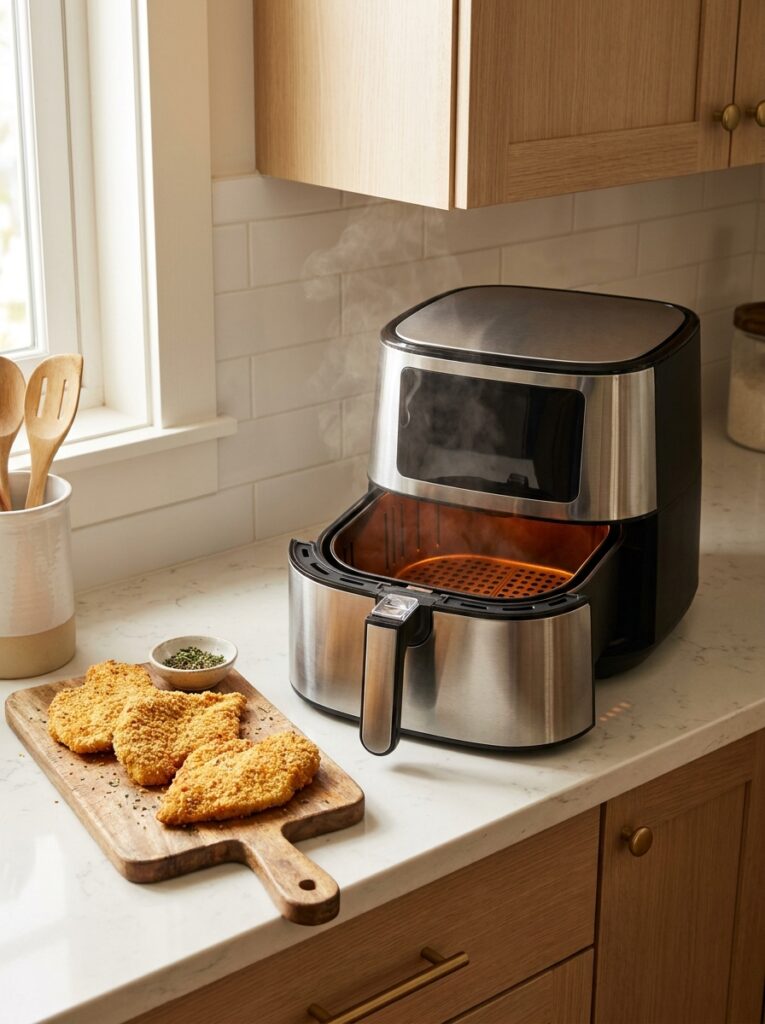
Preheating the air fryer for a few minutes before adding the breaded cutlets helps the coating begin crisping immediately rather than slowly warming up alongside the appliance. This immediate contact with hot air is what creates that signature crunchy exterior that makes air fryer cutlets so appealing. Skipping this step often results in a coating that’s cooked through but lacks that satisfying crispness on the outside. Most air fryers only require about three to four minutes to reach the ideal temperature. This quick habit consistently improves texture without adding much extra time to the overall process.
7. Avoid Overcrowding the Basket for Even Cooking
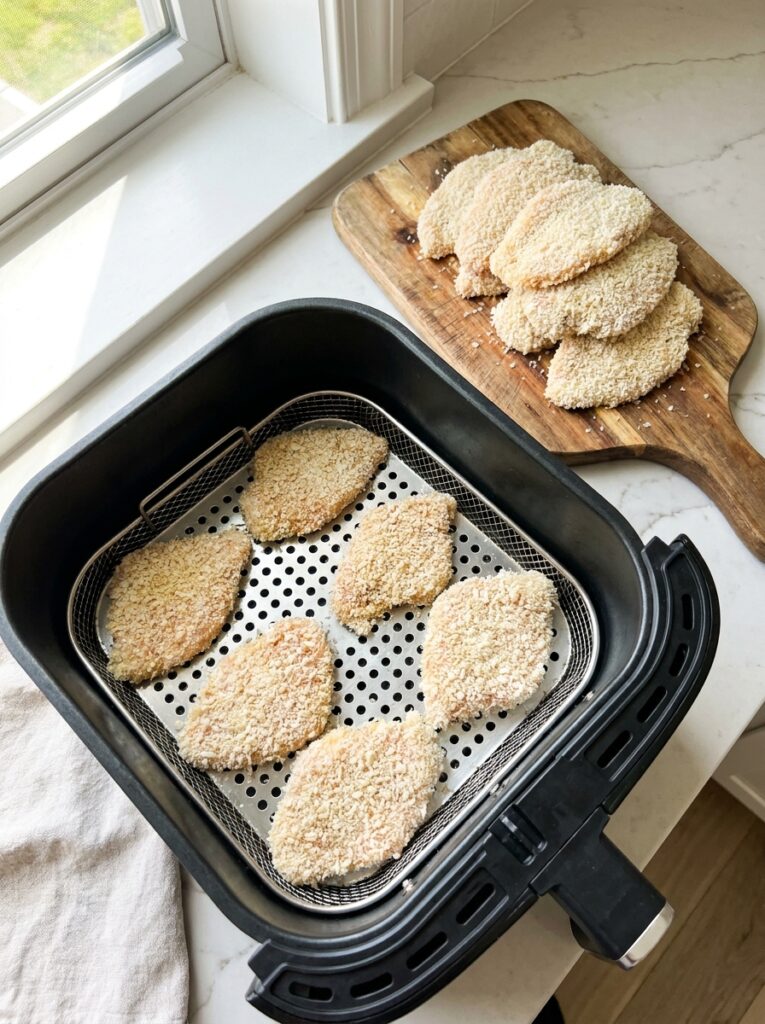
Arranging the chicken cutlets in a single layer with space between each piece is crucial for allowing hot air to circulate evenly around every side of the coating. When cutlets are overlapping or too tightly packed, the breading often turns soggy in the areas where airflow is restricted. If cooking a larger batch, working in multiple rounds produces far better, more consistent results than trying to fit everything in at once. This principle applies to nearly every air fryer recipe, but it’s especially important for breaded items where texture is the main goal. Taking the extra time to cook in batches is always worth the improved crunch.
8. Flip Halfway Through for Even Browning
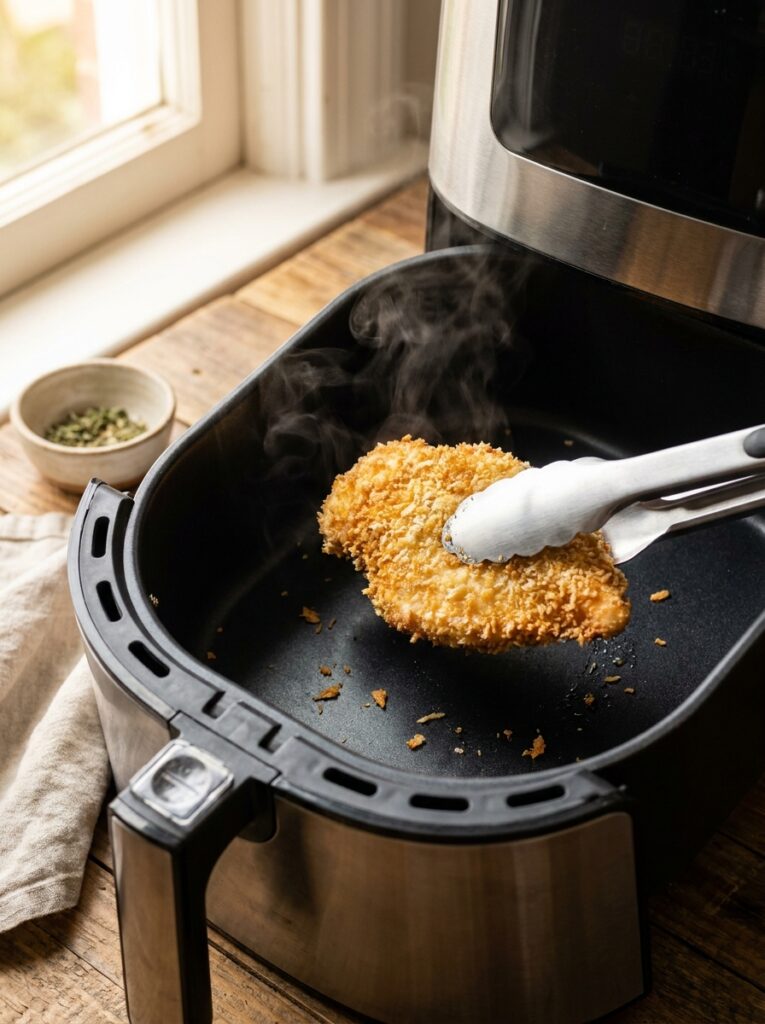
Flipping the chicken cutlets halfway through the cooking time ensures both sides receive equal exposure to the hot circulating air, resulting in even, all-over browning. Without flipping, one side often turns out noticeably more golden and crispy than the other, creating an inconsistent final presentation. Using tongs rather than a fork to flip the cutlets helps prevent piercing the coating and losing any of that carefully built-up crunch. This simple mid-cooking adjustment takes only a few seconds but significantly improves the overall appearance and texture of the dish. It’s a small step that consistently makes a noticeable visual and textural difference.
9. Check for Doneness with a Meat Thermometer
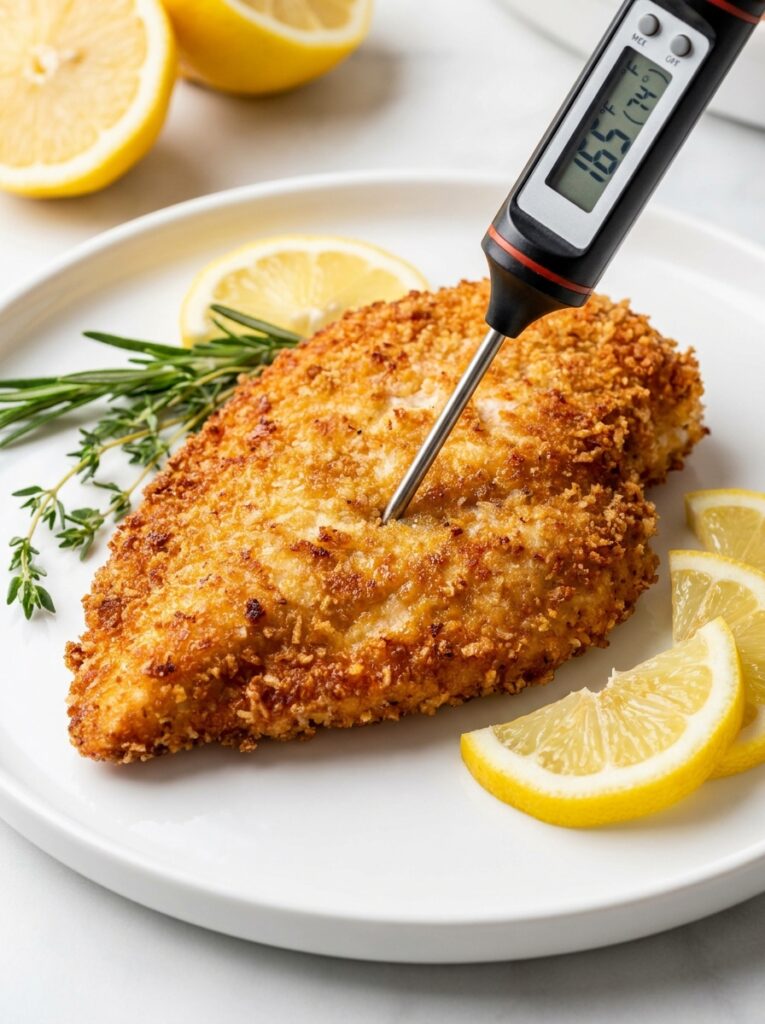
Using a meat thermometer to confirm the chicken has reached an internal temperature of 165°F (74°C) is the most reliable way to ensure the cutlets are fully cooked without drying them out. Because cutlets are relatively thin, they can go from perfectly cooked to overdone rather quickly, making precise temperature checks especially important. Inserting the thermometer into the thickest part of the cutlet provides the most accurate reading. This method removes any guesswork and helps avoid the disappointment of cutting into an undercooked or overly dry piece of chicken. It’s a quick, foolproof step that guarantees consistently safe and juicy results.
10. Let the Cutlets Rest Briefly Before Slicing
Allowing the cutlets to rest for one to two minutes after cooking helps the juices settle back into the meat rather than escaping the moment they’re cut into. This brief resting period is especially important for chicken cutlets, which are thin and can lose moisture quickly if sliced immediately after cooking. Resting also helps the crispy coating set slightly, making it easier to slice cleanly without the breading falling apart. This small, passive step requires no additional effort but noticeably improves both texture and presentation. It’s a simple habit borrowed from professional kitchens that makes a real difference at home.
11. Serve with Bright, Acidic Accompaniments
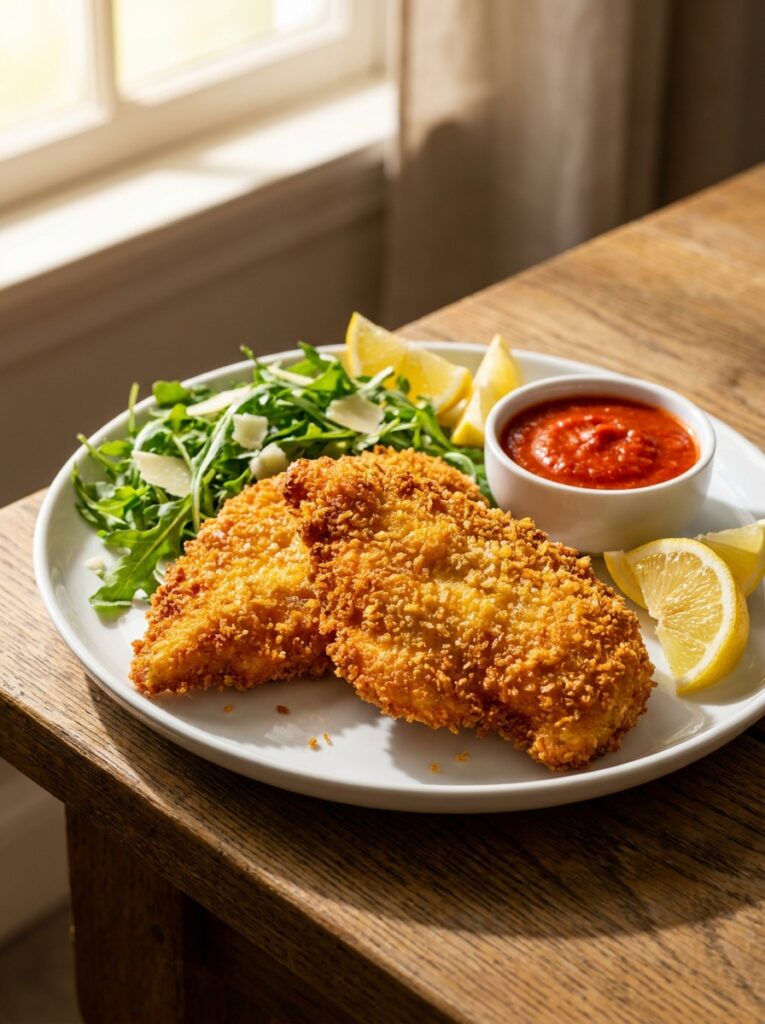
Pairing golden chicken cutlets with bright, acidic elements like a squeeze of fresh lemon, a simple arugula salad, or a tangy marinara sauce helps balance the richness of the crispy coating. These accompaniments cut through the fried texture, creating a more refreshing and well-rounded overall bite. A classic option is turning the cutlets into a chicken parmesan-style dish, topping them with marinara and melted mozzarella before a quick final air fryer pass. Alternatively, serving cutlets over a simple salad transforms them into a lighter, more refreshing meal option. Thoughtful pairing elevates the dish from a simple protein into a genuinely satisfying meal.
12. Store and Reheat for Maximum Crispiness
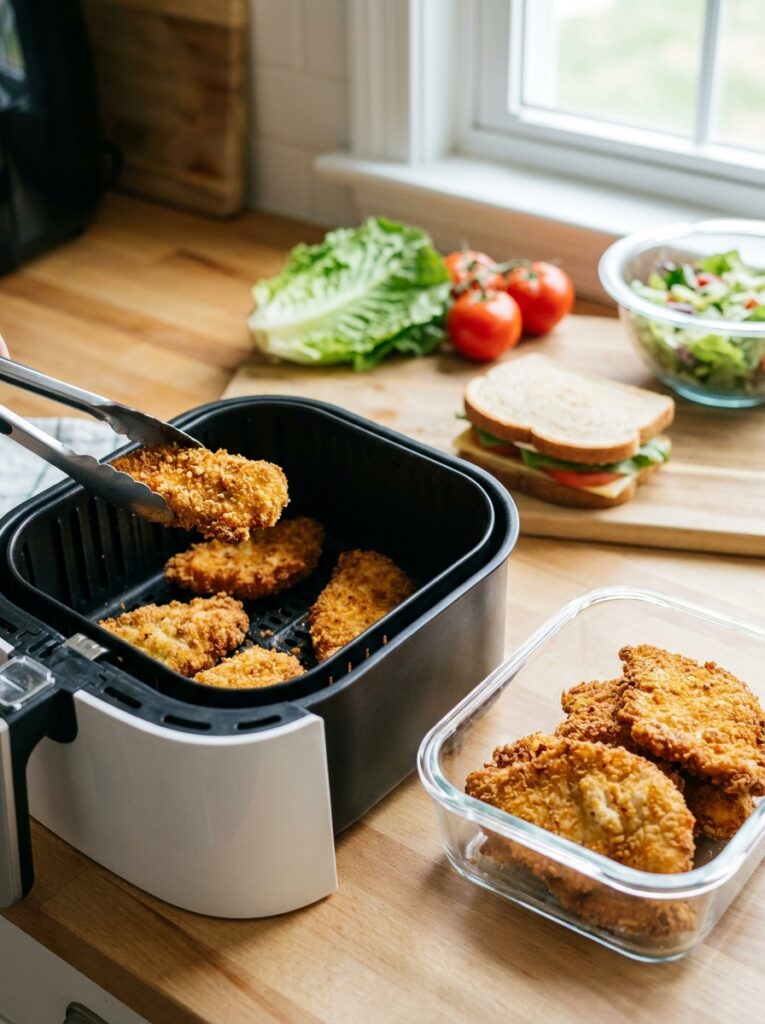
Leftover chicken cutlets store well in the refrigerator for up to three days when kept in an airtight container, making them a great option for meal prepping ahead of busy weeknights. To reheat while preserving the crispy coating, using the air fryer again at around 375°F for three to four minutes works far better than the microwave, which tends to leave breading soggy and limp. This reheating method restores much of the original crunch, making leftovers nearly as enjoyable as freshly cooked cutlets. Slicing leftover cutlets and adding them to a sandwich or salad is also a great way to repurpose them for a quick, easy lunch. Proper storage and reheating ensure that all the effort put into achieving that golden crunch isn’t wasted.
Final Thoughts
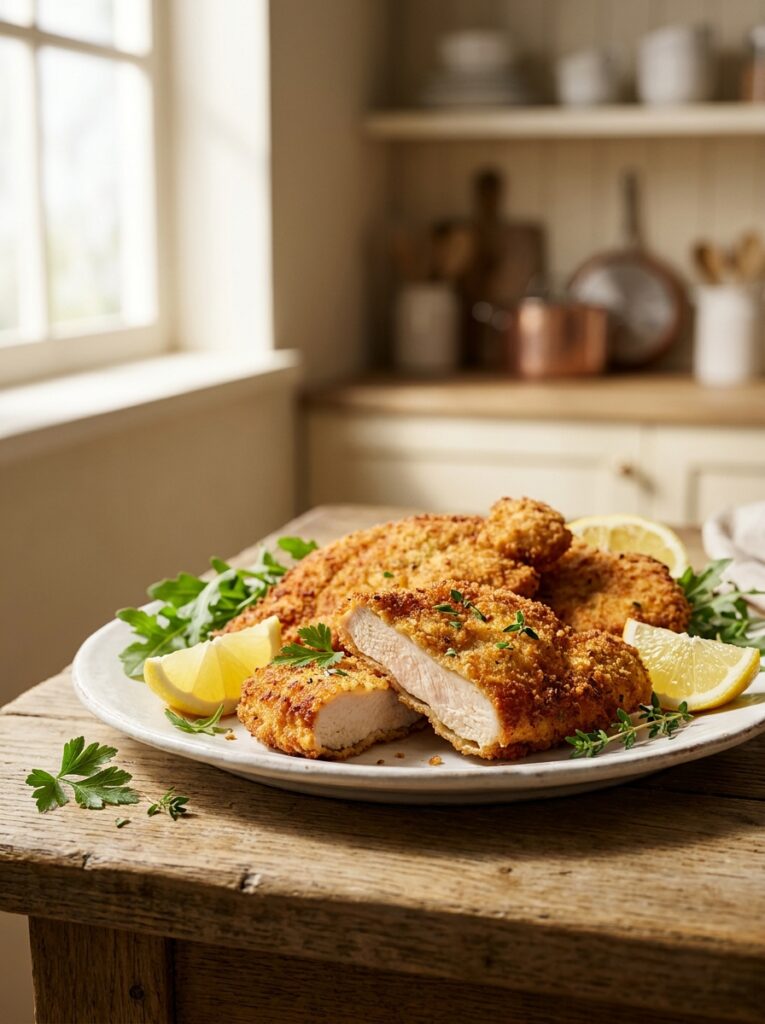
Achieving perfectly golden, delicious air fryer chicken cutlets comes down to a series of small but impactful techniques, from properly pounding and breading the chicken to knowing exactly how to reheat leftovers without sacrificing crunch. These 12 ideas prove that restaurant-quality, crispy cutlets are entirely achievable at home with far less oil and mess than traditional frying methods. Whether served on their own, layered into a sandwich, or transformed into a comforting chicken parmesan, these techniques ensure consistently satisfying results every time. Best of all, most of these steps require only a few extra minutes of preparation, making them easy to incorporate into a regular weeknight cooking routine. With these ideas in mind, golden, crispy chicken cutlets can become one of the most reliable and beloved dishes in your recipe collection.
