You know that moment when you make something at home and it’s actually better than the restaurant version? That happened to me with burrito bowls. And honestly, I’m a little annoyed it took me this long to figure it out.
—
1. Why Every Burrito Bowl Attempt Before This One Tasted a Bit Sad
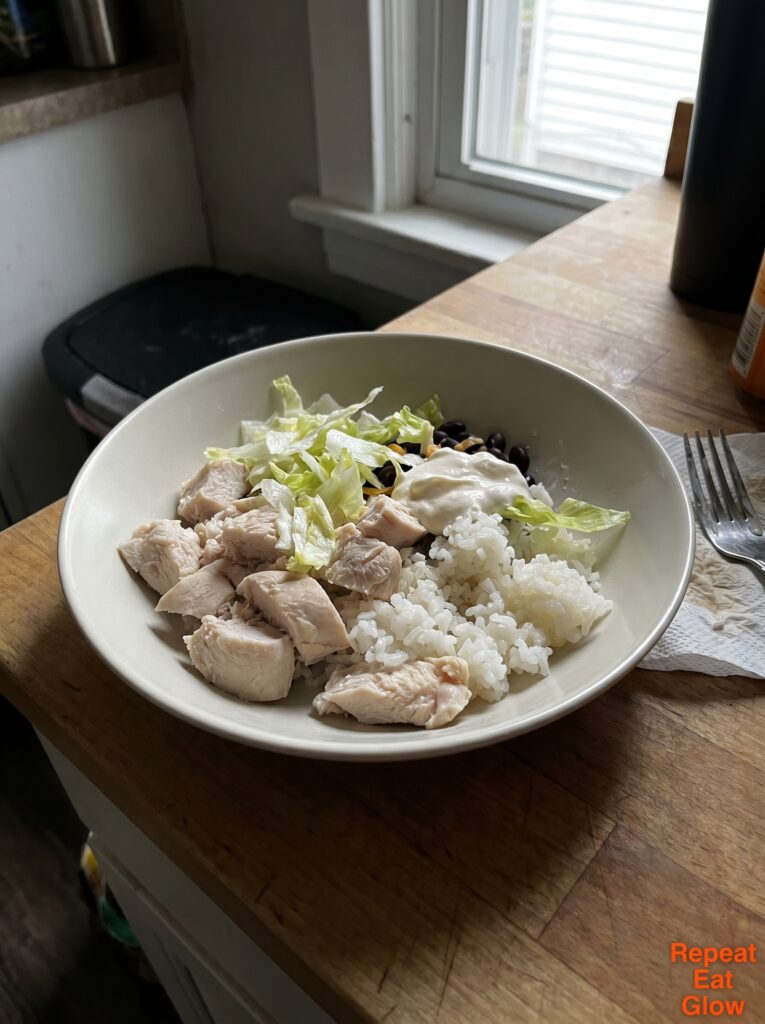
I used to make burrito bowls and they’d come out fine. Just… fine. Plain rice, some chicken that was technically cooked, a sad spoonful of salsa from a jar. It tasted like effort without reward. And I couldn’t figure out what I was doing wrong.
The answer was layering. Not layers of ingredients — layers of flavor built at every single stage. The rice needed to be cooked in something more interesting than water. The chicken needed time in its marinade, not ten minutes on the counter. The beans needed seasoning. The corn needed heat.
Every component on its own should taste like something you’d actually eat alone. That’s the rule I didn’t know I was missing. When each part of the bowl is genuinely delicious in isolation, the whole thing becomes something you’d drive past a Chipotle to get home and make instead. Not gonna lie, that’s exactly what I do now.
So if your burrito bowls have been underwhelming, it’s not the concept. It’s the construction. Let’s fix that.
“Every component should taste good enough to eat alone. That’s the whole secret.”
2. The Marinade That Does Most of the Heavy Lifting For You
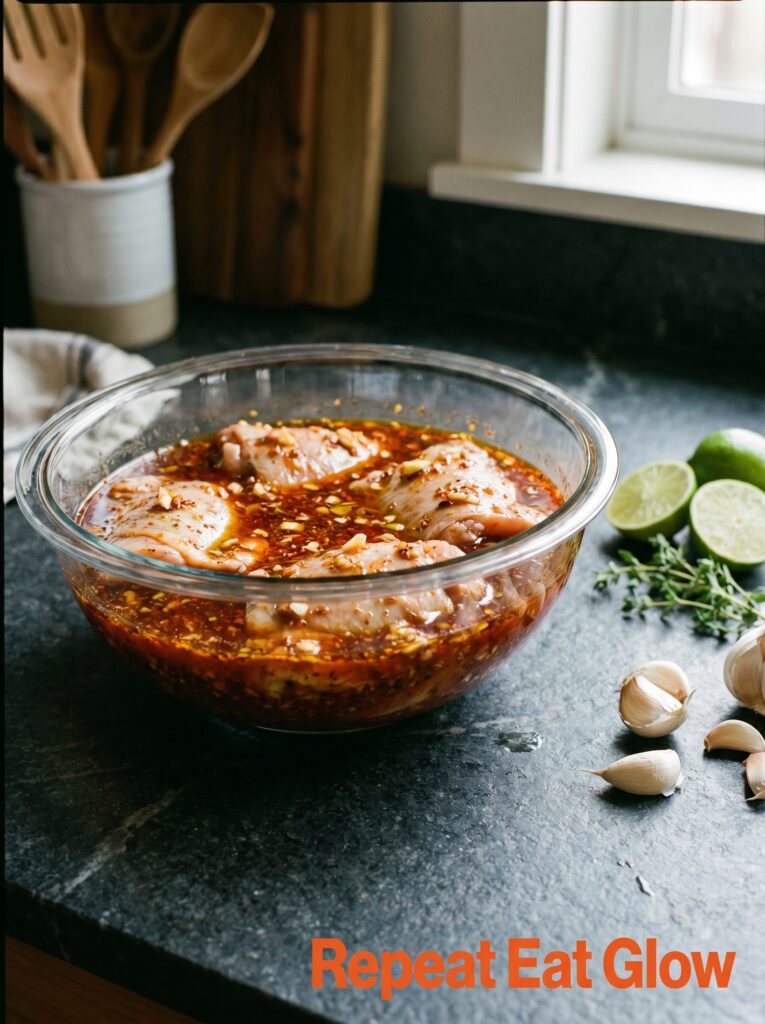
Here’s what I want you to do. Make the marinade the night before, or at the very minimum two hours ahead. I know that feels like too much planning. It’s not. It takes five minutes and the difference is enormous.
For the chicken — and I’m talking about 1.5 lbs of boneless, skinless chicken thighs here, not breasts, I’ll explain that choice in a second — you want: 3 tablespoons olive oil, the juice of two limes, 3 cloves of garlic minced or grated, 1 teaspoon each of ground cumin, smoked paprika, and chili powder, half a teaspoon of oregano, salt, a pinch of cayenne if you want a little heat. Mix it all together and coat the chicken completely.
Thighs over breasts, by the way, because they stay juicy no matter what. Breasts have about a 4-minute window between perfectly cooked and cardboard. Thighs are forgiving, they get a little caramelized at the edges, and they pull apart beautifully. I switched and never went back.
The lime juice is doing actual chemical work here — it’s starting to break down the muscle fibers even before heat gets involved. The smoked paprika is giving you that slightly charred flavor you’d normally only get from a commercial grill running at 600 degrees. It’s not magic. It’s just paying attention.
3. The Cilantro Lime Rice That Doesn’t Taste Like an Afterthought
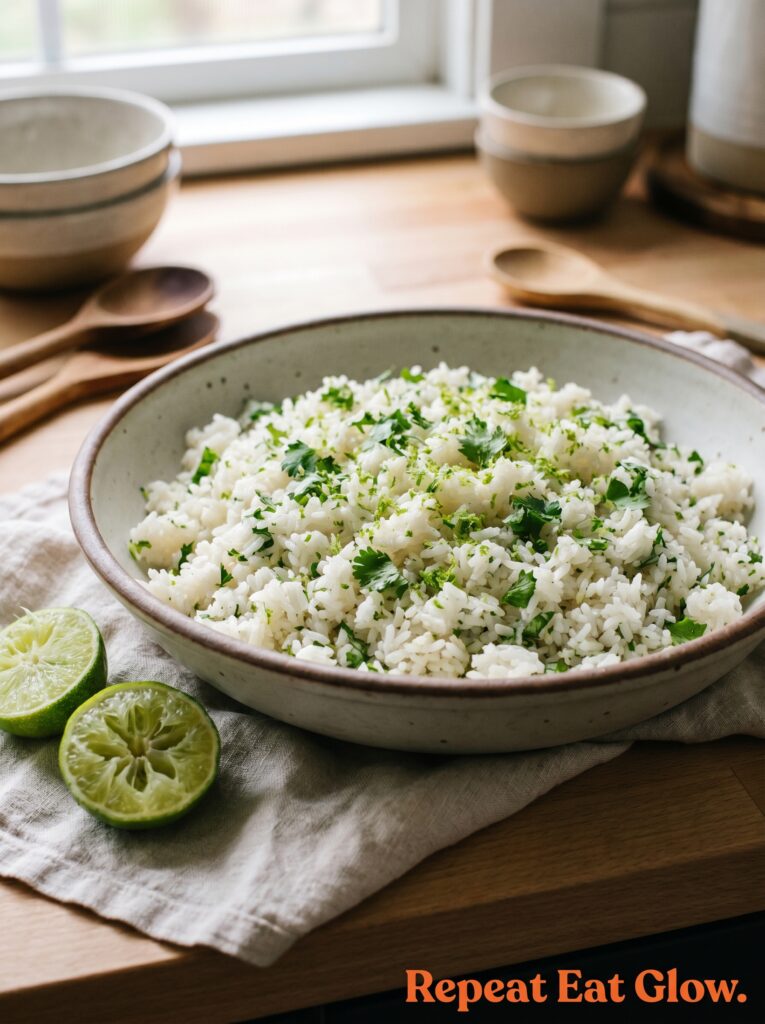
Plain white rice in a burrito bowl is a waste of real estate. You’ve got all this incredible stuff going on top and then a beige layer underneath that tastes of nothing. We’re not doing that.
Cook your rice — 1.5 cups long grain white rice — but instead of water, use chicken stock. Bring it to a boil with a bay leaf and half a teaspoon of salt. Once it’s cooked and you’ve fluffed it with a fork, this is where it happens: squeeze in the juice of one lime, add a handful of fresh cilantro chopped roughly, a tablespoon of butter, and the zest of that lime too.
Side note — if you’re one of those people who thinks cilantro tastes like soap (it’s a real genetic thing, not a personality flaw), flat leaf parsley works. The lime and butter are still doing the main work.
The butter sounds weird in a burrito bowl context. It isn’t. It coats every grain and gives you this slightly glossy, rich rice that absorbs the other juices in the bowl without turning mushy. It’s kind of the same logic as finishing a pan sauce with butter. Fat carries flavor.
Don’t skip the zest. The zest has all the aromatic oils from the lime skin — it’s actually more intensely “lime” than the juice is.
4. How to Cook the Chicken So It Actually Has Color on It
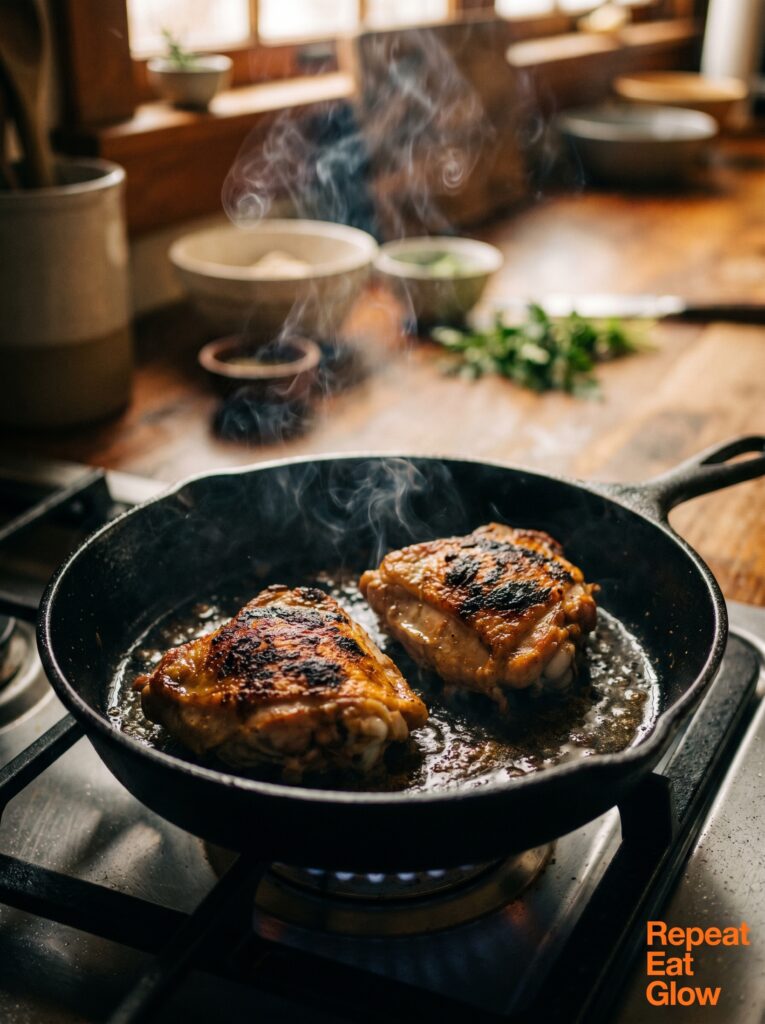
A lot of home burrito bowl tutorials tell you to just cook the chicken through. Sure. But color is flavor. If your chicken is pale and steamed-looking, you’ve left something on the table.
Get your pan — cast iron if you have it, a heavy stainless skillet otherwise — genuinely hot before the chicken goes in. Like, hold your hand six inches above the surface and you should feel real heat. Add a thin layer of oil, then the chicken. And then don’t touch it.
That’s the hard part. Let it sit for 4-5 minutes. Don’t move it, don’t press it, don’t poke at it. You’ll be tempted. Don’t. When it releases easily from the pan and has a deep golden-brown crust on it, flip. Another 4-5 minutes. Internal temp should hit 165°F.
Rest it on a board for five minutes before you slice or chop it. This step matters. If you cut into it immediately, all those juices run out onto the board instead of staying in the meat. Five minutes. That’s it.
I like to chop mine fairly chunky rather than shredding it for bowls. Shredded is great in a burrito (wrapped up with everything) but in a bowl you want some texture, something with a bit of bite to it.
“Color is flavor. Pale chicken is a missed opportunity every single time.”
5. The Black Beans That Actually Taste Like Something
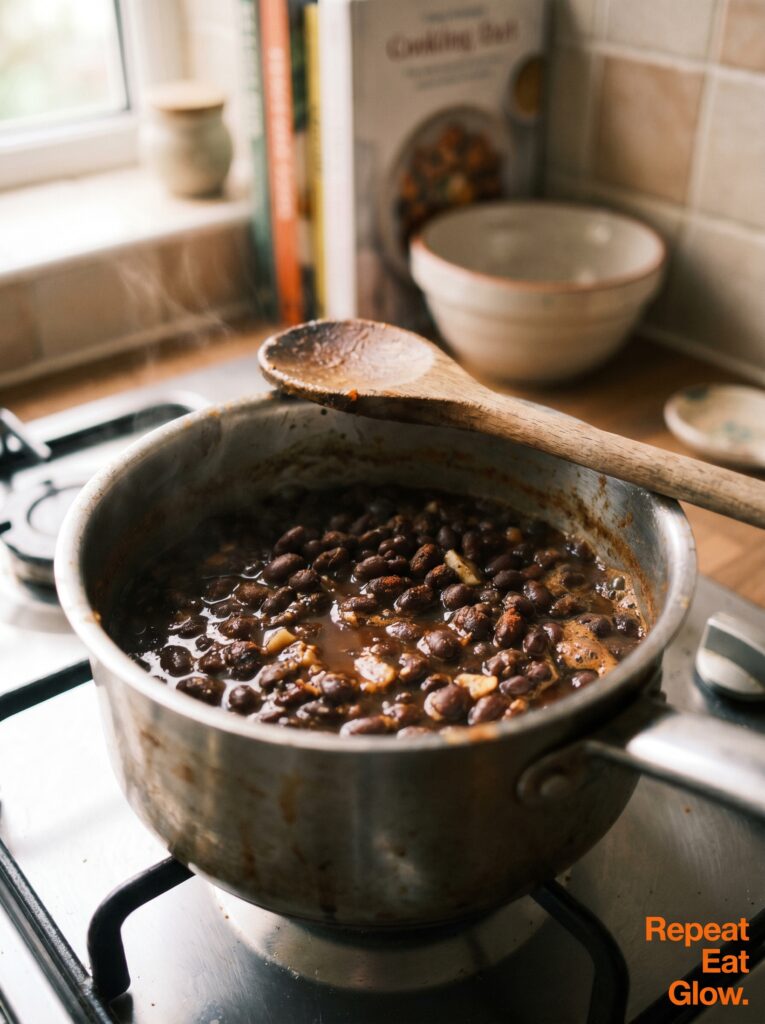
Canned black beans. Yes, absolutely use them, there’s no shame in that at all. But you can’t just drain them, rinse them, and call it done. They need two minutes of proper attention.
Heat a small drizzle of olive oil in a saucepan over medium heat. Add half a teaspoon of cumin and a pinch of smoked paprika, let it bloom in the oil for literally 30 seconds — you’ll smell it change, that’s what you want. Tip in the drained beans, a small splash of chicken stock or water, half a teaspoon of salt, and a squeeze of lime. Stir, reduce the heat, and let them simmer gently for about 8 minutes.
What you end up with is beans that taste purposeful. Seasoned. Like they belong in this bowl rather than being an obligation.
You can mash a few of them slightly against the side of the pan if you like — it thickens the whole thing and gives you this slightly saucy, creamy texture rather than individual beans rolling around. Honestly that’s my preference. Some people hate it. Up to you.
6. Charred Corn Is Not Optional, I’m Sorry
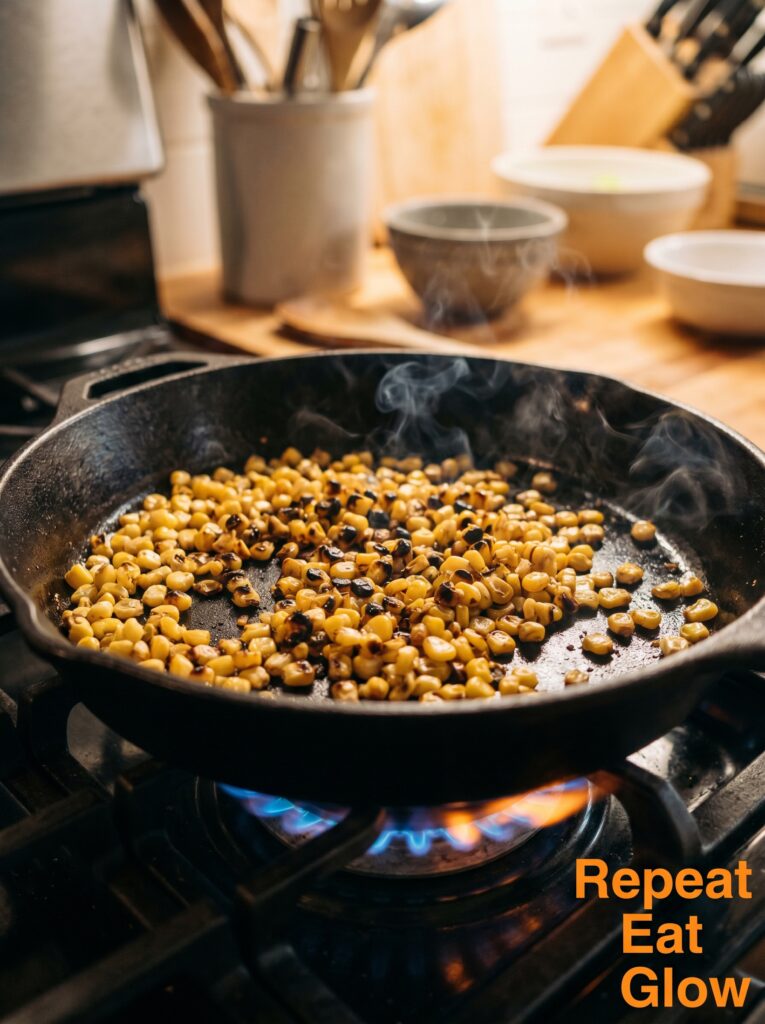
I know charred corn sounds fancy. It is not fancy. It takes about four minutes.
If you’re using frozen corn (totally fine, I do this constantly), thaw it first and pat it dry. This is the important bit — excess water will steam the corn instead of charring it, and you’ll end up with yellow, soggy sadness. Pat. It. Dry.
Cast iron or stainless over high heat, no oil, tip the corn in and leave it. Don’t stir for 2 minutes. Then stir once and leave it again. You want some of the kernels to get genuinely dark, almost black in spots. That smoky, slightly sweet char is exactly what cuts through the richness of everything else in the bowl.
Season with a tiny pinch of salt and, if you fancy, a little bit of chili powder. That’s it.
Fresh corn cut off the cob in summer? Even better. But frozen works brilliantly in January when you’re craving this at 7pm on a Tuesday, which is honestly when I make it most often.
7. The Pico de Gallo You’ll Make Twice Because the First Batch Disappears
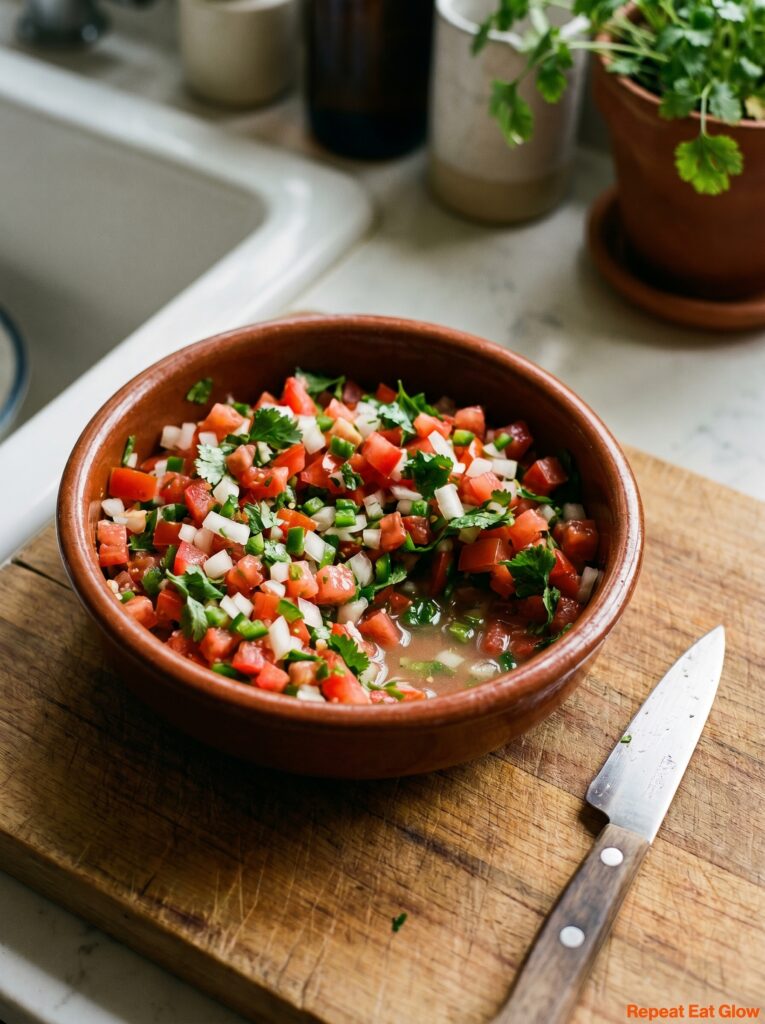
I’m going to be honest. I always make a double batch of pico de gallo because I eat half of it off a spoon while I’m assembling the bowls. No judgment, it’s genuinely delicious.
Two medium tomatoes, diced pretty small. A quarter of a red onion, also finely diced — and soak it in cold water for ten minutes first if raw onion is too sharp for you, it mellows the bite without losing the crunch. Half a jalapeño, seeds in or out depending on your heat tolerance. A handful of fresh cilantro. The juice of one lime. Salt — more than you think, taste it.
The key is not mashing it. You want distinct pieces of everything so each forkful has some variety. Mix it gently. Then — and this is the step people skip — let it sit for at least 15 minutes before serving. The salt draws out a little liquid from the tomatoes and everything kind of melds together. A pico de gallo that’s sat for 20 minutes is categorically better than one you just made.
“A pico that’s sat for 20 minutes beats a fresh one every time. Salt needs time to work.”
8. Guacamole Versus Sliced Avocado — There’s Actually a Right Answer Here
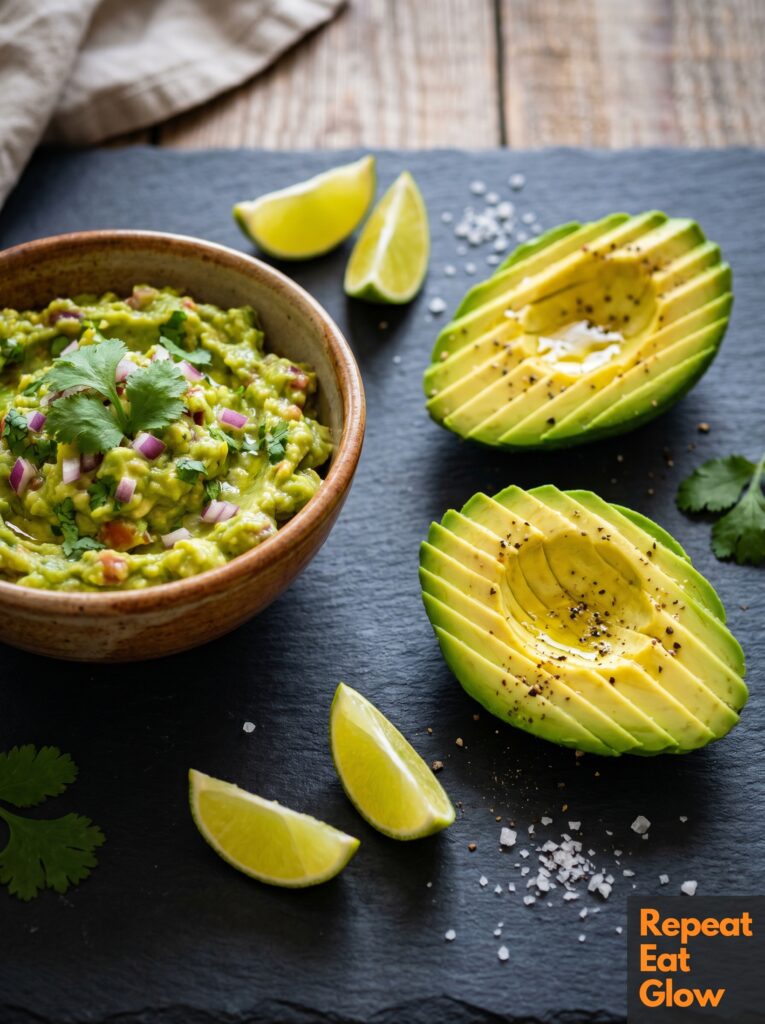
Both are good. But they’re good for different reasons and I think people reach for guacamole by default when actually sliced avocado is sometimes the better call.
Guacamole — proper guacamole, not the pre-made stuff in a plastic tub — is creamy, rich, and a little complex. It’s great when you want the avocado to be a sauce-like element that coats things. Make it with two avocados, lime, salt, a tiny bit of diced red onion, and that’s basically it. Don’t overcrowd it with stuff.
Sliced avocado, on the other hand, gives you textural contrast. A cool, buttery slice against the hot chicken. You actually taste the avocado flavor more clearly. And it takes about 30 seconds to prepare.
My preference? Sliced avocado in the bowl, and a small spoonful of guacamole on the side. Because sometimes you want to drag a piece of chicken through something creamy and that’s exactly what the guacamole is there for.
9. The Sour Cream Situation (and the Upgrade Nobody Talks About)
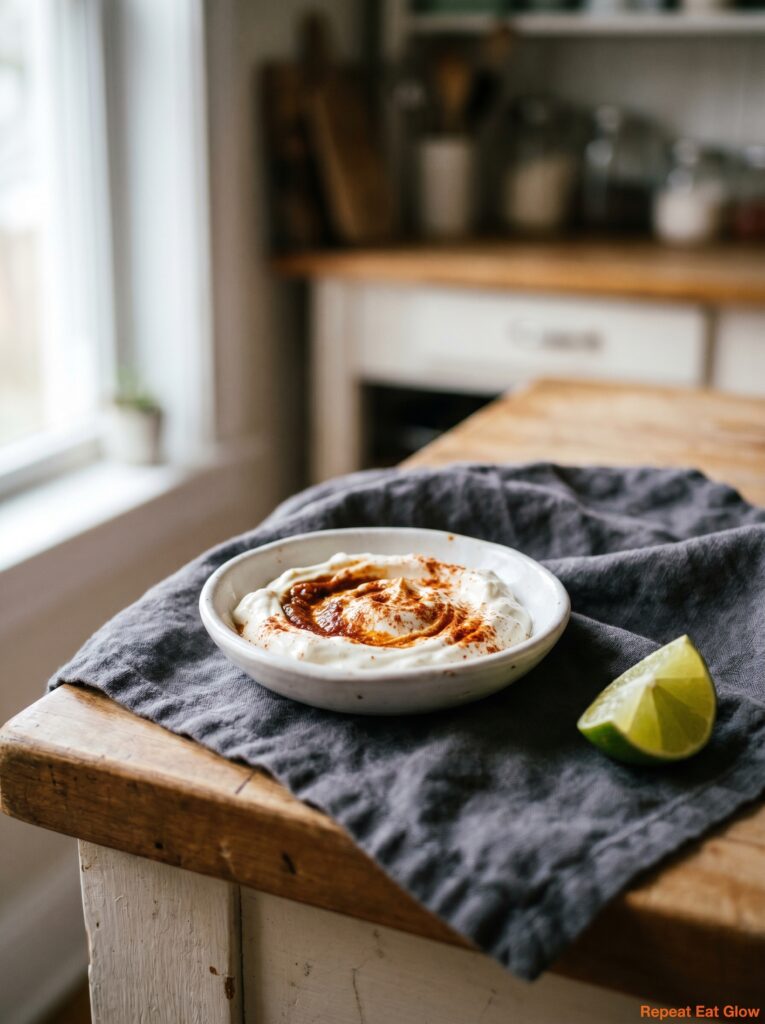
Sour cream is fine. It’s genuinely fine. But a chipotle crema takes the same two minutes to make and it’s about four times more interesting.
Mix together: 4 tablespoons of sour cream (or Greek yogurt if you want it lighter), one chipotle pepper from a can of chipotles in adobo sauce — just one, finely minced — half a teaspoon of the adobo sauce itself, and a squeeze of lime. Stir until combined.
What you get is smoky, slightly spicy, tangy, and creamy all at once. It works as a drizzle across the whole bowl rather than a dollop in one spot. And it ties everything together in a way that regular sour cream just doesn’t.
Chipotles in adobo are available in most supermarkets, definitely in any Mexican or Latin food section, and a tin costs practically nothing. You won’t use the whole tin for one recipe — freeze the rest in an ice cube tray and they’ll keep for months.
10. Cheese, Shredded, and Why It Needs to Go On Before Everything Else Is Cold
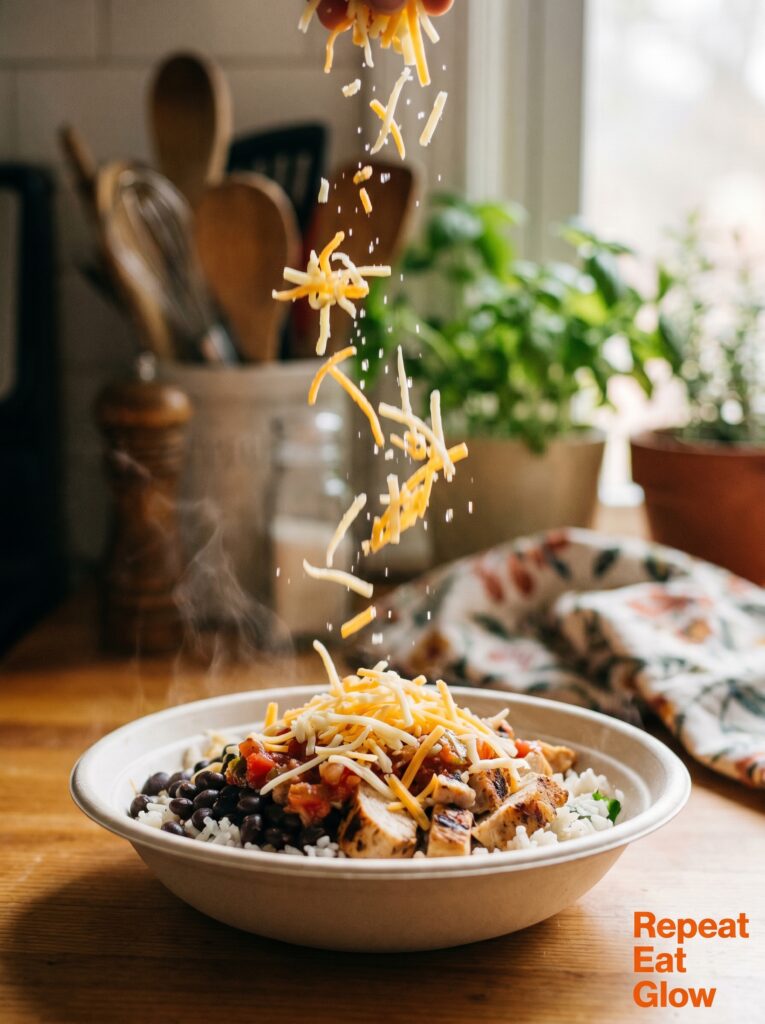
This is a small thing but it’s not a small thing. If you add shredded cheese on top of a fully assembled cold bowl, it just sits there. Dry, unmelted, a bit sad.
Add the cheese when the rice is still steaming and the chicken is still hot. Put it on right after you layer those two things, before you add the cold components. Let it melt very slightly into the warmth beneath it.
A Mexican cheese blend is classic and great. Pepper Jack adds a little heat. In the UK, a mature cheddar actually works better than you’d expect — sharp and creamy and it melts beautifully. I’ve done it many times. It’s not traditional but it’s genuinely good.
Don’t use pre-grated cheese in a bag if you can help it. It’s coated in starch to stop it clumping and it doesn’t melt the same way. Buy a block and grate it yourself. Takes an extra 90 seconds. Worth it.
11. The Order of Assembly Actually Matters (This Is Why Restaurant Bowls Look Better)
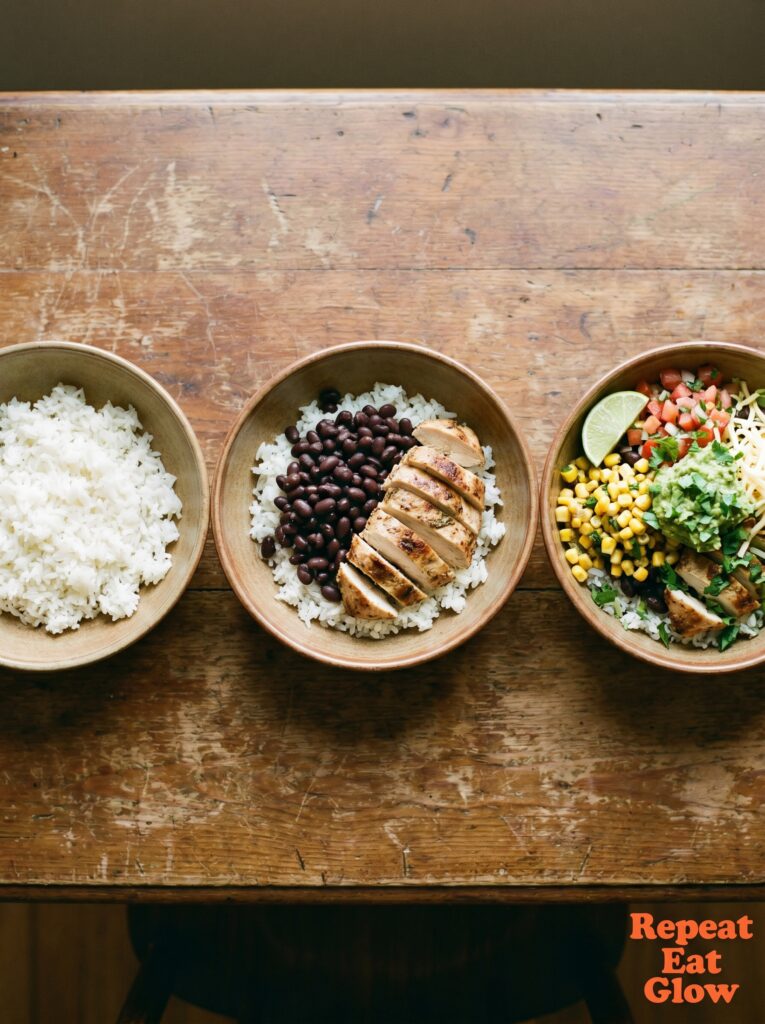
Here’s the sequence, because if you just pile everything in randomly it tastes fine but looks a mess and somehow that affects how much you enjoy it. Weird but true.
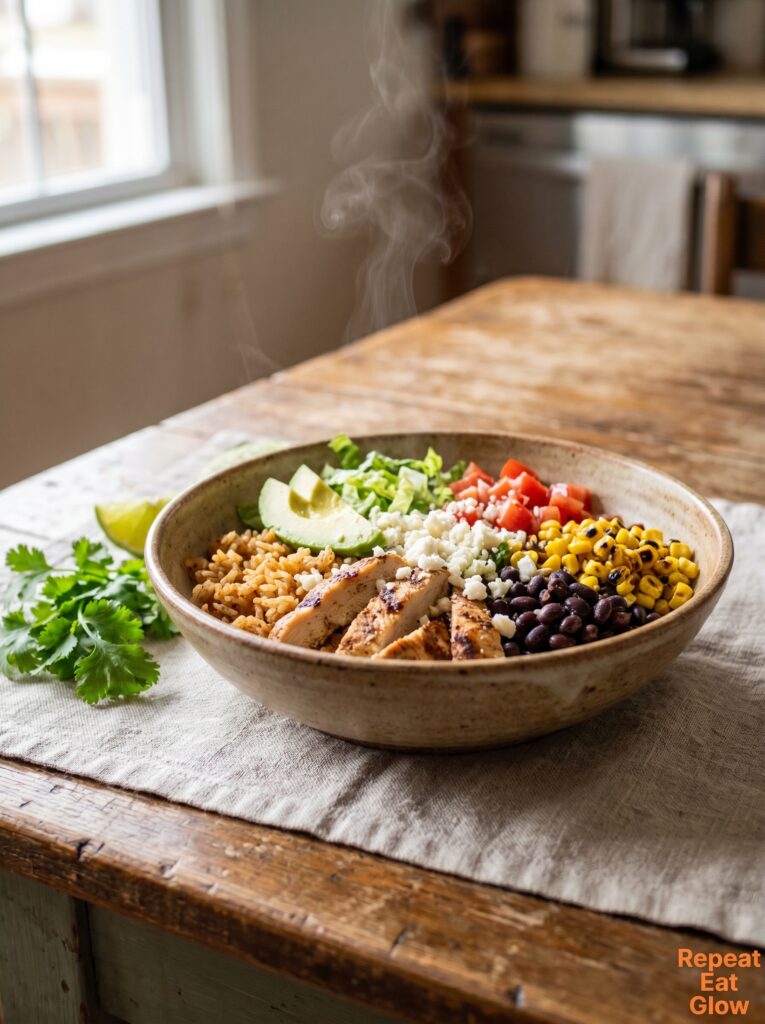
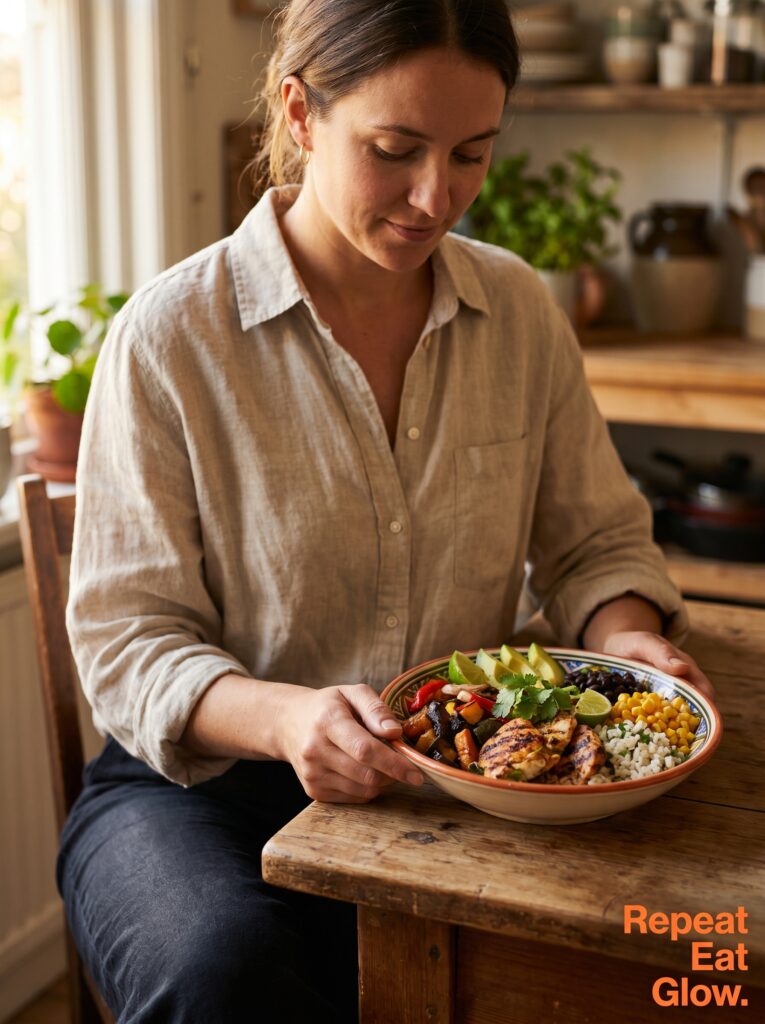
Rice goes in first, as a base layer. Then the beans, to one side. Then the hot chicken, sliced, in the center or to the other side. Cheese right after the chicken while everything’s still warm. Then corn. Then pico de gallo. Avocado or guacamole. Then the crema drizzled in a line across the top. Fresh cilantro leaves, a wedge of lime on the side.
The cold components go on last. This keeps the temperature contrast you want — hot, filling base underneath, cool, fresh stuff on top. When you eat it, you want your fork to go through all the layers at once. That’s the whole point of a bowl over a wrap.
And honestly? Take five seconds to make it look nice. A bowl that looks appealing somehow tastes better. That’s not me being precious about food — there’s actual science behind it.
12. The Meal Prep Angle (Because This Recipe Is Even Better on Day Two)
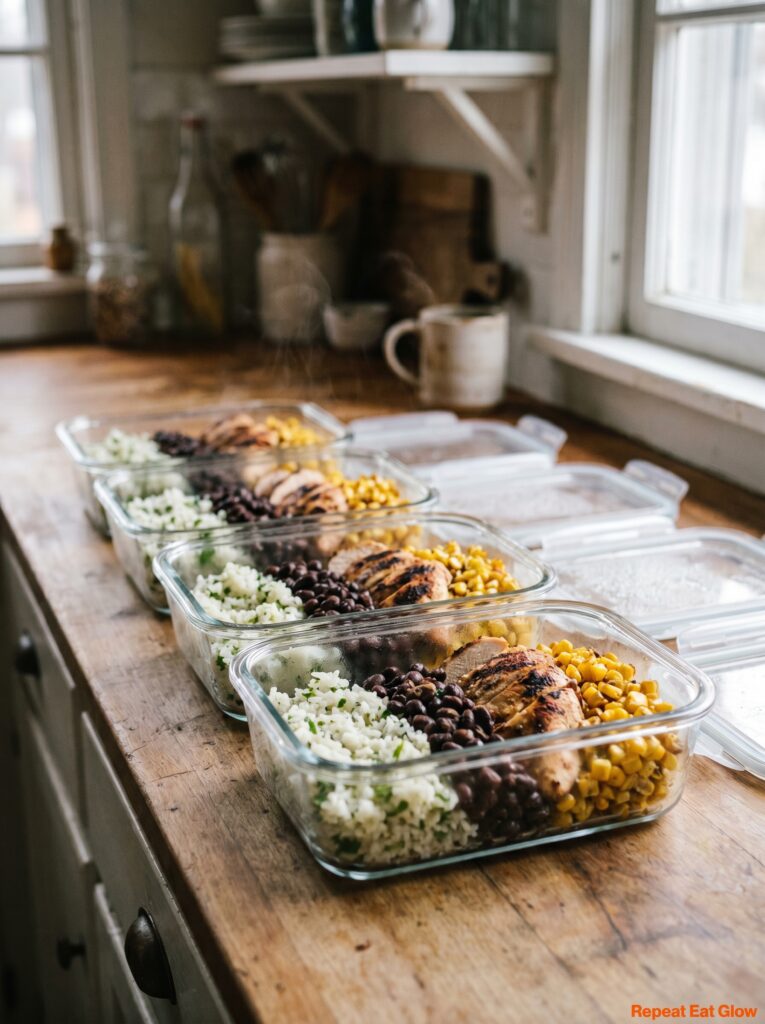
One of the best things about burrito bowls, and I don’t think people talk about this enough, is that they are phenomenal for meal prep. Every component stores well separately. Every component reheats without trauma.
Make a big batch on Sunday. Cook double the chicken, double the rice, double the beans. Store everything in separate containers in the fridge. During the week, assembling a bowl takes literally four minutes — you’re just reheating the warm components and pulling the cold ones from the fridge.
The chicken reheats best in a dry skillet over medium heat for a couple of minutes rather than the microwave. It gets its edges back. The rice reheats fine in the microwave with a tiny splash of water to add steam.
Keep the pico de gallo separate from everything else or it’ll make the rice soggy. And don’t prep the avocado ahead — it goes brown. Everything else keeps for four days easily.
This is the recipe that fixed my lunch situation. I genuinely stopped spending money on sad desk lunches the week I started making this on Sundays. That might be the most practical thing I’ve ever put on this blog.
—
❓ FAQ
Q: Can I use chicken breast instead of thighs? A: You can, and it’ll taste good — but you need to be more careful with cook time because breasts dry out fast. Pound them to an even thickness before marinating so they cook evenly, and pull them off the heat at exactly 165°F. Thighs are genuinely more forgiving though.
Q: How do I make this vegetarian? A: Swap the chicken for roasted sweet potato and cauliflower, seasoned with the same marinade spices and roasted at 425°F until caramelized. Use vegetable stock for the rice. The chipotle crema works with plant-based sour cream too. It’s a completely different but equally good bowl.
Q: Can I find chipotles in adobo in UK supermarkets? A: Yes, increasingly. Sainsbury’s and Waitrose both stock them in the world food aisle. Ocado definitely carries them. If you can’t find them, a teaspoon of smoked paprika plus a few drops of hot sauce makes a reasonable substitute in the crema — different, but still good.
—
💭 Final Thoughts
Burrito bowls are one of those recipes that sound simple but have so many little moments where the right choice makes a real difference. The marinade time. The hot pan. The cheese going on while things are still warm. None of it is hard — it’s just knowing where to pay attention.
Make this once properly and you’ll understand why I can’t go back to takeout versions. The homemade thing just hits differently when you built every layer of it yourself.
What’s the one component you’ve always found yourself skipping or rushing — and do you think it’s been costing you?
