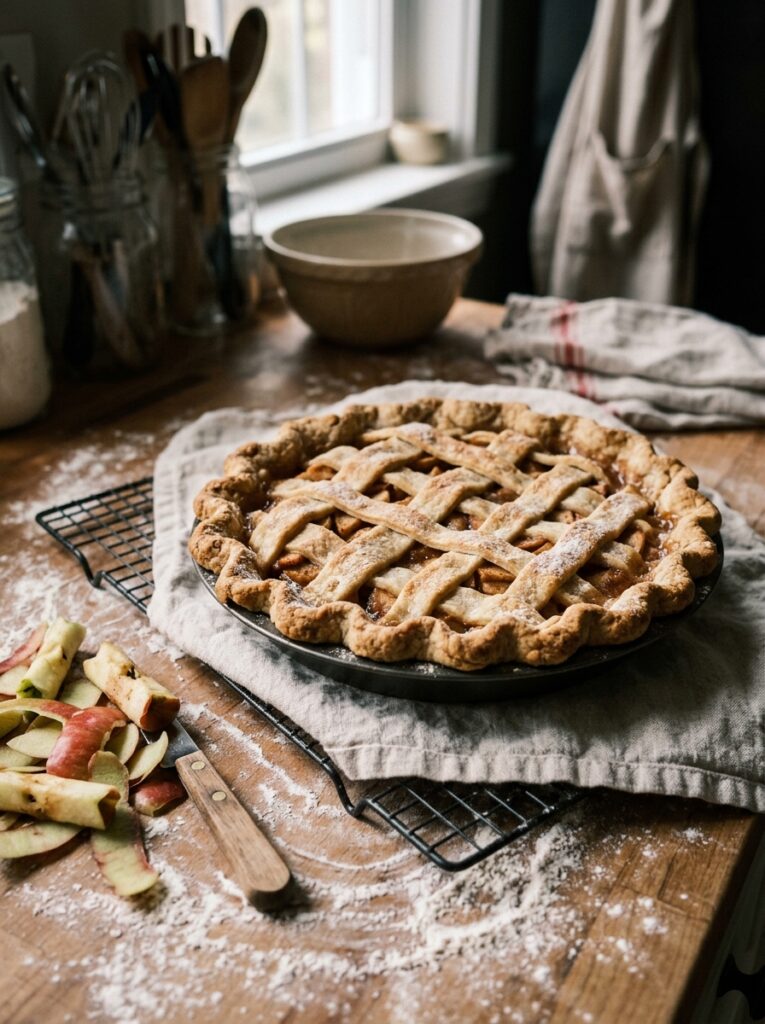
My neighbor knocked on the door last October holding an empty pie dish. She wanted to know what I’d put on top of that apple pie she’d seen through my window because she said it looked “almost too pretty to eat.” She said almost.
That’s the thing about apple pie art. It doesn’t replace the recipe. It becomes the reason people remember it.
—
1. Why Your Crimped Edge Is the First Thing Everyone Judges (Whether They Say So or Not)
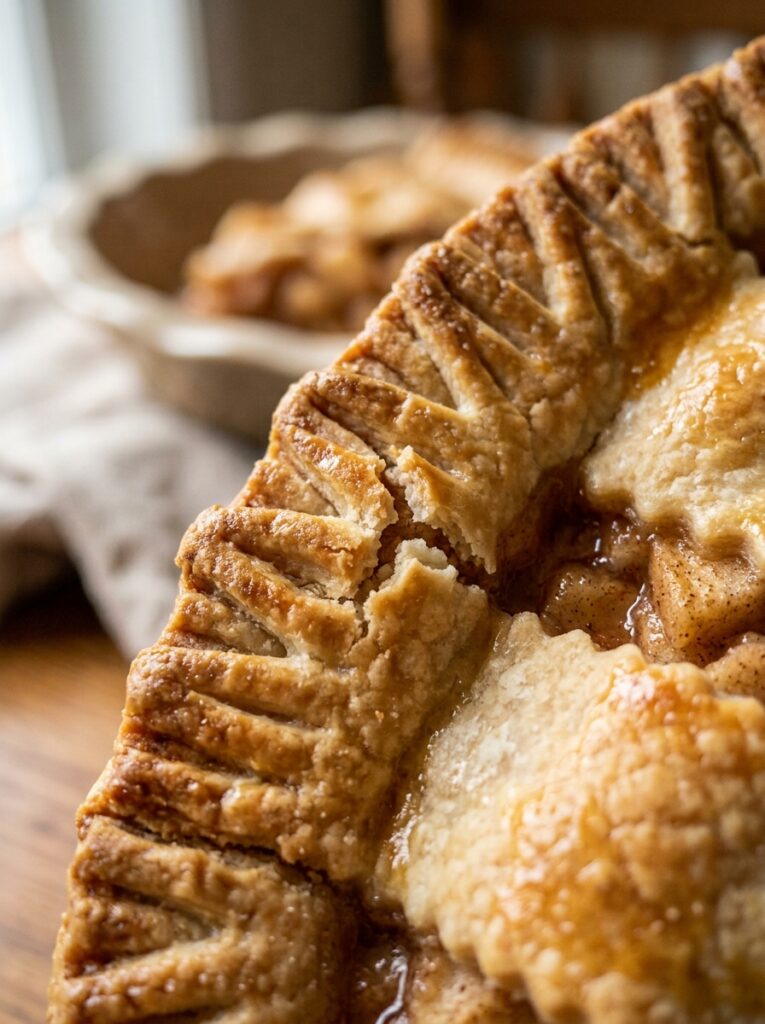
Let’s be real: the filling is forgiving. Most apple pie fillings taste pretty good if you’ve got the right apples and enough cinnamon. But that crust edge? That’s where people decide if you know what you’re doing before they even take a bite.
The standard fork-pressed crimp is fine. It’s been fine for a hundred years. But it’s also the pie equivalent of wearing beige.
A rope twist — where you pinch the dough between thumb and forefinger at a diagonal — takes maybe four extra minutes and transforms the entire look. There’s also the scallop crimp, where you press the inside of one finger against two fingers on the other hand to create those perfect moon-shaped curves all the way around. Don’t rush it. Work cold, work slow, and if the dough starts warming up and going slack, stick the whole dish in the fridge for ten minutes before you continue.
The edge is your frame. It sets up everything that comes on top.
“The crust edge is your frame. Get that right and everything else has somewhere to live.”
—
2. Lattice Is Not as Hard as It Looks — It’s Actually Harder (But Worth It Completely)
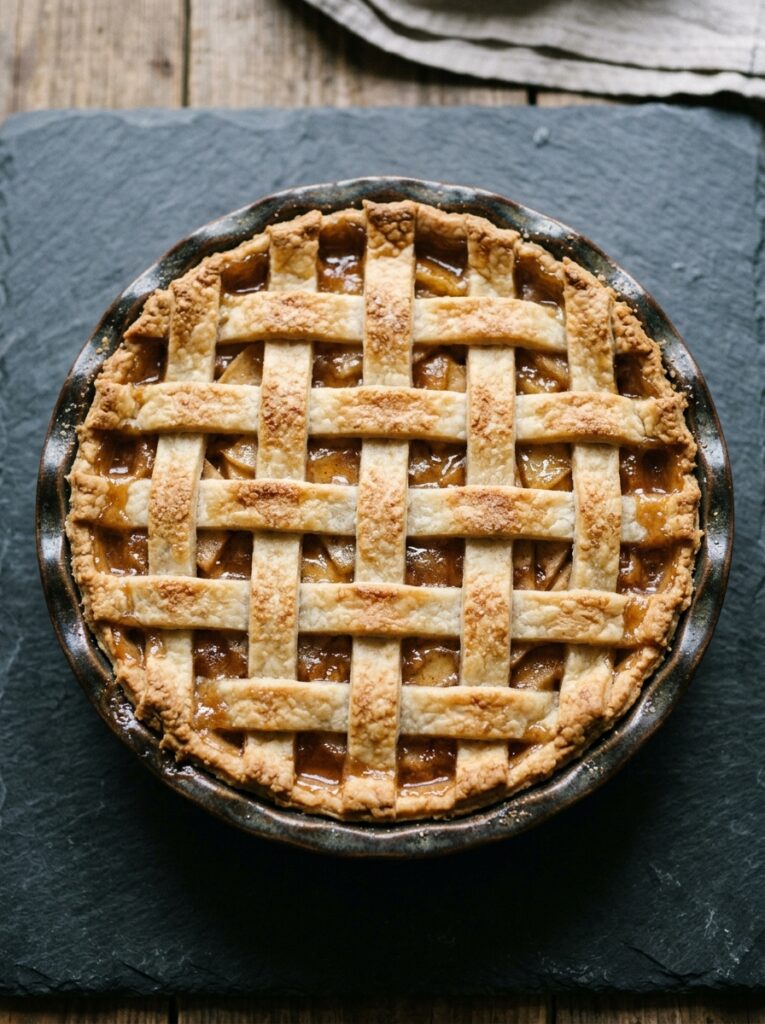
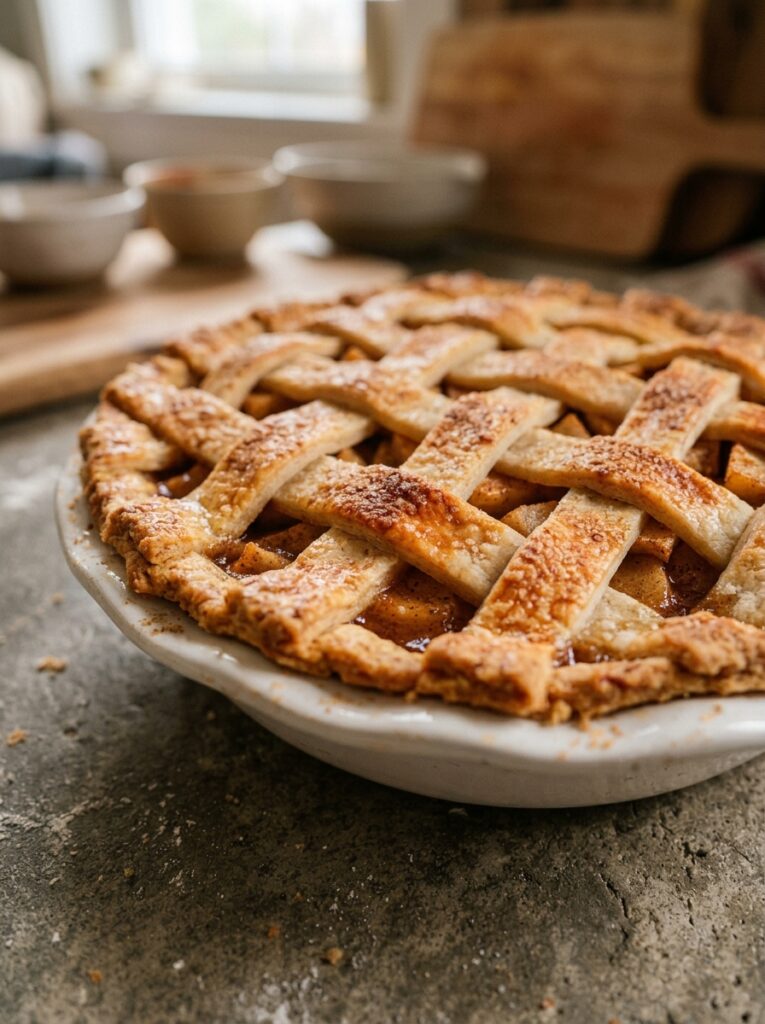
Okay so here’s where I have to be honest with you: a traditional woven lattice took me three tries to do without swearing. Not because it’s complicated in theory, but because cold butter pastry does NOT want to be handled that way, and if your strips are too thin they’ll break, and if they’re too thick it looks clunky.
The trick that finally worked for me — and this sounds fussy but stay with me — is to cut the strips, lay them out on a piece of parchment, and then slide the whole thing into the freezer for eight minutes before you start weaving. The cold makes them behave.
Cut strips between half an inch and three-quarters of an inch wide. Wider than that and it starts looking like a garden trellis. Too narrow and you’re fighting tears the whole time.
Start your weave from the center outward, not from one edge to the other. That way if something goes wrong near the edges — and it will — you can fudge it under the crimped border and nobody will ever know.
—
3. The Leaf Cutter Trick That Makes Everyone Think You Spent Hours
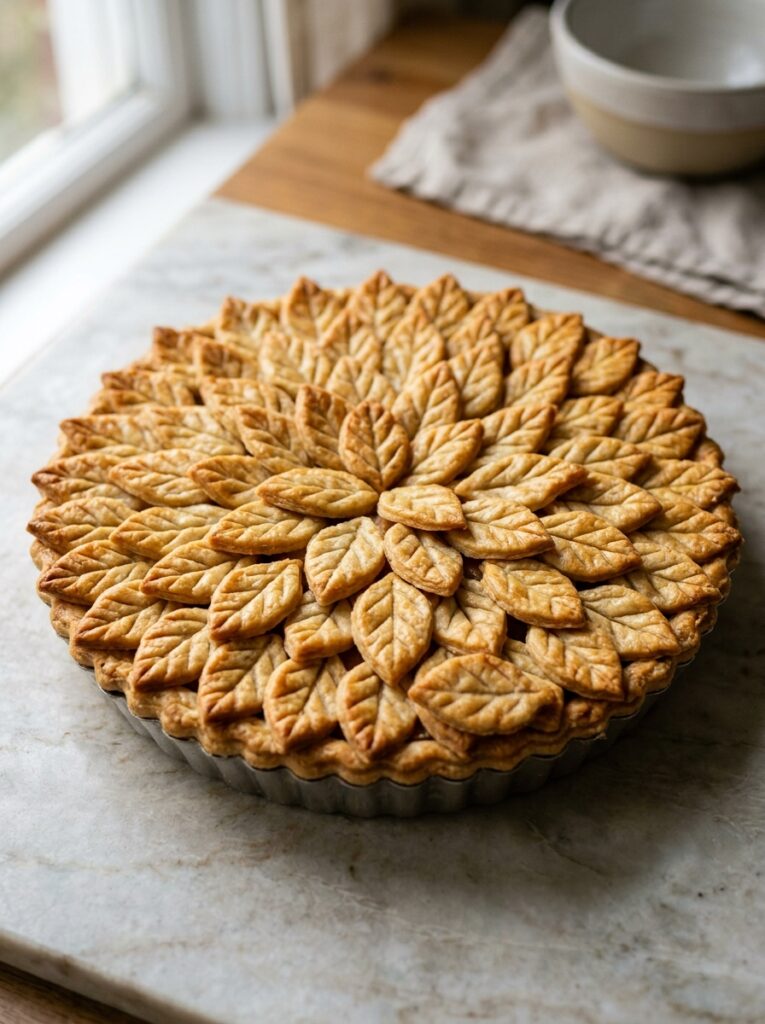
You didn’t spend hours. You spent about twenty minutes and a set of small metal pastry cutters you can find at any kitchen shop.
Cut leaf shapes from your extra dough. Score the veins in with the back of a knife — or a toothpick, honestly, it doesn’t matter. Curl the edges slightly by pressing them gently over a dowel or even a wooden spoon handle while the dough is still pliable. Then arrange them on top of your pie in loose clusters, overlapping, like they’ve actually fallen there.
Brush everything with an egg wash before it goes in the oven. That’s one egg beaten with a tablespoon of cold water. The leaves will bake up golden and slightly raised at the curled edges, which gives them that real dimensional look.
A tiny sprinkle of cinnamon sugar right before baking? Goes a very long way.
—
4. Braided Strips and Why Three Is the Magic Number
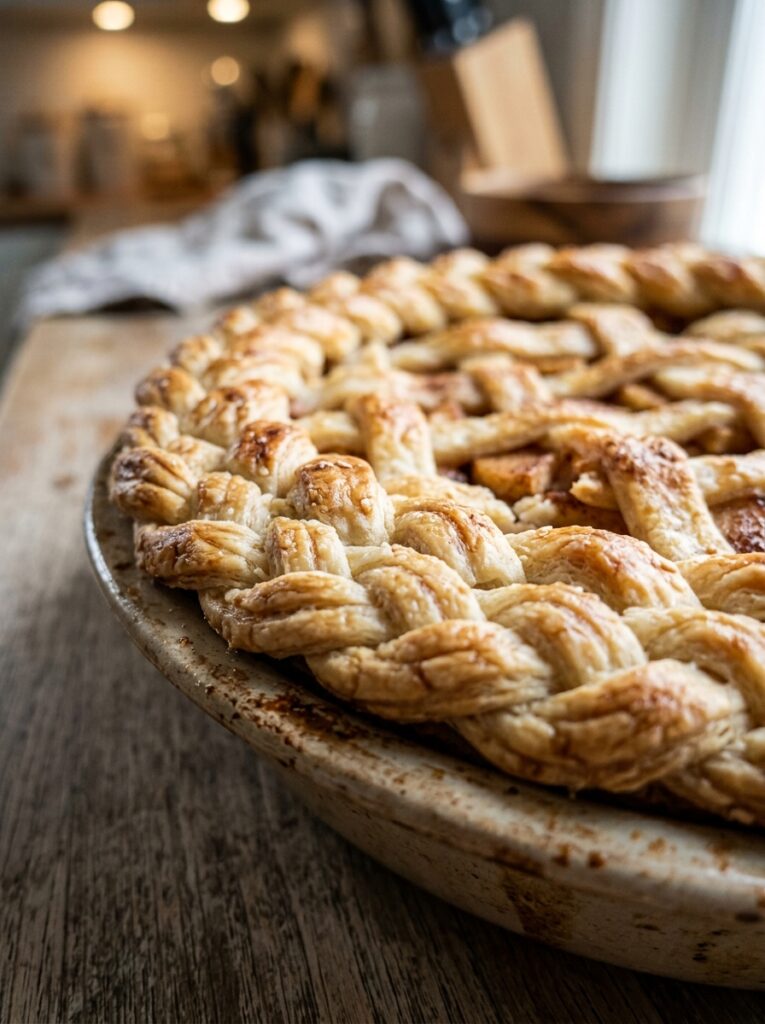
Two strands twisting together is a twist, not a braid, and it loses its shape in the oven. Four strands is genuinely complicated and I don’t recommend it unless you’re the kind of person who makes their own puff pastry on a Tuesday for fun. Three strands braid.
Use three strips of the same width as your lattice strips. Braid loosely — tight braids puff up and separate when they hit oven heat. Press the ends together well before you attach the braid to the pie because this is the part that has a tendency to unravel.
You can use a braided strip just around the outer edge instead of a traditional crimp. Attach it by pressing it gently against the dough edge after you’ve sealed the pie and egg-washing the underside of the braid helps it stick. Looks absolutely beautiful and it’s not that fussy once you’ve done it once.
“A braided edge sounds like a lot of work. It isn’t. It’s just a three-strand plait in dough, and it bakes up better than it looks going in.”
—
5. Stamped Designs Directly Into a Solid Top Crust
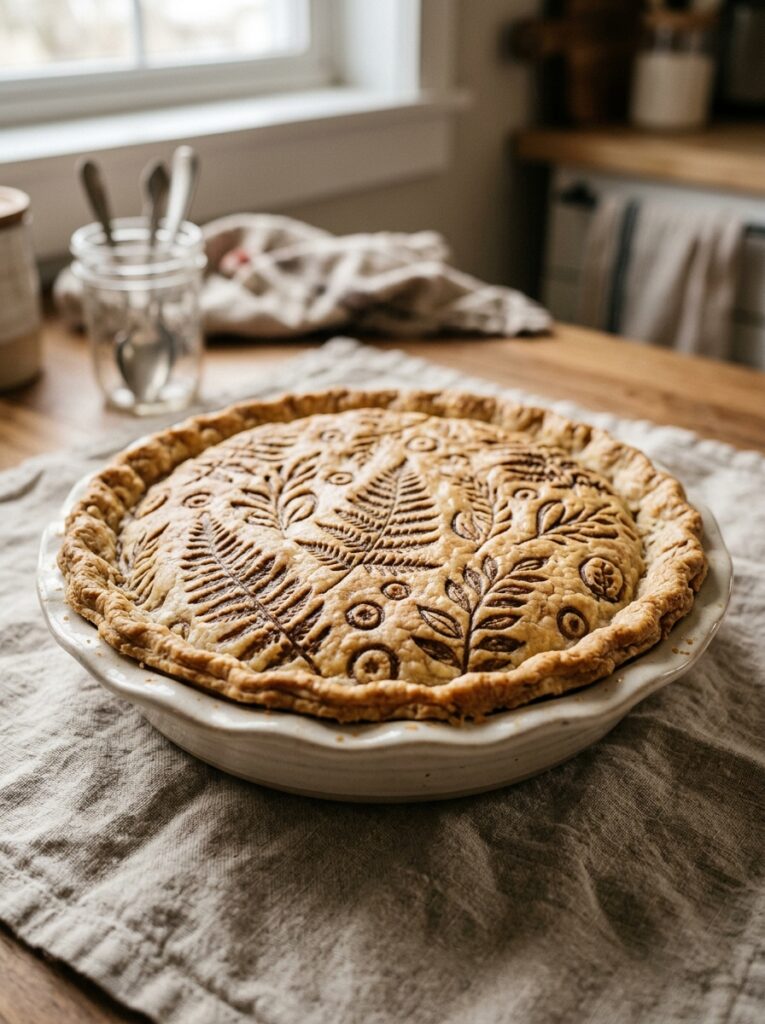
If lattice feels like too much and cutouts aren’t your thing, there’s a whole other route: the stamped top crust.
Roll your top crust, lay it over the pie. Then use small cookie cutters, fondant stamps, or even just the cap of a pen to press designs into the surface before baking. You’re not cutting all the way through — you’re just leaving an impression in the dough.
The egg wash catches these impressions beautifully. The stamped areas bake slightly darker than the raised parts, giving you this subtle, embossed look. It reads as intentional and detailed from a foot away and in photos it photographs like a dream.
Geometric patterns work well here. So do botanical shapes — ferns, small flowers, acorns if you can find the right cutter. For autumn pies, I’ve seen people stamp little star anise shapes and it looks genuinely stunning.
—
6. The Color You Get Depends Entirely on What You Brush It With
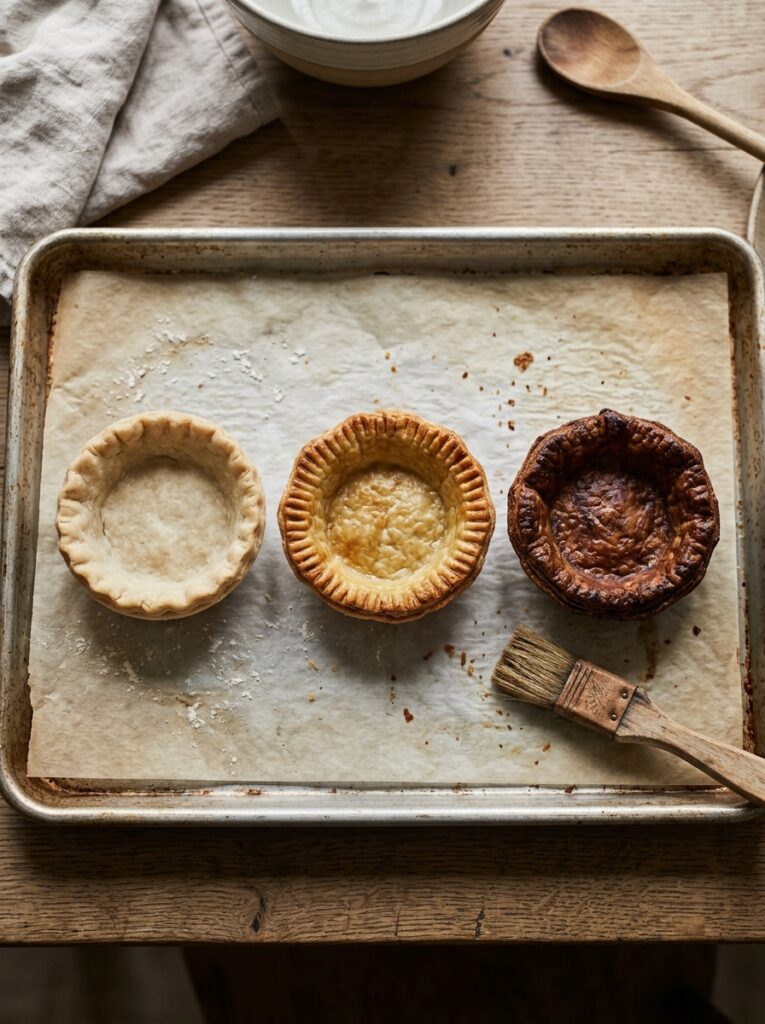
This is underrated. WILDLY underrated.
Egg white only gives you a pale, matte finish with a slight sheen. Whole egg gives you golden-brown, a classic. Egg yolk with a splash of heavy cream? Deep amber, almost lacquered. Milk gives you a soft, barely-there color that lets the dough speak for itself.
For pie art specifically, I usually go egg yolk plus cream because the depth of color makes the decorations really pop in photos. It also just tastes better, not gonna lie — there’s a richness to that burnished top that makes people cut into it faster.
Apply it in two coats. First coat goes on before you put the decorations in place if you’re doing stampings. If you’re doing cutouts on top, apply one coat over the whole surface, arrange your cutouts, then brush the cutouts separately.
—
7. The One Arrangement Trick That Makes a Scattered Cutout Topping Look Designed
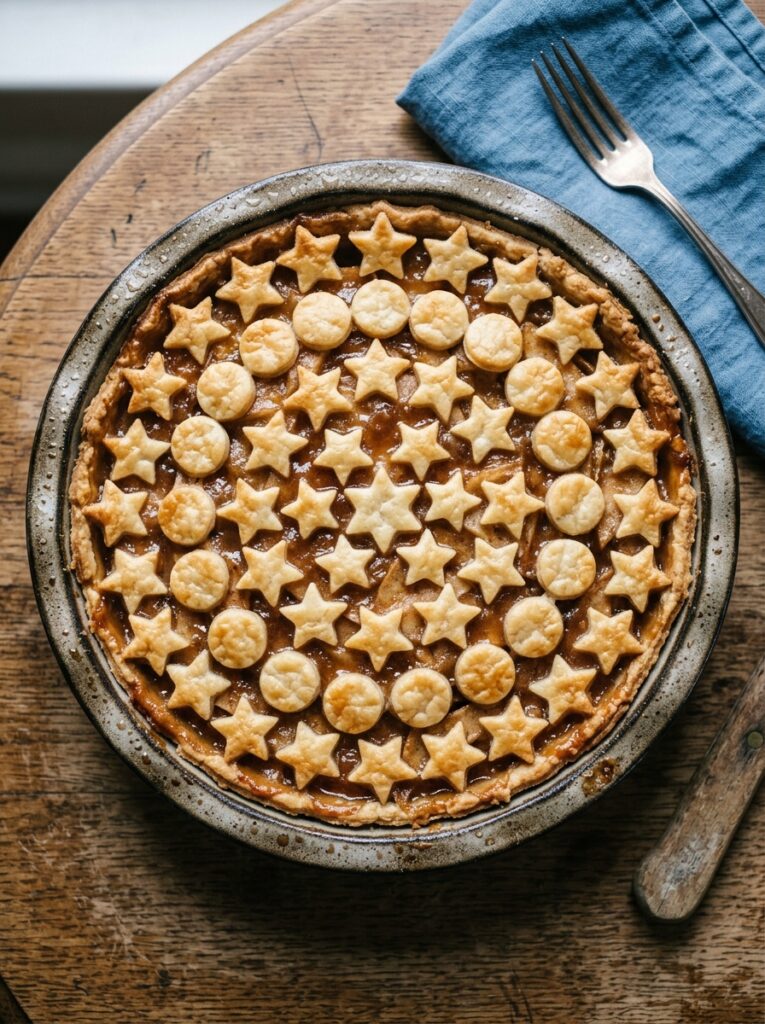
This is the kind of thing that sounds too simple but I’ve seen so many beautiful crust cutout attempts ruined by this one issue — and that’s symmetry. Or rather, the instinct toward it.
Our brains want to space things evenly. Equal distance. Balanced. But a pie top covered in perfectly spaced, evenly distributed leaves reads as wallpaper. Or gift wrap. Not natural, not artistic.
Instead: cluster. Put three or four leaves close together in one area, then leave a stretch of plain crust, then two more leaves, then a gap. Vary the sizes if you have multiple cutters. Let some overlap. Let some point different directions. Let it look like something was growing there and paused.
Leave 20% of your crust surface completely plain. That negative space is doing more visual work than you think.
—
8. Stenciling With Powdered Sugar or Cinnamon After Baking
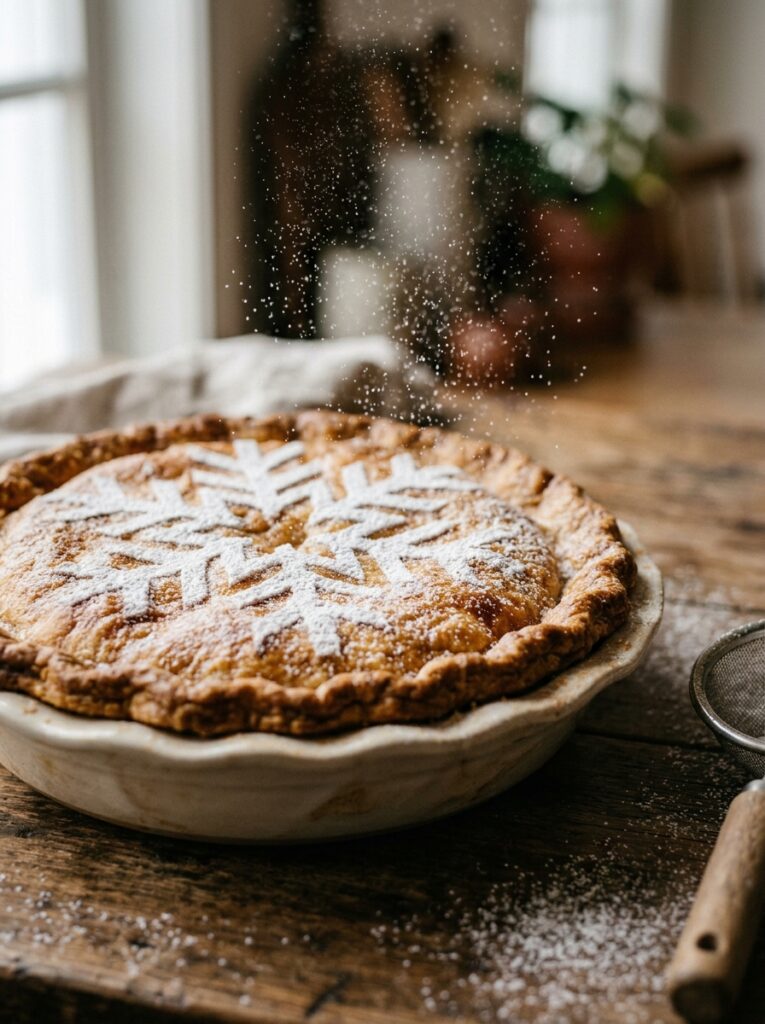
This one gets skipped because people think it sounds fussy or it’ll melt into the crust. It doesn’t, if you do it right.
Let the pie cool COMPLETELY. I mean completely — like a couple of hours, not twenty minutes because you’re impatient (which I always am, so I’m projecting here).
Cut or buy a paper stencil. A simple leaf, a star, a few concentric circles that create a sunburst pattern. Lay it gently on top of the cooled crust and sift powdered sugar, cocoa powder, or cinnamon over it with a fine mesh sieve. Lift the stencil straight up — don’t drag it — and you’re left with a clean, sharp design on the surface of the pie.
For an autumn apple pie, a maple leaf stencil with cinnamon is sort of breathtaking. Takes two minutes.
—
9. Working Color Into Your Crust (Yes, Really)
Not decoration on the crust. Color IN the dough itself.
You can tint pastry dough with beet powder for a soft dusty rose, activated charcoal for grey-black, turmeric for golden yellow, or butterfly pea flower powder for a blue that turns purple when it hits the oven. These are all natural, tasteless (or nearly), and they do not affect texture.
Make two or three colors of dough, cut your lattice strips or cutouts from each, and alternate. You can do an ombré effect by placing lighter strips on one side of the lattice and gradually transitioning to the darker ones. You can do red-and-plain for a festive holiday look. Or keep it simple and just make your leaf cutouts from the colored dough and leave the base crust plain.
The first time I tried this with rose-colored leaf cutouts on a classic golden crust, I kept staring at it for a genuinely embarrassing amount of time before putting it in the oven.
“Pastry doesn’t have to be beige. Once you add color to dough you can’t quite go back to thinking of it as just ‘crust.'”
—
10. Filling-Reveal Techniques That Are Almost Too Good
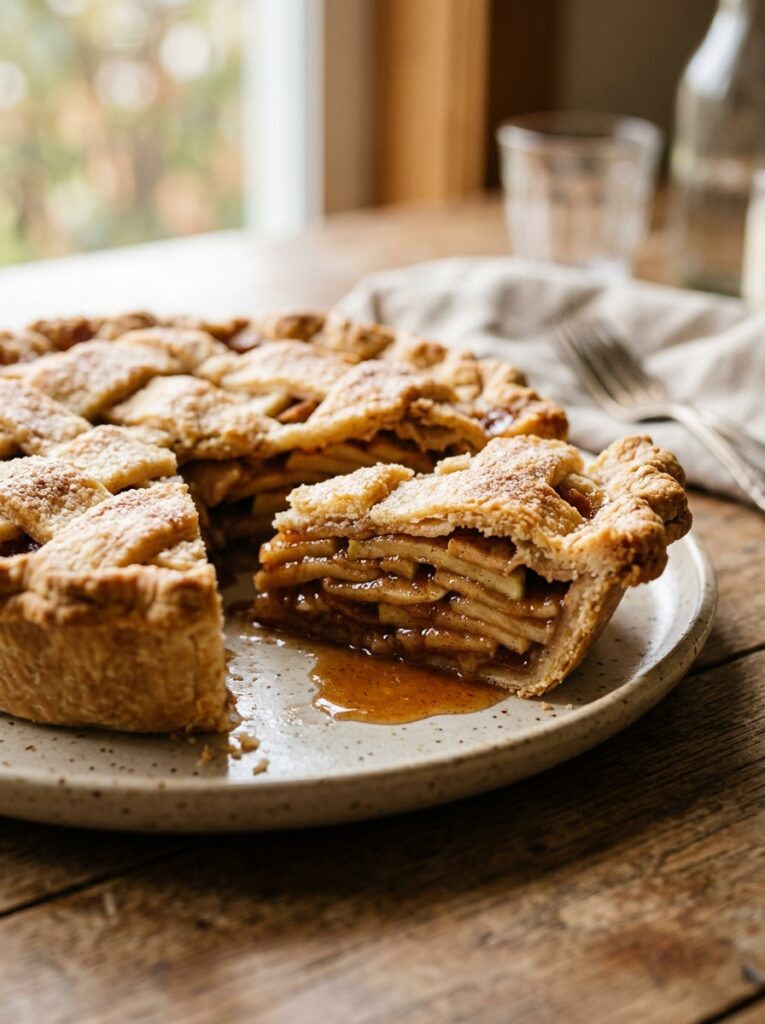
This is a technique borrowed from galette-style baking, but it works beautifully on a traditional round pie.
Instead of a full top crust, place your decorative cutouts around the outer ring of the pie and leave the center completely open. The apples show through — burnished, syrupy, glistening — and it looks intentional and dramatic. Frame the opening with a braided crust ring or a dense cluster of leaf cutouts and the contrast between the exposed filling and the decorated border is genuinely arresting.
You can also do a lace top — cut so many holes in your top crust (using small round cutters, flower cutters, whatever) that the whole surface is more air than dough. The filling bubbles up through the gaps as it bakes and sets slightly on top. It looks like it took enormous skill. It didn’t, but you don’t have to say that.
—
11. The Photo Light That Makes or Breaks Your Pie on Pinterest
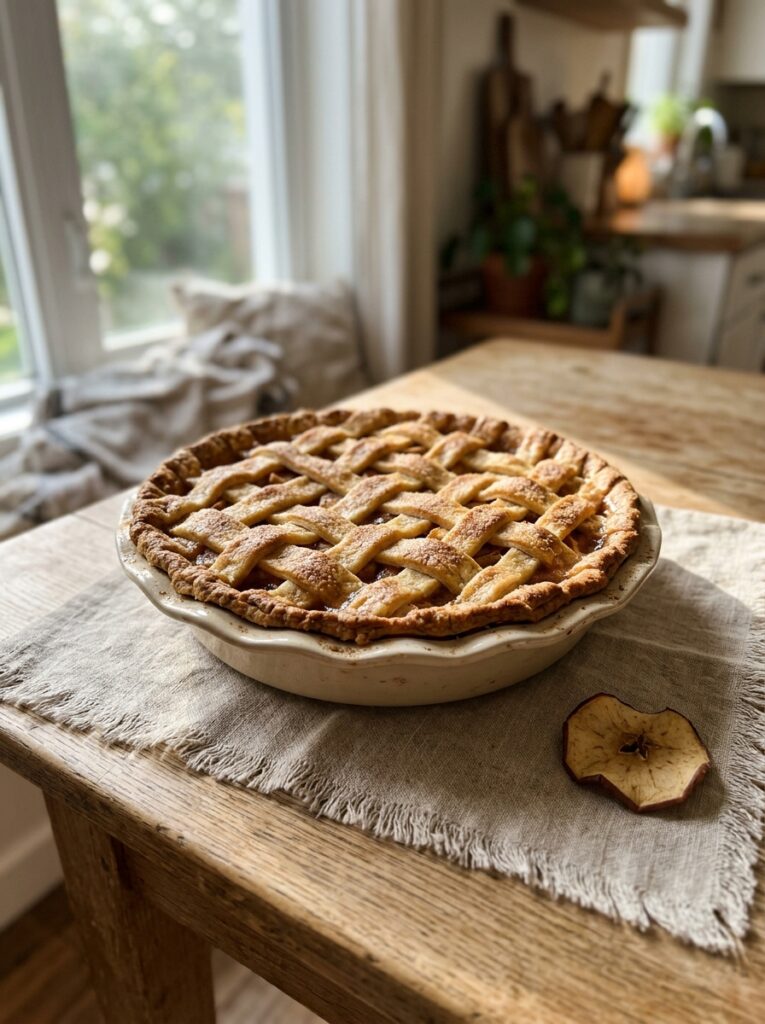
You made a beautiful pie. Don’t photograph it under the harsh white overhead kitchen light and wonder why it doesn’t look like what you imagined.
Natural light from a window, ideally from the side, is the best light for food photography. It catches the texture of the pastry — the slight roughness, the little peaks where a braid sticks up — and shows depth in a way that flat overhead light can’t.
The hour or so before sunset, the light goes golden and soft. I try to time my pies to come out of the oven around that window whenever I can. Even a few minutes on the windowsill in that light changes everything.
Put the pie on a wooden surface, a marble board, or a linen cloth. Add a small bowl of apples to one side, a cinnamon stick if you have one, a vintage fork. Don’t over-style it — three props maximum, and one of those props is the fork.
—
12. The Practice Pie That Changes Everything
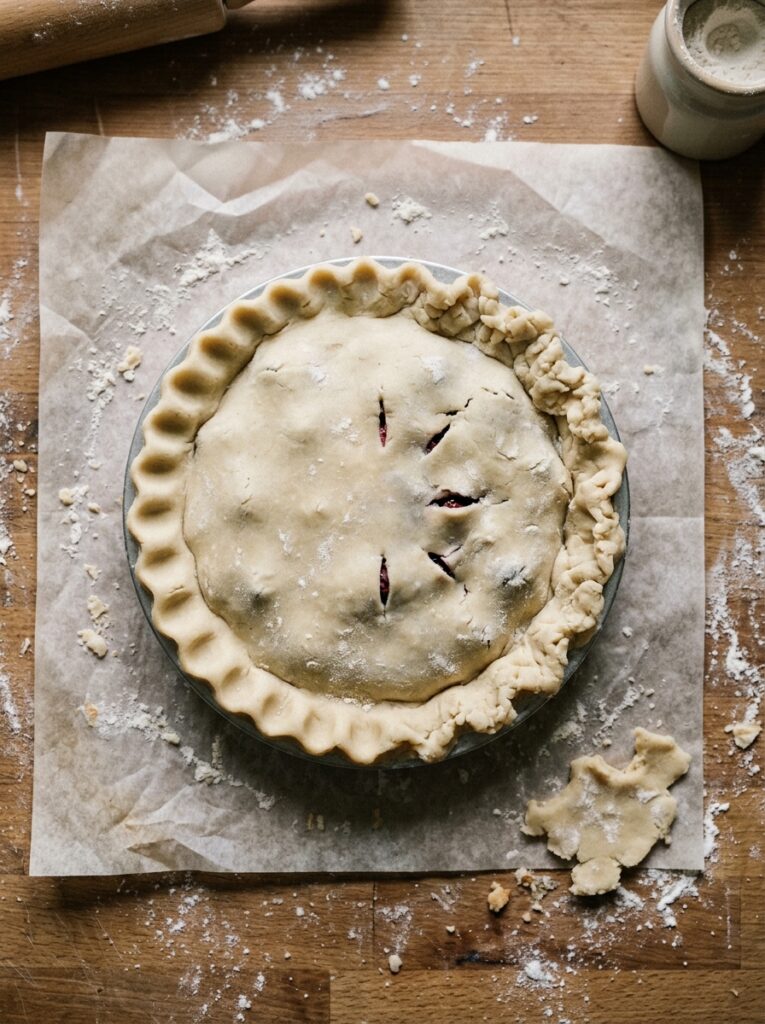
Here’s the most important thing: don’t try all of this on the pie you’re bringing to Thanksgiving dinner.
Make a practice pie. Doesn’t have to taste perfect, doesn’t have to have the best filling. Use it to test the lattice, to try a stamped crust, to see if your braid holds together in the oven. Because the skills you build on a Tuesday pie with mediocre apples are the skills that let you nail the showstopper pie when it actually matters.
That’s the thing about pie art specifically — it rewards repetition faster than most baking skills. The first lattice is frustrating. The second is easier. The third, you’re doing it from muscle memory while listening to a podcast and not thinking about it much at all.
And the first time someone knocks on your door asking what you did to that pie? Worth every slightly-swear-y practice attempt.
—
❓ FAQ
Q: Do decorative crusts affect how the pie bakes? A: They can, a little. Extra layers of dough in concentrated spots (like a braided edge or clustered cutouts) may need a slightly longer bake time. Tent the pie loosely with foil for the first 30 minutes to prevent the decorations from overbrowning while the base crust finishes cooking through.
Q: What’s the best apple for a pie you want to look AND taste good? A: For looks, you want apples that hold their shape — ones that don’t collapse into mush, because a clean, full filling gives your decorated top crust proper support. Granny Smiths and Braeburns are both solid picks. A mix of sweet and tart tends to taste better than using just one type, anyway.
Q: Can you prep decorative crusts ahead of time? A: Yes, and honestly this makes the whole process less stressful. Cut your strips, leaves, or braid pieces, lay them on parchment, and refrigerate for up to two days or freeze for up to a month. Apply them to the pie straight from cold — they hold their shape much better than room-temperature dough does.
—
💭 Final Thoughts
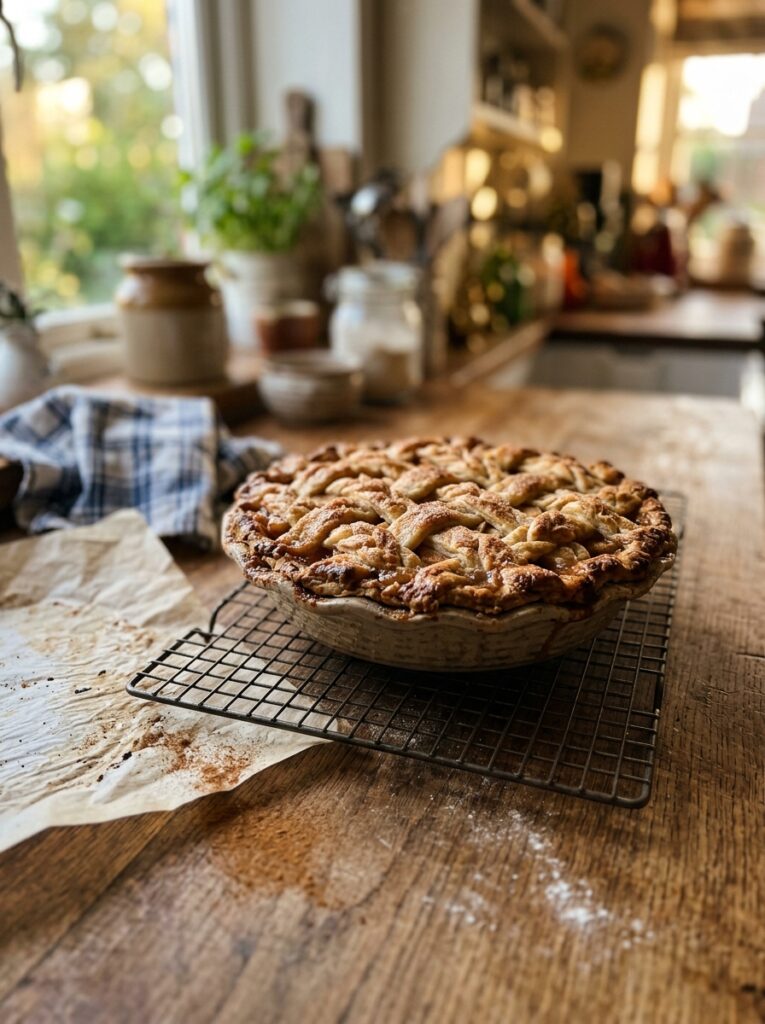
Apple pie art isn’t about being fancy. It’s about caring enough to slow down for one afternoon and make something that stops people before they even ask what’s for dessert. And the weird thing is, the more you do it, the more it stops feeling like extra work and just starts feeling like… baking. Like what baking actually is when you’re not in a hurry.
So what’s the one technique you’re going to try first?
