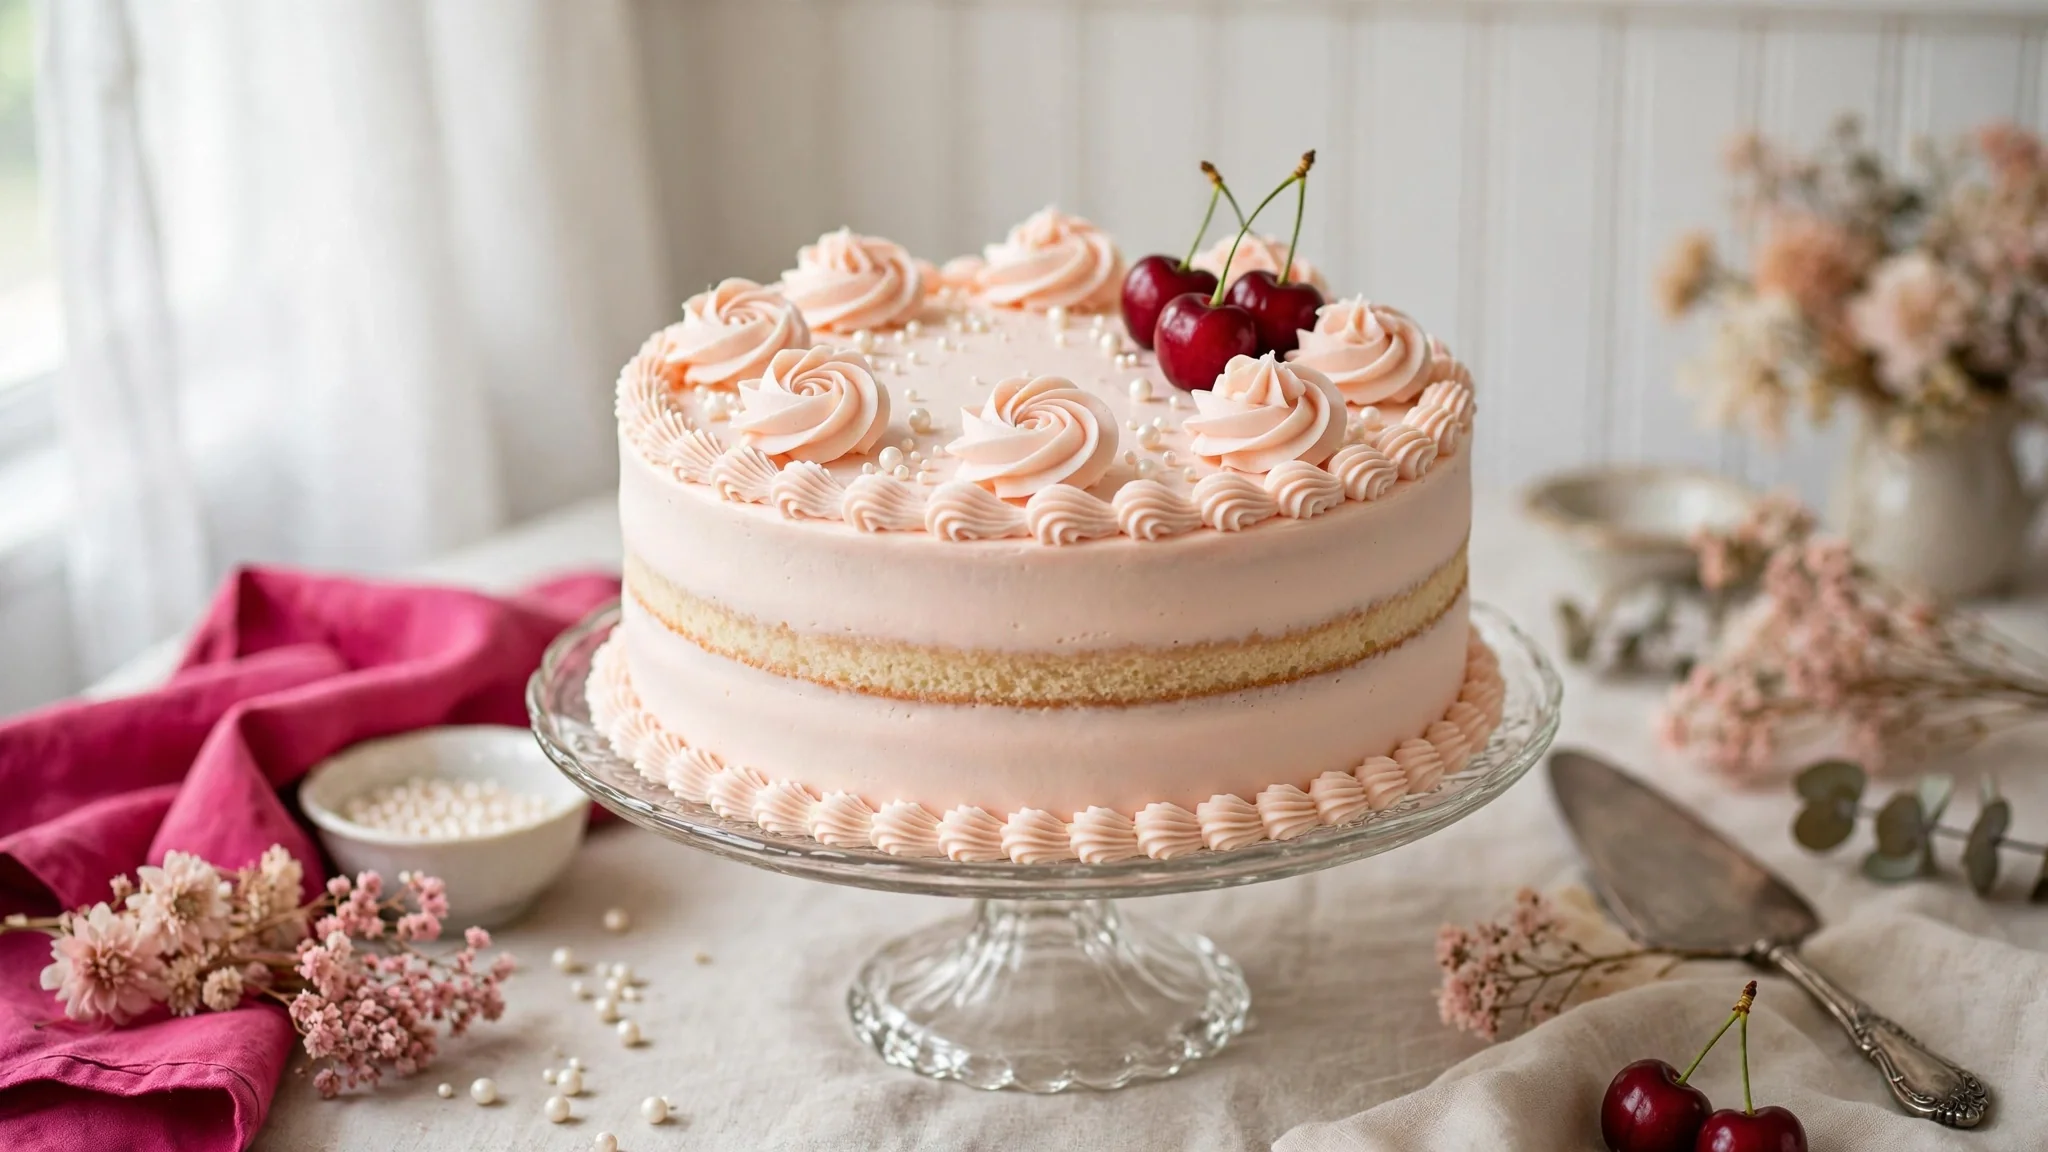
Vintage Birthday Cake
A vintage birthday cake is a beautiful choice for any special celebration. With soft layers, creamy frosting, piped borders, and classic decorations, this cake feels elegant, nostalgic, and special.
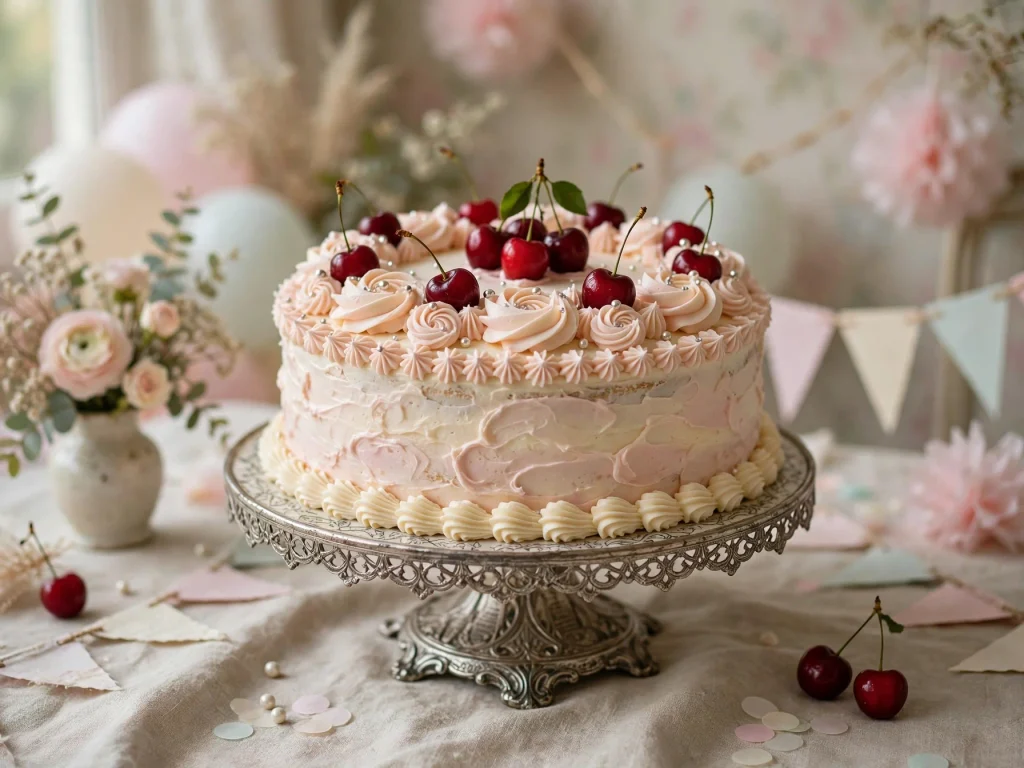
This easy vintage birthday cake has moist vanilla layers and smooth buttercream frosting. You can decorate it with delicate piping, cherries, pearls, flowers, or a short birthday message.
Ingredients
For the Cake
- 2 1/2 cups all-purpose flour
- 2 teaspoons baking powder
- 1/2 teaspoon salt
- 3/4 cup unsalted butter, softened
- 1 1/2 cups granulated sugar
- 4 large eggs
- 2 teaspoons vanilla extract
- 1 cup whole milk
For the Buttercream Frosting
- 1 1/2 cups unsalted butter, softened
- 5 cups powdered sugar
- 2 teaspoons vanilla extract
- 4 to 6 tablespoons heavy cream or milk
- Pinch of salt
- A few drops of pink food coloring, optional
For Decoration
- Pink or white frosting
- Maraschino cherries
- Sugar pearls
- Edible flowers, optional
- Sprinkles, optional
Equipment
- Two 8-inch round cake pans
- Parchment paper
- Large mixing bowls
- Electric mixer
- Cake turntable, optional
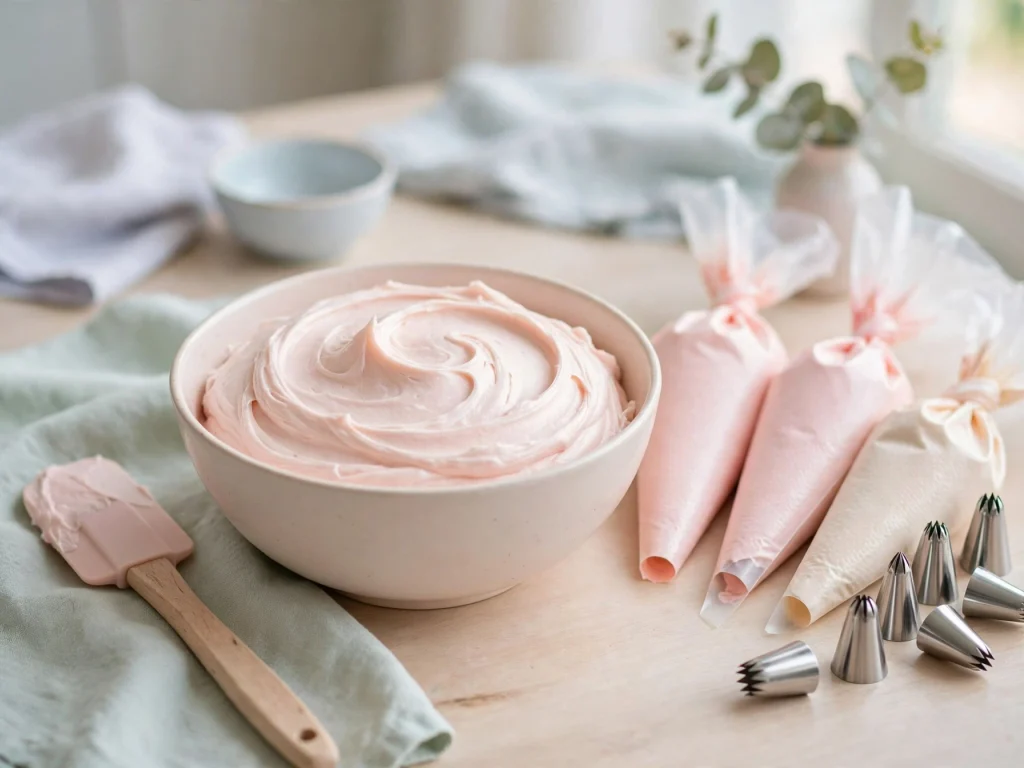
- Piping bags
- Star and shell piping tips
- Cake scraper or spatula
How to Make Vintage Birthday Cake
Step 1: Prepare the Cake Pans
Preheat your oven to 350°F. Grease two 8-inch round cake pans and line the bottoms with parchment paper.
Lightly dust the sides with flour so the cakes come out easily after baking.
Step 2: Mix the Dry Ingredients
Add the flour, baking powder, and salt to a bowl. Whisk them together and set the bowl aside.
Step 3: Cream the Butter and Sugar
Add the softened butter and sugar to a large mixing bowl. Beat for 3 to 4 minutes until the mixture looks light and fluffy.
This step helps make the cake soft and tender.
Step 4: Add the Eggs and Vanilla
Add the eggs one at a time. Beat well after each egg.
Add the vanilla extract and mix until combined.
Step 5: Add the Flour and Milk
Add the dry ingredients in three parts. Add the milk between each addition.
Mix on low speed and stop as soon as the batter looks smooth. Do not overmix the batter.
Step 6: Bake the Cake
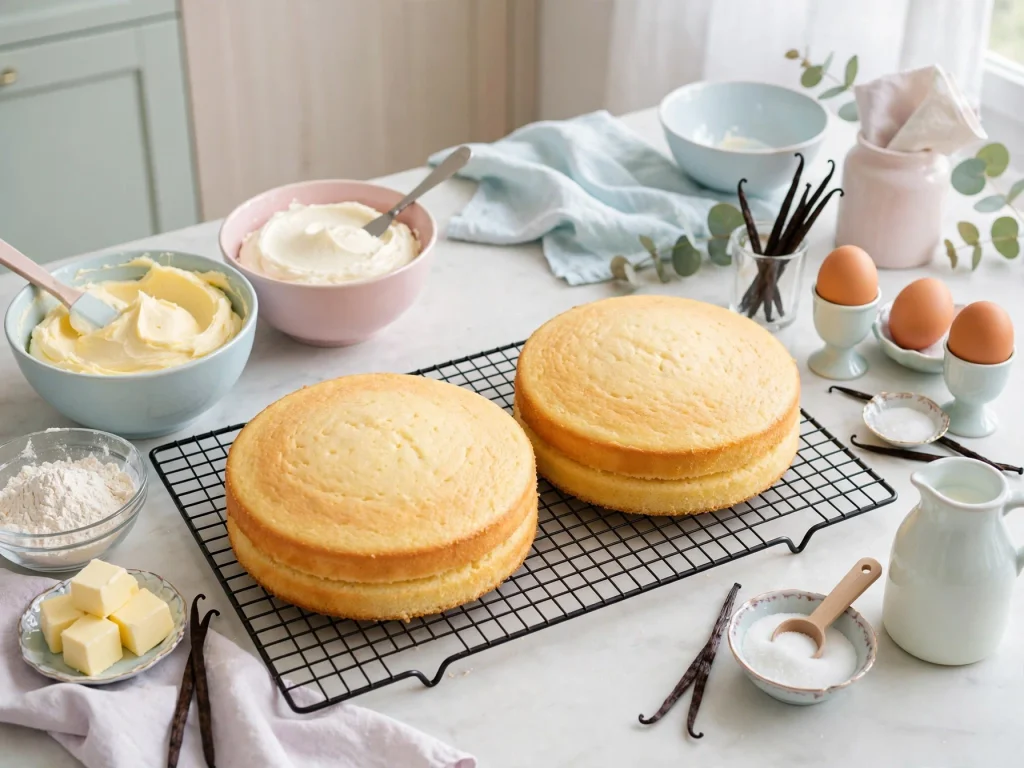
Divide the batter between the prepared cake pans. Smooth the tops with a spatula.
Bake for 25 to 30 minutes, or until a toothpick inserted into the center comes out clean.
Let the cakes cool in the pans for 10 minutes. Then remove them and place them on a cooling rack.
Allow the cakes to cool completely before frosting.
How to Make the Buttercream
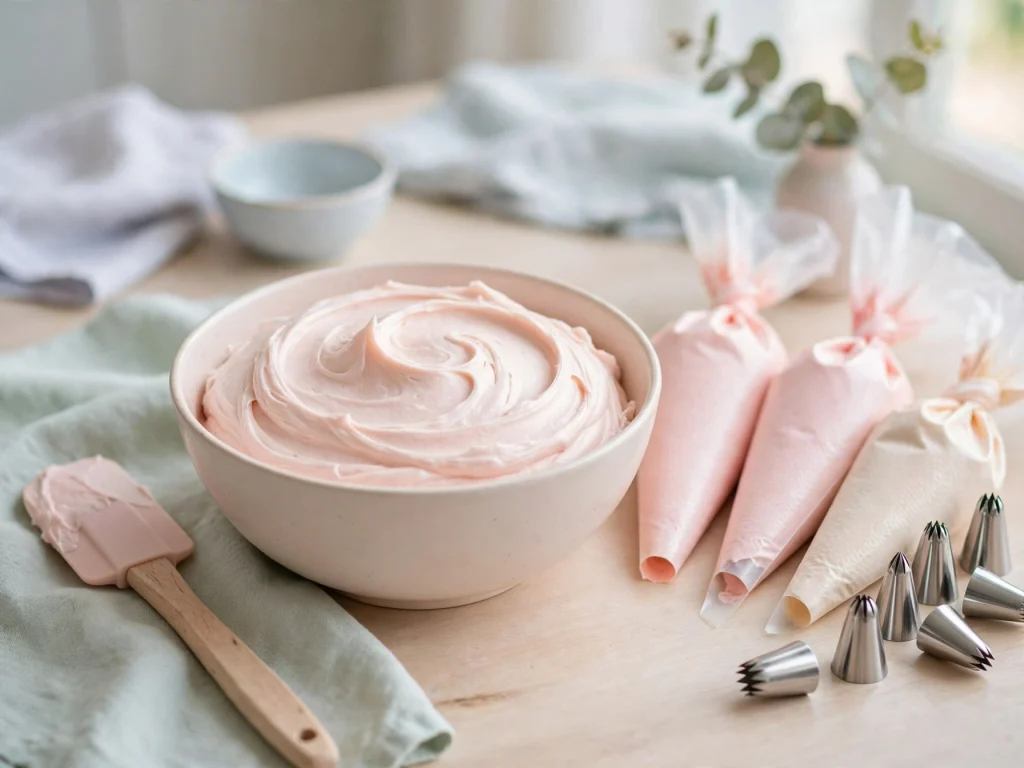
Step 1: Beat the Butter
Add the softened butter to a mixing bowl. Beat for 3 to 4 minutes until smooth and creamy.
Step 2: Add the Powdered Sugar
Add the powdered sugar one cup at a time. Mix on low speed at first to prevent the sugar from flying out of the bowl.
Step 3: Add the Vanilla and Cream
Add vanilla extract, salt, and 4 tablespoons of cream or milk. Beat for another 3 to 5 minutes.
Add more cream if the frosting is too thick. Add more powdered sugar if it is too soft.
Step 4: Add Color
If you want pink frosting, add a small amount of pink food coloring. Mix until the color is even.
For a vintage cake, soft pink, cream, pale yellow, baby blue, and white are beautiful choices.
How to Assemble the Cake
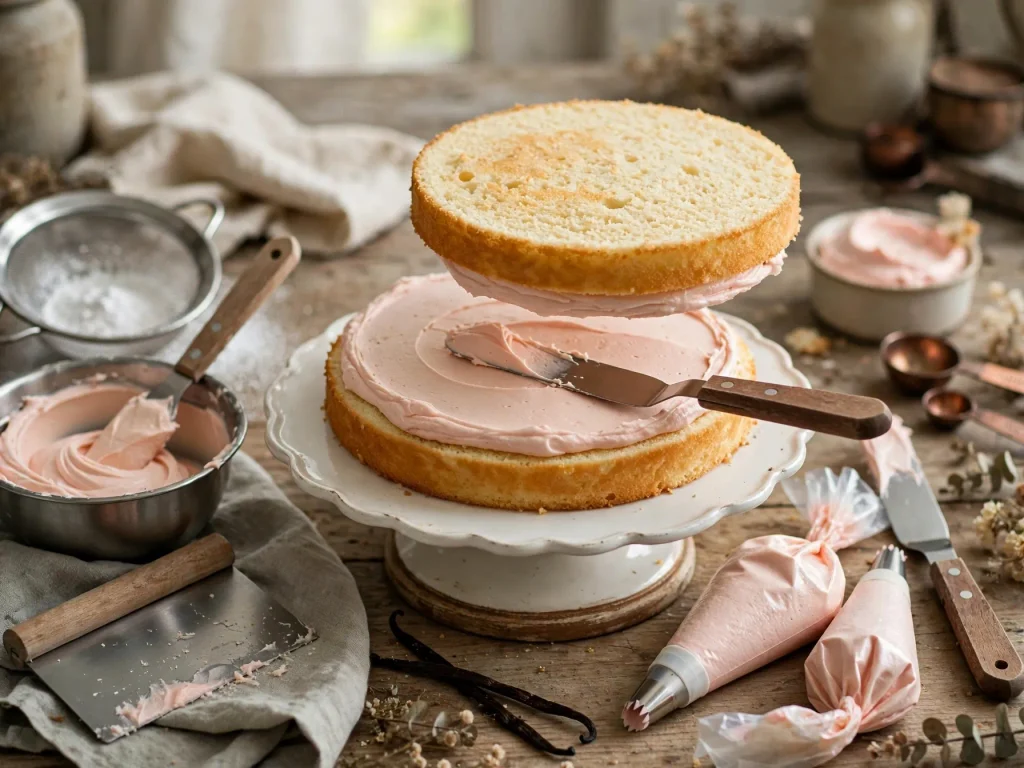
- Place one cake layer on a cake board or serving plate.
- Spread a layer of buttercream over the top.
- Place the second cake layer on top.
- Cover the whole cake with a thin layer of frosting.
- Chill the cake for 20 to 30 minutes.
- Add a second layer of frosting and smooth the sides.
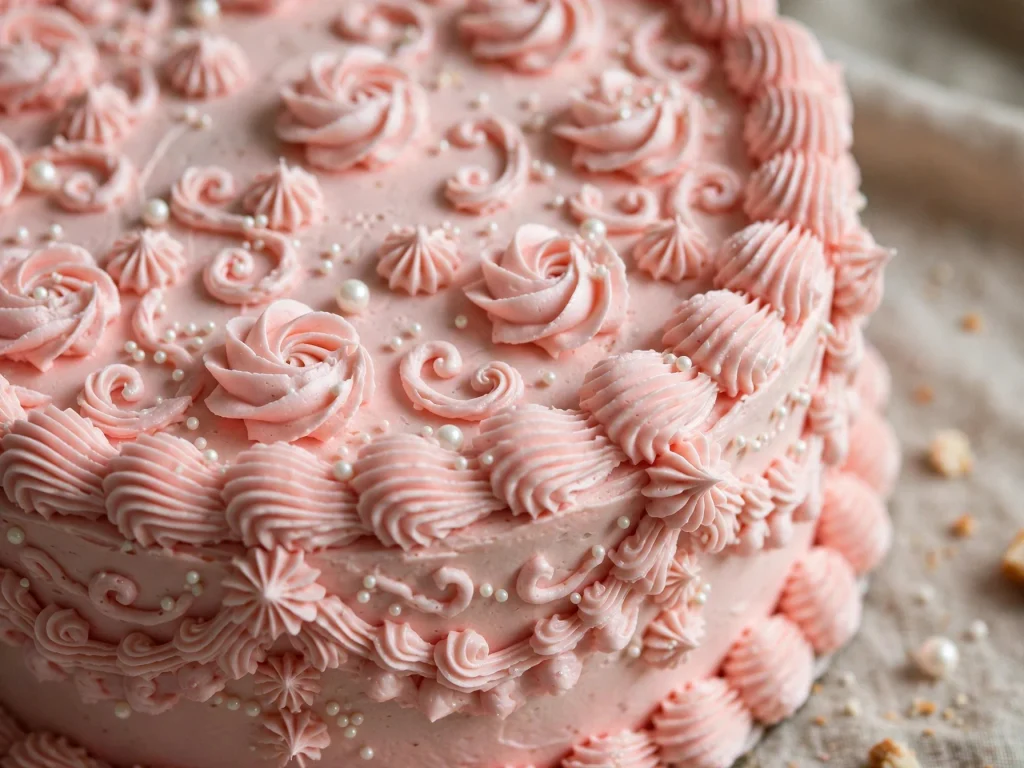
- Use a piping bag to decorate the top and bottom edges.
- Add shells, rosettes, stars, or small swirls around the cake.
- Finish with cherries, sugar pearls, flowers, or sprinkles.
- Add a short birthday message in the center if desired.
Vintage Cake Decorating Ideas
Use two frosting colors to create a soft vintage design.
Pipe a shell border around the top and bottom of the cake.
Add small buttercream rosettes around the top edge.
Use sugar pearls between the piped decorations.
Add three or four cherries for a classic bakery look.
Choose a short message so the cake does not look crowded.
Use a cake comb to create soft vertical lines around the sides.
Add edible flowers for a delicate and elegant finish.
Tips for the Best Vintage Birthday Cake
Use room-temperature ingredients so the batter mixes evenly.
Do not overmix the batter after adding the flour.
Let the cake cool completely before adding frosting.
Use softened butter for smooth buttercream.
Chill the cake before piping the final decorations.
Practice piping on parchment paper before decorating the cake.
Keep the cake design simple and balanced.
Use a small amount of food coloring because vintage cakes look best in soft colors.
Storage Instructions
Store the frosted cake in an airtight cake container at room temperature for up to 1 day.
For longer storage, place the cake in the refrigerator for up to 4 days. Let it sit at room temperature for 30 to 60 minutes before serving.
You can also freeze the unfrosted cake layers for up to 2 months. Wrap each layer tightly in plastic wrap and place it in a freezer-safe bag.
Frequently Asked Questions
Can I make this vintage birthday cake ahead of time?
Yes. You can bake the cake layers one day ahead and decorate the cake the next day.
What colors are best for a vintage birthday cake?
Soft pink, cream, white, pale yellow, baby blue, and light lavender work well for a vintage cake design.
How do I keep the frosting smooth?
Use softened butter, sifted powdered sugar, and enough cream to create a smooth texture. Beat the frosting for several minutes before using it.
Can I use a different cake flavor?
Yes. You can replace the vanilla cake with chocolate, lemon, almond, or strawberry cake.
How do I pipe vintage cake borders?
Use a star or shell piping tip. Hold the piping bag at a slight angle and pipe small shells or swirls around the cake edges.
Final Thoughts
This vintage birthday cake is soft, creamy, and beautiful enough for any celebration. The classic piping and pastel decorations create a nostalgic look that never goes out of style.
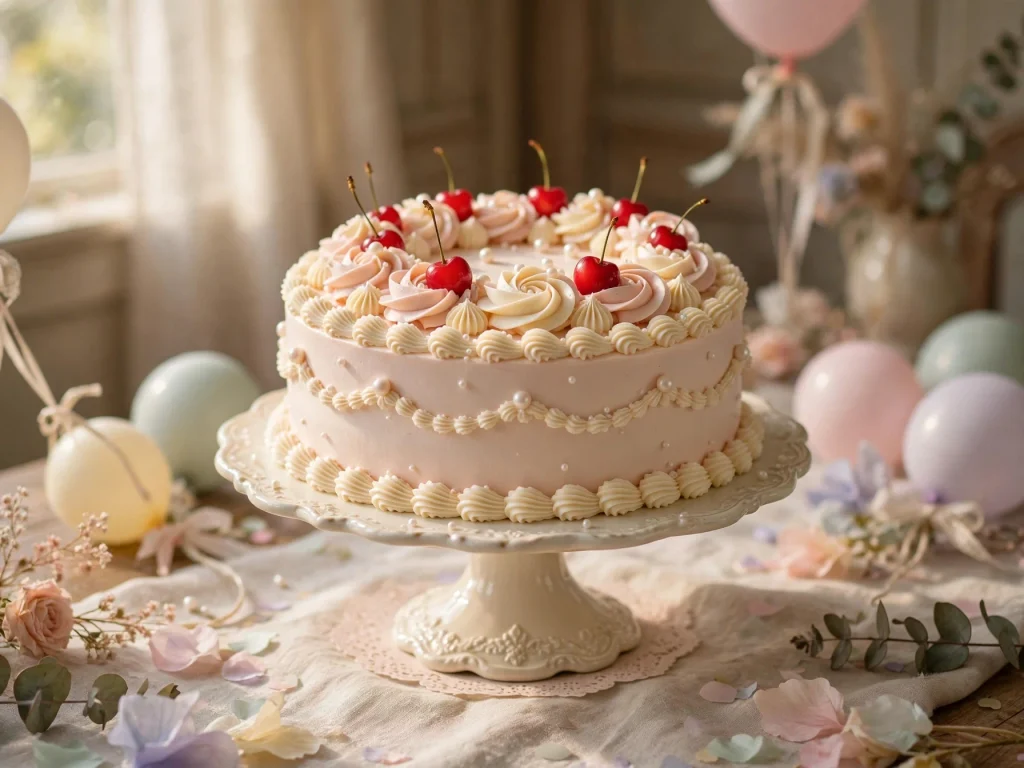
You can keep the design simple or add extra borders, flowers, pearls, and cherries. Choose your favorite colors and make the cake special for the birthday person.