Buffalo cauliflower has become one of the most beloved low-carb, gluten-free snacks in recent years, offering all the spicy, tangy satisfaction of traditional buffalo wings without the meat, breading, or excess carbs. The air fryer has made this dish even more accessible, delivering that coveted crispy texture in just 15 minutes without the need for deep frying or excessive oil. This recipe is naturally friendly for those following gluten-free, low-carb, or keto-adjacent diets, making it a crowd-pleasing option for game days, parties, or simple weeknight snacking. Cauliflower’s mild flavor also makes it an excellent canvas for absorbing bold buffalo sauce, resulting in a dish that feels indulgent despite being genuinely healthy. In this article, we’ll cover 12 practical ideas to help you make the crispiest, most flavorful low-carb air fryer buffalo cauliflower every single time.

1. Cut Cauliflower into Even, Bite-Sized Florets
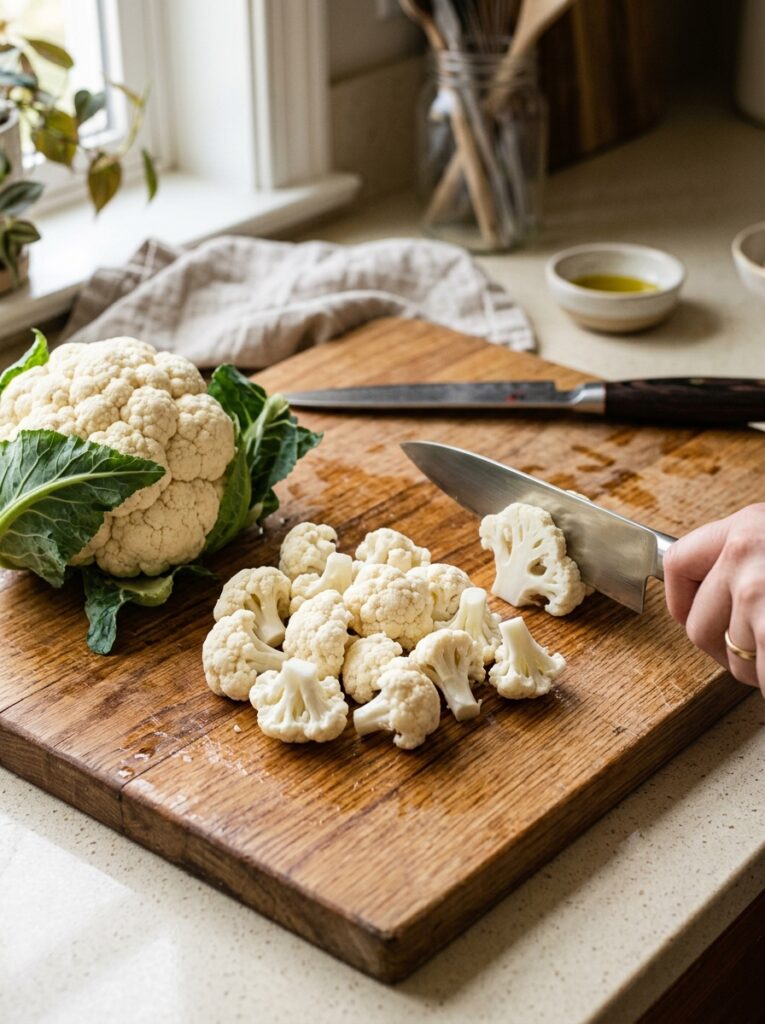
Cutting the cauliflower into uniform, bite-sized florets is essential for ensuring even cooking throughout the entire batch in the air fryer. Pieces that are too large will take longer to cook through and may end up soft in the center rather than crispy throughout, while pieces that are too small can burn quickly under high heat. Aiming for florets roughly the size of a golf ball strikes the best balance between crispiness and proper cooking time. Taking a few extra minutes during prep to ensure consistent sizing pays off significantly in the final texture of the dish. This simple step is one of the most important foundations for a successful batch of buffalo cauliflower.
2. Use a Low-Carb Flour Alternative for Coating
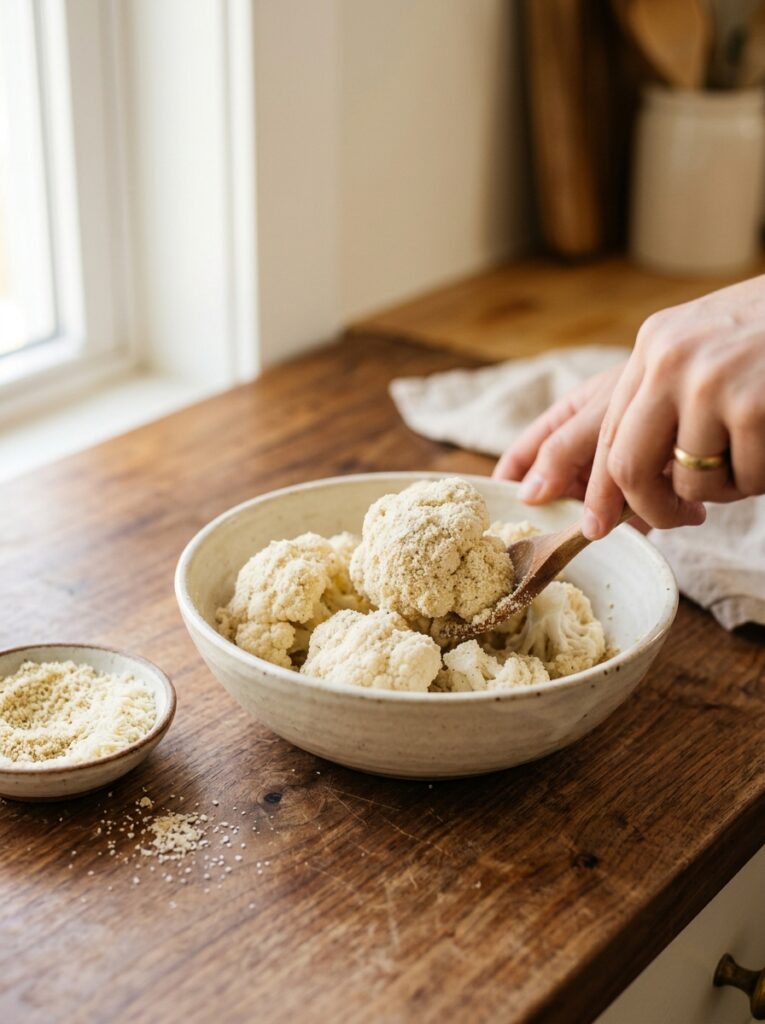
To keep this recipe genuinely low-carb and gluten-free, using almond flour or a blend of almond flour and grated parmesan as a light coating helps create a crispy exterior without relying on traditional breadcrumbs or wheat flour. This alternative coating still allows the seasoning and buffalo sauce to adhere well while keeping the carb count significantly lower than conventional breaded versions. Many store-bought gluten-free breadcrumb options also work, but almond flour tends to crisp up beautifully in the air fryer’s dry heat. This small ingredient swap is what makes the recipe both diet-friendly and genuinely satisfying in terms of texture. It’s a key detail that separates this version from heavier, carb-loaded restaurant alternatives.
3. Toss Cauliflower in Oil Before Seasoning

Lightly coating the cauliflower florets in olive oil or avocado oil before adding any seasoning or coating helps everything adhere properly while promoting even browning in the air fryer. This step also prevents the cauliflower from drying out too quickly under the high heat, keeping the inside tender while the outside crisps up nicely. A light hand is important here, since too much oil can actually prevent proper crisping by creating a soggy exterior instead. Using a spray bottle or brushing the oil on evenly tends to work better than pouring it directly over the florets. This foundational step sets the stage for the rest of the recipe’s success.
4. Preheat the Air Fryer for Best Texture
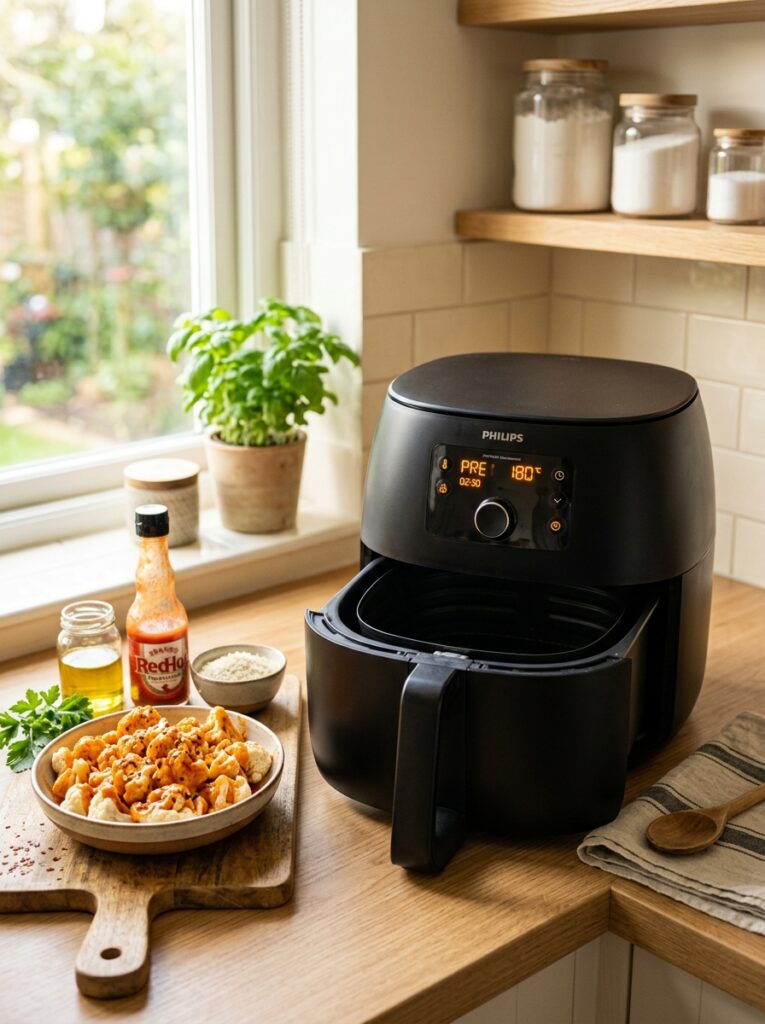
Preheating the air fryer for a few minutes before adding the cauliflower ensures the cooking process starts with consistent, high heat right from the very first minute. Skipping this step often results in florets that steam rather than crisp during the initial portion of cooking, leading to a softer, less satisfying final texture. Most air fryers only require about three minutes to reach the appropriate temperature, making this a small time investment for noticeably better results. This habit mirrors how professional kitchens always preheat ovens or pans before adding food for optimal texture. It’s a simple step that consistently improves the crispiness of the finished dish.
5. Arrange in a Single Layer Without Overcrowding

For maximum crispiness, it’s important to arrange the cauliflower florets in a single layer within the air fryer basket, leaving small gaps between each piece for proper air circulation. Overcrowding the basket blocks the hot air from reaching all sides of the cauliflower, resulting in uneven cooking and a softer, steamed texture rather than a crispy one. If working with a larger batch, cooking in two rounds is far more effective than trying to fit everything in at once. While this may add a few extra minutes overall, the improvement in texture makes the extra time well worth it. This is one of the most common mistakes people make when air frying vegetables in general.
6. Shake the Basket Halfway Through Cooking
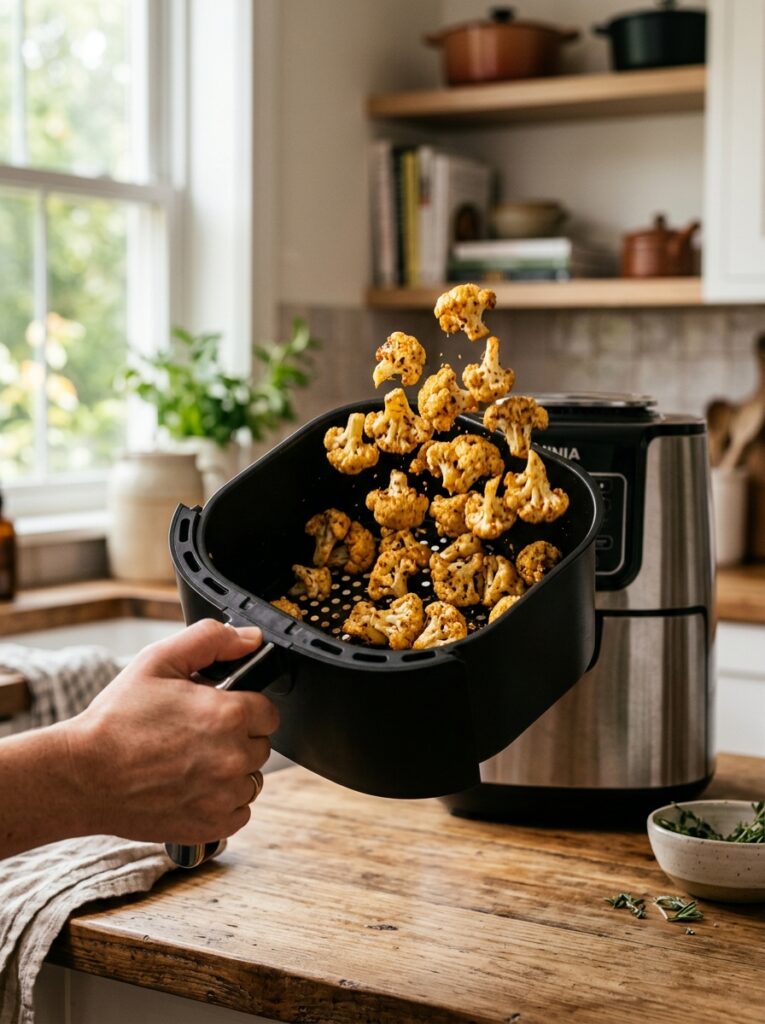
Pausing halfway through the cooking process to shake or toss the basket helps ensure all sides of the cauliflower florets receive even exposure to the circulating hot air. This simple action prevents one side from becoming overly crispy while the other remains pale or undercooked. It only takes a few seconds and requires no additional tools, making it an easy habit to build into the cooking process. This technique applies broadly to most air fryer vegetable recipes, not just buffalo cauliflower, making it a valuable skill for other dishes as well. Consistent shaking is a small effort that results in noticeably more even, professional-looking results.
7. Choose a Sugar-Free Buffalo Sauce

For those strictly following a low-carb diet, checking the ingredient label on buffalo sauce is important, since some brands add sugar or other carb-heavy thickeners to their recipe. Many classic buffalo sauces made primarily from hot sauce and melted butter are naturally low in carbs, but it’s worth double-checking specific brands to be certain. Making a simple homemade buffalo sauce using just hot sauce, melted butter, and a touch of garlic powder is another reliable way to control exactly what goes into the dish. This attention to detail ensures the recipe stays true to its low-carb, gluten-free intentions from start to finish. It’s a small but important detail for those tracking carbs closely.
8. Toss Cauliflower in Sauce After Cooking, Not Before

For the crispiest possible texture, it’s best to cook the cauliflower florets first and toss them in buffalo sauce only after they come out of the air fryer, rather than coating them in sauce beforehand. Adding sauce before cooking can create excess moisture that prevents the coating from crisping up properly during the cooking process. Tossing the hot, freshly cooked cauliflower in sauce immediately after air frying allows the sauce to cling nicely while the exterior remains crispy for as long as possible. This technique mirrors how classic buffalo wings are traditionally prepared, fried first and sauced right before serving. It’s a small sequencing change that makes a noticeable difference in the final texture.
9. Add a Second Quick Air Fry After Saucing
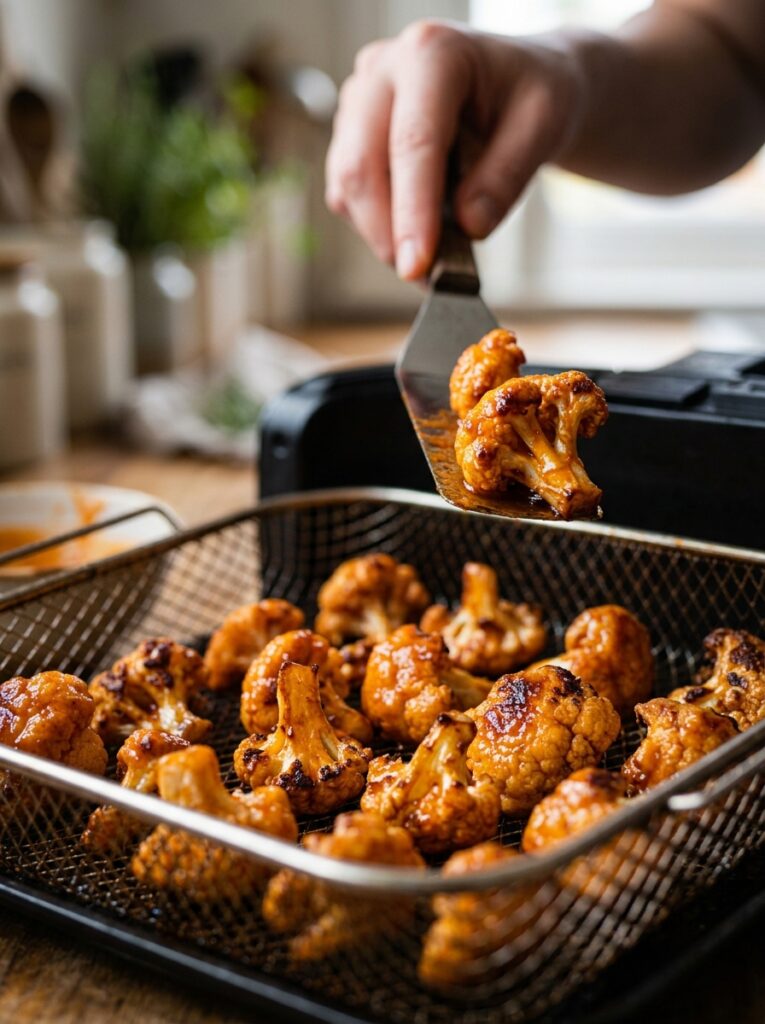
For extra-crispy buffalo cauliflower, returning the sauced florets to the air fryer for an additional one to two minutes helps the sauce set slightly onto the surface without becoming soggy. This optional step is especially helpful for those who prefer a stickier, more caramelized exterior rather than a wetter, freshly-tossed sauce coating. Keeping this second round short is important, since buffalo sauce can burn quickly at high temperatures due to its sugar and butter content. This extra step takes only a couple of minutes but can meaningfully improve the overall texture and presentation of the finished dish. It’s a nice optional trick for those wanting to take their buffalo cauliflower to the next level.
10. Serve with Low-Carb Dipping Sauces
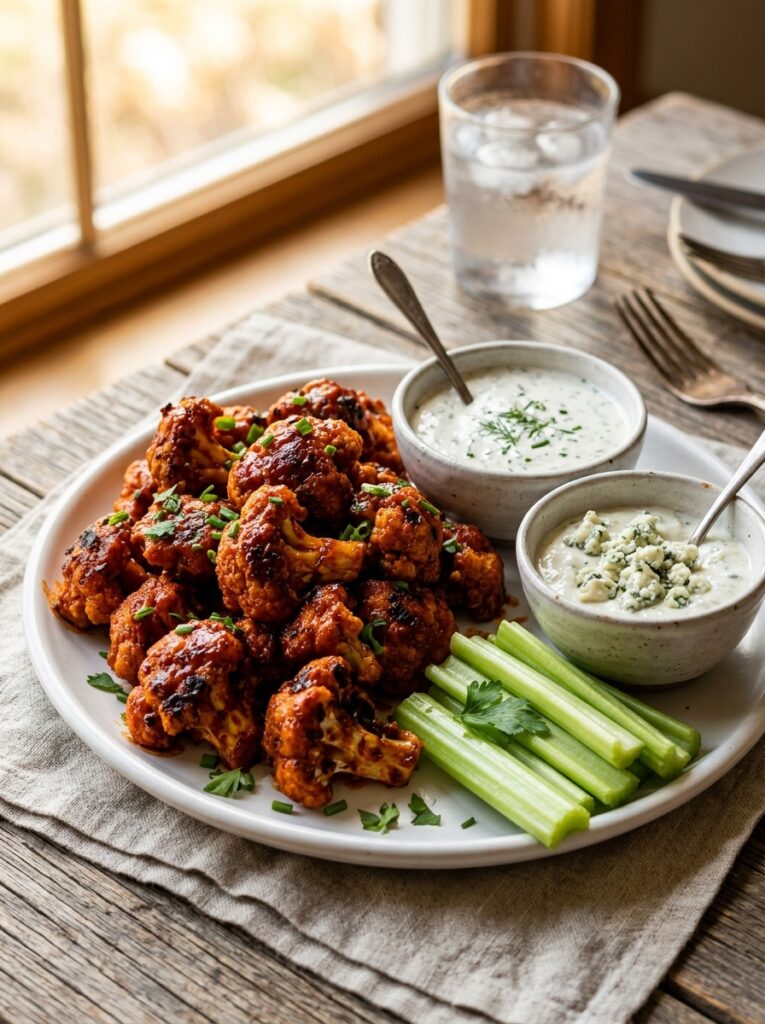
Pairing buffalo cauliflower with classic low-carb dipping sauces like ranch or blue cheese dressing keeps the entire snack aligned with a low-carb, keto-friendly eating pattern. Many store-bought ranch and blue cheese dressings are naturally low in carbs, though checking labels for added sugars is still worthwhile for those tracking closely. Making a quick homemade ranch using sour cream, mayo, and dried herbs is another simple way to control ingredients while keeping prep time minimal. The cooling, creamy contrast of these dips also helps balance the heat from the buffalo sauce, creating a more well-rounded flavor experience. This pairing is what transforms simple buffalo cauliflower into a genuinely satisfying, restaurant-style snack.
11. Garnish with Fresh Herbs and Celery
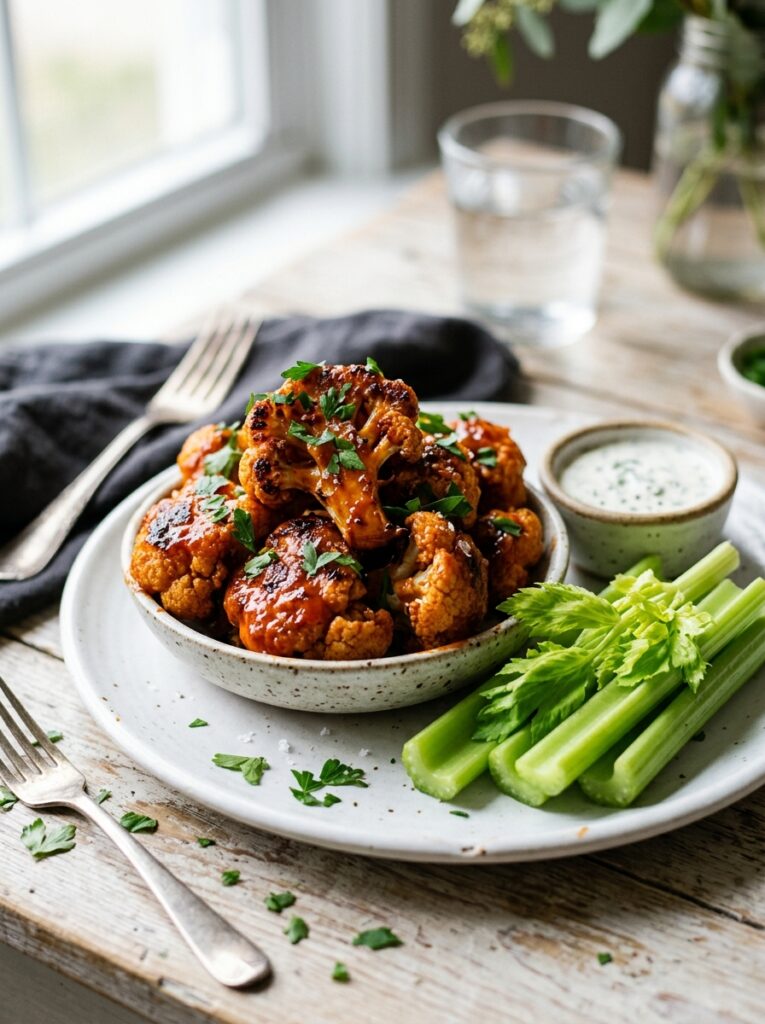
Topping the finished buffalo cauliflower with chopped fresh parsley or chives adds a pop of color and a touch of freshness that balances the richness of the buffalo sauce. Serving the dish alongside crisp celery sticks, a classic pairing with traditional buffalo wings, adds crunch and a refreshing contrast to the spicy, tangy cauliflower. This presentation touch takes only a minute or two but makes the dish feel more polished and complete, especially when serving guests. Celery also happens to be naturally low in carbs, making it a perfectly aligned side for this recipe’s overall dietary goals. These small garnishing details elevate a simple snack into something that feels intentional and well thought out.
12. Reheat Leftovers in the Air Fryer, Not the Microwave
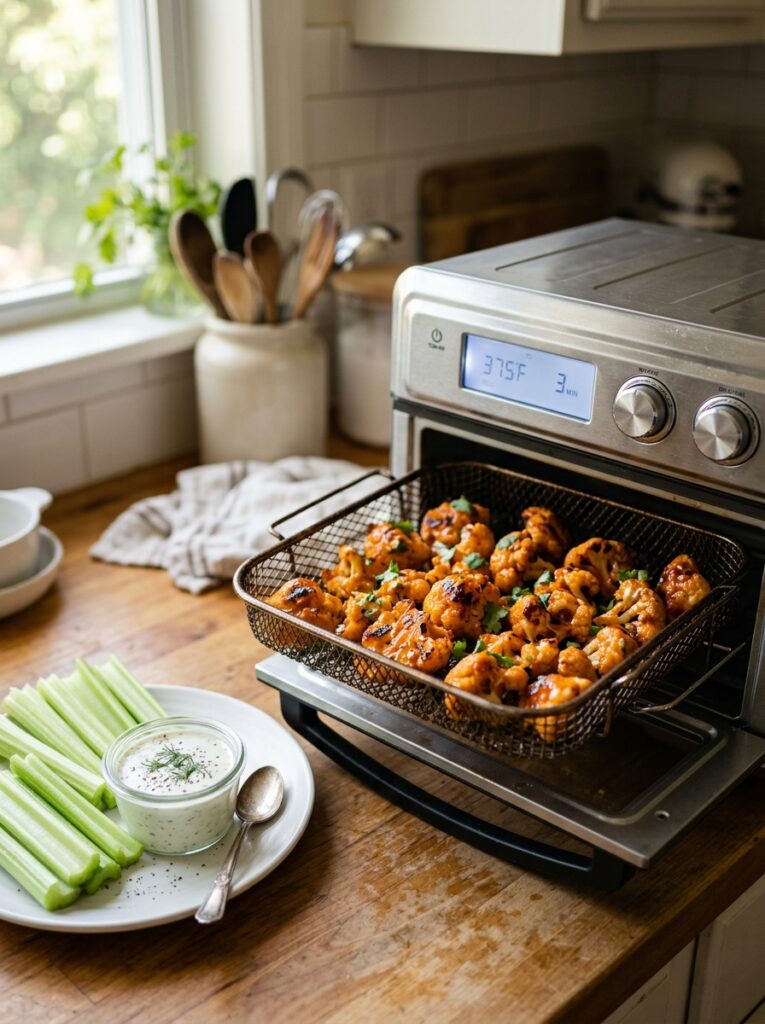
If you have leftover buffalo cauliflower, reheating it in the air fryer for two to three minutes at 350°F helps restore much of its original crispy texture far better than a microwave ever could. Microwaving tends to make the coating soggy and rubbery, losing the very texture that makes this dish so enjoyable in the first place. Storing leftovers in an airtight container in the refrigerator for up to three days keeps them fresh and ready for a quick reheat whenever a craving strikes. This reheating method ensures that even day-two leftovers taste nearly as good as the freshly made batch. Proper storage and reheating make this recipe just as convenient for meal prep as it is for same-day snacking.
Final Thoughts

Low-carb, gluten-free air fryer buffalo cauliflower proves that healthier eating doesn’t mean sacrificing bold flavor, satisfying crunch, or genuine indulgence. These 12 ideas cover everything from proper cutting and coating techniques to smart sauce timing and reheating tips, ensuring consistently crispy, flavorful results every time. Whether you’re serving this dish as a game-day appetizer, a quick snack, or a lighter alternative to traditional wings, these tips help make the most of every batch. Best of all, the entire recipe comes together in just 15 minutes, making it realistic for even the busiest weeknights or last-minute gatherings. With these techniques in your toolkit, air fryer buffalo cauliflower is sure to become a reliable favorite in your regular recipe rotation.
