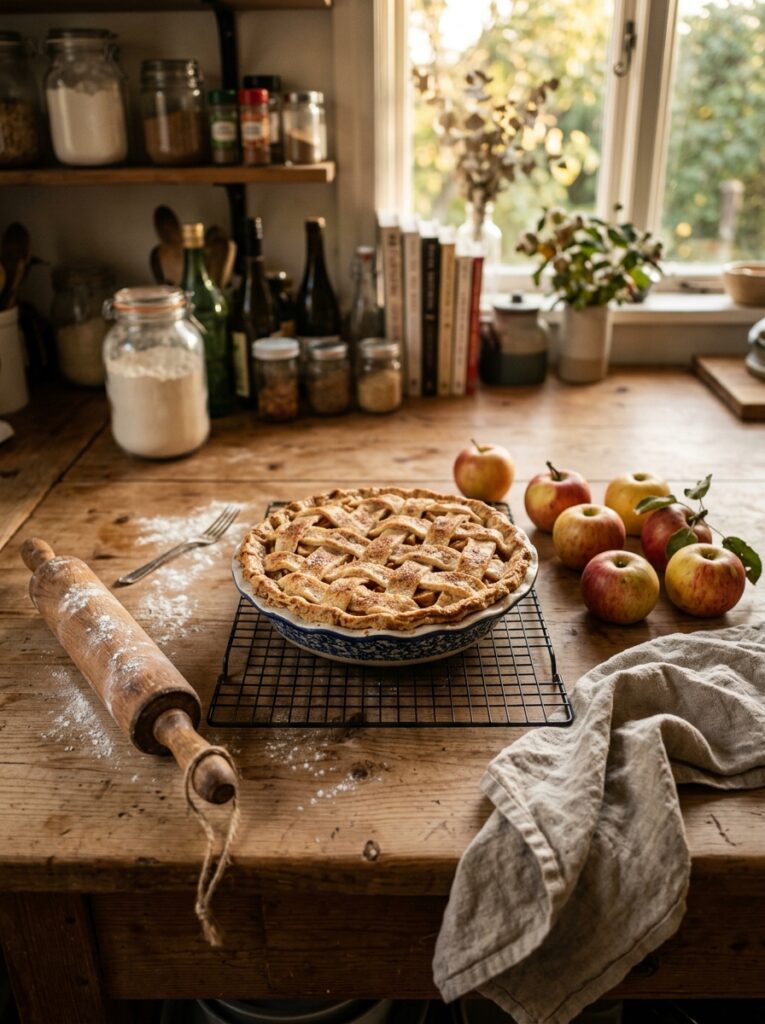
My grandmother didn’t measure anything. Not once. She’d just look at the bowl, toss in a handful of this, a pinch of that, and somehow — SOMEHOW — her apple pie came out perfect every single time. I spent years trying to recreate it before I finally accepted that I had to figure out my own version. This is that version.
—
1. The Apple Situation Is More Important Than Anything Else Here
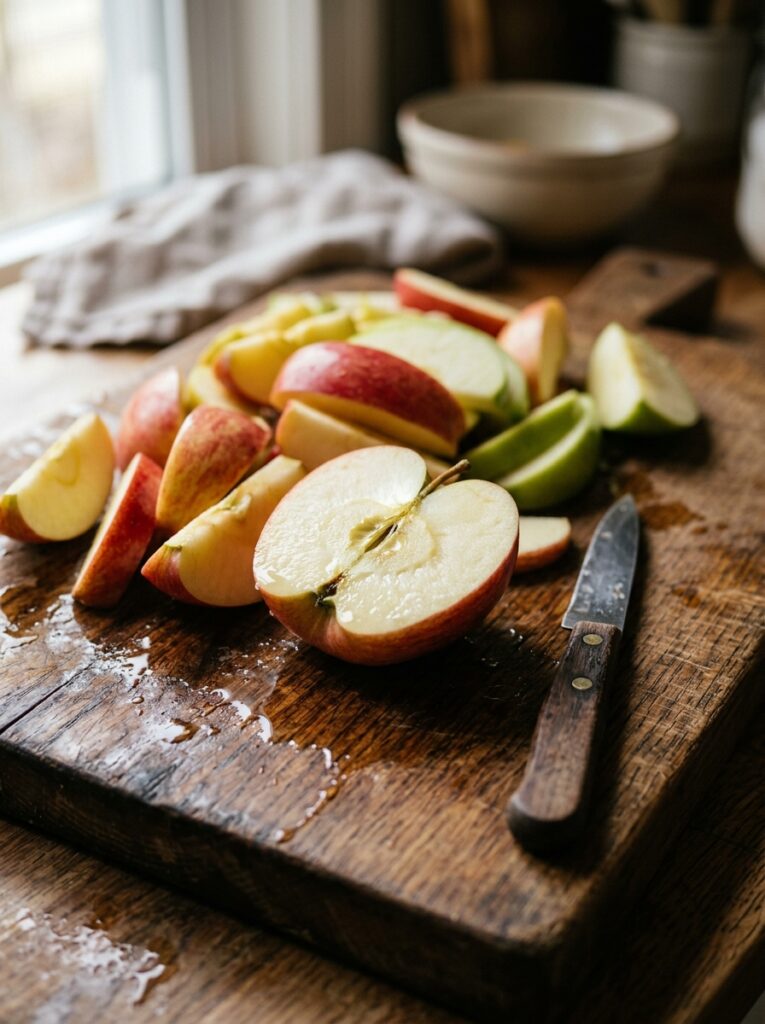
Stop buying whatever apples are on sale and calling it a day. I did that for two years and my pies were always either mushy or weirdly tangy in a way I couldn’t fix. The apple choice is genuinely the foundation of everything.
Here’s what I actually use: a mix. Two thirds Granny Smith for structure and that bright, almost aggressive tartness, and one third Honeycrisp (or Cox if you’re in the UK and Honeycrisp are running expensive, which they often are). The Granny Smiths hold their shape through the full bake, which means you don’t end up with applesauce inside a crust. The sweeter apple softens just enough to give you those jammy, caramelized pockets that make every slice feel like a reward.
Six large apples total. Peeled, cored, sliced about a quarter inch thick — not too thin or they’ll disappear. Not too thick or they won’t cook through. It’s kind of annoying, but it matters.
“The apple choice is genuinely the foundation of everything — and mixing two varieties is the one thing most home bakers skip.”
2. The Butter That Actually Makes the Crust Flaky (Not Just “Good”)
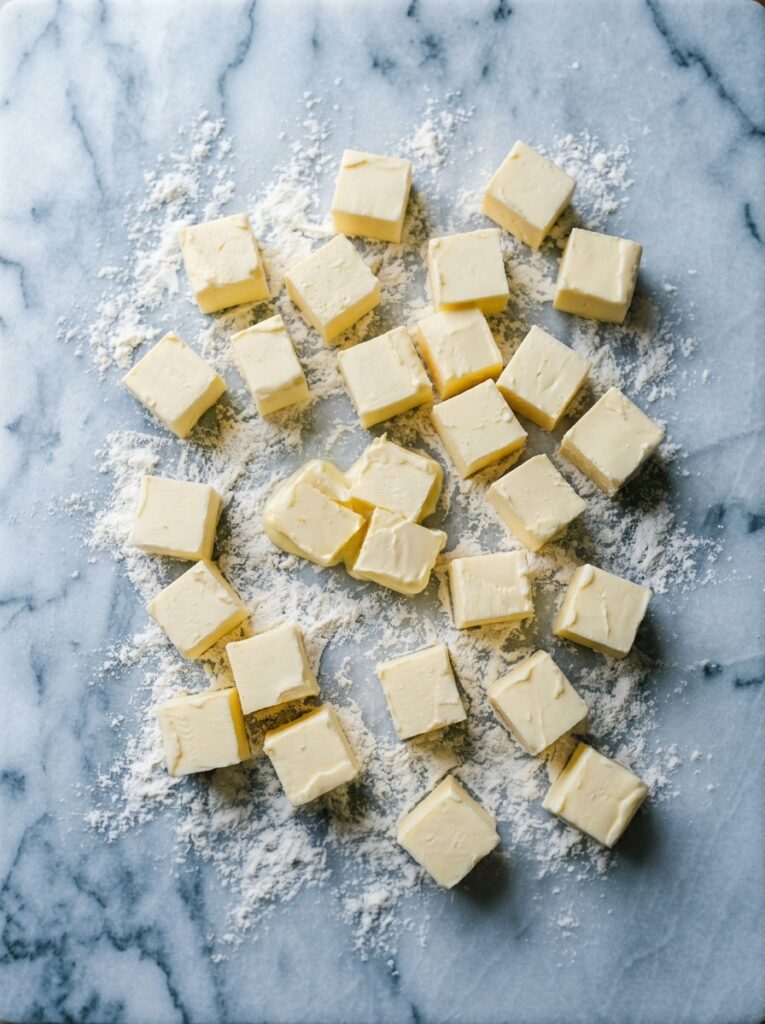
Cold. The butter has to be cold. Not room temperature, not slightly chilled. Cold. I’m talking you pull it out of the fridge, cube it immediately, and if your hands are warm you run them under cold water first. Sounds fussy. It is fussy. But it’s the difference between a crust that shatters into beautiful flaky layers and one that just… sits there, kind of dense and sad.
2 ½ cups all-purpose flour. 1 teaspoon salt. 1 tablespoon sugar. 1 cup (two sticks) of unsalted butter, cubed. And 6 to 8 tablespoons of ice water — actual ice water, not just cold tap water.
Work the butter into the flour with your fingertips until it looks like rough, uneven breadcrumbs with some pea-sized chunks still visible. Those chunks matter. They create steam during baking, which pushes the layers apart. That’s your flakiness. Don’t overwork it trying to make it look smooth and uniform. Smooth is the enemy here. Add the ice water one tablespoon at a time just until the dough holds together when you press it. Then stop. Divide it in two, wrap each half in cling film, and refrigerate for at least an hour.
I always do the pastry the night before. Honestly it makes the whole process feel less chaotic.
3. Why You Should Macerate Your Apples Before They Go In
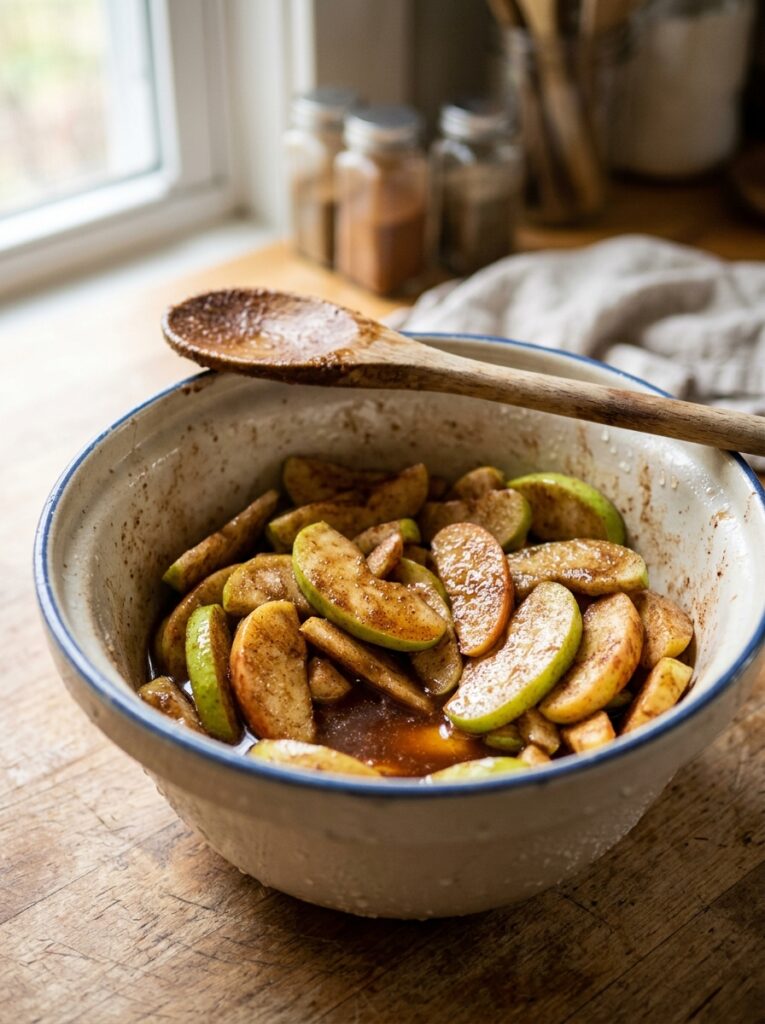
This step changed everything for me. I didn’t do it for years and then I tried it once and now I can’t go back.
After slicing the apples, toss them with ¾ cup of sugar (I use a mix of white and light brown — maybe two thirds white, one third brown), 1 ½ teaspoons of cinnamon, ¼ teaspoon of nutmeg, a tiny pinch of cloves if you’ve got them, 2 tablespoons of lemon juice, and a teaspoon of vanilla extract. Then let them sit in a colander set over a bowl for at least 30 minutes, preferably 45.
What happens is the sugar draws out all the excess moisture. You’ll see a pool of liquid collect in the bowl below — that’s liquid that would otherwise turn your filling into a soup. Once it’s drained, you take that liquid, pour it into a small saucepan, cook it down for about five minutes until it thickens slightly, then toss it back over the apples. Concentrated apple flavour. No soggy bottom.
This is the one technique that genuinely elevates a good pie to a great one, and barely anyone does it. It’s a bit annoying, but not actually that hard.
4. The Thickener Debate: Flour vs Cornstarch vs Tapioca (My Actual Take)
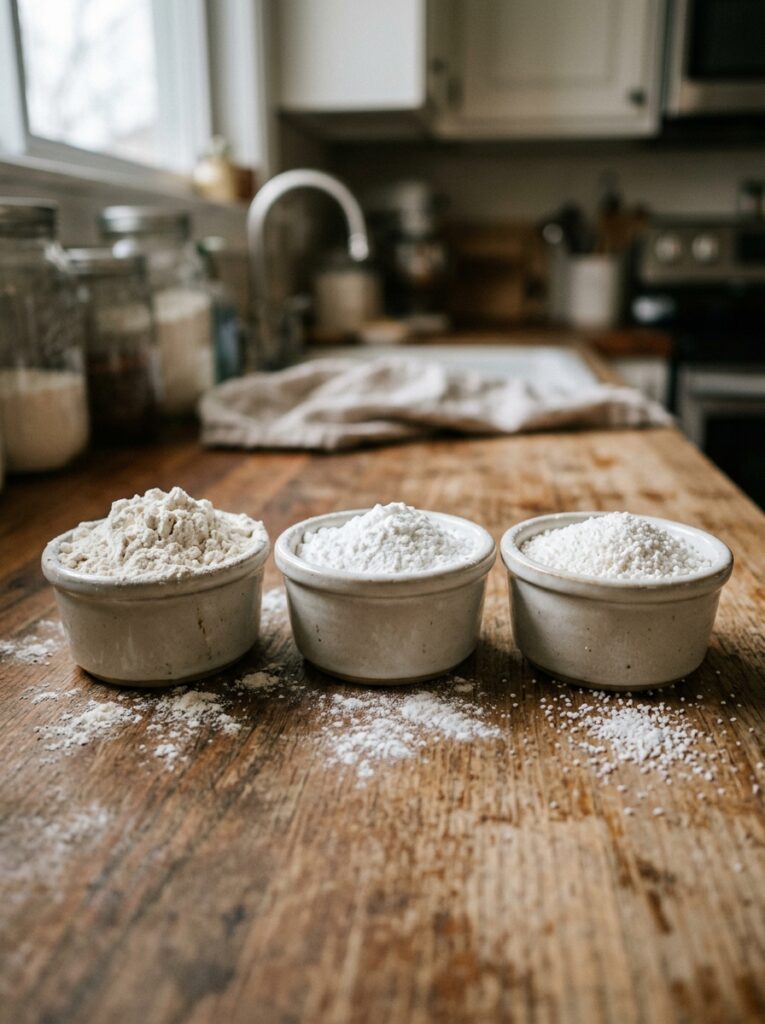
Right, so this is where people get into arguments online. I’ve tried them all.
Flour gives you a slightly cloudy, more opaque filling. Totally fine, a little old-fashioned in a good way. Cornstarch (called cornflour in the UK, just to confirm) gives you a clearer, glossier filling with stronger set. And instant tapioca pearls? They give you this almost jammy texture that I think is genuinely the best — but they can be hard to find in some UK supermarkets.
My everyday answer: 3 tablespoons of cornstarch, tossed with the apples after macerating. It works consistently, it doesn’t make the filling gluey, and the flavour stays clean.
“Cornstarch after macerating — that’s the combination that gives you a filling that actually sets without tasting starchy.”
If you’re feeling fancy and you can find instant tapioca, use 3 tablespoons of that instead. You’ll notice the difference. Whether you NEED to notice the difference is a personal decision.
5. Rolling the Crust Without Losing Your Mind
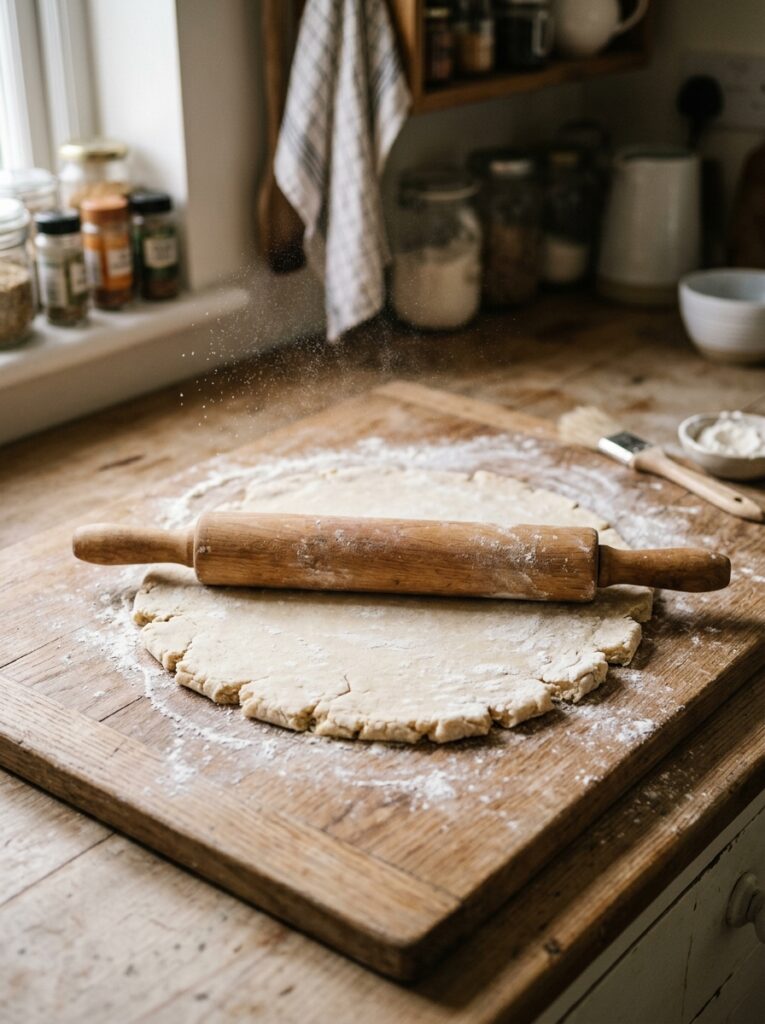
Pull the dough out of the fridge about ten minutes before you want to roll it. Not longer. It needs to stay cold enough that the butter doesn’t melt but pliable enough that it doesn’t crack when you roll.
Lightly flour your surface — and I mean lightly. Too much flour makes the crust tough. Roll from the centre outward, turning the dough a quarter turn every few passes so it stays roughly round. You want about a 12-inch circle for a standard 9-inch pie dish.
Here’s the bit I genuinely used to find stressful: transferring it to the dish. Roll the dough loosely around your rolling pin, then unroll it over the dish. Ease it gently into the corners — don’t stretch it or it’ll shrink back during baking. Trim the overhang to about an inch.
Then add your filling. Mound it slightly in the centre because the apples will sink as they cook.
6. The Top Crust Decision That Changes How the Whole Pie Looks
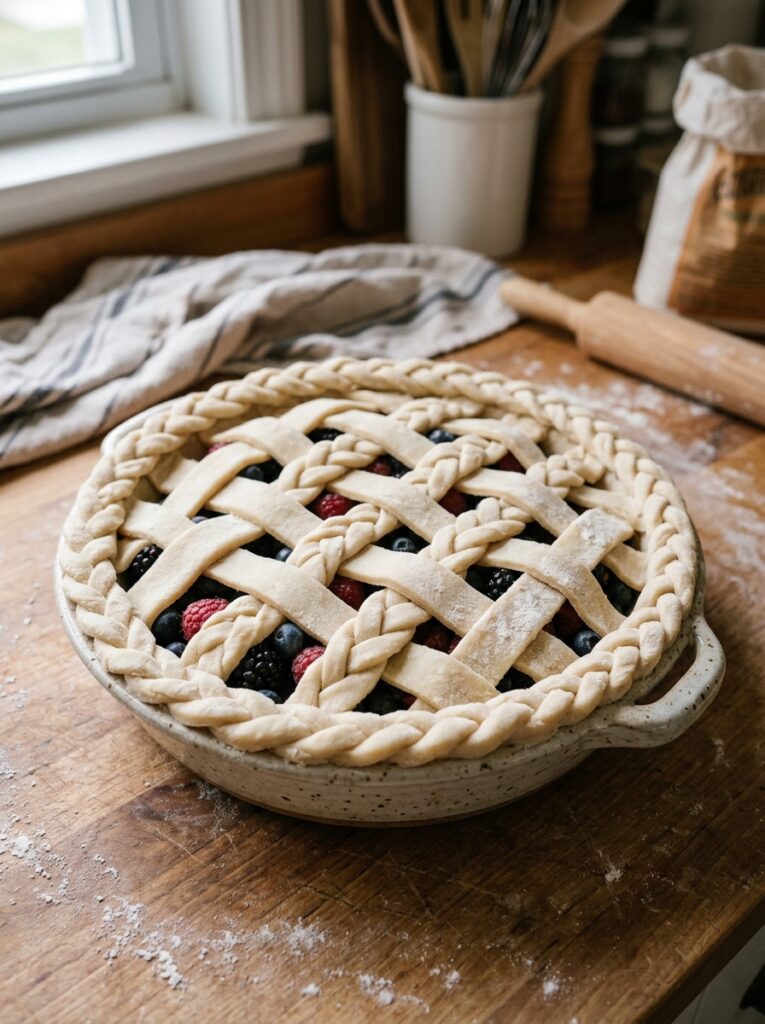
You’ve got options here. Full top crust with vents. Lattice. Crumble topping if you want to skip rolling entirely.
I make a full top crust most of the time because I like how it looks when it’s golden and domed and slightly cracked. But the lattice is genuinely prettier and it lets the steam escape naturally, which means the filling sets better. If you have the patience — and some days I really don’t — do the lattice.
For a basic lattice: cut your second disc of dough into strips about ¾ inch wide. Lay half of them across the filling in one direction, then weave the remaining strips through in the opposite direction. Or, honestly, just lay them both ways without weaving and call it a day. No one who’s eating your pie is going to complain.
Trim and crimp the edges however you like. I do a simple fork press around the rim most of the time.
7. The Egg Wash That Gives You That Bakery-Level Crust Colour
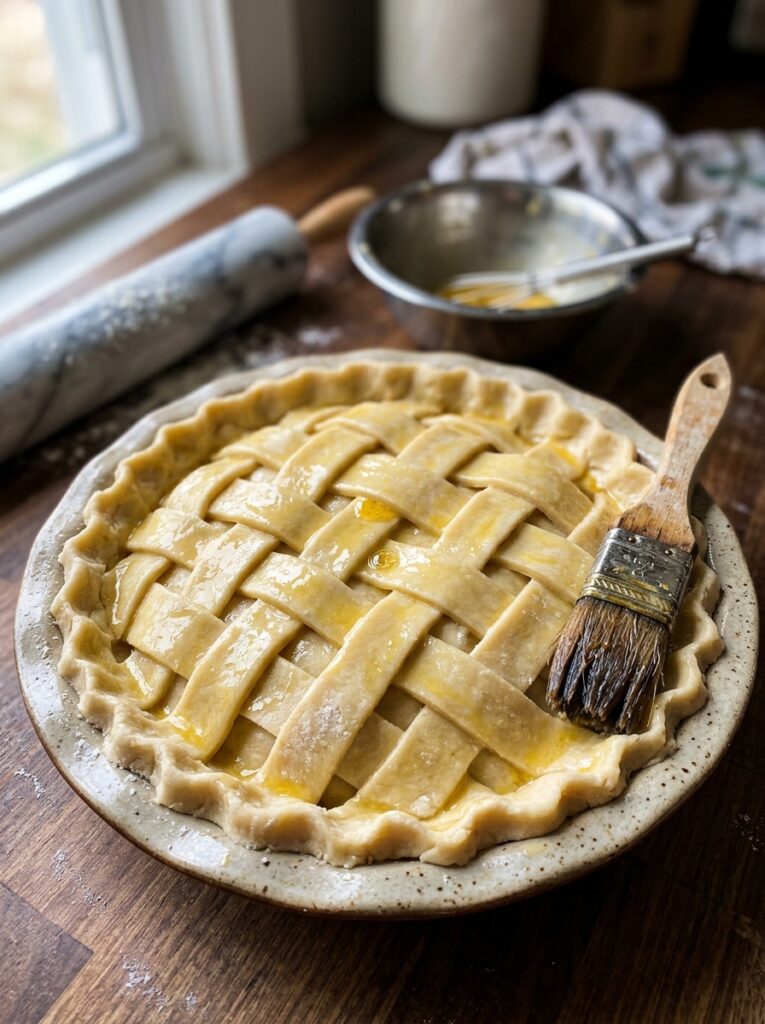
One egg. One tablespoon of milk or cream. Whisk together and brush it over the entire top crust. Every bit of exposed dough. Then sprinkle with a tablespoon or two of coarse sugar — demerara works beautifully here, and it’s easy to find in both the US and UK.
That sugar crust on top. It crackles. It catches the light. It’s the reason people take photos of pie and post them to the internet.
Cut a few vents in the top if you’re doing a full crust — two or three slits in the centre is enough. These matter. Without them the steam has nowhere to go and it’ll push up through the crimped edges in a way that’s not quite as charming as it sounds.
8. Temperature and Timing: The Part Most Recipes Get Wrong
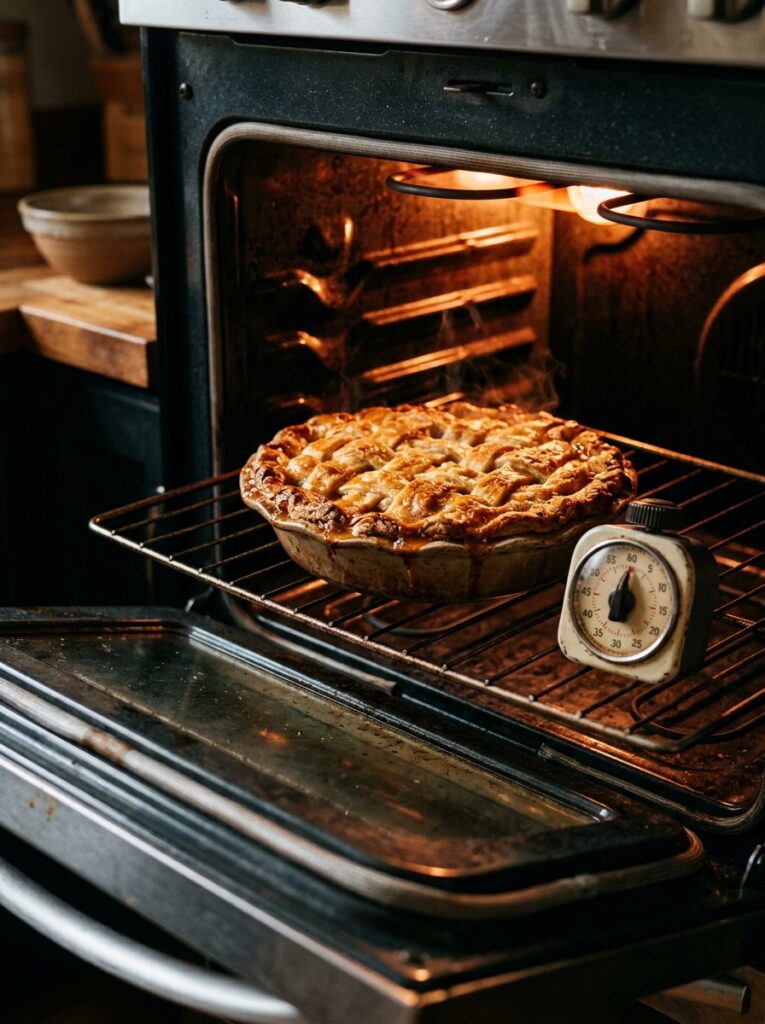
Start at 425°F (220°C / Gas Mark 7). High heat for the first 20 minutes. This sets the bottom crust quickly, which is your main defence against a soggy base. After 20 minutes, drop the temperature to 375°F (190°C / Gas Mark 5) and continue baking for another 40 to 50 minutes.
Total time: 60 to 70 minutes. The filling should be actively bubbling — not just warm inside, genuinely bubbling up through the vents. If it’s not bubbling, it’s not done. The crust should be deep golden, not pale. A pale pie crust is an undercooked pie crust. Have confidence.
If the edges start browning too fast (and they often do around the 40-minute mark), cover them with foil or a pie shield. The edges bake faster than the centre because they’re thinner.
9. Why You Absolutely Cannot Cut It Right Away
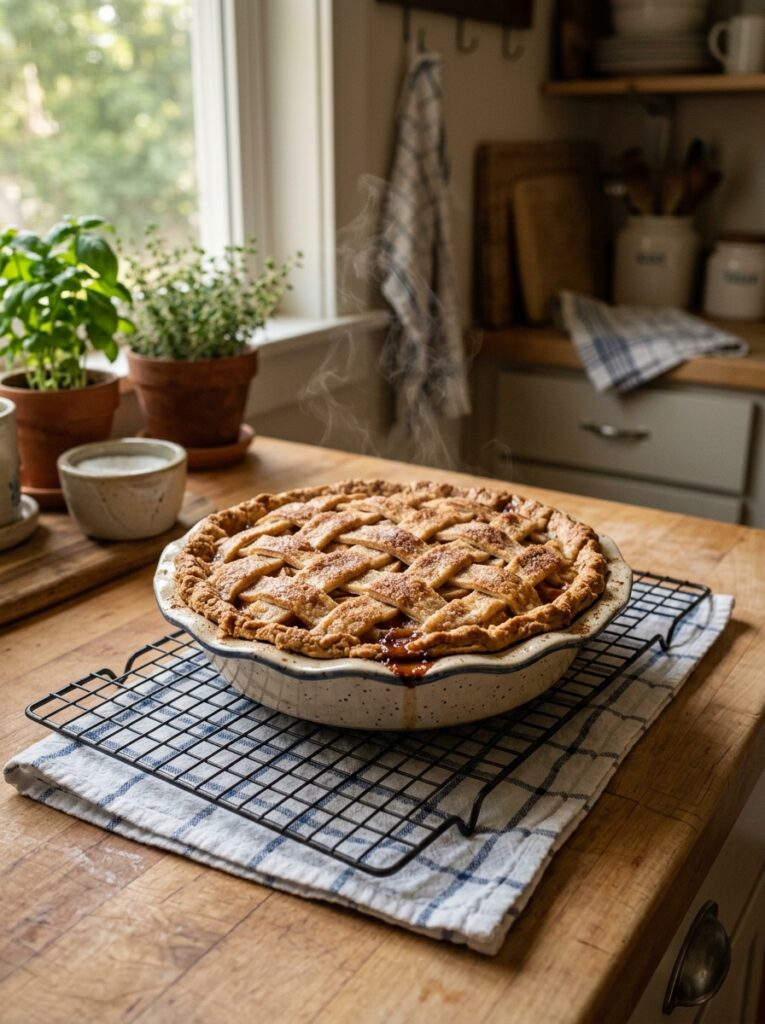
This is the part people ignore and then wonder why their filling runs everywhere. You have to let the pie cool for a minimum of two hours before cutting. Ideally three to four.
While the pie is cooling, the filling is still setting. The cornstarch needs that time to fully thicken. If you cut into it at 30 minutes — I know, I know, it smells incredible — you’ll have apple soup in a crust. Still delicious, technically, but not the clean slices you want.
Put it on a wire rack. Let it do its thing. Make something else in the meantime. Come back later.
“The filling is still setting while it cools — cut too soon and it runs. Two hours minimum. I’m not sorry about that rule.”
10. The Flavor Tweak That Makes People Ask What You Did Differently
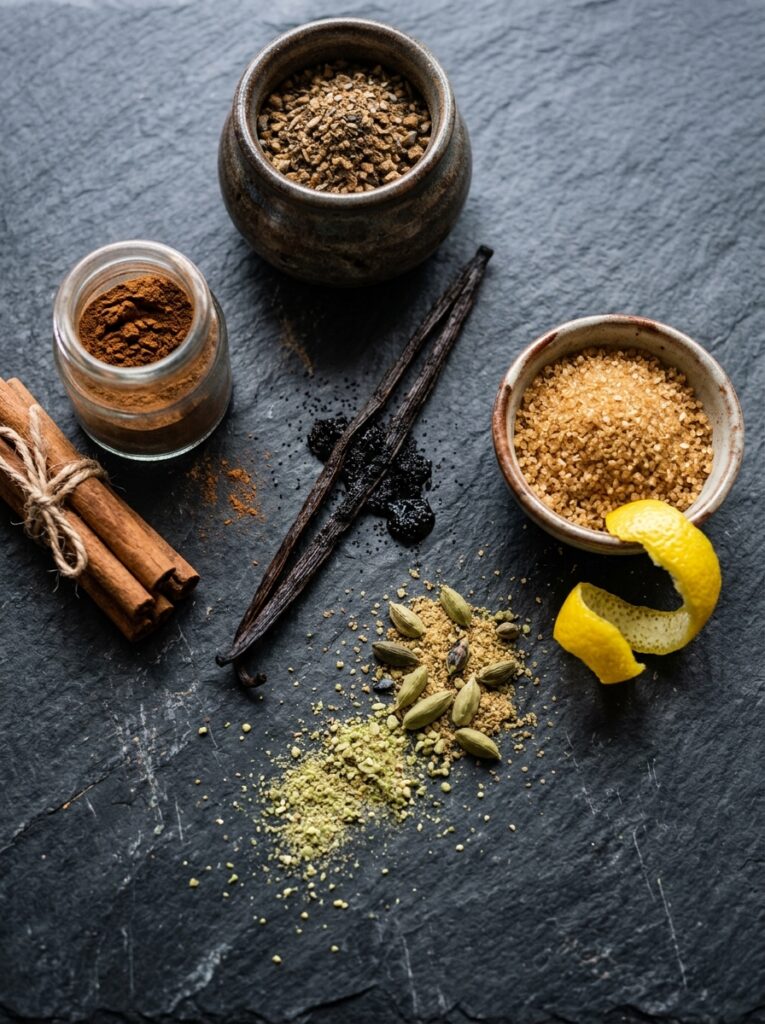
Add a tablespoon of apple cider vinegar to the filling. I know. But hear me out. It doesn’t taste sour. What it does is brighten the apple flavour and cut through some of the sweetness in a way that makes every bite taste more intensely like apple. It’s subtle but it’s real.
Also: two tablespoons of cold unsalted butter, cut into tiny cubes and dotted over the filling before you put the top crust on. This one I learned from an old American cookbook and I don’t make pie without it anymore. It adds richness and helps the filling feel almost silky.
These two things together are probably why people say this pie tastes “different” in a way they can’t quite identify. Not better, exactly — just more.
11. How to Serve It (And the Answer Is Not Always Vanilla Ice Cream)
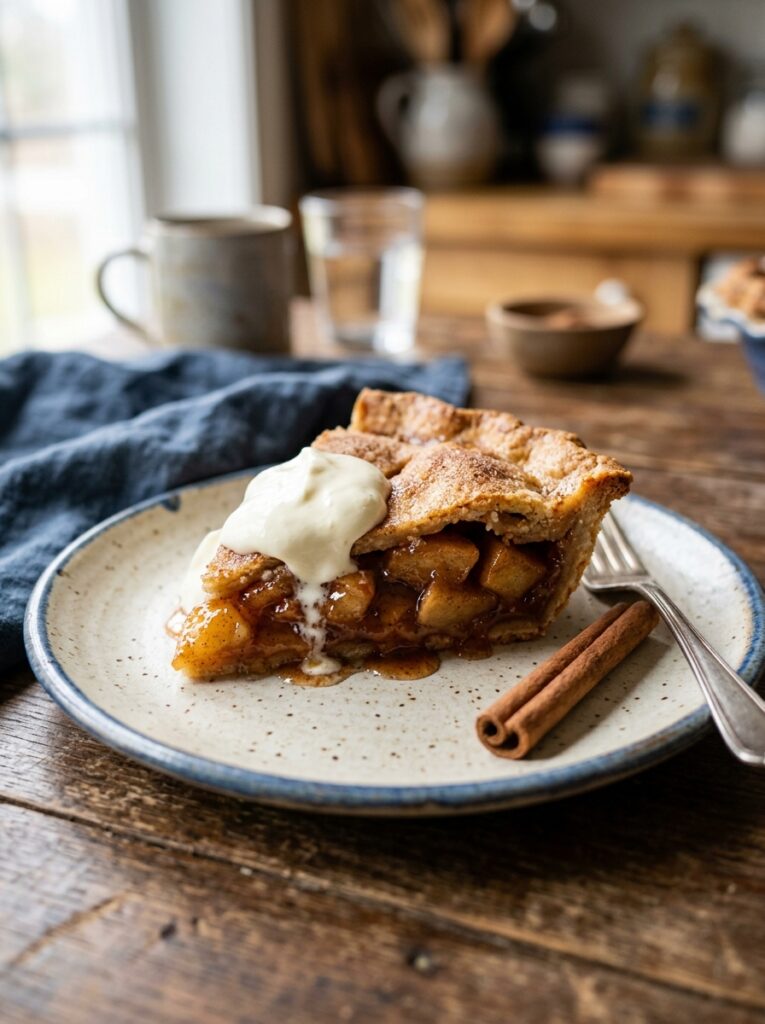
Hot pie with cold vanilla ice cream is a correct answer and I will always defend it. But there are other correct answers.
Warm pie with clotted cream, if you’re in the UK or feeling like it. The clotted cream slowly melts into the pie in a way that’s genuinely perfect. Or just a big pour of cold heavy cream straight out of the fridge. Or sharp cheddar cheese — yes, cheese — which is an old Northern English and New England tradition that makes much more sense than it sounds. The saltiness offsets the sweet filling and the pastry in a way that’s kind of startling the first time.
My actual preference most of the time: the pie at room temperature, no accompaniment. You taste it more clearly that way. But that’s just me, and I’m aware that’s a slightly boring answer.
12. Storing and Freezing Without Ruining What You’ve Made
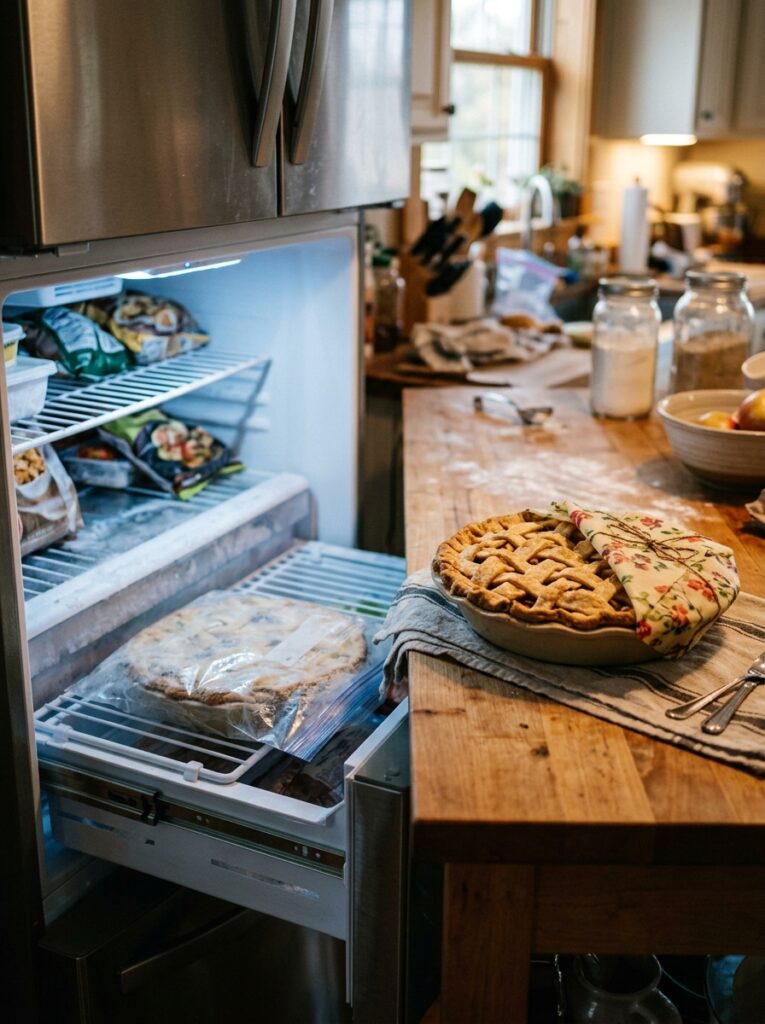
Room temperature for up to two days, loosely covered with foil. After that, the fridge — though it will make the crust a bit less crisp. If you’re refrigerating, reheat individual slices in a low oven (300°F / 150°C) for about 10 to 15 minutes. It brings the crust back to life in a way the microwave never will.
For freezing: you can freeze the fully baked pie (well wrapped) for up to three months. Let it thaw in the fridge overnight, then reheat the whole thing in a 350°F (175°C) oven for 20 to 25 minutes. Or freeze the unbaked, assembled pie and bake it straight from frozen at the same temperatures, just adding 15 extra minutes to the bake time.
The unbaked-frozen version is kind of a revelation, not gonna lie. You assemble it when you have energy, freeze it, and then weeks later you have a homemade pie with almost none of the effort. That’s a genuinely useful thing to know going into any busy season.
—
❓ FAQ
Q: Can I use pre-made pastry to save time? A: Yes, and there’s no shame in it at all. A good quality ready-rolled shortcrust pastry works surprisingly well here — just make sure to use the macerating step and the right thickener, because the filling is really where most of the flavour happens anyway.
Q: My filling always turns out watery — what am I doing wrong? A: Almost certainly one of two things: you’re skipping the macerating step, or you’re not baking long enough for the filling to actively bubble. Both are fixable. Make sure you drain off that liquid, reduce it, and put it back in, and bake until you see real bubbling through the vents, not just a slight shimmer.
Q: Can I make this ahead for a dinner party? A: The pastry dough can be made up to three days ahead and kept in the fridge, or frozen for up to a month. The fully baked pie is best on day one but is genuinely good on day two. If you want it warm for guests, bake it that morning and reheat at a low oven temperature for about 15 minutes before serving.
—
💭 Final Thoughts
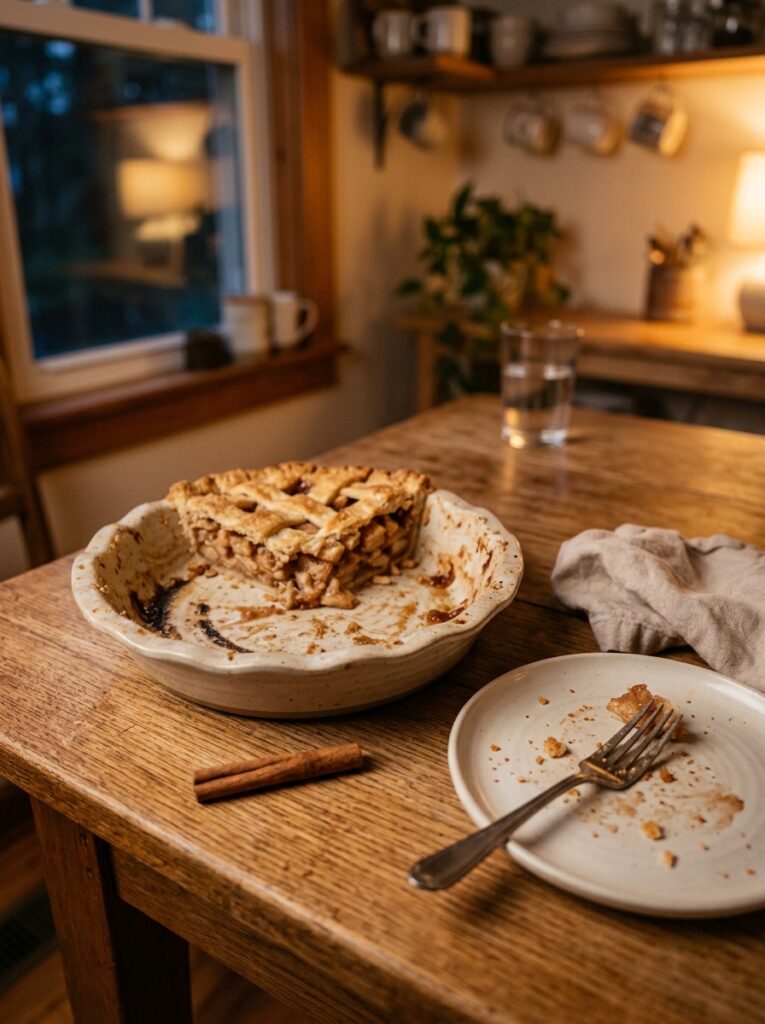
There’s something that happens when you put a homemade apple pie on the table — even before anyone’s taken a bite — where the whole room sort of exhales. It smells like something remembered. Like someone’s kitchen on a cold afternoon, and you’re small again, and it doesn’t matter that you measured wrong or your lattice isn’t perfect. None of that matters.
This recipe is the version I’ll probably keep fiddling with for another ten years. And I think that’s fine.
What’s the one thing about your own apple pie that you’ve never quite figured out?
